
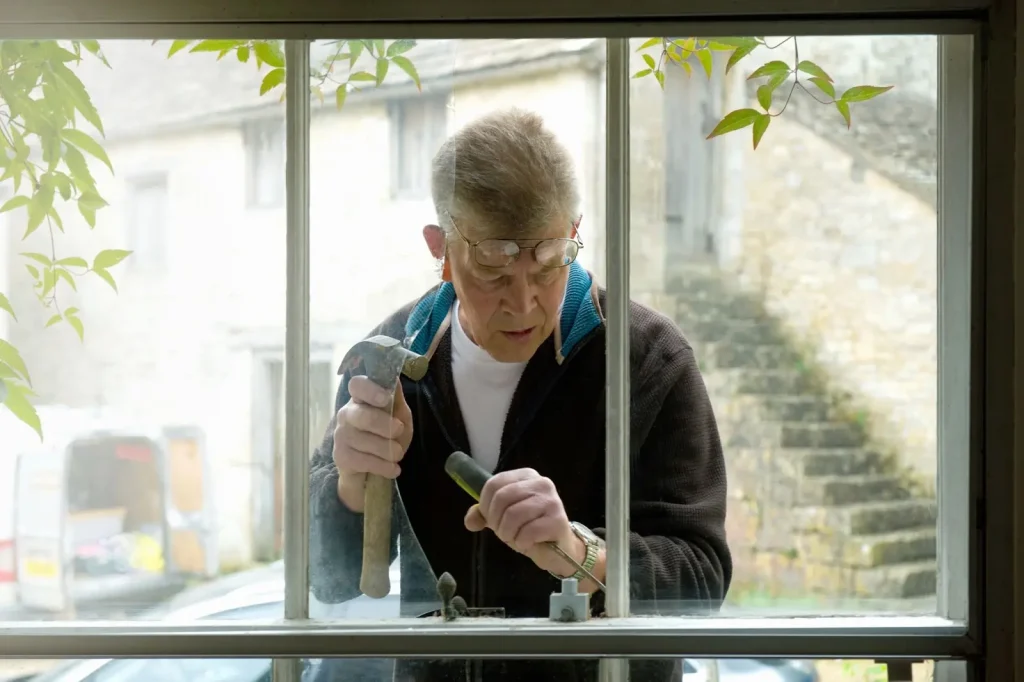
Broken window glass can be frustrating and inconvenient, but repairing it yourself can be a cost-effective and rewarding experience. Whether it’s a small crack or a shattered pane, knowing how to fix it can save you money and time.
This step-by-step guide will walk you through repairing broken window glass, from gathering materials to ensuring a secure fit. It will also provide you with the necessary steps to tackle this common household repair confidently.
Key Takeaways
- Repairing broken window glass yourself can save money.
- Proper safety measures are essential.
- Having the right tools and materials is crucial.
- Following a systematic approach ensures a successful repair.

1. Gather Your Materials
Before you start, ensure you have all the necessary materials and tools. Here’s what you’ll need:
- Replacement glass
- Glazing points
- Glazing putty
- Glass cutter
- Putty knife
- Tape measure
- Safety gloves and goggles
- Utility knife
- Painter’s tape
- Chisel
Having everything on hand before you begin will make the process smoother and more efficient.
2. Ensure Safety First
Safety is paramount when dealing with broken glass. Wear safety gloves and goggles to protect yourself from sharp edges. Clear the area of any debris and ensure children and pets are kept away from the workspace.
3. Remove the Broken Glass
Carefully remove the broken glass pieces. Use a utility knife to cut through any remaining putty or sealant holding the glass in place. If the glass is shattered, gently lift the pieces out, starting from the top. Dispose of the glass safely.
4. Clean the Frame
With the old glass removed, it’s time to clean the window frame. Use a putty knife and chisel to remove any old putty and glazing points. Ensure the frame is smooth and free of debris. This step is crucial for ensuring the new glass fits securely.
5. Measure and Cut the Replacement Glass
Measure the opening of the window frame accurately. Add a small allowance (about 1/8 inch) to ensure the glass fits comfortably without being too tight. Transfer these measurements to your replacement glass and use a glass cutter to cut it to size.
6. Apply Glazing Putty
Roll glazing putty into thin ropes and press it into the window frame where the new glass will sit. This putty acts as a cushion and sealant for the glass. Make sure the putty is evenly distributed for a secure fit.
7. Install the New Glass
Carefully place the cut glass into the frame, pressing it gently into the putty. Secure it with glazing points by pushing them into the frame along the edges of the glass. The points will hold the glass in place while the putty sets.
8. Apply Additional Putty
Once the glass is secured, apply another layer of glazing putty around the edges. Smooth it out with a putty knife, ensuring it forms a neat and sealed edge. This step not only secures the glass but also provides an aesthetic finish.
9. Let the Putty Dry
Allow the glazing putty to dry completely. That may take several days, depending on the product used. Once dry, the putty will harden and firmly hold the glass.
10. Clean the Glass
After the putty has dried, clean the glass thoroughly to remove any fingerprints, smudges, or excess putty. Use a glass cleaner and a soft cloth for a streak-free finish, making your windows look bright and appealing.

Restoring Your Window with Confidence
Repairing broken window glass involves gathering materials, ensuring safety, removing the broken glass, cleaning the frame, measuring and cutting replacement glass, applying glazing putty, installing the new glass, adding more putty, allowing it to dry, and finally, cleaning the glass.
By following these steps, you’ll repair your broken window glass efficiently and safely, restoring your home’s functionality and aesthetics. For professional glass installation services, Contact Kamisnkiy Care and Repair today.
Rather have it handled? Call 855-695-1195 and we price the job over the phone. We answer in under three rings.