
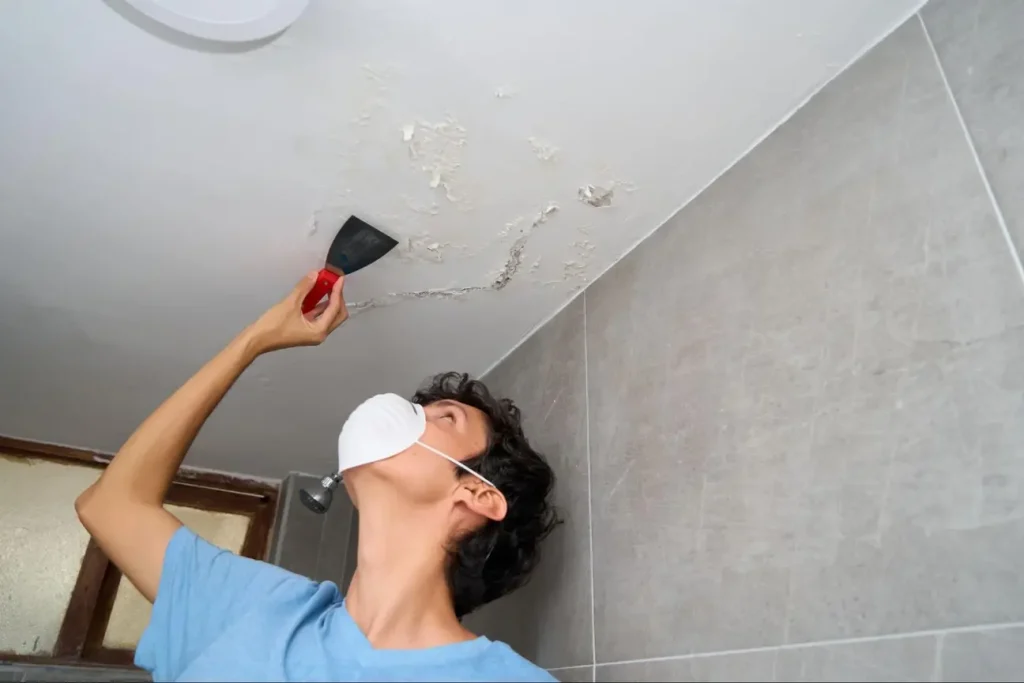
Water stains on your ceiling can be an eyesore and a sign of a bigger issue. To fix and prevent these stains, it’s essential to identify the source of the moisture and take the right actions promptly. Ignoring these stains can lead to more severe damage, including mold growth and structural issues in your home.
Cleaning the stains often requires a few basic supplies and methods, but the key is to address the root cause to prevent future occurrences. Whether you need to clean existing stains or implement preventive measures, understanding the steps you can take will help you maintain a healthier living environment.
Key Takeaways
- Identify the source of moisture to prevent further damage.
- Clean ceiling stains effectively to restore your ceiling’s appearance.
- Establish a routine for maintenance to avoid future water stains.
Understanding Ceiling Water Stains
Ceiling water stains can signal serious problems in your home. Knowing how to identify their causes and types can help you take corrective action. This section also addresses how these stains can affect your home’s structure and materials.
Identifying the Cause
Water stains on your ceiling may come from various sources, including leaks from plumbing, roofs, or condensation. To find the cause, start by checking areas above the stained ceiling.
- Leaking pipes in bathrooms or kitchens.
- Damaged roofs after heavy rain or snow.
- Faulty HVAC systems that might create excessive moisture.
Once you locate the source, you can address the leak and prevent future stains.
Types of Water Stains
Water stains usually have distinct characteristics. Here are some common types:
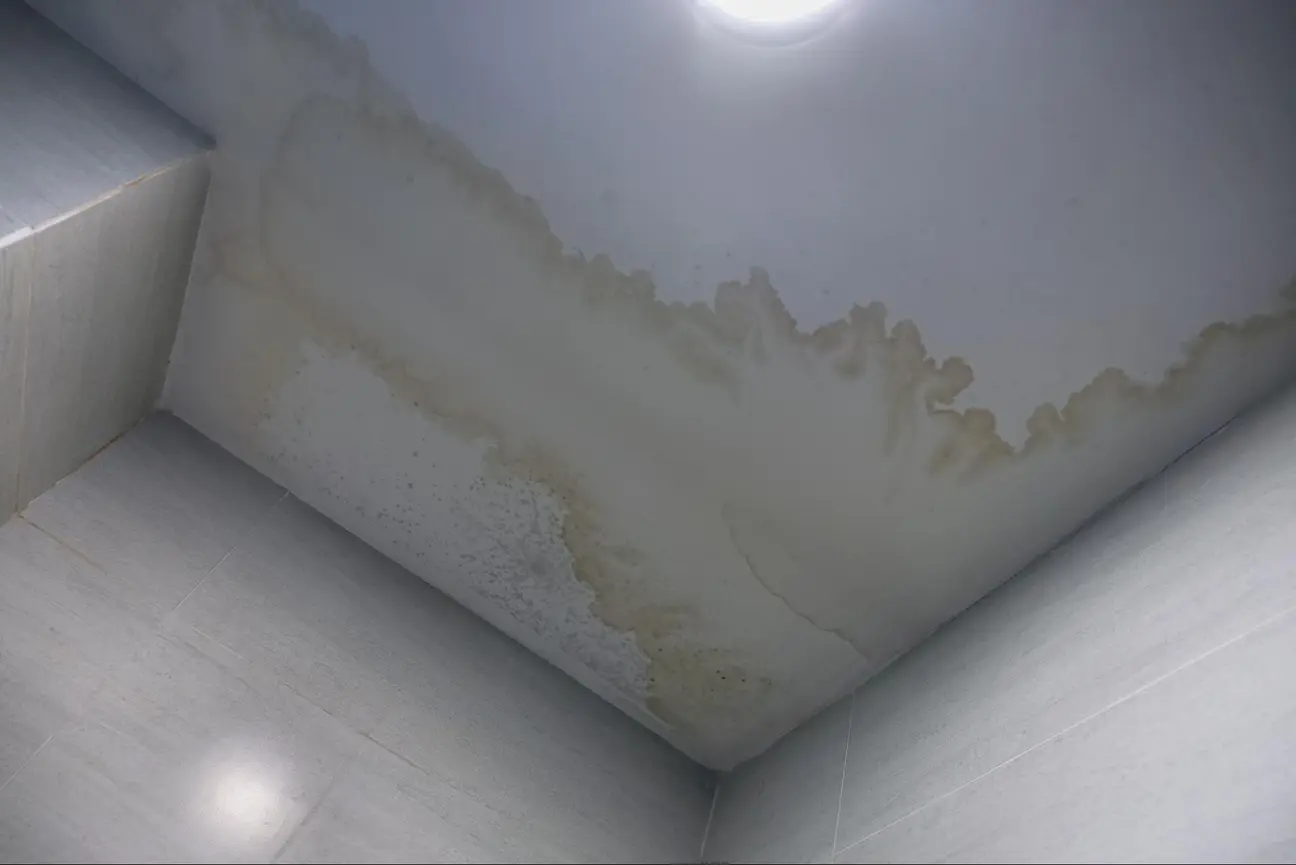
- Brown or Yellow Stains: Often indicate long-term water damage from leaks.
- White or Gray Stains: Typically result from condensation and suggest possible humidity issues.
- Mold Stains: Dark spots usually suggest prolonged moisture. Mold can pose health risks.
Identifying these types can help you determine the urgency of your repair needs.
Impact on Materials
Water stains can affect your ceiling’s materials in several ways. If left untreated, they may weaken the structure of your ceiling. The following might occur:
- Wood rot: Prolonged moisture can lead to rotting beams and rafters, making your ceiling unsafe.
- Drywall Damage: Stains may cause drywall to sag or crumble, requiring replacement.
- Reduced insulation effectiveness: Water can dampen insulation, decreasing its performance.
Address these stains promptly to protect your home’s integrity and safety.
Immediate Actions to Minimize Damage
When you notice water stains on your ceiling, taking quick action is crucial. Addressing the water source and protecting your home will help reduce damage and prevent further issues.
Stopping Water Flow
The first step is to identify where the water is coming from. If it’s a leaking pipe, you may need to turn off the water supply to that section of your home. If the leak is from the roof, you might have to go outside and check for visible issues.
Once you locate the source, immediately stop the water flow. If it’s a plumbing issue, use a bucket to catch dripping water until a professional can help. If a roof leak is suspected, cover the area with a tarp or plastic sheeting to minimize exposure to rain.
Protecting Surrounding Areas
Next, it’s essential to protect the areas around the leak. To prevent water damage, move any furniture or valuable items away from the affected zone. Use plastic sheeting or tarps to cover large items you cannot move.
Place towels or absorbent materials on the floor underneath the leak to catch any dripping water. Regularly check these materials and replace them as needed. If the area is carpeted, consider using a wet vacuum or extractor to pull out as much water as possible.
Drying the Affected Zone
After stopping the water flow and protecting your belongings, focus on drying the affected area. Open windows and doors to increase ventilation. Use fans to circulate air and help speed up the drying process.
If you have a dehumidifier, set it up in the affected room to remove excess moisture from the air. Drying the area quickly is crucial to preventing mold growth. Check the ceiling regularly for any signs of mold or mildew and address these problems as soon as possible.
Effective Cleaning and Stain Removal
Water stains can be frustrating, but you can effectively clean and remove them with the right approach. Knowing how to choose proper cleaning solutions and following a simple process is essential for success.
Choosing Appropriate Cleaning Solutions
Selecting the right cleaning products is crucial for effective stain removal. Depending on the severity of the stain, you have multiple options.
- Commercial Stain Removers: These are specifically formulated to tackle water stains. Look for ones that are safe for your ceiling material.
- Homemade Solutions: You can mix equal parts of vinegar and water. This mixture is gentle and effective for light stains.
- Baking Soda Paste: Mix baking soda with water to create a thick paste for tougher stains. Apply this directly to the stained area.
Remember to test any solution in a small area first to ensure it doesn’t damage your ceiling.
Step-by-Step Cleaning Process
Once you’ve selected a cleaning solution, it’s time to get started. Follow these steps for effective cleaning:
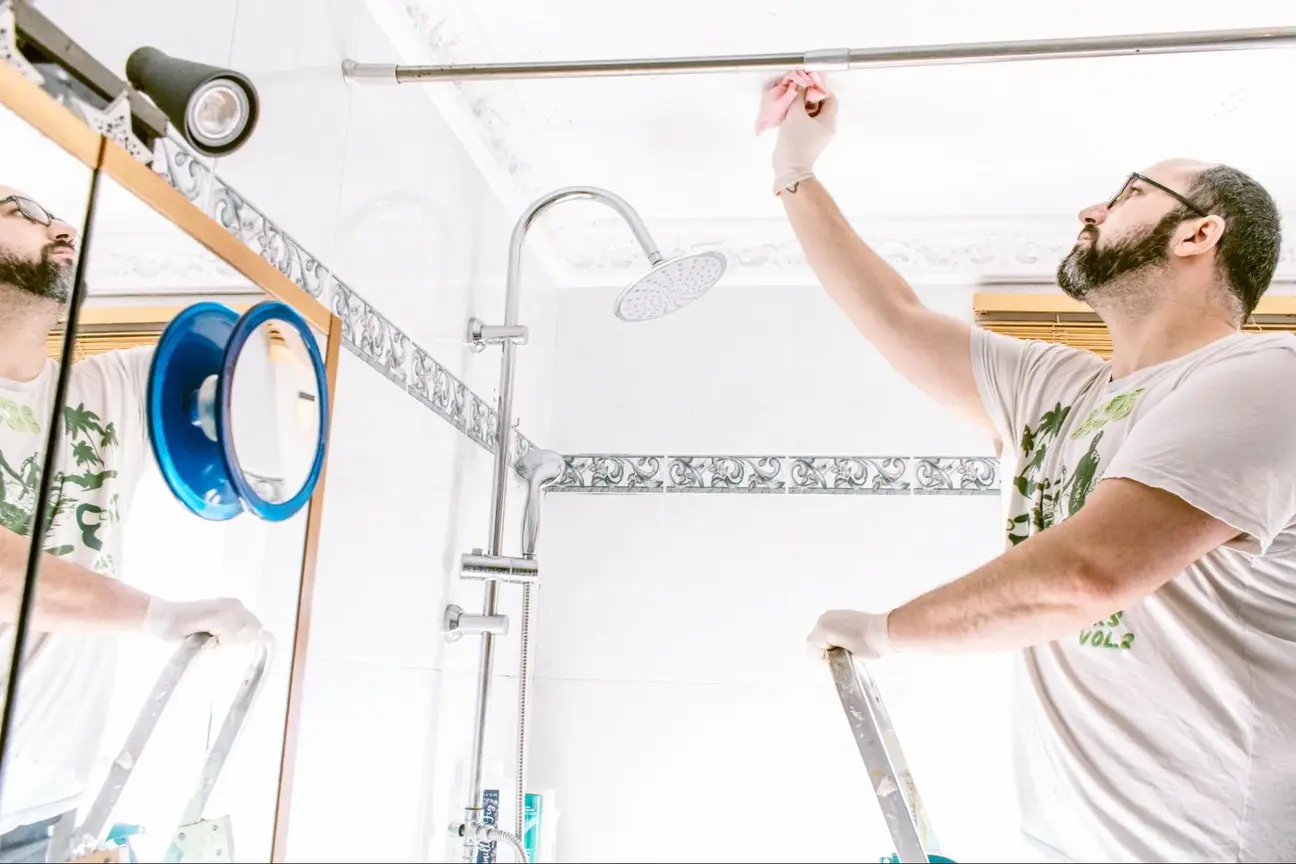
- Prepare the Area: Move furniture away from the work area to protect it from drips. Lay down drop cloths to catch any runoff.
- Apply the Cleaning Solution: Use a sponge or cloth to apply the solution to the stain. For tough spots, let the solution sit for 10-15 minutes.
- Gently Scrub: Use a soft-bristle brush to scrub the area to lift the stain gently. Avoid using abrasive materials that can damage the ceiling.
- Rinse and Dry: After cleaning, wipe the area with a damp cloth to remove any cleaning residue. Then, dry the area thoroughly to prevent moisture buildup.
Drying and Post-cleaning Care
After you’ve cleaned the stained area, proper drying is essential. Here’s how to ensure your ceiling stays in good condition:
- Ventilation: Open windows and use fans to improve air circulation. That helps the area dry faster and prevents mold growth.
- Monitor for Future Stains: Check the cleaned area for signs of recurring stains. Address any leaks or water issues immediately to prevent more stains.
- Regular Maintenance: Periodically check your ceiling for new stains. Quick attention can prevent more profound damage and more complex repairs down the line.
By following these steps, you can effectively tackle water stains and maintain the appearance of your ceiling.
Preventive Measures and Maintenance
Taking preventive measures can save you from the hassle of dealing with ceiling water stains. Regular checks and proper maintenance are key to keeping your ceilings dry and clean. Here are essential strategies to consider.
Regular Inspections and Repairs
Conduct routine inspections of your roof and plumbing systems. Look for any signs of wear, leaks, or damage. That includes checking:
- Roof shingles for missing or damaged areas.
- Gutters and downspouts for blockages.
- Pipes for visible leaks or corrosion.
If you find issues, repair them immediately to prevent larger problems. Schedule a professional inspection at least once a year to catch hidden issues early. Maintaining a sound roof and plumbing system reduces the risk of water stains appearing on your ceilings.
Improving Ventilation
Good ventilation is crucial in reducing moisture levels in your home. Use exhaust fans in areas like bathrooms and kitchens where humidity is high. Here are specific steps to improve ventilation:
- Open windows when weather permits, allowing fresh air to circulate.
- Install vents in attics and crawl spaces to promote airflow.
- Consider using a dehumidifier in damp areas to control moisture levels.
By enhancing ventilation, you minimize the chances of condensation forming on your ceilings, which can lead to water stains.
Installing Water Leak Detectors
Investing in water leak detectors is a proactive way to prevent water damage. These devices can alert you to leaks before they cause significant harm.
Having these detectors gives you an early warning system, allowing you to address leaks swiftly and protect your ceilings from unsightly stains.
Frequently Asked Questions
To remove brown water stains, mix one cup of bleach with three cups of warm water. Use a sponge or cloth to scrub the stained area gently. Rinse with clean water and blot dry. If the stains persist, consider applying a stain-blocking primer after cleaning.
Yes, water stains can appear from high humidity, condensation, or plumbing issues that may not show as typical leaks. Old roofs or faulty appliances can also cause stains without visible leaks. It’s essential to check for underlying problems.
To prevent recurring stains, ensure proper ventilation in areas like bathrooms and kitchens. Regularly check for and fix any leaks. For added protection, apply a waterproof barrier or stain-blocking primer to areas prone to stains.
While paint can cover up stains, it is best to remove the stain first. Using a stain-blocking primer helps prevent the stain from bleeding through the paint. If the stain is not treated correctly, it may reappear after painting.
Rather have it handled? Call 855-695-1195 and we price the job over the phone. We answer in under three rings.