Replacing electrical outlets and switches is a task that many homeowners can undertake with the right tools and knowledge. Safety is paramount when dealing with electrical work. Before you start, ensure that you have all necessary equipment on hand and that you understand the basic principles of your home’s electrical system.
Turning off the power at the circuit breaker is the first step to preventing electric shock. Once the power is off, use a voltage tester to confirm there is no electricity flowing to the outlet or switch you’re working on. With the power safely shut off, you can proceed to remove the old outlet or switch.
Before attempting to replace any electrical outlets or switches, it’s crucial to prioritize your safety by ensuring the power is off and you have all the necessary tools at hand.
First, locate your circuit breaker and switch off the power to the area where you’ll be working. This is a non-negotiable step to prevent electric shock. After turning off the appropriate circuit breaker, you should use a voltage tester to confirm that power is indeed off. This straightforward testing reaffirms that it’s safe to proceed.
Having the right tools is essential for a safe and efficient replacement job. You’ll need the following:
Ensure all tools are in good condition and rated for electrical work. It’s better to have all your tools collected before you start the job to avoid any mid-task disruptions.
Before replacing an outlet or switch, ensure the power is off for safety. You’ll first remove the faceplate, then unscrew the device from the electrical box.
Begin by turning the power off at the breaker to eliminate electrical risk. Confirm power is indeed off using a voltage tester. Next, remove the wall plate by loosening the screws with a screwdriver. These are often flat-head screws, but check your specific wall plate to be sure.
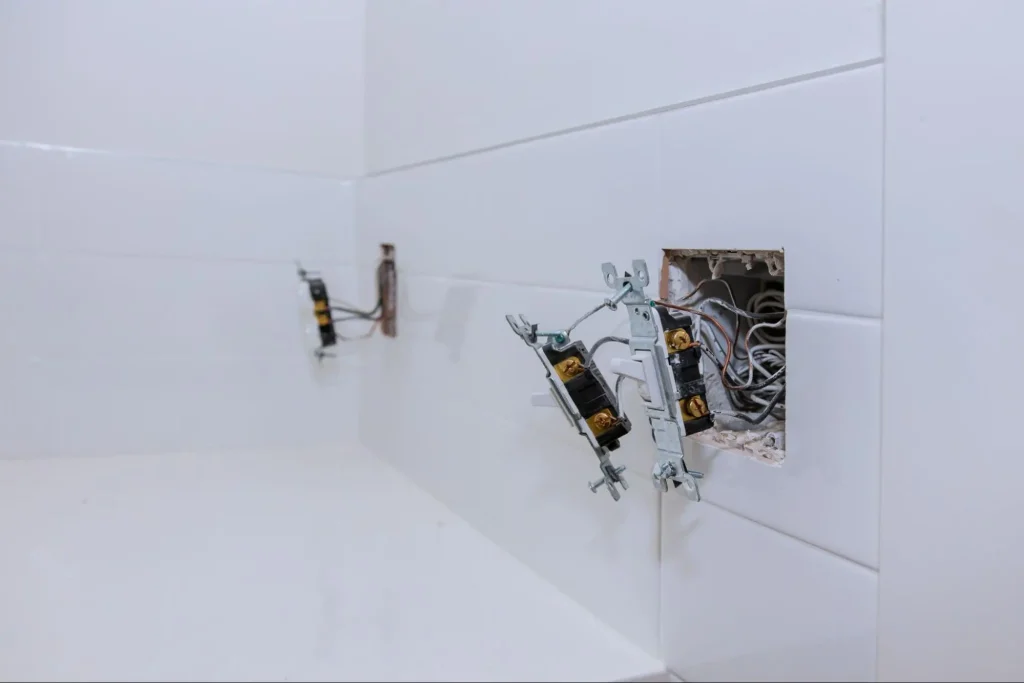
With the wall plate off, you’ll see the outlet or switch held in place by mounting screws. Unscrew these to free the device from the electrical box. Gently pull the outlet or switch away from the wall, revealing attached wires that you’ll handle in the next steps.
Before you begin attaching wires and securing the new device, ensure the power supply is turned off. Pay attention to color-coded screws, as this will be essential for proper attachment of the wires.
Ensure that each wire is wrapped clockwise around the screw terminals and tightened securely, making a strong connection.
Once the wires are attached:
Remember to confirm all connections are secure before moving to the next stage.
Once you’ve secured the new outlet or switch in place, the final steps are crucial to ensure functionality and safety. These steps confirm that the electrical installation has been successful and that your new equipment is ready for use.
Align the faceplate over the device with the outlet or switch securely connected. Ensure it’s straight and gently tighten the screws with a screwdriver. Be careful not to over-tighten, as this could crack the faceplate.
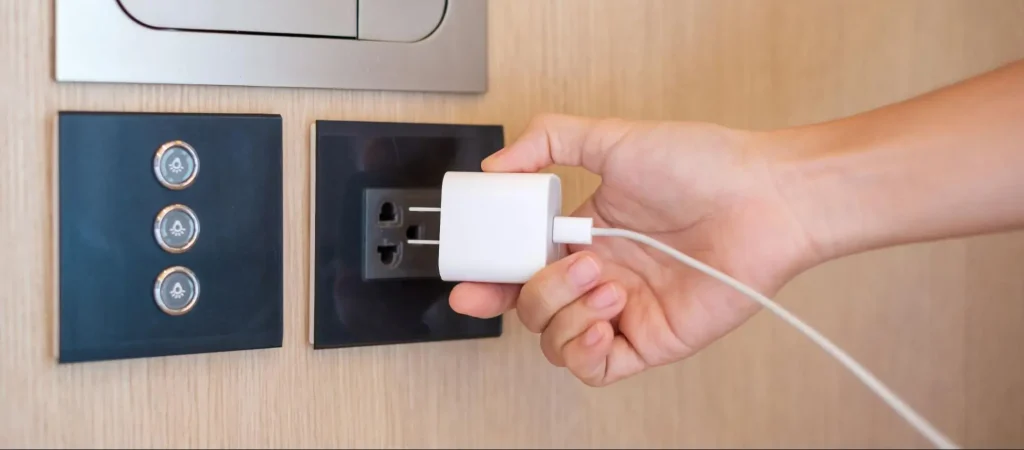
To test the circuit, first, make sure your hands are dry and that you’re not standing in water. Turn the power back on from the circuit breaker or fuse box. Use a voltage detector to verify that electricity is present in the outlet or switch. For outlets, plug in a device, such as a lamp, and switch it on. For switches, after confirming the presence of electricity with your voltage detector, flip the switch to test the operation of the connected fixture. If everything functions as expected, your installation is a success. If not, turn off the electricity at the source and double-check your connections.
Before undertaking any electrical work, it’s vital to understand the basics of wiring and the different types of outlets you may encounter. This knowledge ensures safety and accuracy during installation.
Types of Wires in an Outlet:
Replacing outlets and switches can significantly contribute to your home’s safety and functionality. Following these steps ensures the job is done safely and correctly. Remember, while DIY projects can be fulfilling and cost-effective, electrical work can be hazardous.
If you’re unsure or uncomfortable at any point, consider hiring a professional from Kaminskiy Care and Repair. Our experts are here to help with all your home repair needs, ensuring safety, efficiency, and peace of mind
In this section, you’ll find answers to common questions regarding the replacement of electrical outlets and switches, helping you understand when and how you can do it yourself, and when to call a professional.
To replace a 2-prong outlet with a 3-prong ground outlet, turn off the power and check the box for a grounding means. If there’s a ground wire present, connect it to the new outlet. If not, consult an electrician about grounding options.
Yes, you can upgrade your outlets to GFCI. After turning off the power to the outlet circuit, disconnect the old outlet attach the line wires to the “line” terminals, and load wires to the “load” terminals on the GFCI outlet.
When replacing an outlet with multiple wires, ensure you turn off power to the area. Label each wire with tape before disconnecting. Attach black wires to brass terminals and white wires to silver terminals.
Always turn off power at the circuit breaker and use a voltage tester to confirm it’s safe to work. Wear rubber-soled shoes and use insulated tools. If uncertain, consult a professional.
The cost for professional services can vary; however, it typically ranges from $50 to $150 per outlet, depending on your location and the complexity of the job. GFCI and USB outlets may cost more due to the technology behind them.
In older homes, you may encounter outdated wiring like knob-and-tube or aluminum wiring, which may not be up to current codes. It’s crucial to ensure that the wiring can support modern electrical loads and safety standards.