Bathroom leaks can be a homeowner’s nightmare. If left unchecked, they waste water, damage property, and lead to mold growth. However, you can save time and money by learning to spot and fix bathroom leaks yourself.
Finding the source of a leak is the first step. Look for wet spots, water stains, or mold on walls, floors, and ceilings. Check under sinks, around toilets, and near shower or tub edges. You can use food coloring in the toilet tank to test for silent leaks.
Once you’ve found the leak, you’ll need the right tools and materials to fix it. Typical repairs include replacing worn washers, tightening connections, or applying new caulk. For bigger issues, you may need to call a plumber. Regular checks and maintenance can help prevent future leaks.
Bathroom leaks can happen in several places. Knowing where to look helps you find and fix problems fast. Let’s check the main spots where leaks often occur.
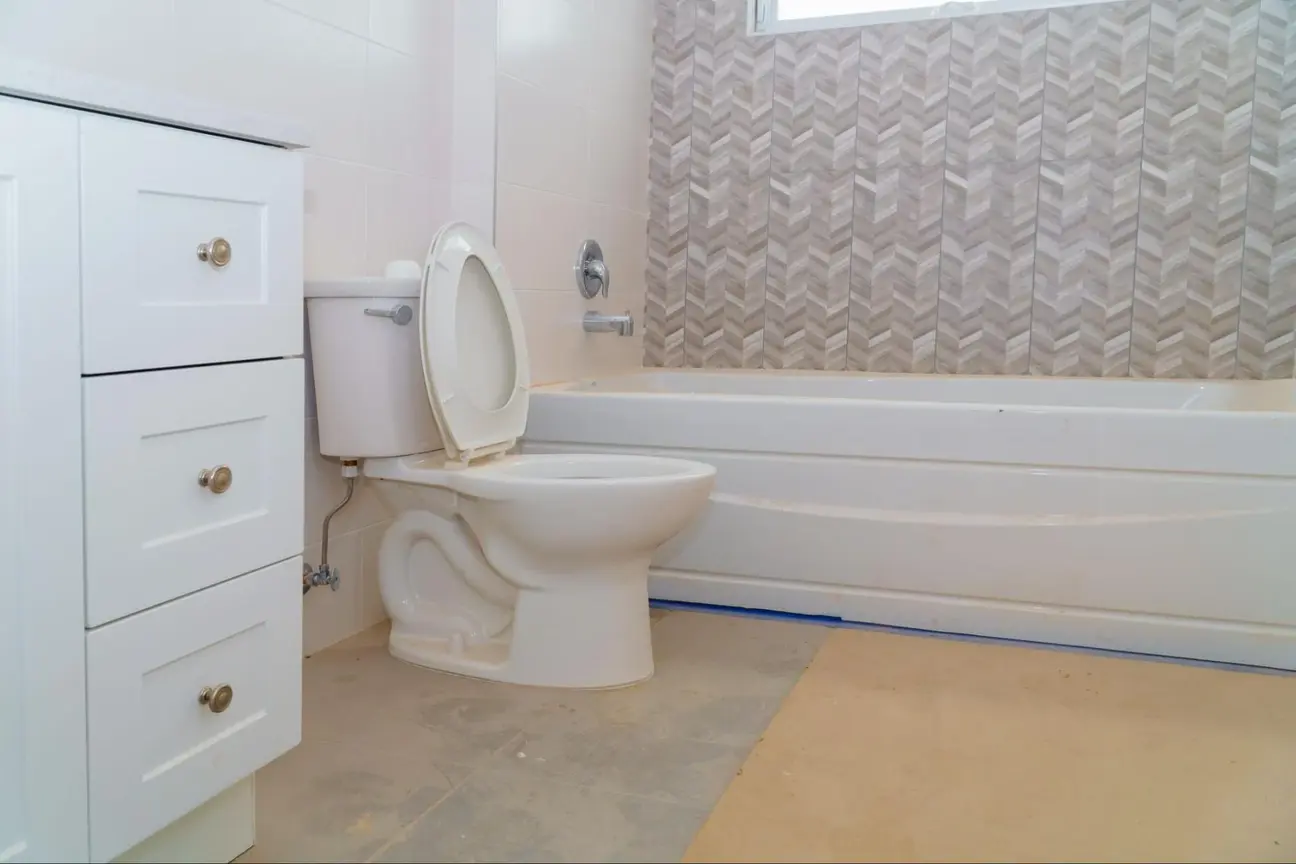
Toilet leaks can waste a lot of water. Add food coloring to the tank to test for leaks and wait 15 minutes without flushing. If color appears in the bowl, you have a toilet leak.
Check the flapper valve at the bottom of the tank. It might not seal properly. Look for cracks or wear.
Examine the toilet’s base. The water there could indicate a bad wax ring or loose bolts. If the bolts are loose, tighten them. If that doesn’t work, you may need to replace the wax ring.
Don’t ignore running toilets. They often mean the flush valve chain is stuck or the fill valve needs adjustment.
Dripping faucets are easy to spot. But leaks under the sink can go unnoticed. Check the pipes and connections regularly.
Look for water stains, dampness, or mold under the sink. These are signs of hidden leaks.
Worn-out faucets can cause drips. You should replace the washer or O-ring. For bigger issues, you may have to get a new faucet.
Check the sink drain assembly. Loose parts can cause leaks. Tighten connections with an adjustable wrench.
Don’t forget to look at the caulking around the sink. Gaps here can let water seep into the counter or floor.
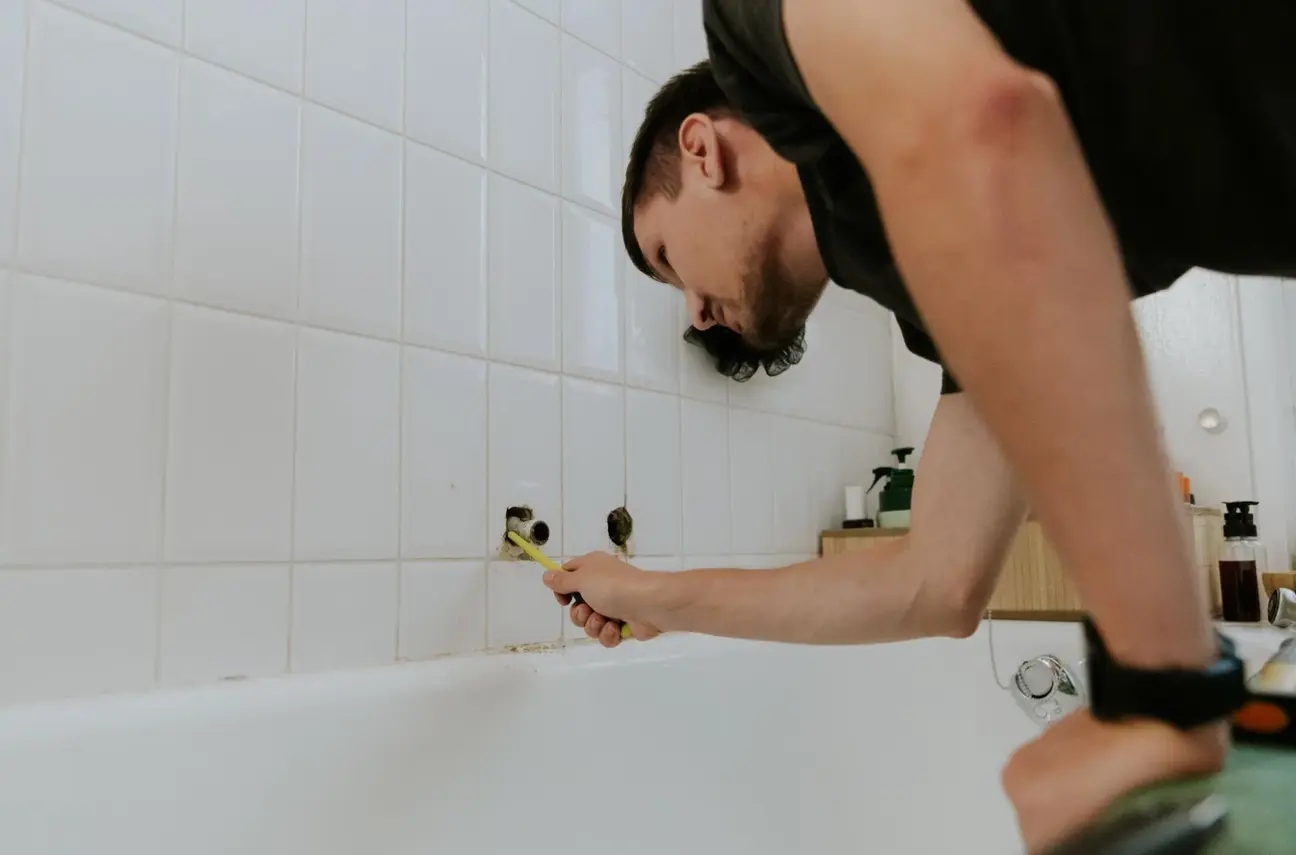
Shower leaks can cause major damage if not caught early. Look for loose or cracked tiles and check the grout between tiles for gaps.
Test the shower pan by plugging the drain and filling it with water. Mark the water level and check back in a few hours. If the level drops, you have a leak.
Examine the caulk around the tub or shower. Replace it if it’s cracked or missing.
Check for leaks around the showerhead and faucet. Tighten connections or replace parts if needed.
Don’t ignore wet spots on the ceiling below the bathroom. That could mean a serious leak in the shower or tub plumbing.
Having the right tools and materials is key to fixing bathroom leaks. Specific plumbing tools are needed to diagnose and access problem areas, and proper sealing materials are crucial to stop water from escaping.
To tackle bathroom leaks, you’ll want these essential tools:
A flashlight and mirror can help you spot leaks in tight spaces. Keep a bucket handy to catch water when working on pipes.
To stop leaks, you’ll need:
New ones might be needed if old supply lines are the source of leaks. Grout and tile sealers can fix leaks in shower walls. Always choose materials rated for bathroom use to ensure durability in wet conditions.

Fixing bathroom leaks requires careful inspection and targeted repairs. You’ll need basic tools and materials to address common issues with toilets, sinks, and showers.
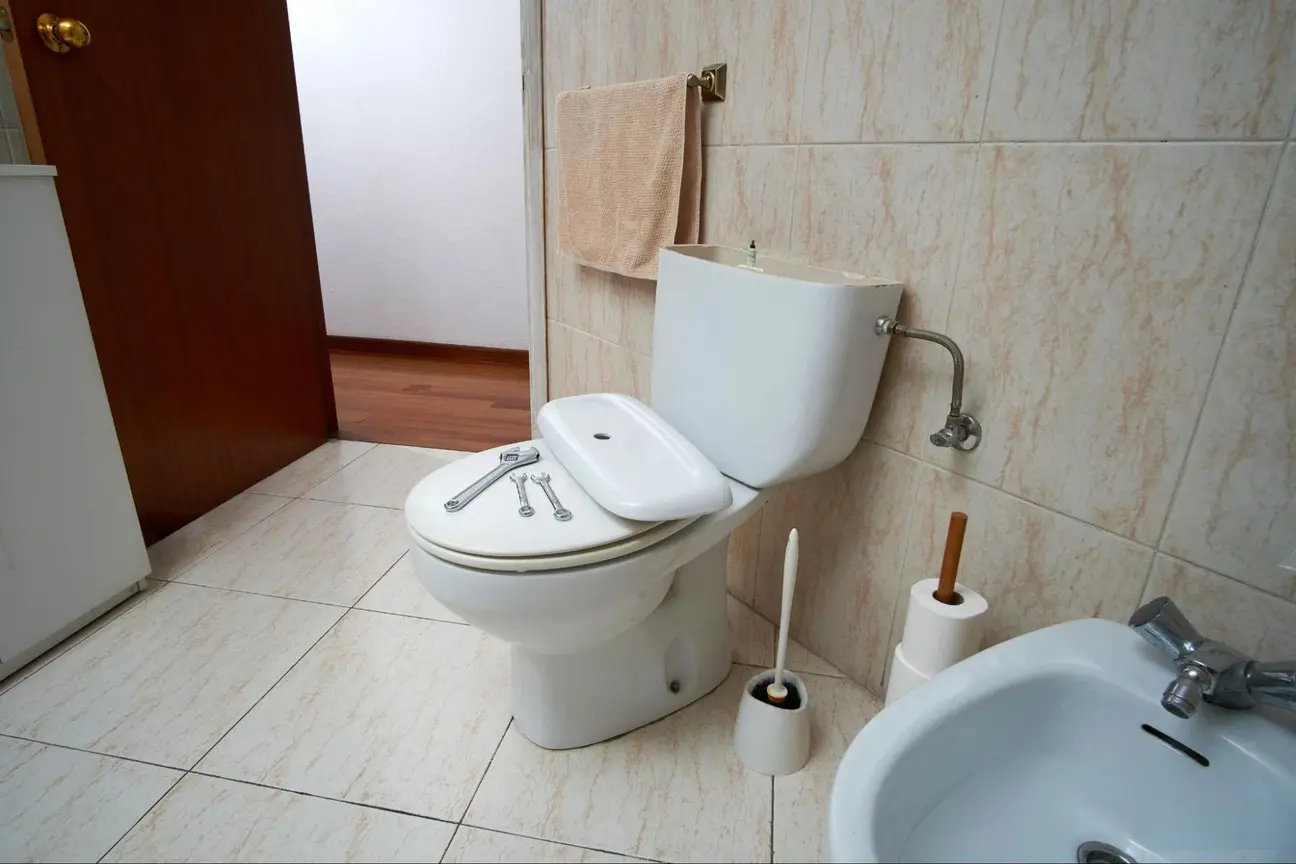
Start by identifying the source of the leak. Add a few drops of food coloring to the tank and wait 15 minutes. If color appears in the bowl, the flapper needs replacing.
To replace the flapper:
If the water runs constantly, check the fill valve and adjust or replace it if needed. Also, inspect the tank-to-bowl gasket for cracks. If cracked, replace it to stop leaks between the tank and bowl.
Tighten loose bolts at the base of the toilet. If the leaking persists, you may need to replace the wax ring seal. That involves removing the toilet, so consider calling a plumber if you’re uncomfortable with the task.
First, locate the source of sink leaks. Typical spots include the faucet, drain, or supply lines. Turn off the water supply before starting repairs.
To fix a dripping faucet:
Check the P-trap connections for leaks under the sink. Tighten loose nuts or replace the gasket if necessary. Inspect supply lines for damage and replace them if necessary.
If the sink drain leaks, remove the old plumber’s putty around the drain flange, apply new putty, and retighten the drain assembly. For stubborn leaks, you might need to replace the entire drain assembly.
Bathtub and shower leaks often stem from worn caulking or grout. Inspect these areas closely. Remove the old caulk and apply fresh silicone caulk around the tub edges where it meets the floor.
For shower leaks:
Examine the shower pan for cracks. Small cracks can be sealed with epoxy designed for tubs and showers. Larger cracks or a failing shower pan may require professional help.
Check the drain for leaks. Tighten the drain flange or apply the plumber’s putty if needed. If the leaks are persistent, you may need to access the drain from below to repair or replace it.
Taking care of your bathroom plumbing can prevent costly repairs. Regular checks and addressing small issues quickly are key to avoiding big problems.
Check your water bill each month for unusual spikes. That can signal hidden leaks. Look for signs of water damage on walls, floors, and ceilings.
Test your toilet for leaks. Put food coloring in the tank and wait 15 minutes. If color appears in the bowl, you have a leaky toilet.
Inspect visible pipes and fixtures for corrosion or small drips. Tighten loose connections and replace worn washers and O-rings.
Clear slow drains before they clog fully. Use a plunger or drain snake. For stubborn clogs, try using natural cleaners.
Replace old caulk and grout to prevent water seepage. Reseal areas around tubs, sinks, and toilets every few years.
Dripping faucets must be fixed promptly. They waste water and can lead to stains or damage. Often, you just need to replace the washer.
Consider updating old fixtures during remodeling. Modern, efficient models can prevent leaks and save water.
Have a plumber review your bathroom’s plumbing system every 2-3 years. They can spot potential issues before they become major problems.
Be gentle with your plumbing. Don’t flush anything but toilet paper. Use drain guards to catch hair and debris in sinks and tubs.
Turn off all water sources in the bathroom. Look for visible signs of water damage, such as stains or mold. Use food coloring in the toilet tank to check for toilet leaks. Check under sinks and around fixtures for drips or puddles. Run water in sinks and showers to observe any leaks. Look for loose tiles or grout that may allow water to seep through.
Check the showerhead for leaks and tighten or replace it if needed. Inspect the shower arm and apply the plumber’s tape to the threads if it’s loose. Replace worn-out caulking around the shower enclosure. If the shower valve leaks, you may need to replace the cartridge or the entire valve assembly.
Look for discoloration or water stains on the ceiling below the bathroom. Peeling paint or bubbling wallpaper can also indicate a leak. In the bathroom above, watch for cracking or chipping grout. Musty odors or visible mold growth are other red flags of water damage.
Immediately shut off the water supply to the upstairs bathroom. Place a bucket to catch dripping water and remove any valuables from the area below. Identify and fix the source of the leak in the upstairs bathroom. Dry out the affected areas thoroughly. Repair any water damage to the ceiling and check for mold growth.