Installing a new kitchen faucet is an easy way to give your kitchen a makeover. As more homeowners become interested in Do-It-Yourself (DIY) projects, replacing old, outdated faucets has become a popular way of improving a space without breaking the bank. With the right tools and skills, installing or replacing a kitchen faucet can be easy.
Keep in mind that a simple project like this can quickly turn into hours of work. Without the right knowledge or expertise, things can go wrong, resulting in longer project times, leaky or broken faucets, and a lot of frustration. Installing a new one also requires a new set of tools that will likely gather dust after being used only a few times.
Whether you want to install a completely new fixture or replace an outdated or leaky one, Kaminskiy Care and Repair can install these new fixtures quickly and flawlessly, saving you the hassle. Our team makes sure each fixture is up to standard and we repair any issues as we see them.
Worn washers or gaskets, leaks, low water pressure, and rusting are all reasons to replace your faucet. Sometimes, these problems are easily fixed or their parts replaced inexpensively. There are times a repair cannot be made and only a replacement will do. As they age, they tend to leak and wear out. Installing brand-new will avoid water damage and save on continuous repair costs.
It is possible to replace a kitchen faucet on your own. You need to ensure you have all the tools required, as well as buckets and towels to catch any water.
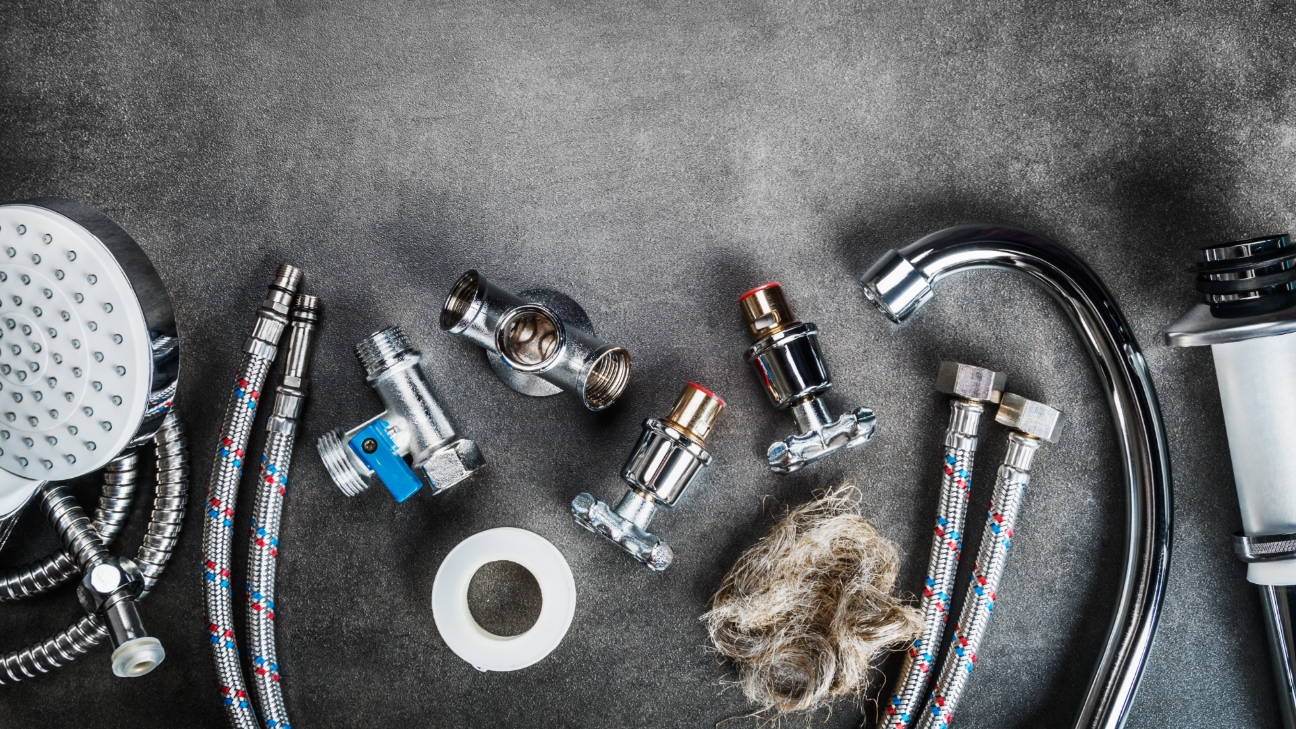
Tools you need include:
If you are replacing an old or outdated kitchen fixture in an existing sink, you first need to determine the number of holes the fixture has, usually between one and four. This will tell you the type of kitchen fixture will work with your sink. For example, you can install a one-hole faucet into a three- or four-hole sink by adding a deck plate but not vice versa.
Keep in mind when installing the new kitchen tap to always refer to the manufacturer’s installation instructions. Designs are often different, so follow those instructions carefully.

For more than 13 years, Kaminskiy Care and Repair has been helping homeowners in San Diego have the home of their dreams. Our expert teams have assisted thousands of families with projects around the home, including installing and replacing old, leaky faucets. Sometimes, all a home needs is a little repair or minor changes rather than an entire remodel. We help improve your home by completing the necessary repairs and projects needed.
Our experienced team can help with the installation or replacement of any faucet in your kitchen. You’ll improve the look of your kitchen overall, without the hassle of doing it yourself. No other team respects your time, sticks to their estimates, or treats your home as carefully as we do. Don’t trust your home repair project to anyone. All of our technicians have over 15 years of experience in the business, and we run background checks to make sure you can trust us.
Need to install new bathroom fixtures or replace old ones? We offer bathroom faucet repair services, too.