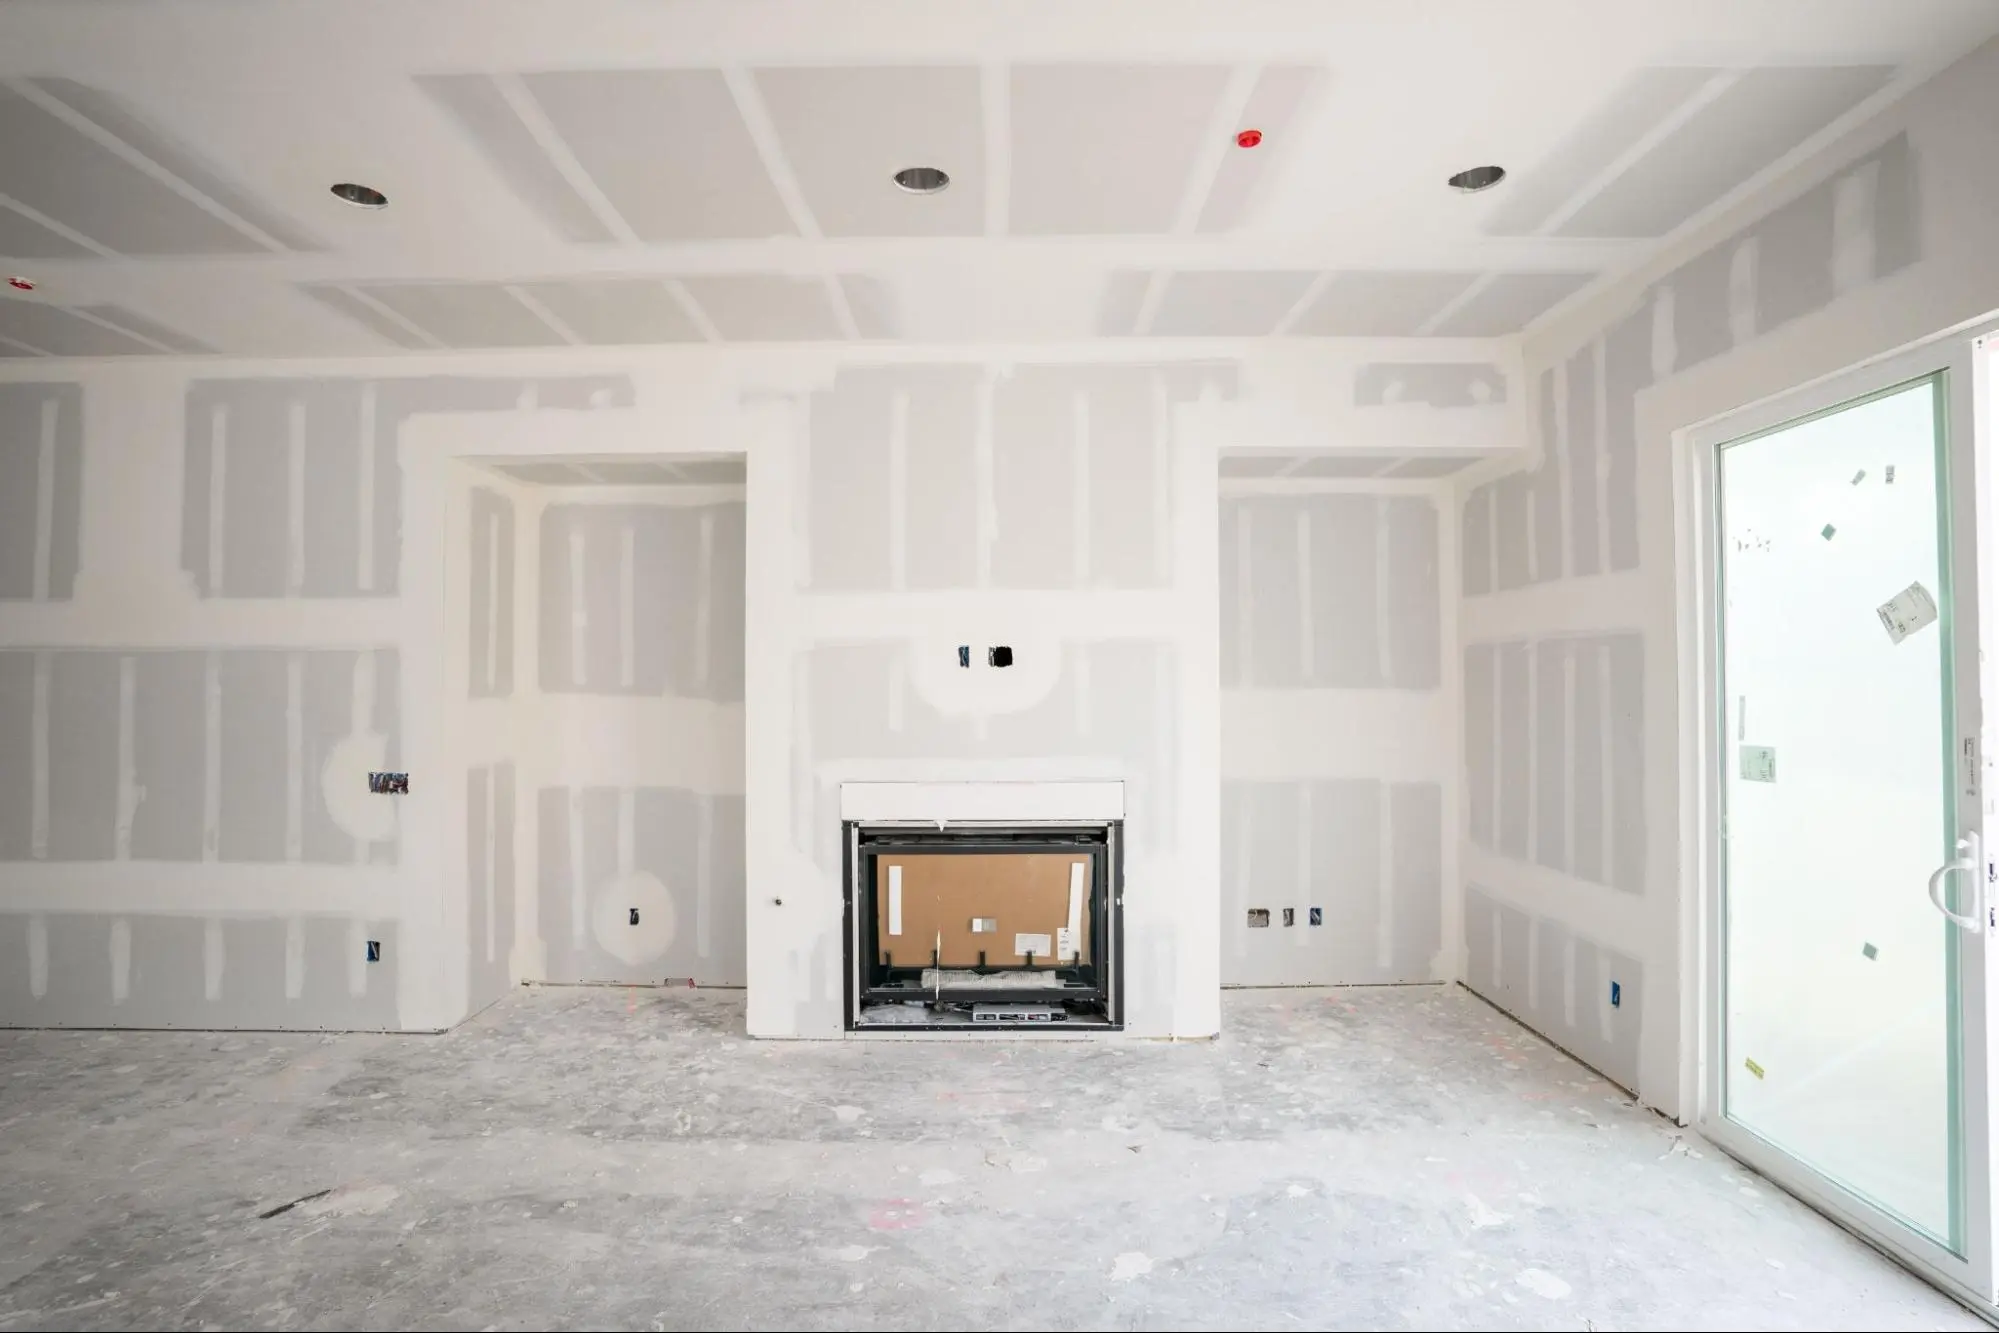
Patching drywall is a fundamental skill for homeowners and DIY enthusiasts alike. Whether it’s from moving furniture, doorknob collisions, or general wear and tear, walls can sustain damage that requires attention. Understanding how to properly patch drywall not only saves you time and money but also restores your walls to a smooth finish, making them ready for paint or wallpaper. Even if you’re new to DIY repairs, with the right tools and a steady hand, you can make nearly invisible repairs.
Before tackling drywall repairs, assessing the damage and gathering the appropriate materials is important. Small holes, typically caused by screws or nails, can be fixed easily with a simple spackling technique. Larger holes or dents may require a patch and additional steps to blend the repair with the surrounding surface. The key to a successful repair lies in careful preparation, the right mixture of joint compound, and patient sanding to ensure a flat and seamless finish. Once the patch is smooth and dry, it’s ready to be painted, blending the repair with the rest of your wall.
Before you tackle any patching job, it’s essential to get acquainted with the material you’re working with. Drywall is a ubiquitous component in modern construction, owing to its ease of installation and smooth finish. Here’s what you need to know to handle it competently.
There are several types of drywall, each suited for different applications:
It’s critical to select the right type of drywall for your repair to ensure durability and compliance with building codes.
To work with drywall, you need some basic tools that help you measure, cut, and secure the material:
Investing in the right tools can mean the difference between a patch job that’s smooth and one that’s noticeable. Always prioritize quality when choosing your toolkit.
Creating a timeline helps manage the project’s scope and deadlines. Start by listing all tasks, from demolition to final touches.
Estimate the time each task will take, adding buffer time for unexpected delays. Coordinate with contractors to align schedules and confirm availability. A typical bathroom remodel can range from 2 to 6 weeks, depending on the project’s size and complexity. Prioritize critical tasks like plumbing and electrical work before moving on to tiling and fixtures. Document the timeline and regularly review it to ensure everything stays on schedule. Having a clear timeline helps avoid costly delays and keeps the project on track.
Before you begin the process of patching drywall, it’s important to gather the right tools and materials and to heed certain safety precautions to ensure a smooth and safe operation.
To successfully patch drywall, you’ll need the following:
Additionally, here is a simple list to keep on hand before starting your project:
When handling drywall and associated materials, impose these safety measures:
Ensure your work area is well-ventilated and keep tools on a flat, stable surface when not in use. Always follow the manufacturer’s guidelines for any products and tools used.
Before attempting to patch small holes in drywall, ensure you have the right materials, such as spackle, paint, and sandpaper. It’s a straightforward process that can restore your walls to a like-new condition.
Patching Nail Holes
When dealing with nail holes, they are often minor enough to do a quick fix. Here is a simple way to address these:
Remember to start with a clean area and finish with sanding for a professional look.
For small cracks, the process requires a careful approach to ensure they do not widen over time:
Use paint that matches your wall to blend the patched area with the rest of the surface.
Repairing a large hole in drywall may seem daunting, but with the right tools and techniques, it’s a manageable task. The process can typically be broken into two main parts: removing the damaged area and fitting in a new piece of drywall.
When you encounter a large hole in drywall, it’s key to first cut out the damaged area to create a clean starting point for the patch. To do this effectively:
For a clean cut, your tool must penetrate through the drywall layer without causing additional damage to the surrounding areas.
After you’ve prepared the site, the next step is to install a new drywall patch:
Finally, to seamlessly integrate the patch with the rest of your wall, cover the seams with joint tape, apply joint compound, and sand the area smooth once dry. This process will make the repair virtually invisible and restore the look of your wall.
To ensure a smooth and flawless finish on your drywall, it’s crucial to master the final steps of applying joint compound and sanding and painting. These processes will disguise seams and imperfections, making the wall ready for a final coat of paint.
Begin with a thin coat of joint compound, using a drywall knife to fill in the seams where you have placed your drywall tape or mesh tape. Ensure you spread the compound evenly, feathering out the edges to create an undetectable transition between the tape and the wall.
Remember that each layer should be thinly applied – aim for layers no thicker than 1/8 inch.
Once your final coat of joint compound has thoroughly dried, you’re ready to sand. Equip yourself with fine-grit sandpaper and gently buff the area. Your goal is to achieve a surface so smooth that it seamlessly blends with the rest of the wall.
Next, apply paint to your sanded and cleaned drywall. Select a high-quality paint and roll it on in smooth, even strokes.
Always work in well-ventilated areas to ensure safety and the best drying conditions.
Mastering drywall repair is essential for maintaining the integrity and appearance of your walls. Precision and care in your approach are key to achieving smooth surfaces and preventing future damage.
Patching drywall might seem daunting at first, but with the right tools and techniques, it can be a straightforward DIY project. It’s an essential skill that can save you both time and money while keeping your home looking its best.
However, if you’re not confident in your DIY skills or you have a large area that needs repair, Kaminskiy Care and Repair is here to help! Our experienced technicians can handle everything from simple patches to comprehensive drywall repairs and painting, ensuring a professional finish that enhances your home’s beauty and value.
To effectively repair small holes in drywall, first clean the area around the hole. Apply a spackling compound to fill the hole, then smooth it out with a putty knife. Once dry, sand the area until it’s flush with the wall.
For patching a large hole in drywall, you’ll begin by trimming and cleaning around the hole’s edges. Install a backing support and cut a piece of drywall to fit the space. Secure it in place, then cover it with a joint compound, feathering the edges. After it dries, sand for smoothness.
Yes, you can patch screw holes in drywall by filling them with joint compound or spackling. Allow the filler to dry, then sand the area lightly until it blends with the surrounding wall.
A Drywall Repair Kit typically includes a joint compound, a putty knife, a sanding pad, and sometimes a patch or mesh. It’s used for convenient, all-in-one solutions for small repairs, such as nail holes or minor dents.
Yes, priming is necessary after patching drywall to seal the repaired surface and ensure a uniform surface for painting—this helps prevent the patch from showing through the final painted finish.
To replicate drywall texture after a patch job, first observe the type of texture around the repair. Use texturing tools or a sponge to mimic the pattern, then apply a joint compound or texture product to match the surrounding area’s texture.