
Water damage on ceilings can be a troubling sight for any homeowner, subtly emerging as a cosmetic issue before potentially turning into a more serious structural concern. When you notice blemishes or deterioration on your ceiling due to water, it becomes crucial to act promptly – not only to restore the appearance but also to ensure the safety and integrity of your living space. Understanding how to address this damage effectively can save you time and money, preventing minor problems from escalating into major, costly repairs.
Dealing with water damage on your ceiling involves a thorough approach, starting with the identification of the water source to prevent further damage. Once the cause is addressed, preparing the affected area for repair is essential for achieving a seamless finish. The actual repair process may range from simple patching to replacing substantial sections of the ceiling, depending on the extent of the damage. After repairs are made, implementing preventative measures and regularly maintaining your ceiling can help avert future water damage.
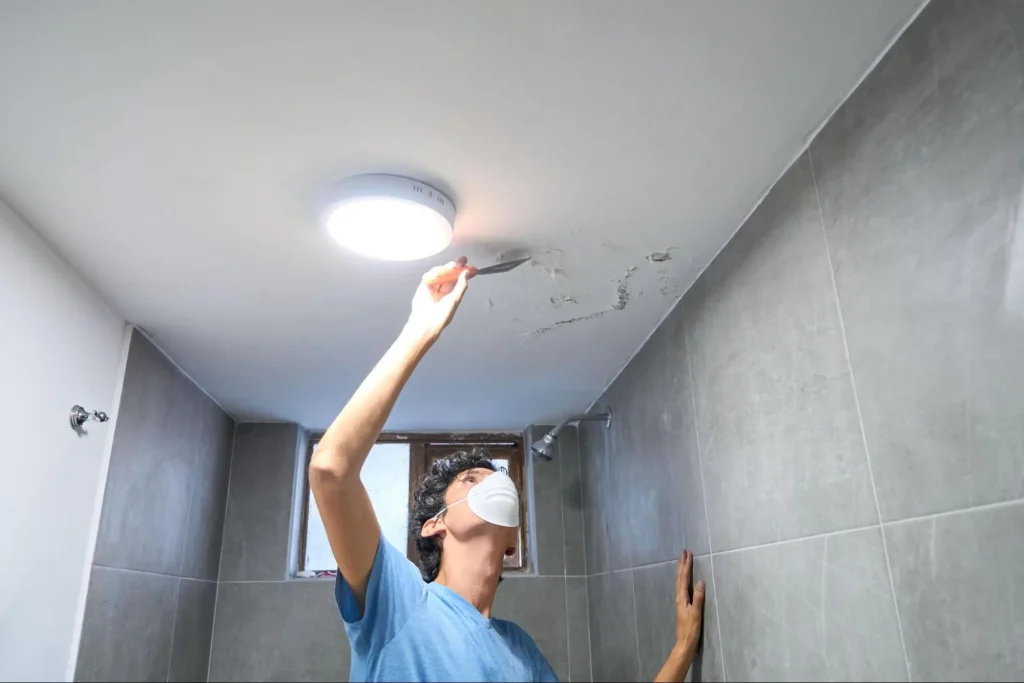
Before attempting any repair, determining the origin of the water damage is crucial. This involves a meticulous inspection for leaks and potential structural issues coupled with an assessment for any mold or mildew that might be present.
Begin by searching above the water-damaged ceiling for visible signs of leaking. Check the roof if the damage is located on the top floor. Missing or damaged shingles on the outside can indicate a leaky roof. Inside, the attic can be a hotspot for leaks, so look for wet insulation or water stains on the rafters. Next, you should scrutinize all plumbing fixtures, including pipes in the vicinity, as a plumbing leak could be your culprit. Utilize a moisture meter to detect less obvious sources of dampness.
After pinpointing the source of leakage, it’s essential to check for mold or mildew formation. They usually appear as black, white, or green specks or patches. Mold tends to thrive in damp conditions and can occur if the water damage has been prolonged. Not only does it signal a need for immediate action to stop the water source, but it also necessitates thorough cleaning to prevent health risks. If mold is extensive or located in hard-to-remove areas, consider seeking professional help.
Before you tackle repairs, it’s crucial to stop any ongoing damage. A swift response can prevent a compromised ceiling from collapsing and minimize the need for extensive reconstruction.
When you notice water damage on your ceiling, your immediate action should be to contain the leak. Place a bucket beneath any drips to catch falling water. If the ceiling is sagging, there is a risk of an accumulation of water, in which case puncture the bulge with a screwdriver to relieve pressure and allow the water to drain safely into the bucket below.
Once the leak is contained, drying out the area is imperative to prevent mold and structural damage. Use dehumidifiers and fans to circulate air and remove moisture from the room. Spread a tarp over the floor and any furniture to protect against water damage as you work. Continue drying until the area is completely dry to the touch, which could take several days depending on the extent of the water damage.
Before you start the repair process, equipping yourself with the right tools and materials is essential for a successful fix. Being prepared will help you smoothly transition through the steps of repairing your water-damaged ceiling.
To begin, ensure you have the following items:
Make sure you have a ladder that is tall enough to safely reach your ceiling. Collect all of these materials before starting your repair to save time and frustration.
Now it’s time to clear away the compromised ceiling:
Every piece of damaged material must be completely removed to ensure a sound foundation for your repair. Keep the space clear and clean to avoid working in a cluttered environment.
Before you begin, ensure you have all the right materials, like spackle, mesh tape, a putty knife, and the appropriate primer and paint. Let’s focus on restoring your ceiling confidently and effectively.
First, you’ll need to remove any flaking paint or damaged drywall using a utility knife or drywall saw. Once the area is clear:
After patching the water-damaged ceiling:
After repairing the structural aspects of water damage on your ceiling, it’s essential to address cosmetic concerns and take steps to prevent future issues.
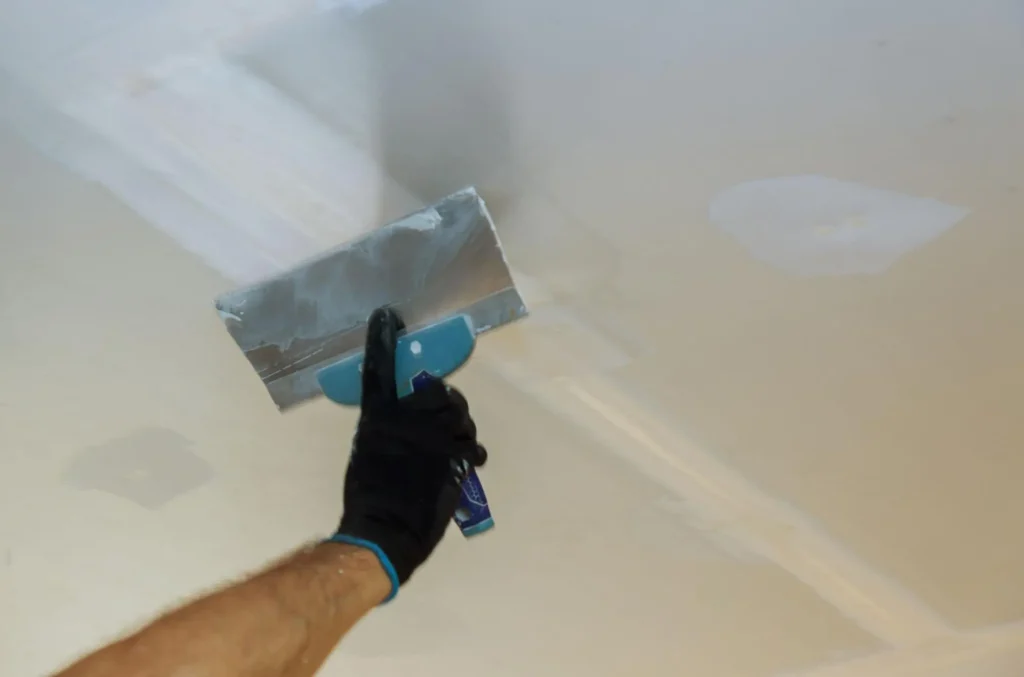
Once your ceiling is structurally sound, it’s time to focus on aesthetics. Thoroughly sand the surface to ensure it’s smooth and ready for painting. Choose a paint matching your existing ceiling or a full repaint for a uniform look. Pay special attention to the caulk to prevent further water intrusion. If there is mold growth, ensure it has been appropriately treated and that there are no health risks before proceeding with the cosmetic fixes. Remember to be meticulous when working around light fixtures and appliances to maintain their functionality and appearance.
Maintaining the structural integrity of your ceiling involves regular inspections and preventative measures. Clean your clogged gutters routinely to avoid water overflow that can lead to ceiling damage. Inspect yourshingles for signs of wear or damage and replace them when necessary. Applying a water sealant can protect your ceiling from potential leaks. It is also crucial to check for proper attic ventilation to mitigate moisture accumulation. By taking these steps, you can help reduce the likelihood of future water damage and protect the investment in your home.
To repair a water-damaged ceiling plaster, first address the leak’s source. Remove damaged plaster, allow the area to dry, apply a new coat of plaster, sand it smooth, and repaint the ceiling.
For minor water damage, start by drying the affected area thoroughly. You can then seal any stains with a stain-blocking primer and repaint the ceiling to restore its appearance. Always ensure the root cause of water damage is fixed first.
The cost of repairing a ceiling with water damage varies, typically ranging from several hundred to a few thousand dollars, depending on the damage extent and whether the structure of your home is affected.
For professional help, contact a licensed water damage restoration specialist or a reputable contractor experienced in ceiling repairs. They can properly assess and fix the issue to prevent future damage.
Essential yearly maintenance tasks for homeowners include servicing the HVAC system, cleaning and inspecting the chimney and fireplace, testing and inspecting the home’s electrical system, and inspecting the home’s foundation for cracks or other damage. It’s also important to inspect the home’s exterior for damage caused by weather or pests and to clean gutters and downspouts.
Replacing a ceiling is necessary if the water damage has compromised structural integrity or if there is extensive mold growth. For cosmetic damage or minor issues, repairs may be sufficient.