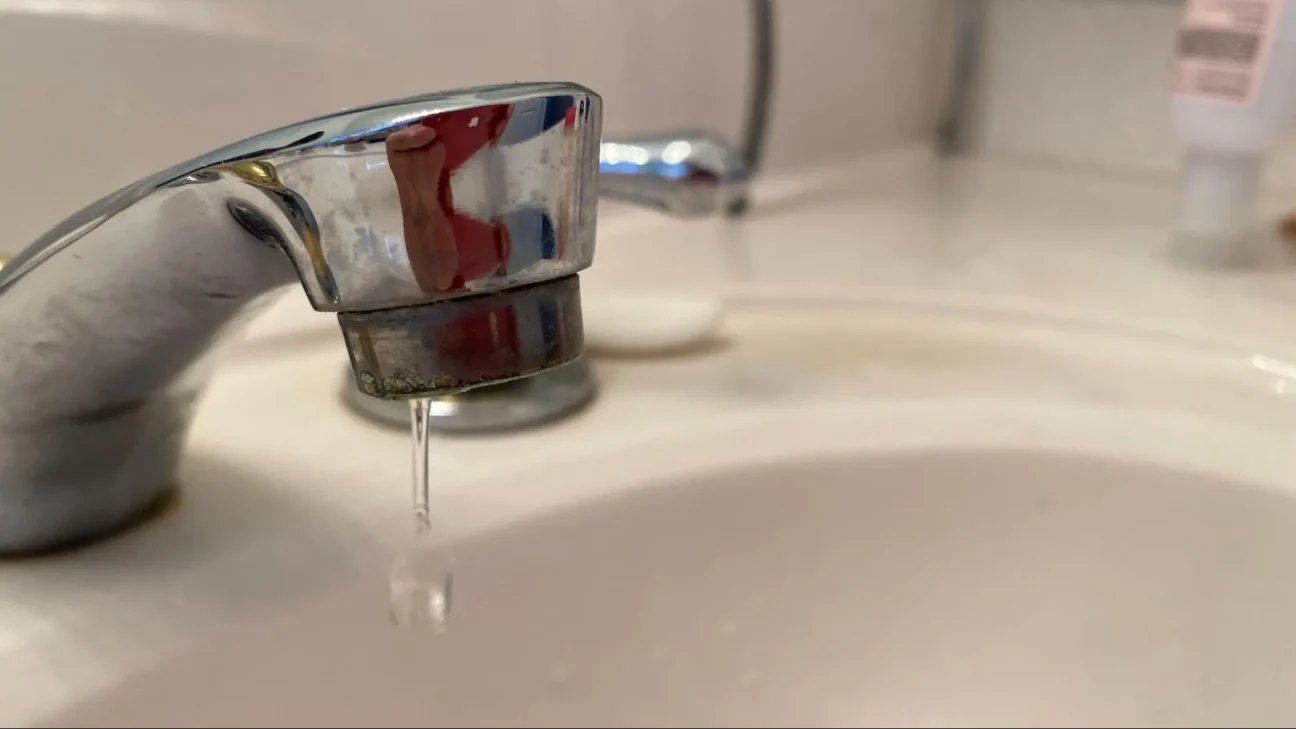
Dripping faucets can be more than just an annoyance; they can lead to higher water bills and potential damage to your home. Preventing this issue will save you time and money while ensuring your plumbing system remains in good shape. Whether you’ve noticed a slow drip or you’re looking to avoid future problems, understanding your faucet’s mechanics and how to maintain them is essential.
Regular maintenance plays a key role in keeping your faucets functioning properly. Simple checks and timely repairs solve minor issues before they become major leaks. Knowing when to handle repairs yourself and when to seek professional help can also make a significant difference in how effectively you manage this common household problem.
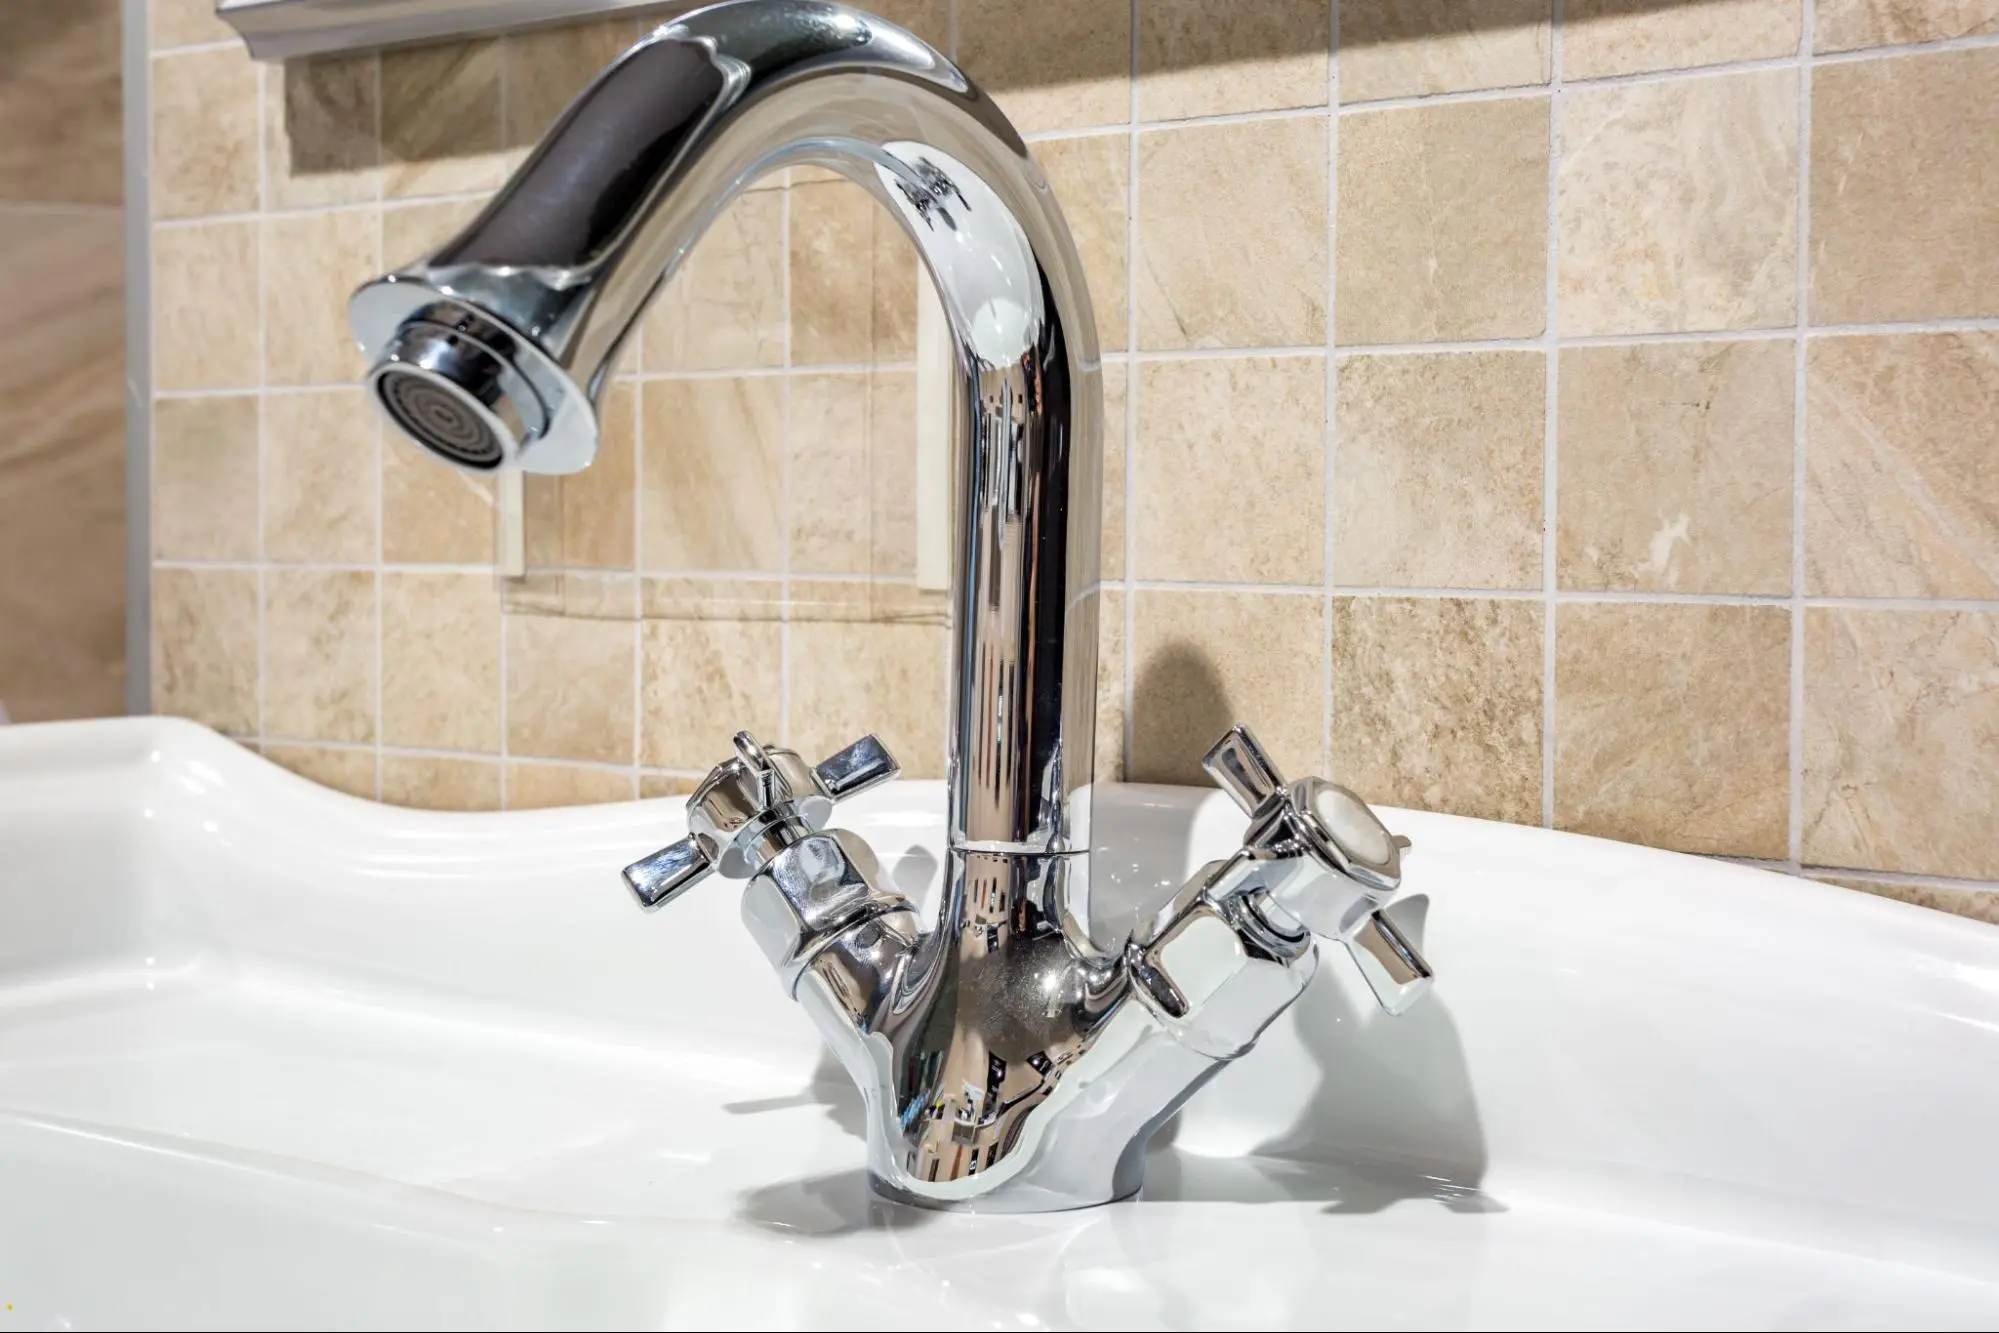
Faucets play an essential role in your home. To effectively prevent drips, it’s important to understand how they work and what can lead to leaks.
Four types of faucets exist: compression, ball, cartridge, and ceramic disk. Each type operates differently, which affects how they may develop issues.
Several factors can lead to a dripping faucet. Understanding these causes helps you address them early.
By recognizing these issues related to faucet types and their mechanics, you can take steps to prevent drips in your home.
Regular maintenance and inspection can keep your faucets functioning well. By being proactive, you can spot problems early and save yourself from costly repairs down the road.
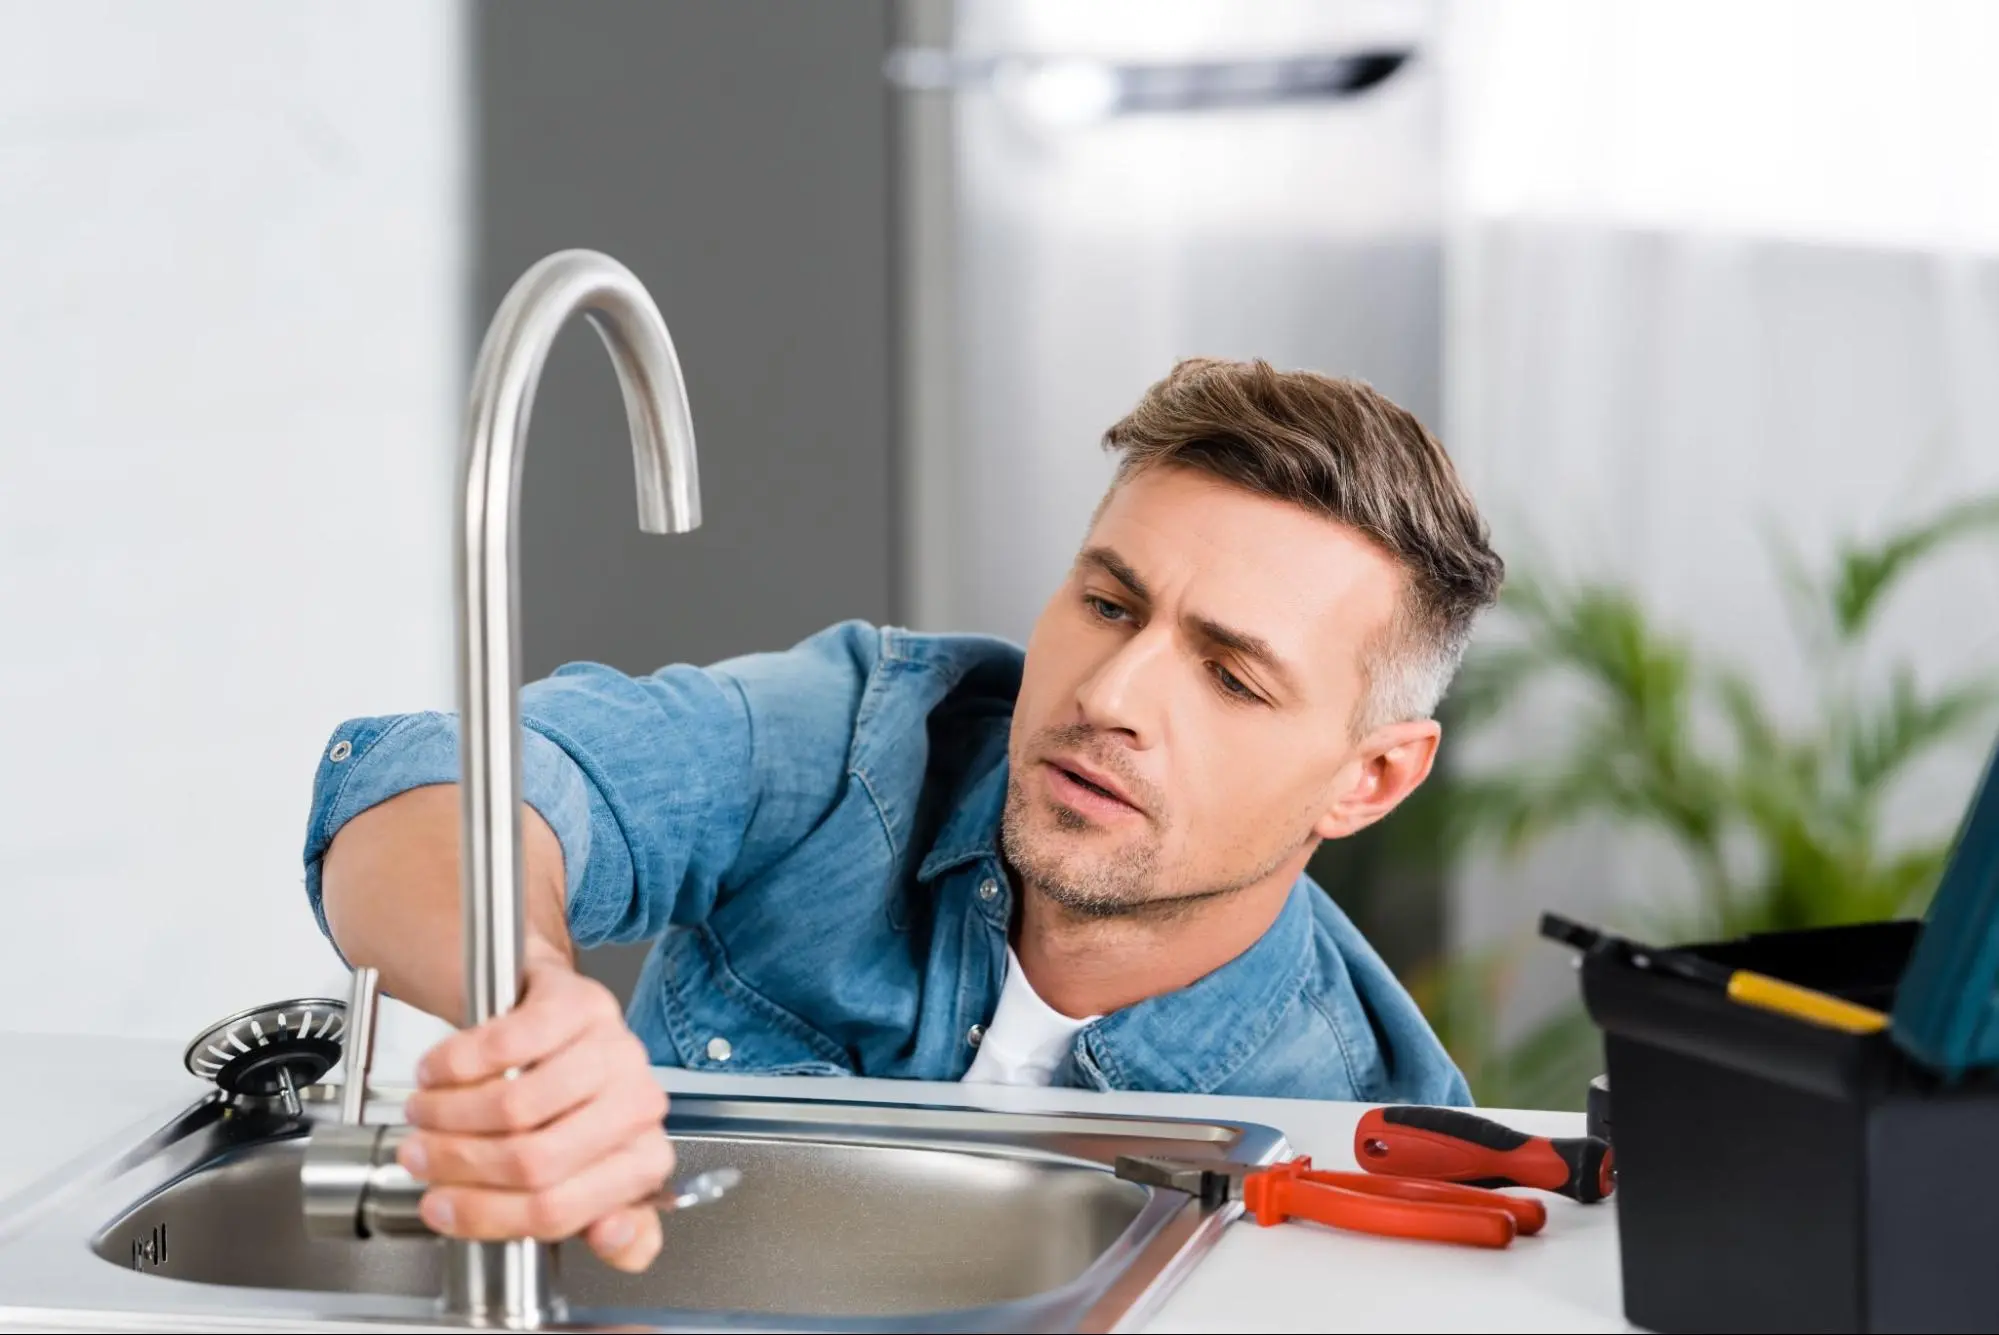
Inspect your faucets regularly for signs of wear and tear. Look for corrosion, cracks, and other visible damage. Pay close attention to the faucet handles, spout, and base.
If you notice any rust or mineral buildup, these could lead to leaks. Also, check the screws and fittings for tightness. Loose parts can cause dripping. Tighten screws if necessary, or replace stripped ones.
Performing these inspections every few months can help you catch issues before they escalate. The sooner you address them, the less likely you are to face significant water damage in your home.
Aerators and O-rings are vital for the proper functioning of your faucets. Start by unscrewing the aerator from the faucet tip. Soak it in vinegar to remove mineral deposits, then scrub gently with a brush.
Next, check the O-rings. These rubber seals can wear out over time and cause leaks. If you see cracks or changes in texture, it’s time to replace them.
Make sure to apply the plumber’s grease on the new O-rings to ensure a good seal. Reassemble the aerator once everything is clean. Regular cleaning can extend the life of your faucets and prevent drips.
You can handle many common faucet issues yourself. Two frequent problems include worn washers and gaskets or valve seat corrosion. Both can lead to dripping faucets and fixing them can be a straightforward task.
To replace washers and gaskets, start by turning off the water supply under the sink. Use a wrench to remove the faucet handle. Once off, locate the rubber washer or gasket at the bottom of the faucet.
Check for leaks after reassembling. This simple fix can save you money and water.
Valve seat corrosion can cause leaking around the faucet. To fix this, follow these steps:
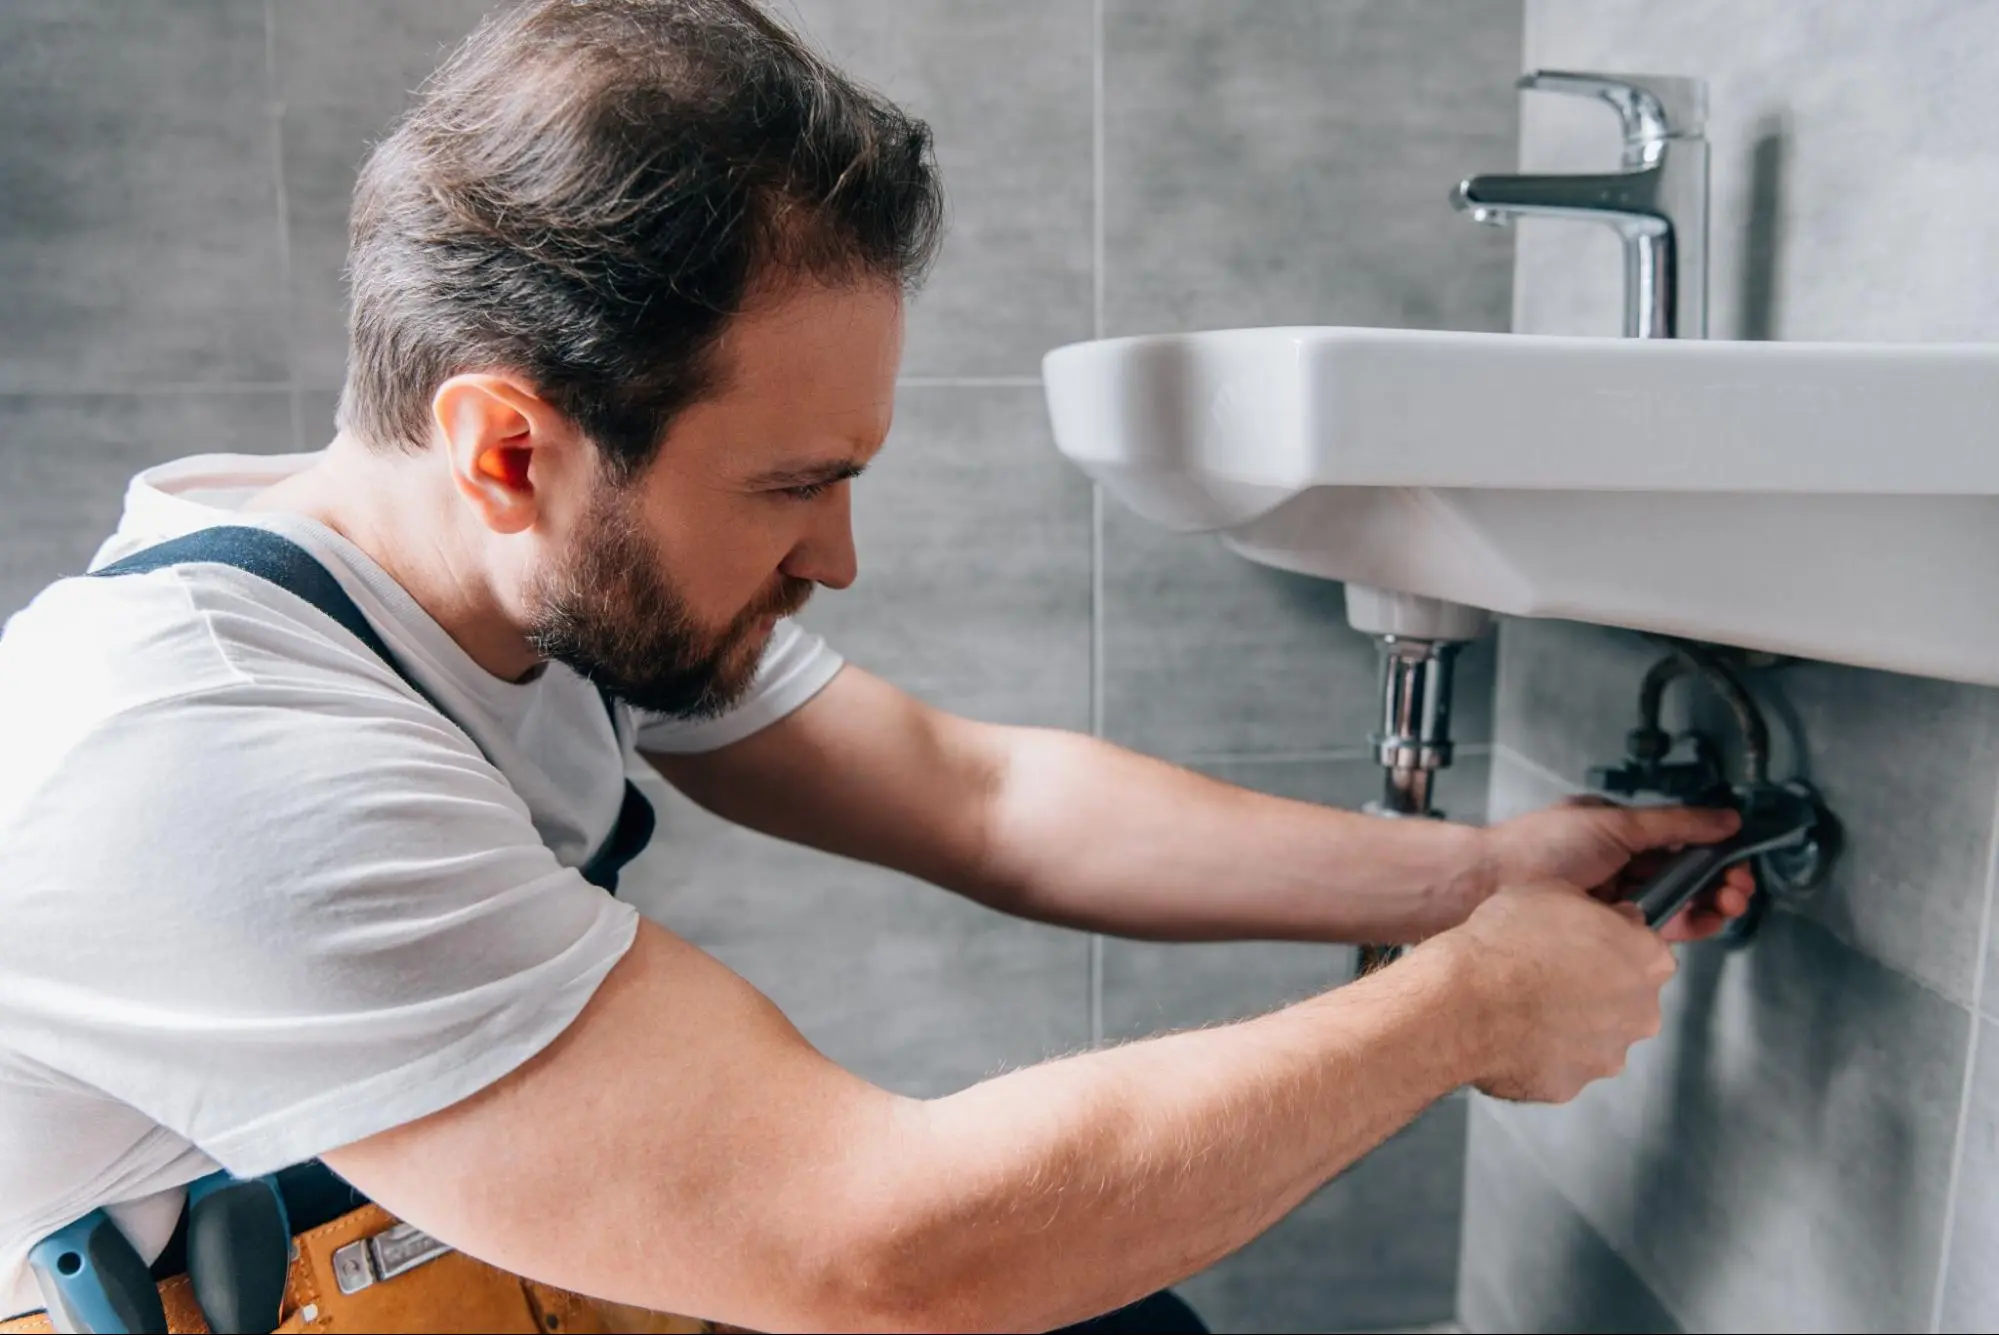
Knowing when to call a plumber can save you time and money. If you’re facing persistent leaking or suspect serious plumbing issues, it’s wise to consult a professional. Here are some key considerations.
Start by assessing the situation. If you notice a constant drip from your faucet, check if it’s a minor issue, like a loose screw or a faulty washer. These are often simple fixes you can handle yourself.
However, if the dripping is accompanied by low water pressure, discoloration in water, or water damage around your fixtures, the problem may be more serious. Issues related to pipe damage or severe leaks require an expert.
Signs that you need help include multiple dripping faucets, increasing water bills, and visible leaks under sinks. Act quickly to prevent further damage and costly repairs.
Choosing the right plumber is crucial for effective problem resolution. Start by getting recommendations from friends, family, or neighbors who have had positive experiences.
Look for licensed professionals with good reviews. Online platforms can help you find ratings and past customer feedback. It’s also important to check their credentials, including insurance and bonding, to ensure you’re protected.
When contacting potential plumbers, ask for estimates and timelines. Be wary of very low quotes; these might indicate subpar work. Trustworthy plumbers will provide a detailed assessment and explain your options clearly.
Dripping faucets can result from worn-out washers, loose screws, or corroded valves. To fix these, check and replace worn parts and tighten any loose screws. Regular maintenance will help prevent these issues.
Start by turning off the water supply to the faucet. Use a wrench to remove the faucet handle and inspect the internal parts. Replace any damaged washers or O-rings. Reassemble the faucet and turn the water back on to see if the leak is fixed.
If a faucet still drips after turning it off, it may indicate a faulty valve or worn washer. You should inspect the components and replace any damaged parts. If unsure, consult a plumber for assistance.
To repair a dripping kitchen faucet, first shut off the water supply. Then, disassemble the faucet and check for worn washers or O-rings. Replace any damaged parts, reassemble the faucet, and turn the water back on to test for leaks.