Pipe leaks can lead to costly damage if they are not addressed quickly. Knowing how to diagnose and repair these leaks in your home can save you time and money. Whether you notice water stains, hear dripping sounds, or find a sudden increase in your water bill, detecting and fixing leaks promptly is essential for maintaining your home’s integrity.
In this article, you will learn methods to identify the signs of leaks and assess the damage they cause. You’ll find practical DIY techniques for minor repairs and discover when to call a professional plumber. This information enables you to confidently tackle leaks and protect your home from further issues.
Detecting leaks early can prevent significant damage in your home. Awareness of signs like visible water damage, musty smells, or unexpected increases in your utility bills is crucial for timely repairs.
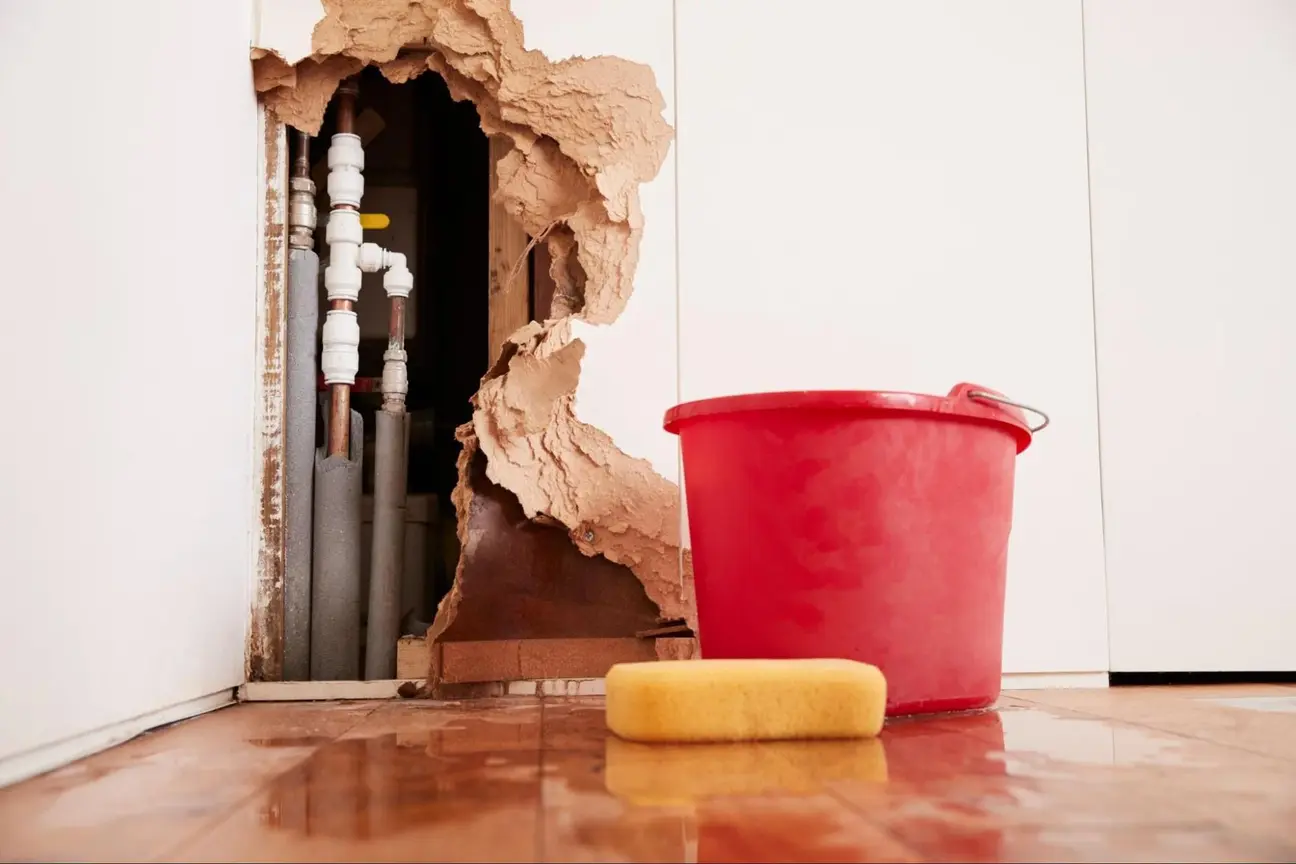
Start with a thorough visual inspection of your home. Look for water stains on ceilings, walls, and floors. These stains often appear as yellow or brown spots. They can indicate moisture buildup from hidden leaks.
Check areas around sinks, toilets, and bathtubs for mold growth, which often occurs in damp, hidden places. If you notice a musty smell in certain areas, it can signal water problems nearby.
Also, inspect your basement or crawl spaces for rot or visible water damage. Don’t overlook surfaces like the underside of cabinets or around the dishwasher. Even small leaks can lead to significant damage over time.
Your water meter is a valuable tool for detecting leaks. First, turn off all water sources in your home. Make sure no taps are running and appliances aren’t using water.
Next, check the water meter’s reading. Wait for about an hour without using any water, then read the meter again. If the number has changed, you likely have a leak.
Recording your monthly water bill can help, too. An unexplained increase in your utility bills might indicate a leak. Look for sudden spikes, especially if your usage remains the same.
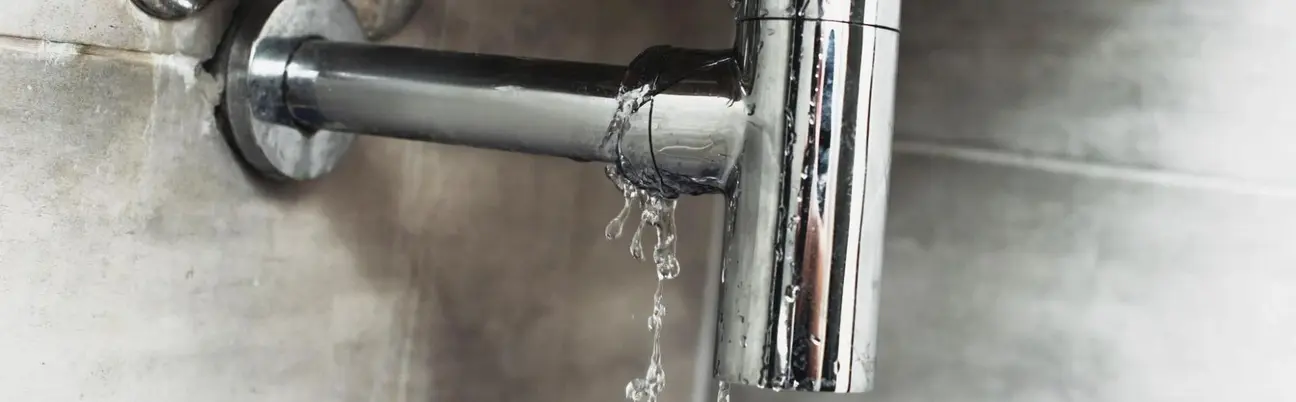
Some leak indicators are less visible but still important. Pay attention to any unusual dripping sounds, especially at night when it is quieter. These sounds can indicate water escaping from pipes.
Monitor your water pressure. A sudden drop in water pressure can indicate a hidden leak.
Also, be aware of musty smells in areas where leaks are likely to occur. These odors are often signs of mold growth from hidden moisture. Check spaces like behind appliances or under sinks for dampness.
Recognizing these signs early can save you money on repairs and protect your home’s integrity.
When diagnosing pipe leaks, it is crucial to assess where the damage is coming from and what might have caused it. By understanding common leak locations and analyzing factors contributing to deterioration, you can take effective steps toward repairs.
Pipe leaks can occur in various areas of your home. Common spots include:
Identifying these areas early can prevent further damage and costly repairs down the line.
Understanding these causes helps you address the problem before it escalates into more significant damage.
You can address minor leaks in your home with effective DIY techniques. Understanding how to repair common plumbing fixtures and tackle issues in pipes and joints will help you save time and money.
Faucet leaks often occur because of worn washers or gaskets. To fix this, turn off the water supply and disassemble the faucet. Replace the old washer with a new one that fits tightly, and reassemble the faucet. Make sure everything is secured to prevent further leaks.
Toilets can leak due to a faulty flapper or a bad seal. Start by checking the flapper; replace it with a new one if it’s worn or misaligned. The wax seal may need replacing if you notice water pooling around the base. Turn off the water, drain the toilet, and remove it to replace the wax seal effectively.
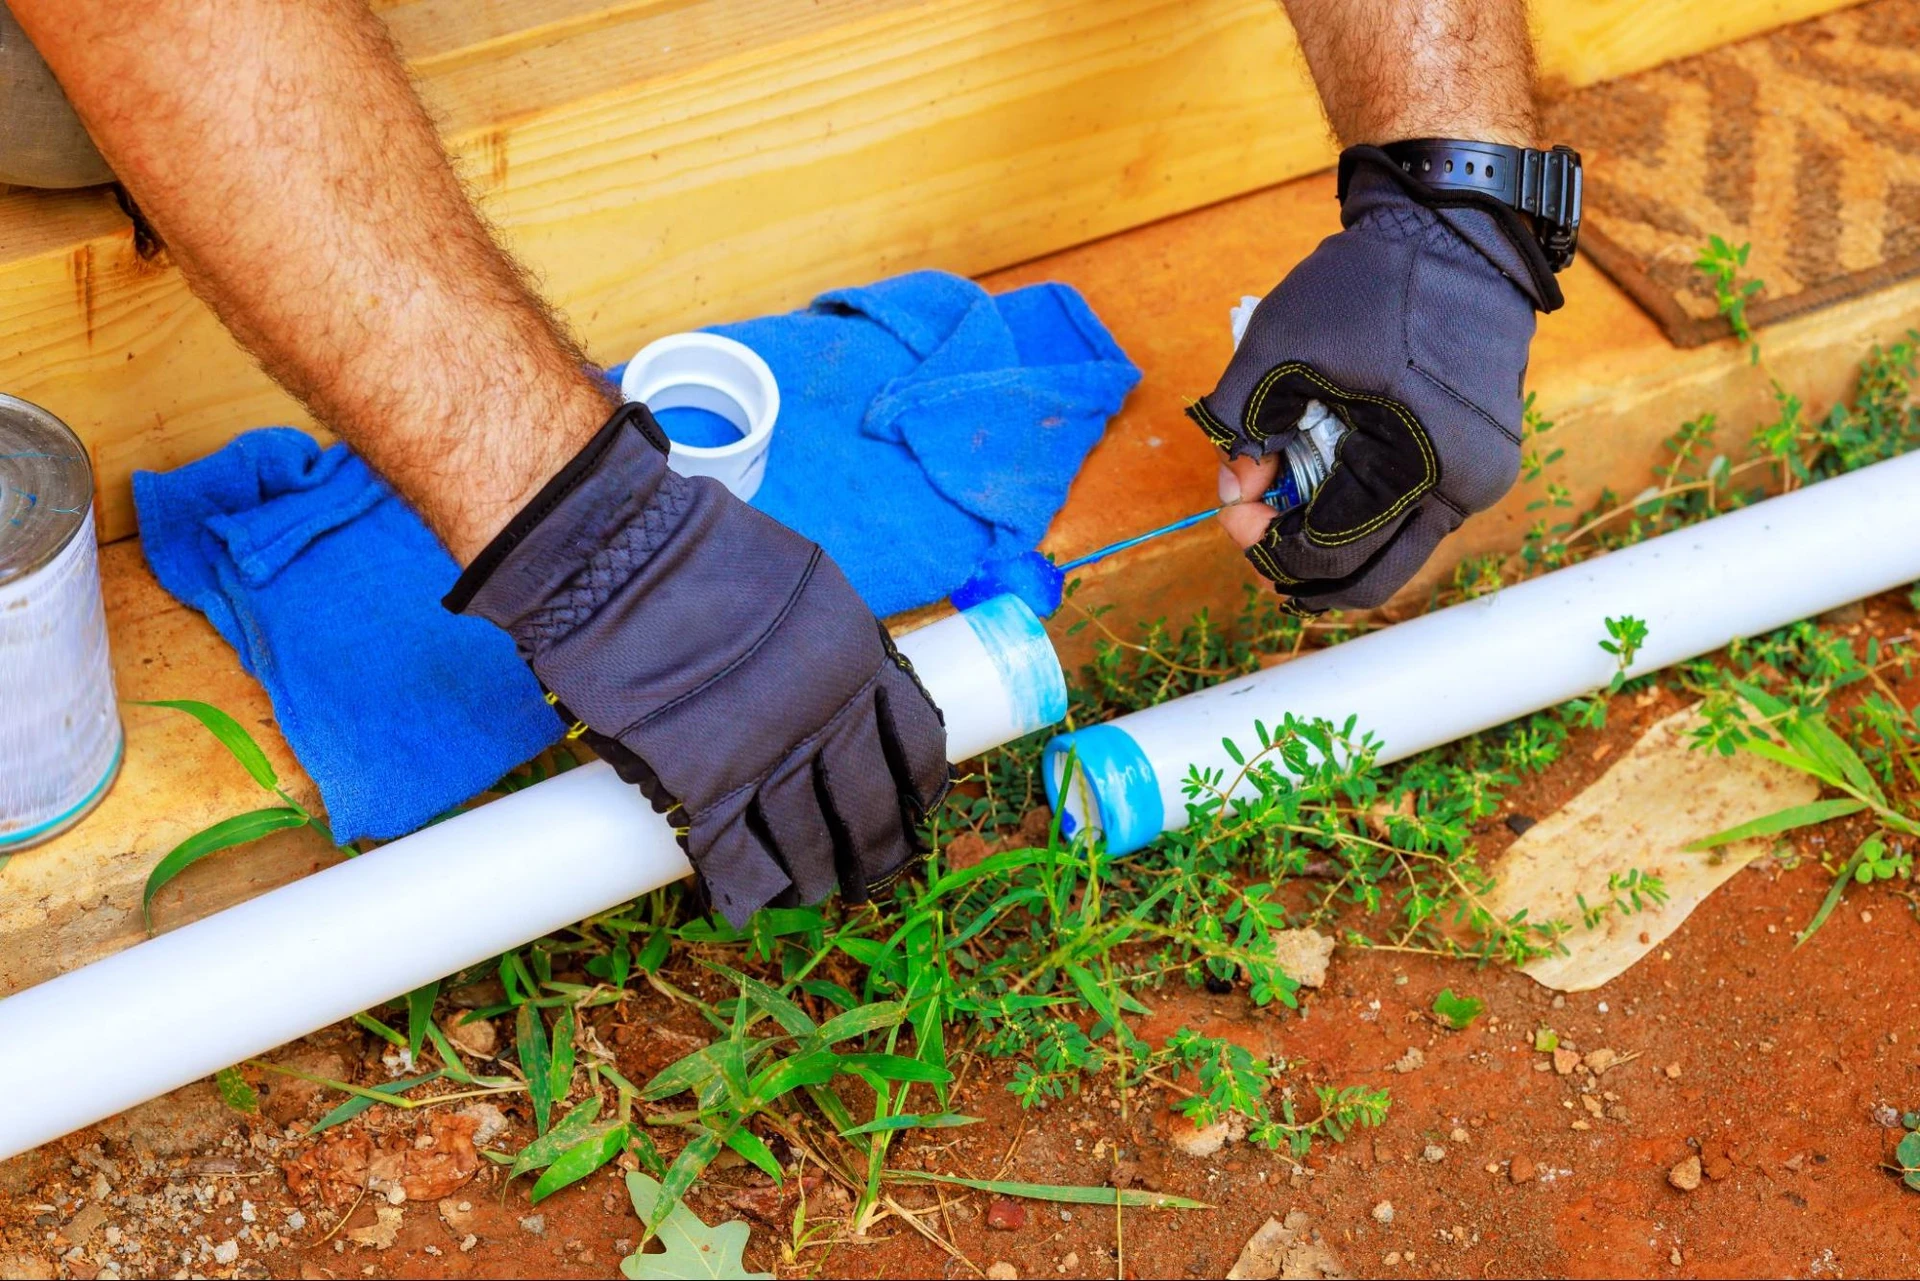
Leaking pipes can often be repaired with tape or clamps. Clean the area around the pipe thoroughly if the leak is small, then wrap it tightly with the plumber’s tape. For larger leaks, consider using a repair sleeve and clamp.
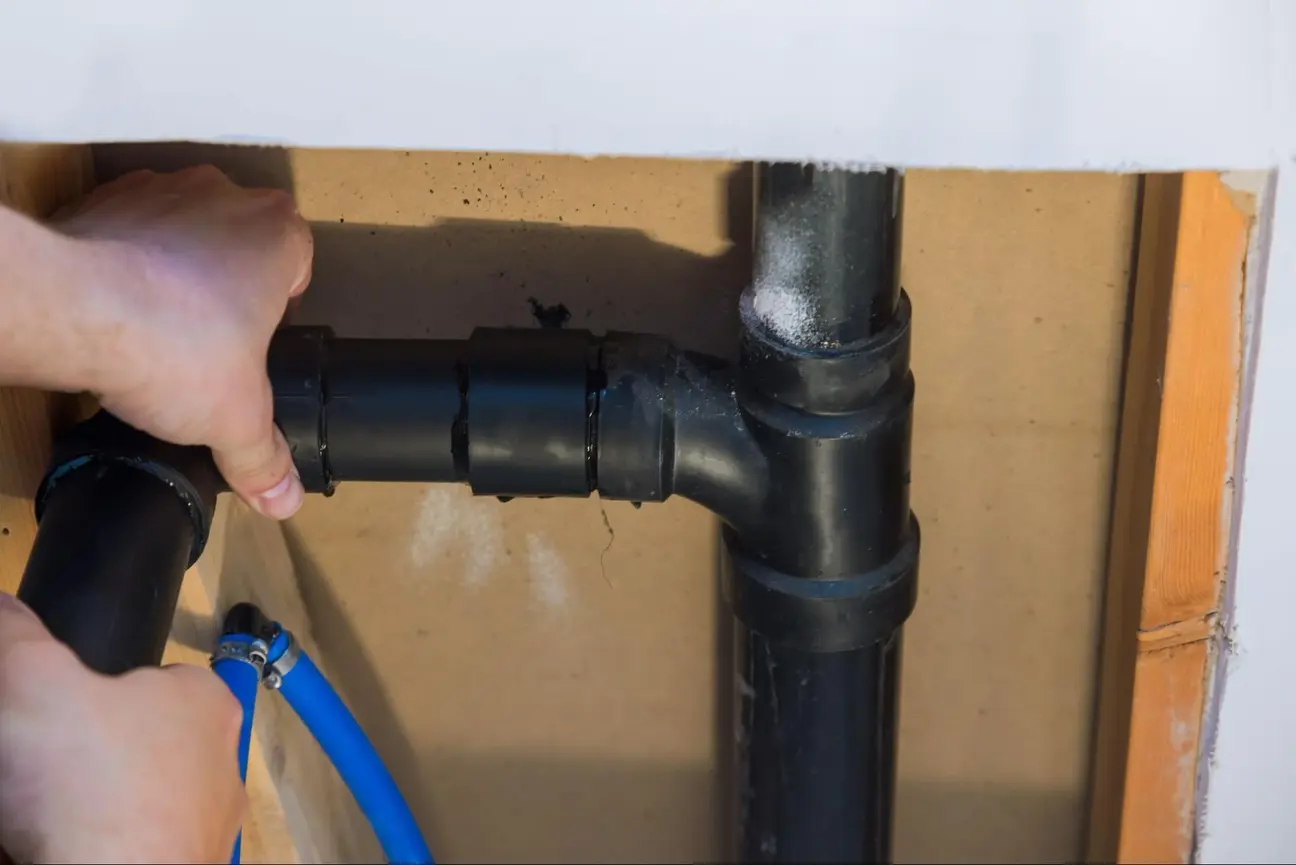
If the leak persists at plumbing joints, check for loose fittings. Tighten any loose connections and apply thread sealant if necessary. If the leak continues, you may need to replace the joint or use a gasket to create a better seal. Always ensure pipes are dry and clean before making repairs.
Identifying plumbing leaks can sometimes be tricky. If you notice any persistent issues, it’s wise to seek professional help.
Certain problems, like low water pressure, pipe corrosion, or breaks, might signal serious issues. In such cases, a plumbing repair expert can diagnose the issue correctly.
Don’t hesitate to reach out for help if you’re unsure. Calling a professional can prevent minor issues from turning into major repairs. Contact Kaminskiy Care and Repair for your plumbing repair needs.
To find a leak in your wall, check for damp spots or discoloration on the surface. Listen for sounds of dripping or running water. Use a moisture meter for a more accurate measure of dampness. If necessary, remove drywall to inspect pipes directly.
Detecting underground leaks may involve looking for signs like unusual wet spots in your yard. You can also check your water meter for fluctuations when no water is in use. Listening to hissing sounds near the ground can also help indicate a potential leak.
Look for staining or bubbling paint, which indicates moisture behind the surface. Feel for dampness or cold areas, and check for warping in the drywall. If you suspect a leak, turn off the water and observe if the problem persists.
First, turn off the water supply to a leaking pipe joint. Then, apply a repair clamp or use a plumber’s putty to seal smaller leaks. Replacing the joint or section of pipe may be necessary for a lasting solution in cases of significant damage.