Keeping your carport in good shape is important for protecting your vehicle and enhancing the overall look of your property. DIY carport repairs and improvements can be both manageable and rewarding for homeowners ready to take on the challenge. Whether you are fixing a leaky roof, adding storage options, or upgrading the structure, you can boost functionality and aesthetics with some effort and planning.
Before starting any project, it’s essential to understand the basics of carport designs, maintenance needs, and potential improvements. Knowing what repairs are necessary and how to approach enhancements can give you confidence in your ability to tackle the work. The right preparation will help you make thoughtful decisions, ensuring your carport meets your needs for years to come.
As you read on, you’ll find practical steps for successful repairs and improvements that can make a real difference. Get ready to transform your carport into a more functional and attractive space with useful tips and strategies tailored specifically for you.

When considering a DIY carport, understanding different designs is essential. From the type of structure you choose to its size and materials, each element plays a significant role in functionality and aesthetics.
Carports come in various types that cater to different needs. The two main categories are attached and detached carports.
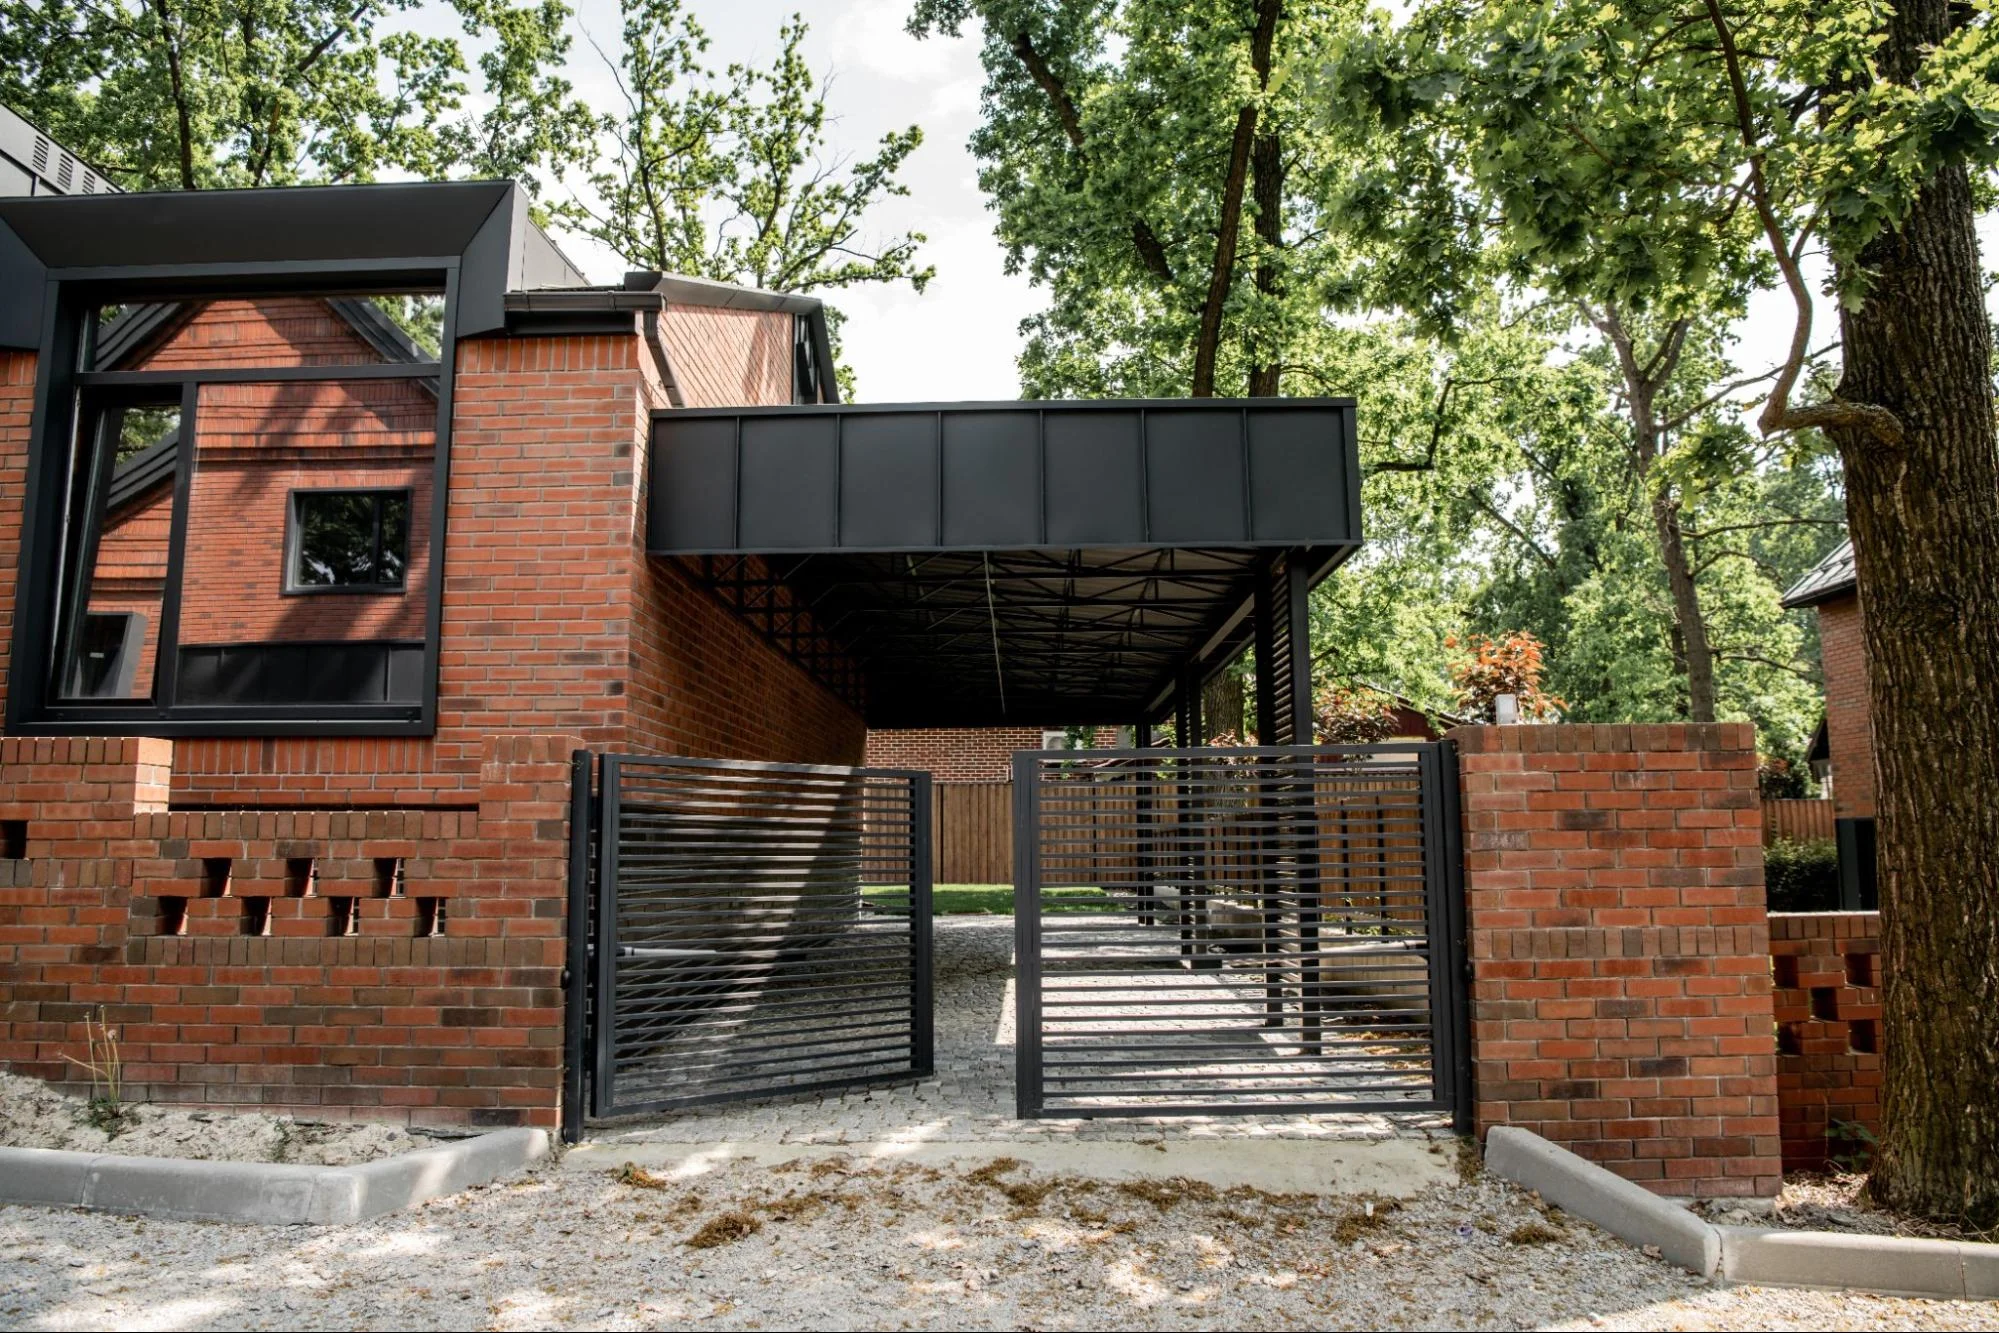
The attached Carports connect directly to your home. They offer seamless access and help save space. This type is ideal if you want easy entry during bad weather.
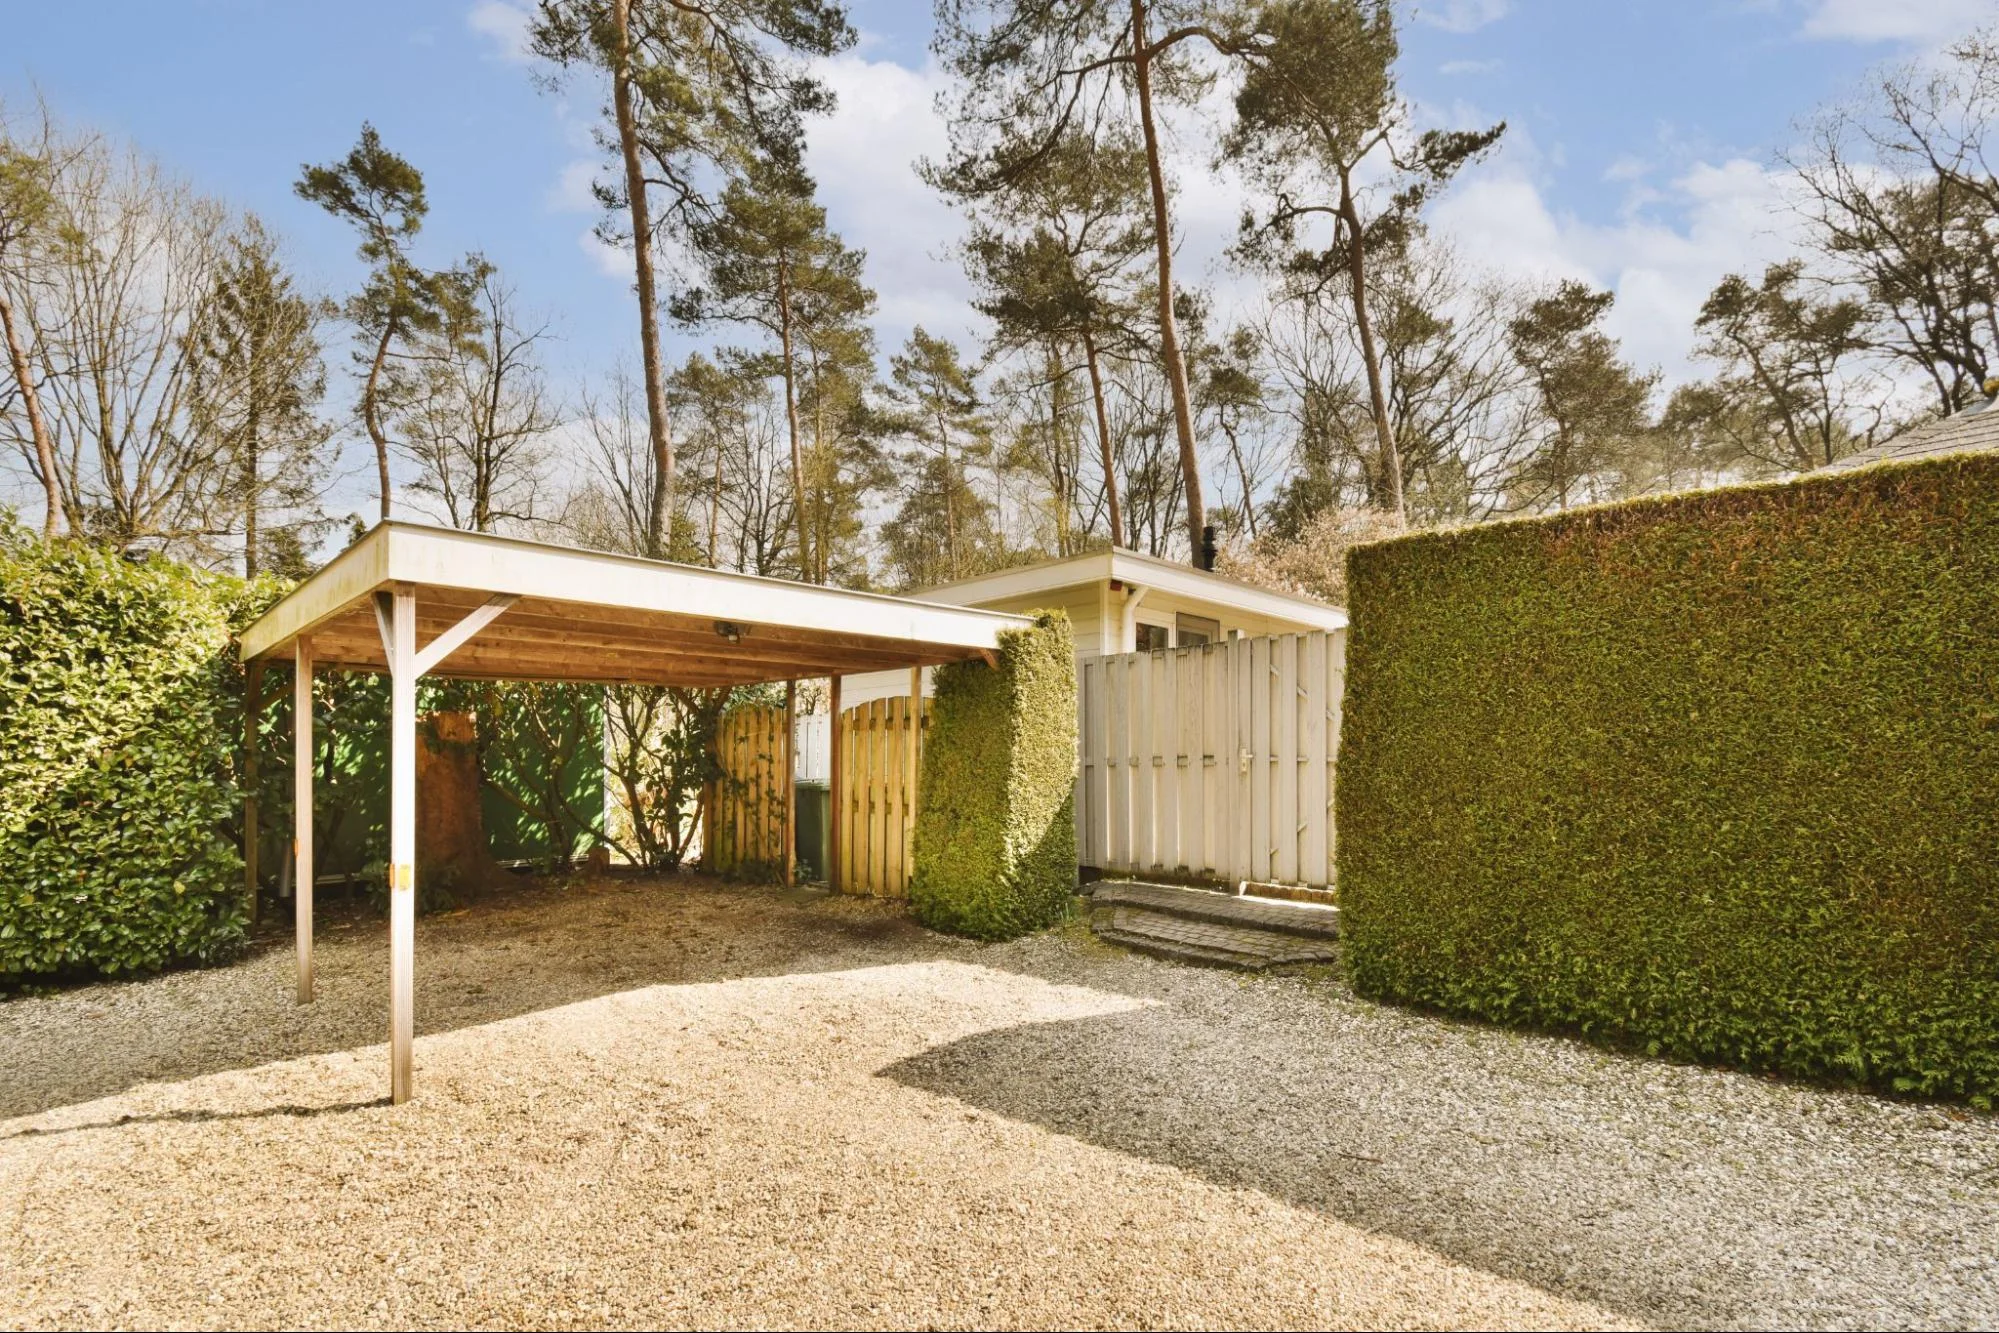
Detached Carports stand independently. They can be placed anywhere on your property, allowing for flexible setups. Many people prefer them for added space and potential multi-car parking.
Other options include open-sided and enclosed designs. Open-sided carports provide ventilation but limited security. Enclosed carports offer protection but may require more materials and cost.
Choosing the right size for your carport is crucial. Measure the space available on your property and consider your parking needs.
A standard carport is typically 12 to 24 feet wide and can be 20 to 40 feet long. If you have larger vehicles like trucks or SUVs, opt for a width closer to 18 feet or more.
Think about future needs too. If you plan to buy a larger vehicle or have guests who visit often, factor in extra space. Also, consider the height. Most vehicles require at least a 7-foot clearance.
The choice of materials affects the durability and maintenance of your carport.
Wood Carports offers a classic look. They are versatile and can be painted or stained. However, they require regular maintenance to prevent rot, especially in wet climates.
Metal Carports are known for their strength and longevity. They can withstand harsh weather conditions better than wood. Metal surfaces often need less upkeep but can be prone to rust if not finished correctly.
Consider local weather conditions when choosing materials. For instance, if you live in an area with heavy snowfall, a sturdy metal design might be best.
Roof design affects both appearance and functionality. There are several types you can choose from.
Flat roofs are simple and can integrate well with modern designs. They are easier to build but may require good drainage solutions to handle rain.
Hip roofs have slopes on all sides, which can effectively shed water and snow. They often add a decorative touch and can make your carport look more appealing.
Gabled roofs feature two sloping sides and offer maximum height. They provide excellent ventilation and are suitable for larger structures.
When planning your carport, think about the roofing material as well. Options include metal, shingles, and membrane systems, each impacting durability and maintenance.
Planning before you start building your carport is essential. It ensures that your project complies with local laws and meets your needs. Effective preparation will save you time, money, and frustration.
Before you begin, check your local building codes. These codes set rules for construction and safety standards. Many areas require permits for carport construction.
To find out what’s needed, visit your local planning office or their website. They often provide guidelines and application forms. Failing to obtain necessary permits can lead to fines or require you to dismantle your carport.
Make a list of codes and permits needed for your project. Keep this information handy as you proceed.
Choosing the right location for your carport is critical. Look for a flat, stable area that is free of obstructions like trees or fences to enhance its stability.
Take note of the following factors:
Measuring your site is also crucial. Make sure the space is large enough for the carport size you have in mind.
A precise carport plan is vital for a successful build. Start with a sketch detailing the dimensions and design of your carport.
Include essential features such as:
On your plan, label each component clearly to avoid confusion later. Having a visual reference helps you stay organized and focused.
Budgeting for your carport is a key step in the planning process. Start by estimating the costs for materials, labor, and permits.
Create a detailed budget sheet. List each item and its estimated cost, then total them for an overall budget. This helps you stay on track financially and make necessary adjustments before starting the project. A well-prepared budget ensures you won’t run into surprises during construction.

Building a carport can protect your vehicle from the elements and increase your property’s value. This guide will help you set the posts, construct the frame, add finishing touches, and customize your carport for your needs.
Start by marking the area where your carport will stand. Measure and dig holes for the posts, typically 2 to 3 feet deep, to ensure stability.
Use a level to keep the posts straight. Concrete is used to secure the posts in place. Pour it into the holes and let it cure for at least 24 hours.
Consider a DIY Carport Kit if you prefer detailed instructions and materials. Metal carports often require specific installation measures. Make sure the posts are anchored properly to withstand strong winds and heavy snow loads.
Once the posts are secure, start constructing the carport frame. If you are building a wooden carport, use treated lumber for durability. Use 2×6 beams to connect the posts and create a solid frame.
Attach the carport roof. Depending on your preference, you can choose a flat or sloped design. Use plywood for a wooden roof or metal sheets for a metal carport.
Make sure the roof is properly aligned to avoid leaks. Secure the roofing material with nails or screws. Reinforce the frame to enhance stability, especially if your area experiences strong weather.
After the frame and roof are complete, focus on the finishing touches. Apply wood stain or sealant to wooden structures to protect them from moisture and insects.
For metal structures, consider painting to prevent rust. Adding gutters can help channel rainwater away from your carport and your home, preventing potential water damage. Additionally, consider installing LED lights for visibility at night. Use weather-resistant materials to ensure longevity. You can also add side walls for added protection against wind and rain.
Customization turns your basic carport into a tailored storage solution. Think about adding shelves or hooks inside for tools and outdoor equipment.
You might also want to install privacy panels or decorative elements to enhance aesthetics.
If you have a wooden carport, consider adding a pergola feature for extra shade and a more appealing design. For a metal carport, adding side panels can improve wind resistance.
Finally, assess your needs regularly. Make updates or improvements based on how you use the space. Your carport can evolve to meet changing requirements.

Proper care and attention to your carport can significantly extend its life and enhance its functionality. Focusing on routine maintenance, effective repairs, and thoughtful upgrades elevates your carport’s protection while increasing your property value. Here’s what you need to know.
Regular maintenance is essential for keeping your carport in top shape. Start with a visual inspection every few months. Look for signs of rust, leaks, or damaged panels.
Cleaning is also important. Use a mild detergent and water to wash the surfaces. This prevents dirt and debris buildup, which can cause long-term damage.
Don’t forget the roof. Clear leaves and debris regularly to avoid water pooling. Additionally, check for any loose screws or bolts and tighten them as needed. Regular upkeep saves you time and money on future repairs.
DIY repairs can save you money and time. For minor dents or scratches on metal carports, consider using a rubber mallet or a heat gun to gently reshape the surface.
If you notice leaks, investigate the seams and joints first. Sealing these areas with a waterproof sealant can prevent further damage.
For wood carports, check for rot by pressing a screwdriver into the wood. If it sinks in easily, you may need to replace that section. Simply cut out the damaged area and splice in a new piece. This hands-on approach keeps your carport safe and sturdy.
Security features can protect your investment. Installing motion sensor lights around the carport deters potential intruders.
Consider investing in a security camera system for additional peace of mind. These features provide safety while adding to your property value.
You might also think about enclosing your carport with sturdy gates. This protects your vehicle from theft and can show buyers that you’ve prioritized security.
With the right maintenance, repairs, and enhancements, your carport can remain a valuable asset for years to come.
You can repair a DIY carport using materials like tarps or metal sheeting to cover damaged areas. Use sealants to fix leaks and reinforce weak spots with additional supports. These methods often require minimal investment while still providing solid results.
Start by removing the damaged post with a saw. Then, excavate the old concrete if present. Install a new post in the hole, ensuring it is level. Secure it with concrete or brackets for added stability. Finally, allow the concrete to cure before applying any weight.
You can strengthen your carport by adding diagonal bracing between the posts. Consider using stronger materials for any repairs or replacements. Additionally, check that all connections are secure and tight to prevent movement during high winds or heavy rain.
Yes, you can raise the height of your carport by extending the posts. This often involves removing the existing posts and installing taller ones. Ensure that the roof structure is capable of supporting the new height. Consult local building codes for any necessary permits.
Basic repairs may require tools like a saw, drill, and level. For materials, keep wood, metal sheets, brackets, and sealants on hand. Depending on the extent of your repairs, you might also need concrete mix, paint, and protective coatings to ensure durability.