Fixing the wallboard can seem daunting, but with the right tools and know-how, you can make your walls look smooth and flawless again. Whether you’re dealing with small nail holes or larger dents, repairing wallboard is a skill that can save you money and improve your home’s appearance.
To repair the wallboard like a pro, clean the damaged area, apply joint compound, sand it smooth, and paint over the repair. This process works for most types of damage, from tiny pinholes to larger cracks in drywall. You can achieve results that blend seamlessly with the rest of your wall with practice.
Before you start, it’s important to assess the damage and gather the right materials. For small holes, you might only need a spackle and a putty knife. Bigger repairs may require mesh tape and joint compound. By preparing properly, you’ll set yourself up for success and a professional-looking finish.
Before starting repairs, it’s crucial to evaluate the wallboard damage carefully. This will help you choose the right repair method and materials.
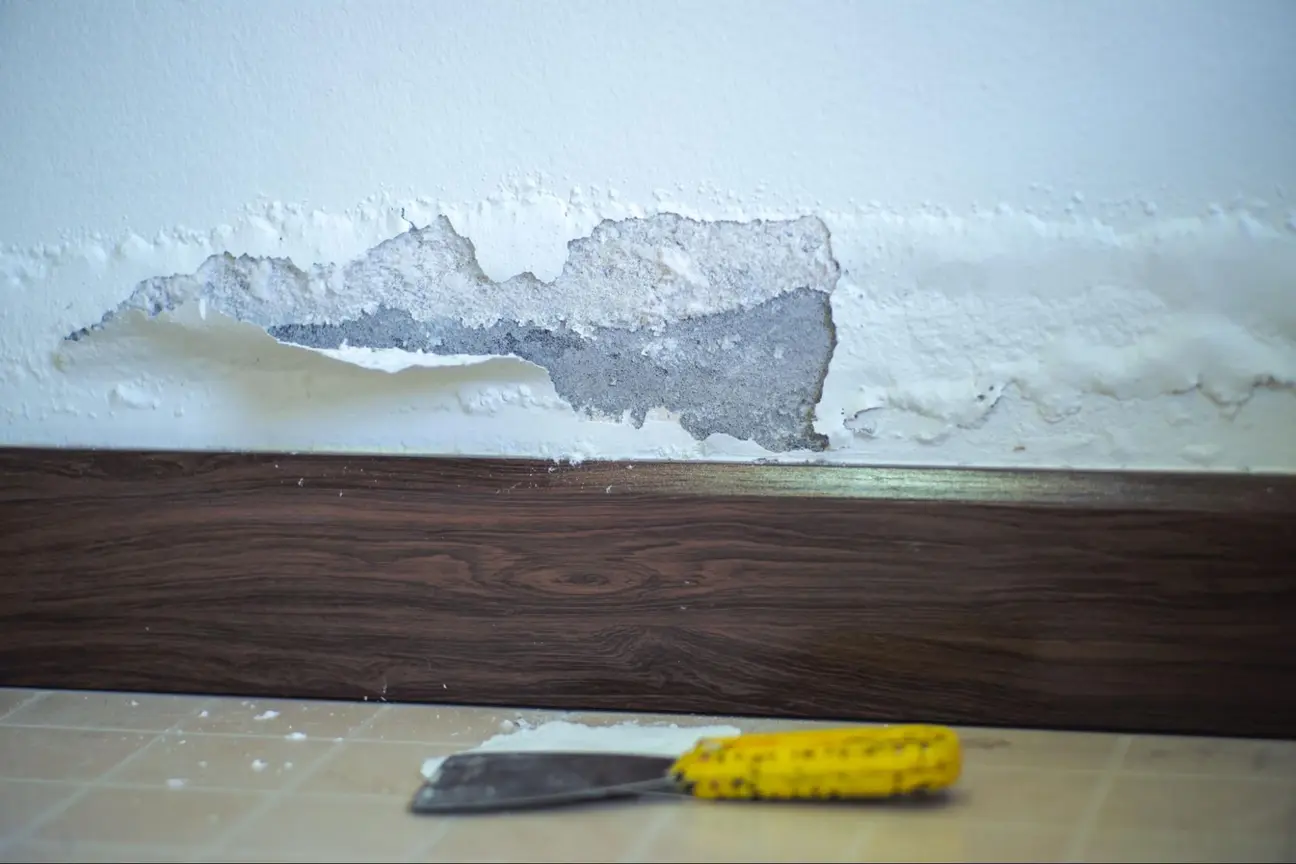
Look for common wallboard issues like cracks, holes, or larger damaged areas. Small dents or nail pops are easy to fix. Cracks often appear along seams or corners.
Larger holes may need patching. Water damage can cause stains, bubbling, or softening of the wallboard. Mold growth indicates moisture issues that need addressing.
Check for loose tape at the seams. This can lead to visible lines or cracks, and uneven surfaces may indicate problems with the underlying structure.
Measure the size of damaged areas to plan your repair. Small holes under 6 inches can be patched easily, but larger holes may need replacement wallboard sections.
Consider the depth of the damage. Surface-level issues often need only compound and sanding, while deeper damage might require cutting out and replacing sections.
Assess if special tools are needed. Most small repairs can be done using basic DIY tools, but larger jobs may require professional equipment.
Check surrounding areas for hidden damage. What looks like a small crack could be part of a bigger problem. Test the firmness of the wallboard around visible damage.
Repairing a wallboard takes skill and patience. With the right tools and techniques, you can achieve professional results. Follow these steps to restore your walls to their former glory.
To repair the wallboard, you’ll need specific tools and materials. Get a putty knife, drywall saw, utility knife, and sandpaper. You’ll also need a drywall patch, joint compound, and drywall tape.
For more extensive repairs, add a drywall panel and screws to your list. Don’t forget a dust mask and safety goggles for protection.
Patching drywall requires a few key items. For the final touches, make sure you have paintbrushes and matching paint.
Start by clearing the area around the damaged wall. Remove furniture and cover the floor with a drop cloth. This will protect your belongings and make cleanup easier.
Use painter’s tape to mask off any trim or edges you want to protect. Good lighting is crucial, so set up work lights if needed.
Clean the damaged area with a damp cloth to remove dust and debris. Let it dry completely before you begin repairs.
You can skip removal for small holes. For larger damage, you’ll need to cut out the affected area. Use a drywall saw to cut a square around the damage.
When possible, make your cuts along wall studs. This gives the new piece a solid backing. Remove any loose debris or insulation from inside the wall cavity.
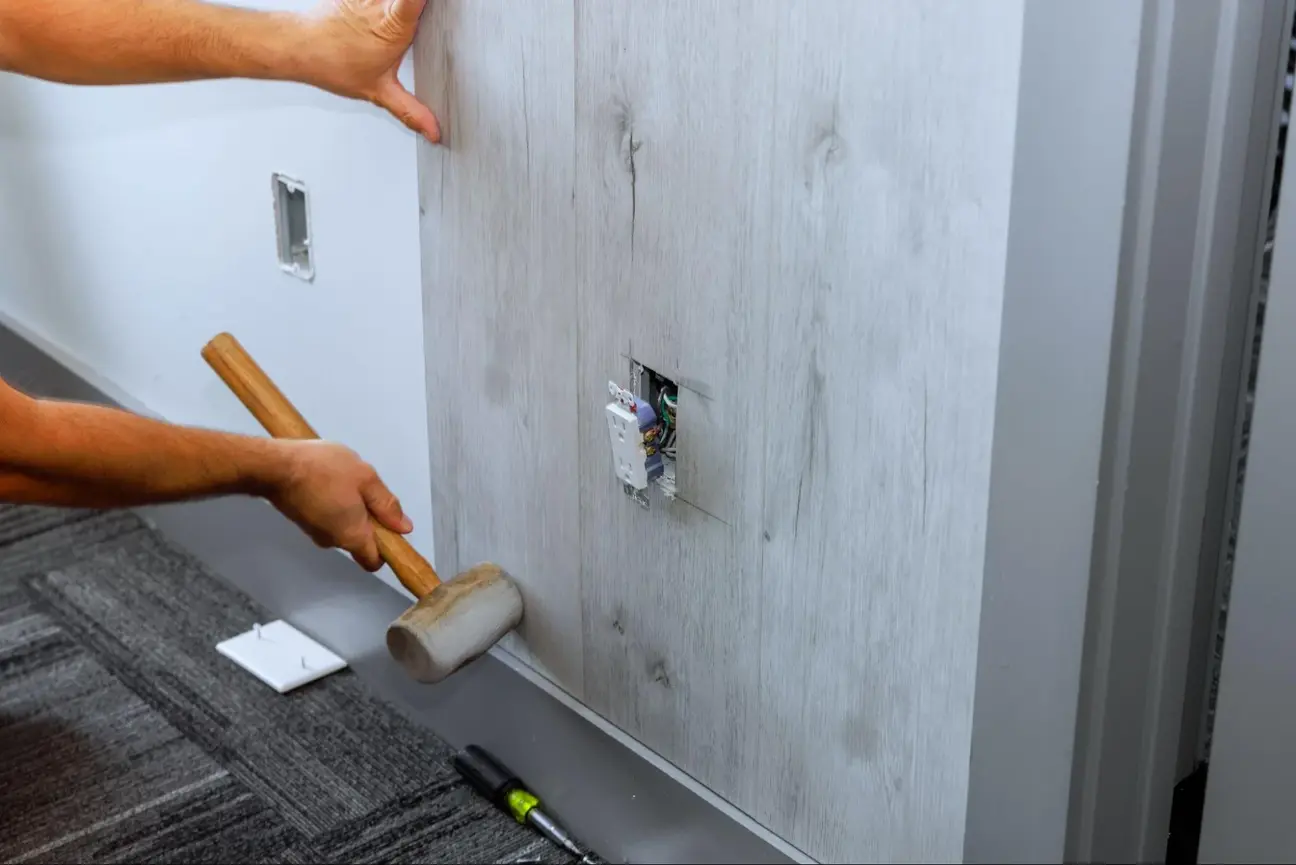
Be careful not to cut any electrical wires or plumbing. If you’re unsure, use a stud finder with wire detection before cutting.
For small holes, apply joint compound directly over the damage. Use a putty knife to spread evenly, feathering the edges to blend with the wall.
Cut a piece of drywall to fit the hole for more extensive repairs. Secure it with drywall screws. Apply joint tape over the seams, then cover with joint compound.
Work in thin layers, allowing each to dry before adding the next. This prevents cracking and ensures a smooth finish.
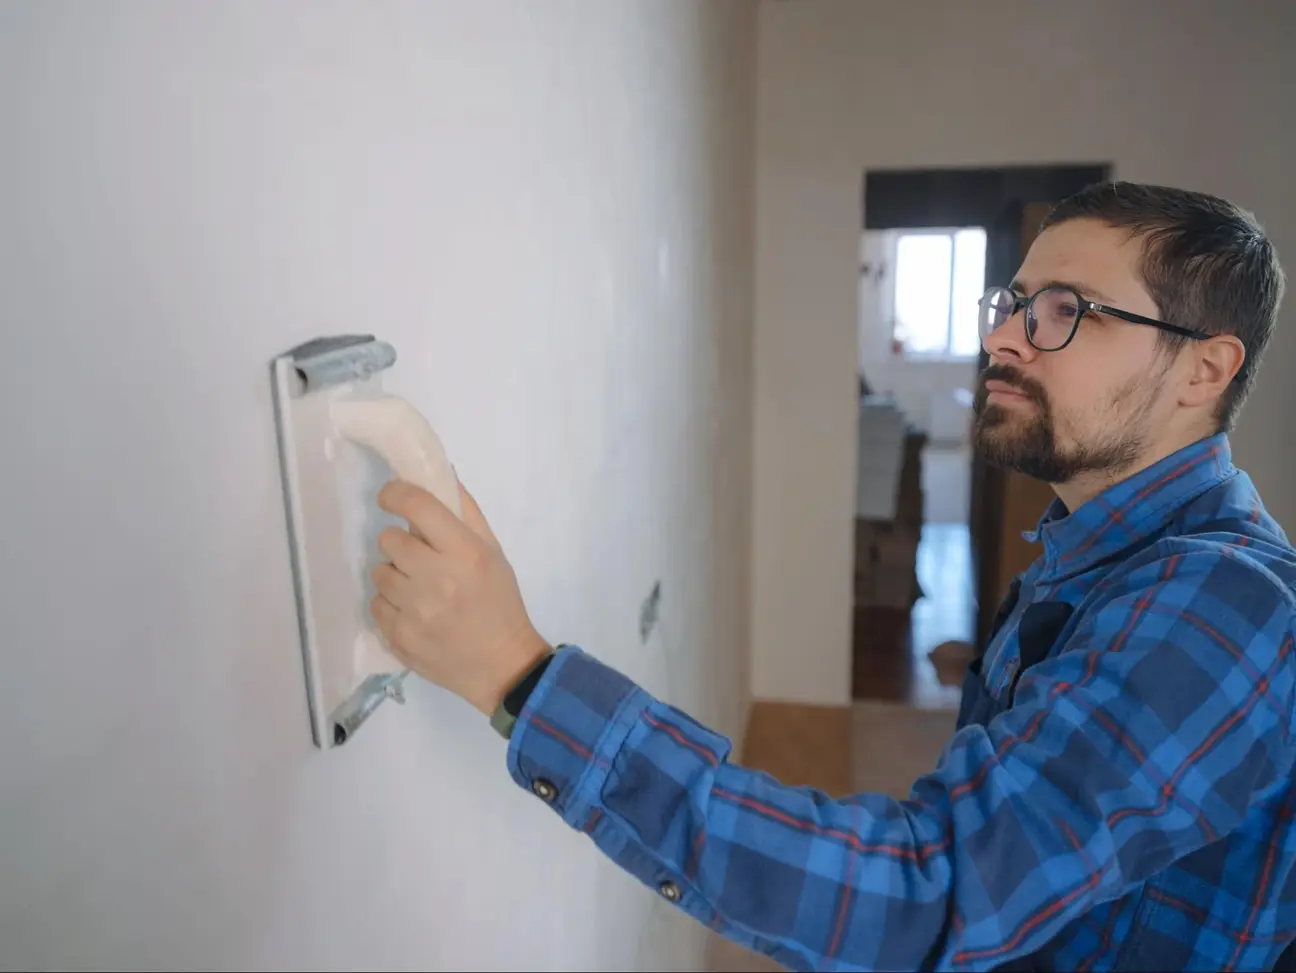
Once the patching compound is dry, it’s time to sand. Start with medium-grit sandpaper to smooth out major bumps and ridges.
For the final pass, switch to fine-grit sandpaper. Sand in a circular motion, blending the patch edges with the surrounding wall.
Wipe away dust with a damp cloth between sanding sessions. Check your work in good lighting to spot any imperfections.
Before painting, apply a coat of primer to the repaired area. This helps the new paint blend with the existing wall color.
Once the primer is dry, paint the patched area. Use a roller for larger sections and a brush for edges and corners.
You may need two coats for full coverage. Feather the paint edges to blend with the existing wall. Let each coat dry thoroughly before applying the next.
Fixing the wallboard can be simple with the proper steps. Start by cleaning the area and assessing the damage. For small holes, use a spackle and a putty knife. Larger holes need a patch.
Apply joint tape around the patch edges. Spread the joint compound over the tape with a putty knife. Smooth it out, blending it with the surrounding wall.
Let the compound dry completely. Sand the area until it’s even with the rest of the wall. Repeat if needed for a seamless finish. With practice, you’ll repair the wallboard quickly and effectively, and your walls will look smooth and professional. Remember, patience is key to the best results.
Cut a piece of drywall slightly larger than the damaged area for big holes. Trace the patch onto the wall and cut out the hole. Screw furring strips to the back of the existing drywall for support. Attach the patch to these strips. Apply drywall tape around the edges. Cover with joint compound, let dry, and sand smooth. Repeat until the patch blends seamlessly with the wall.
For tiny holes, apply spackling compound with a putty knife. Let it dry, then sand smooth. For slightly larger holes, use mesh tape to cover the opening. Apply joint compound over the tape in thin layers.
Let each layer dry before adding the next. Sand between coats for a smooth finish. Paint the area to match the rest of the wall.
For small dents, use a putty knife to apply the spackling compound. For shallow scratches, rub them with a damp sponge to soften the paper, then smooth with your finger. Fill cracks with joint compound using a putty knife. For popped nails, drive them in deeper and add a new screw nearby. Cover both with joint compound.