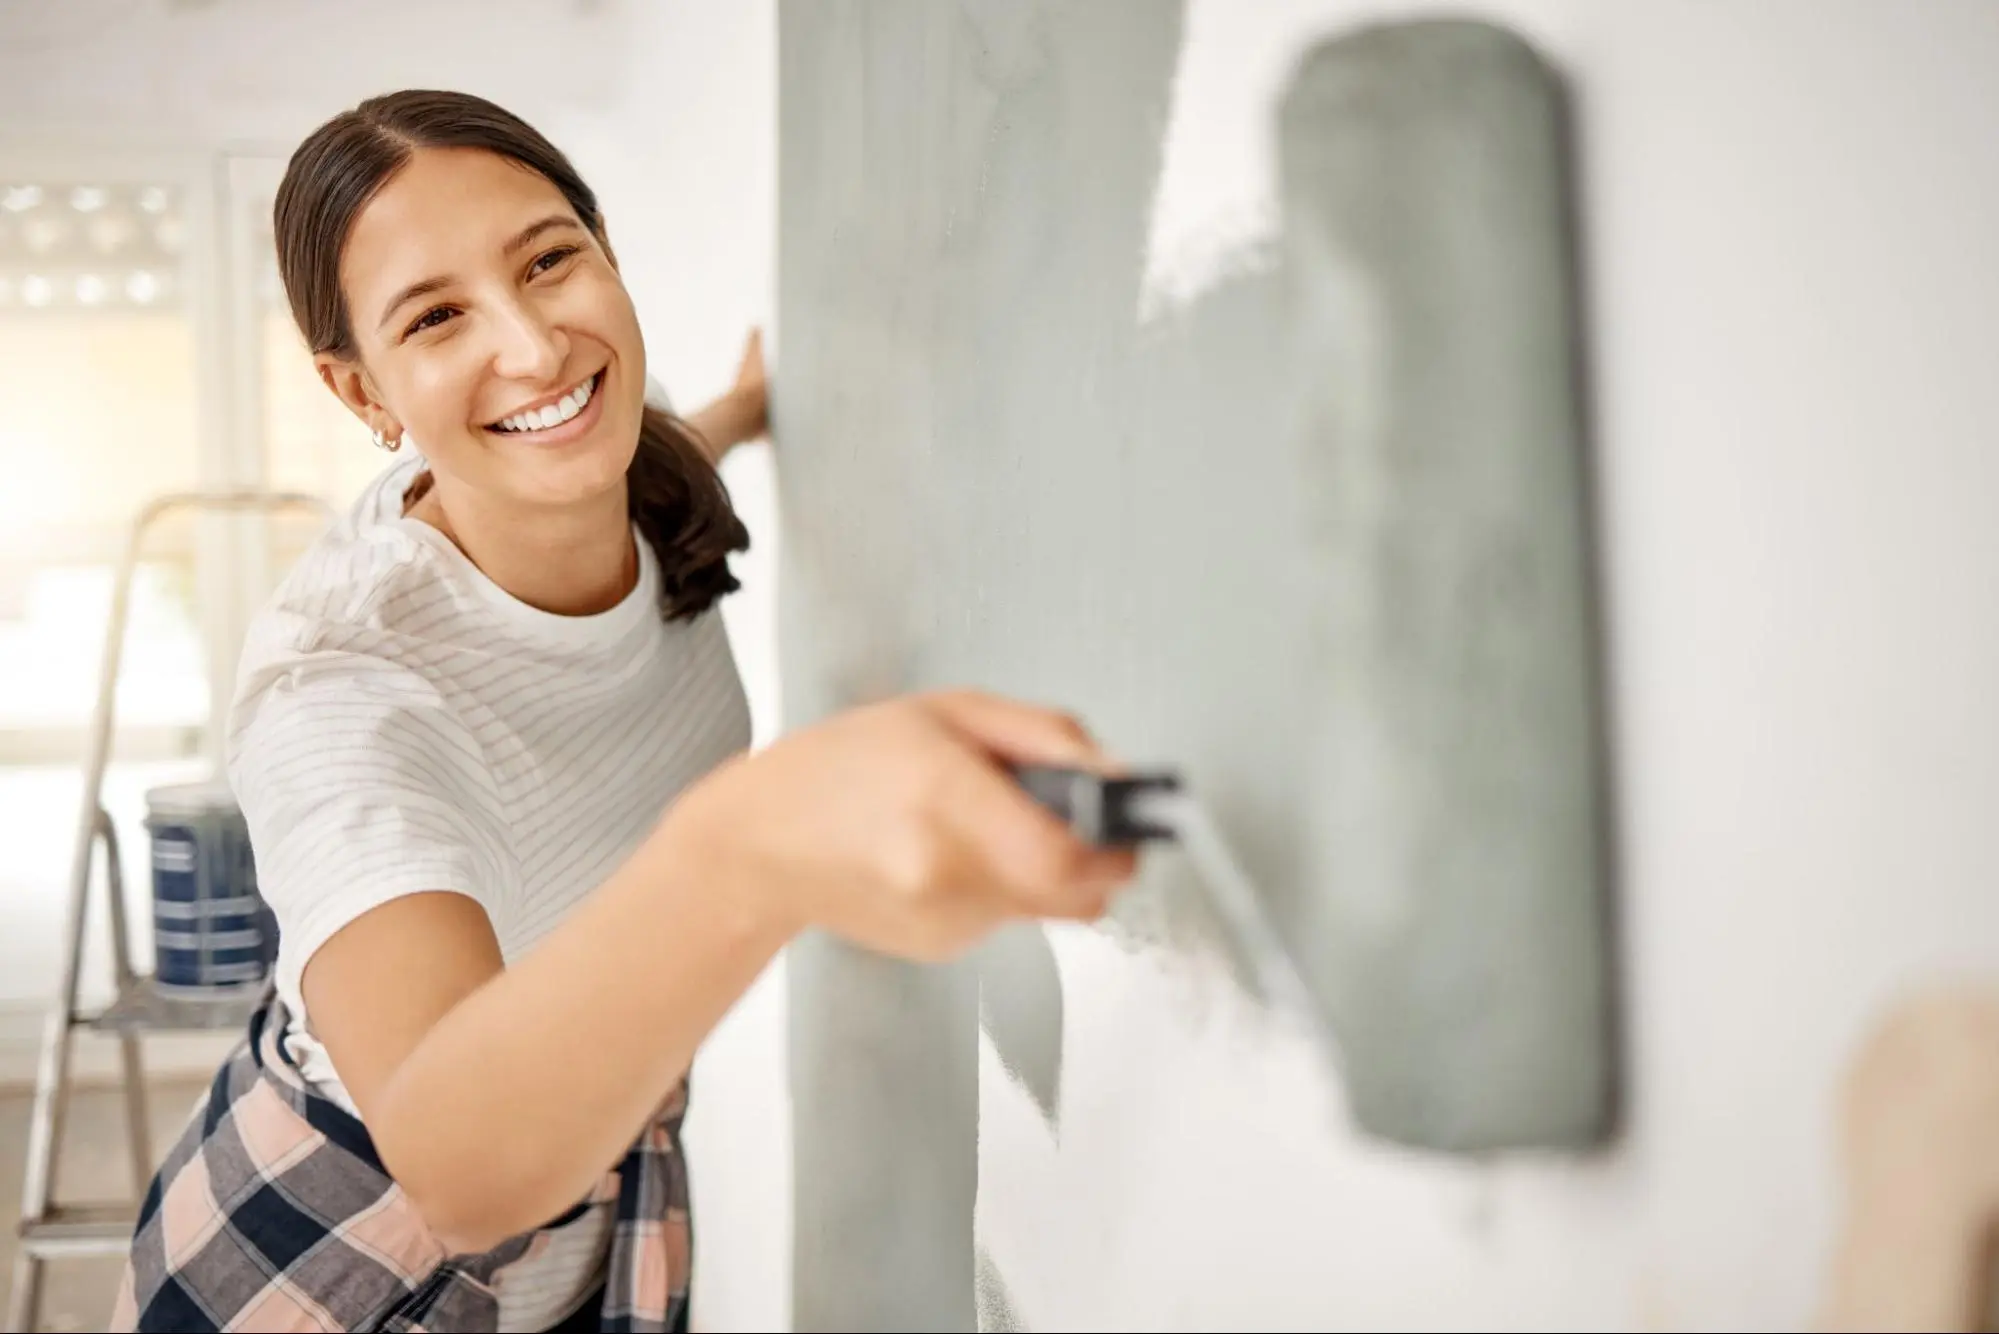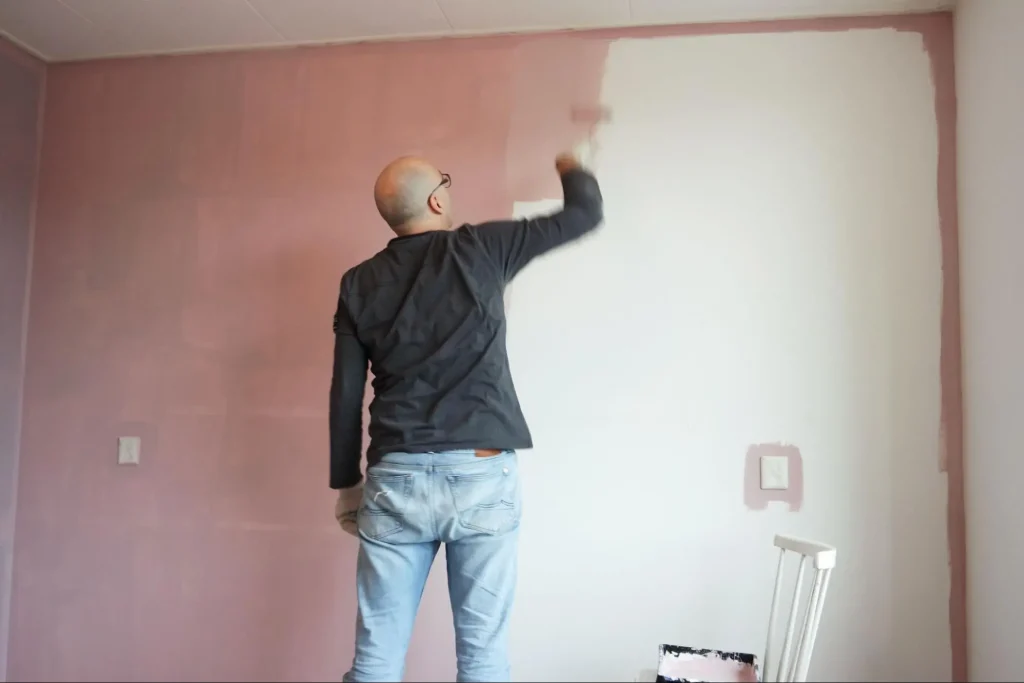
If you’re looking to give your home a fresh new look, painting is a great way to do it. But if you’re not a professional painter, getting that professional-grade finish can be a challenge. Fortunately, with the right DIY painting tips and techniques, you can achieve a flawless finish that will make your home look like it was painted by a pro.
To get started, you’ll need to prepare your space and materials. This includes everything from cleaning your walls to selecting the right paint and tools. Once you’ve got everything ready, it’s time to start painting. But don’t just start slapping paint on the walls! There are a number of techniques you can use to ensure a smooth, even finish that will make your walls look like they were painted by a pro.
In this article, we’ll walk you through all the steps you need to take to get that professional-grade finish you’re looking for. We’ll cover everything from preparing your space and materials to executing the right painting techniques.
Before you start painting, it’s important to prepare your space and materials. This will ensure that you have a smooth and professional-looking finish. In this section, we’ll cover two important aspects of preparation: surface preparation and choosing the right tools and paint.
Surface preparation is crucial to achieving a flawless paint job. Start by cleaning the surface you’ll be painting. Remove any dirt, dust, or grease with a damp cloth. If there are any holes or cracks in the surface, fill them with spackle and sand them down until they are smooth.
If you’re painting a previously painted surface, sand it down lightly to remove any loose paint and create a rough surface for the new paint to adhere to. If you’re painting a new surface, apply a coat of primer to help the paint stick better.
Protect any surfaces that you don’t want to get paint on, such as flooring or furniture, by covering them with drop cloths or dust sheets. Use painter’s tape to mask off any areas that you don’t want to paint, like trim or windows.
Choosing the right tools and paint is just as important as surface preparation. Use high-quality brushes and rollers to ensure a smooth and even finish. Synthetic brushes are great for latex paint, while natural bristle brushes are better for oil-based paint.
When selecting paint, opt for a high-quality, durable brand that will last for years. Mix your paint thoroughly before use to ensure an even color. Use a paint tray and bucket to make the process easier and less messy.
Wear gloves and use adhesive sealant to protect your skin and prevent paint from getting on your hands. Use a scraper and sandpaper to remove any old paint or rough spots on the surface.
By following these tips and using the right tools and paint, you’ll be able to achieve a professional-looking finish that will last for years.

When it comes to painting, mastering the right techniques can make all the difference in achieving a professional-looking finish. First, make sure to prepare your walls properly by filling any holes and sanding down any imperfections. You can also use filler to smooth out any rough spots. Once your walls are ready, it’s time to start painting.
When painting walls, it’s important to maintain a wet edge to avoid lap marks and ensure even coverage. To do this, start at the top of the wall and work your way down in sections, painting from left to right. Be sure to apply enough paint to cover the area, but not so much that it drips or creates brush marks. If you need to take a break, cover your paint tray with rosin paper and your brush or roller with plastic wrap to keep the paint from drying out.

After you’ve painted the walls, it’s time to apply the final touches. This includes painting the trim, ceiling, and any furniture that you want to match the room. When painting the trim, use a smaller brush to ensure that you don’t get paint on the walls. For the ceiling, use a roller with an extension pole to reach the higher areas. Be sure to maintain a wet edge when painting the ceiling to avoid lap marks.
When it comes to applying multiple coats of paint, wait for the first coat to dry completely before applying the second coat. This will ensure that the paint adheres properly and doesn’t flake off. If you’re painting a room with sockets or skirting boards, be sure to tape them off before painting to avoid getting paint on them.
When it comes to exterior painting, make sure to choose a paint that is specifically designed for outdoor use. You’ll also want to make sure that the surface is clean and dry before painting. Use a sanding sponge to smooth out any rough spots and ensure that the paint adheres properly.
Finally, when you’re finished with your DIY painting project, be sure to store any leftover paint in an airtight container. This will help to maintain the quality of the paint for future touch-ups.
Painting your home can be a daunting task, but with the right tips and techniques, you can achieve a professional-grade finish.
Before you begin, it is important to prepare the surface properly. This includes cleaning the surface with soap and water, sanding and filling any holes or cracks, and using a primer to ensure the paint adheres properly.
When it comes to painting, it is important to use the right tools. A high-quality brush or roller can make all the difference in achieving a smooth and even finish. For smooth results, use a synthetic brush for latex paint and a natural bristle brush for oil-based paint. Additionally, using a paint sprayer can save time and provide a flawless finish.
Another important tip is to use the right technique when painting. This includes cutting in around the edges with a brush before using a roller, using even strokes, and avoiding overloading the brush or roller with paint. The best practice is to use a “W” or “M” pattern when using a roller to ensure even coverage.
Finally, take your time and be patient when painting. Rushing the process can lead to mistakes and an uneven finish. By following these DIY tips and solutions, you can achieve a professional-grade finish and transform your home with confidence.
If you need professional help with your painting project, Kaminskiy Care and Repair offers expert handyman painting services to give your walls a pristine look. Contact us today
To achieve a smooth finish in interior painting, it is essential to prepare the surface properly. This includes cleaning the walls, repairing any holes or cracks, and sanding the surface. Use high-quality paint and apply it in thin, even coats. Avoid overloading the brush or roller, which can cause drips and uneven coverage. Finally, use a high-quality brush or roller to achieve a smooth finish.
One professional trick for cutting in is to use a high-quality angled brush. Dip the brush into the paint and then tap off the excess. Hold the brush at a slight angle and use short, smooth strokes to paint along the edge. To avoid brush marks, use a high-quality brush and apply the paint in thin, even coats. Avoid overloading the brush, which can cause drips and uneven coverage.
The step-by-step process to paint interior walls like a pro includes the following:
1. Prepare the surface by cleaning the walls, repairing any holes or cracks, and sanding the surface.
2. Apply painter’s tape to any areas you want to protect.
3. Apply a coat of primer to the walls.
4. Apply the paint in thin, even coats, using a high-quality brush or roller.
5. Allow the paint to dry completely before applying a second coat (if necessary).
6. Remove the painter’s tape while the paint is still wet.