Installing a shower, tub, or sink faucet isn’t as difficult as it seems. That is if you’re comfortable with accurately measuring, drilling, and working with pipes. With the right tools and expertise, you can replace a bathroom faucet with a new one in as little as an hour.
Before you begin, you should consider the amount of time it will take you to install the new fixtures. For most people without experience, you should expect to spend at least half a day installing a shower or bathtub faucet. A sink faucet will take a couple of hours, on the other hand. These are only estimates, however. The actual length of time it takes to install a new bathroom fixture will largely depend on your skill level.
At Kaminskiy Care & Repair, we have the knowledge and capability when it comes to installing bathroom fixtures efficiently and flawlessly. Replacing an old fixture may seem like a simple task, but when considering all the steps it takes to install a new fixture, you may second-guess your decision to do it yourself. Our plumbers at Kaminskiy Care & Repair make sure that each bathroom fixture is up to your standards, without any leaks or damage to the pipes.
If you choose to try it yourself first, this article breaks down the installation process into steps, so the entire project runs as smoothly as possible.
Before you can begin the installation process, there are several things you need to consider.
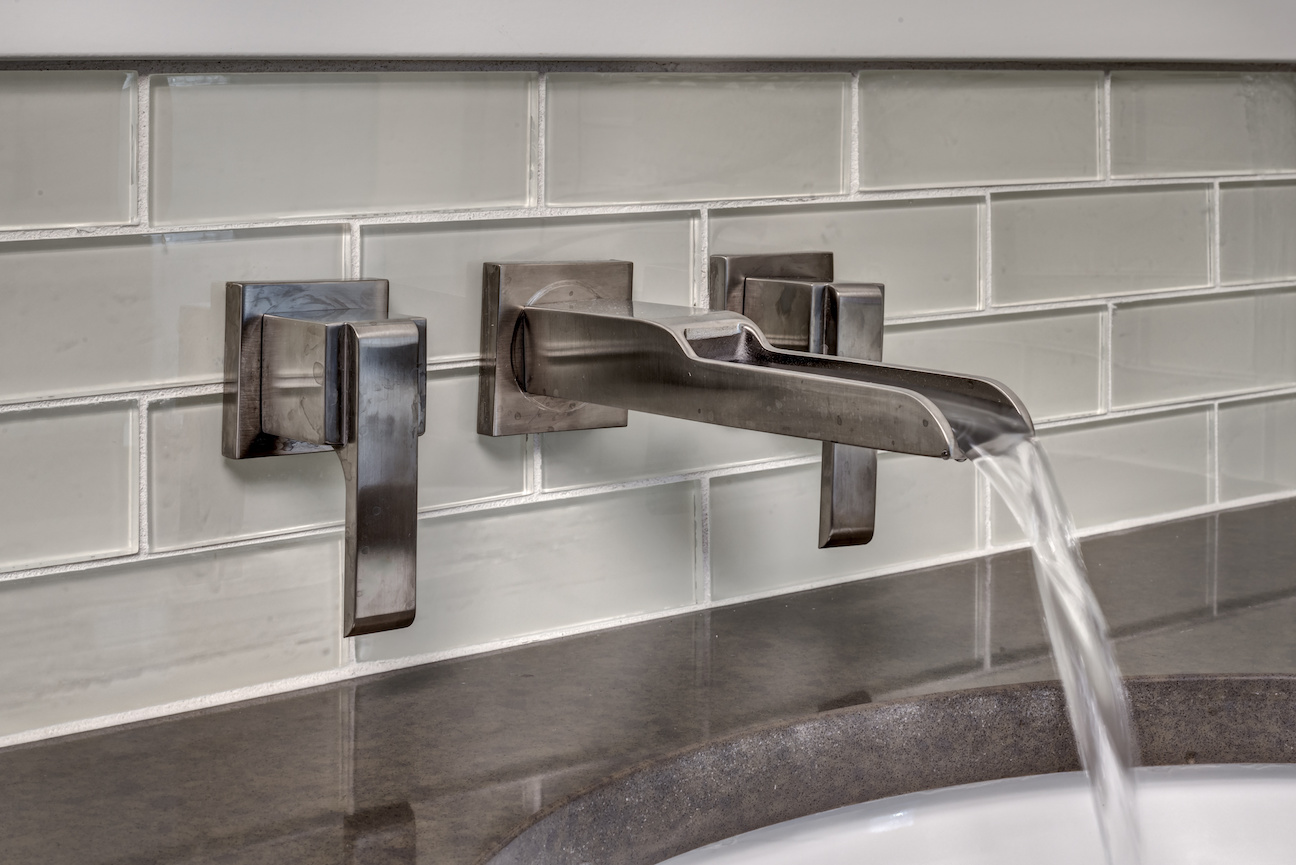
First, you want to choose the shower, tub, or sink faucet you are going to install. This pre-step is especially important if you are replacing an old fixture rather than installing a completely new faucet.
Shower, tub, and sink faucets all come in different styles and setups. When replacing old fixtures, you want to make sure the faucet you buy fits the configuration of holes in your sink or wall. For example, the number and configuration of holes for a single-piece faucet are different from those needed for a split-set faucet. When it comes to shower and tub fixtures, you want to make sure your fixtures work with the valves you already have in place.
Also, keep in mind that you should follow the manufacturer’s directions for plumbing the faucet since each faucet is different. In some cases, your faucet may not include integrated shutoff valves. This means you will have to install shutoff valves yourself as part of your project.
When replacing or installing shower and tub fixtures, you should check that there are separate lines supplying the shower or tub. If your bathroom doesn’t already have them, you want to install separate 3/4–inch lines to supply the shower or tub. This extra step ensures good water pressure and protects the person using the shower or tub from sudden temperature changes when another faucet is turned on or the toilet tank is refilled. As part of this prep process, you will also want to tap into the cold and hot water lines as close to the water heater as possible.
Once you have gone through the prep process above, you can begin looking into installing the bathroom fixtures yourself. The difficulty of installing a bathroom sink faucet mostly depends on your access to the underside of the sink and the plumbing setup. Installing a new faucet is easier during new construction because you do most of the assembly before installing the sink and faucet. However, if you are installing a faucet on an existing sink, access is trickier because you are working from inside the cabinet underneath the sink.
One tool that may make the job easier, regardless of when you are installing the faucet, is a basin wrench. It allows you to reach up and tighten fittings behind the sink bowl during the installation process.
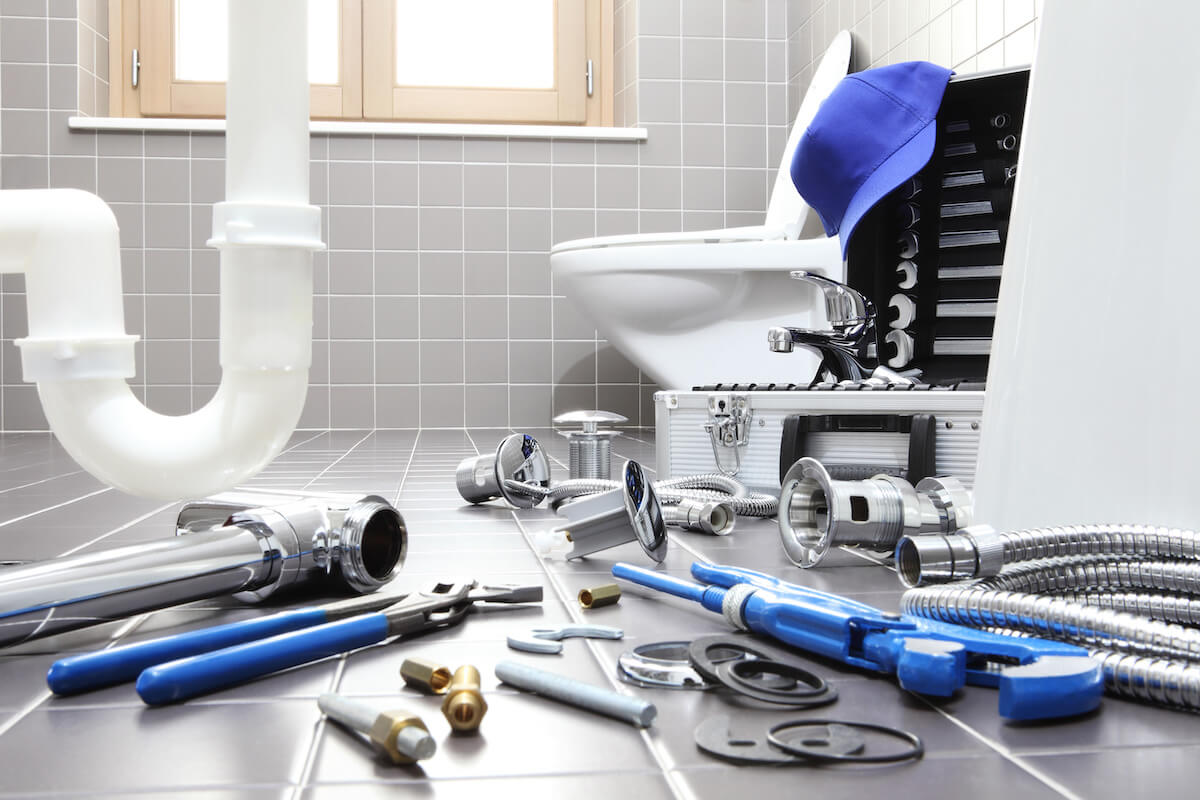
You should always make sure you have all the tools necessary to complete your project before you begin.
Unpack your new faucet and make sure all the parts are included in the package. If any pre-assembly is required, do it now. Remember to read the instructions provided by the manufacturer, too.
If you are installing a completely new fixture with a sink, work with the countertop upside down on top of the vanity or, if it is much larger, on the floor upside down. You may also skip steps 2 and 3, which only apply to a faucet that is already installed.
Shower and tub fixtures can be easier to install if you are replacing existing fixtures. However, if you need to change a valve or you are installing a completely new system, such as a removable showerhead, then the project tends to be much more difficult. The steps to replace a showerhead or tub faucet are similar to replacing a sink faucet.
In the case of a bathtub faucet, you need to unscrew the old nipple with a pipe wrench. Sometimes, the nipple is too short to grab. In this case, you will need an “internal” pipe wrench as well as a regular wrench to unscrew the nipple.
Once you are sure there are no leaks, you can patch up the wall before installing the shower cartridge.
For tubs: Wrap the ends of the new nipple with thread tape and screw it into the fitting inside the wall. Seal around it with silicone caulk to prevent any leaks.
For tubs: Once you have screwed in the new nipple and properly sealed around it, you can put on the tub faucet. Check your manufacturer’s directions for the type of faucet you have and how to put it on.
Kaminskiy Care & Repair specializes in making home projects easy for you. We provide services that efficiently and safely finish all your repairs or installations without you having to lift a single tool. DIY projects can be fun and rewarding, but when you’re busy with your family, career, or life in general, you cannot afford to spend so much time fixing your bathroom fixtures. We’ll install or replace your bathroom fixtures for you so you can go back to enjoying your shower, tub, or new sink faster. Call us to make an appointment and receive a free consultation.