A well-maintained and visually appealing home is a source of pride for homeowners. However, over time, wear and tear can take a toll on the walls, specifically the drywall. Cracks, holes, and other types of damage can significantly impact the aesthetics of your home. They also compromise its structural integrity. This is where professional drywall repair services come into play. In this guide, we will explore the common drywall problems, tips for repairs, and why calling a professional drywall repair handyman can save you time and stress.
The cost of drywall repair can vary depending on the extent of the damage, the size of the affected area, and the location of the damage. Minor repairs, such as small cracks or holes, can be relatively inexpensive, with homeowners typically spending between $50 and $150. While larger repairs or extensive water damage may require more extensive work and incur higher costs, this can range from $150 to $350. It is recommended to obtain a professional assessment and quote from a reputable drywall repair service to determine the exact cost tailored to your specific needs.
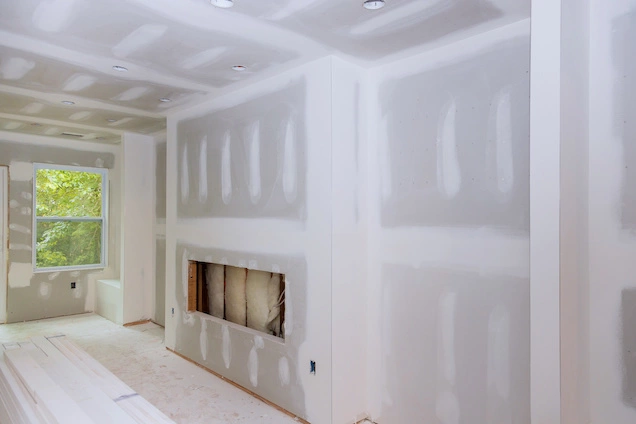
Repairing drywall can be a DIY project for minor damages, but it requires some skill and knowledge. Here are some essential tips to keep in mind:
Repairing damaged drywalls offers several benefits, including:
Homeowners can do minor drywall repairs. Yet, in certain situations, professional help is necessary.
Consider calling a handyman for the following scenarios:
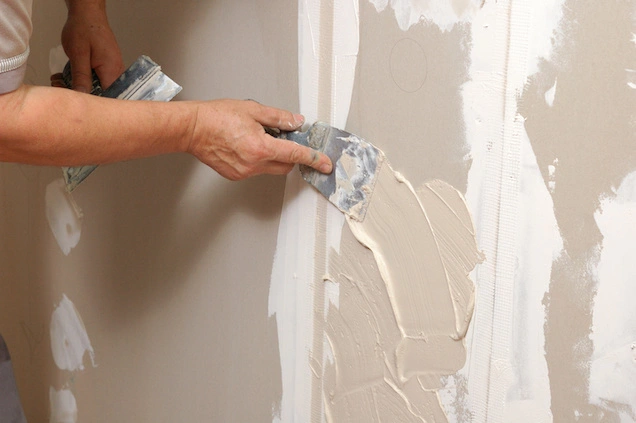
Drywall damage, whether it’s from water leaks, accidental impact, or wear and tear, can be an eyesore and compromise the integrity of your walls. Finding a reliable drywall repair service near you is crucial for restoring your walls to their original condition. Here are some tips to guide you:
Remember, the right drywall repair service not only fixes the damage but also ensures the longevity and aesthetics of your walls. Take your time to research and choose a provider that meets your specific needs and budget.
Kaminskiy Drywall Repair Service is a trusted and reliable provider of Drywall repair services. We offer a comprehensive range of services to transform your home. Our services include
Drywall repair services play a crucial role in maintaining the aesthetics and structural integrity of your home. Professional repair services can transform your walls and enhance your home’s overall appeal. Kaminskiy Drywall Repair Service stands out as a reliable choice. We offer a wide range of services to cater to your specific needs. By addressing drywall issues promptly and efficiently, you can enjoy a beautiful and well-maintained home for years to come.
Contact us today to schedule a complimentary virtual consultation. Transform your home’s walls into a masterpiece.
Kaminskiy specializes in a wide range of drywall repairs, including patching holes, fixing cracks, repairing water damage, and addressing texture issues.
The duration of a drywall repair project depends on the extent of the damage. It also depends on the specific repairs needed. We aim to complete projects efficiently while ensuring high-quality results.
Yes, Kaminskiy’s skilled technicians have the expertise to match the texture of your existing walls, ensuring a seamless and cohesive finish.
Yes, we have experience in repairing water-damaged drywall. We will assess the extent of the damage, address any underlying issues, and restore the drywall to its original condition.
Yes, we provide drywall repair services for both residential and commercial properties. We have the expertise to handle projects of various sizes and complexities.
Toilets can be tricky. When they break down, it’s a real hassle. But don’t worry – many toilet issues are easy to fix on your own. With some basic know-how, you can save money and avoid calling a plumber.
Most toilet problems can be solved by checking the flapper, adjusting the fill valve, or unclogging the drain. These simple fixes often do the trick. For example, a running toilet can often be fixed by replacing the flapper at the bottom of the tank.
If your toilet is making strange noises, it might just need some lubricant on the seat hinges. For a toilet that won’t flush properly, you may need to adjust the water level in the tank. With a little patience and the right tools, you can tackle most toilet troubles yourself.
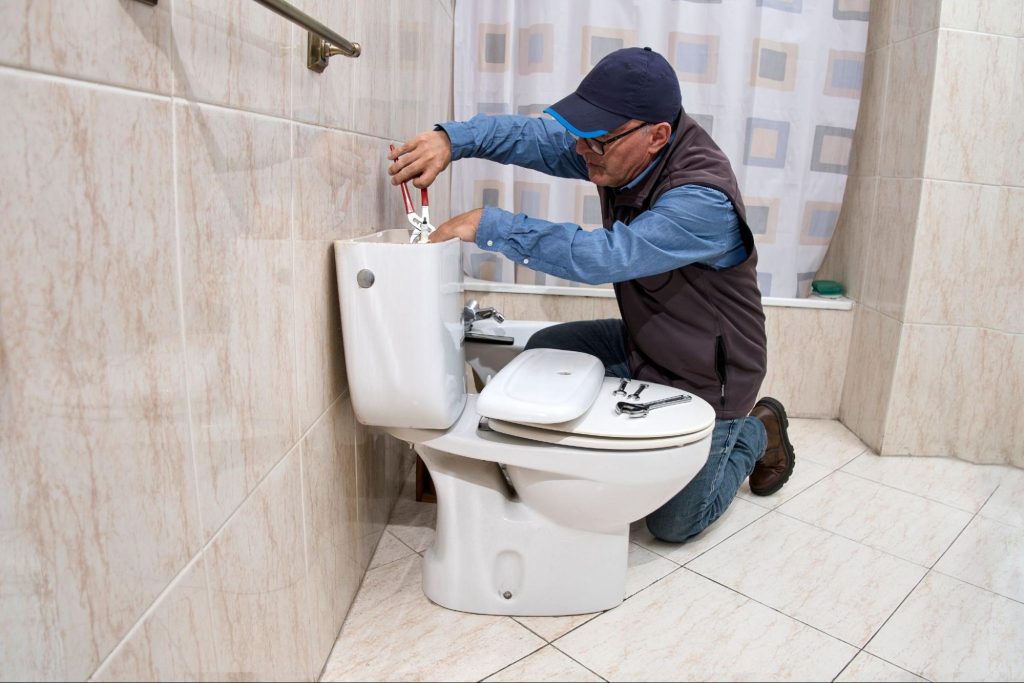
Toilets can develop various issues that affect their performance. Knowing how to spot and fix these problems can save you time and money.
A running toilet wastes water and increases your bill. To check for this issue, add a few drops of food coloring to the tank. If the color appears in the bowl without flushing, you have a leak.
The flapper is often the culprit. Inspect it for damage or debris. Clean or replace it if needed.
Check the chain connecting the flush lever to the flapper. If it’s too loose or tight, adjust it.
Examine the fill valve for proper function. If it’s not shutting off correctly, you may need to replace it.
For a clogged toilet, start with a plunger. Place it over the bowl’s opening and push down gently, then pull up sharply. Repeat until the water drains.
If plunging doesn’t work, try a toilet auger. Insert it into the bowl and turn the handle to break up the clog.
For slow-flushing toilets, check the rim jets under the toilet bowl rim. Clean them with a brush and vinegar to remove mineral buildup.
Ensure the water level in the tank is correct. Adjust the float if needed.
To find tank leaks, wipe it dry and wait for wet spots to appear. Tighten any loose bolts or nuts.
For bowl leaks, check the wax ring seal between the toilet and the floor. If it’s damaged, you’ll need to replace it.
Look for cracks in the tank or bowl. If you find any, it’s time for a new toilet.
Check the supply line connection. Tighten it if loose, or replace it if damaged.
The flapper often needs replacement. Turn off the water, flush to empty the tank, and unhook the old flapper. Install the new one and reattach the chain.
To replace the fill valve, turn off the water and flush. Unscrew the supply line and remove the old valve. Install the new one and reconnect everything.
For a new flush valve, you’ll need to remove the tank. This job might be best left to a pro.
When replacing parts, bring your toilet’s make and model to the store to ensure a proper fit.
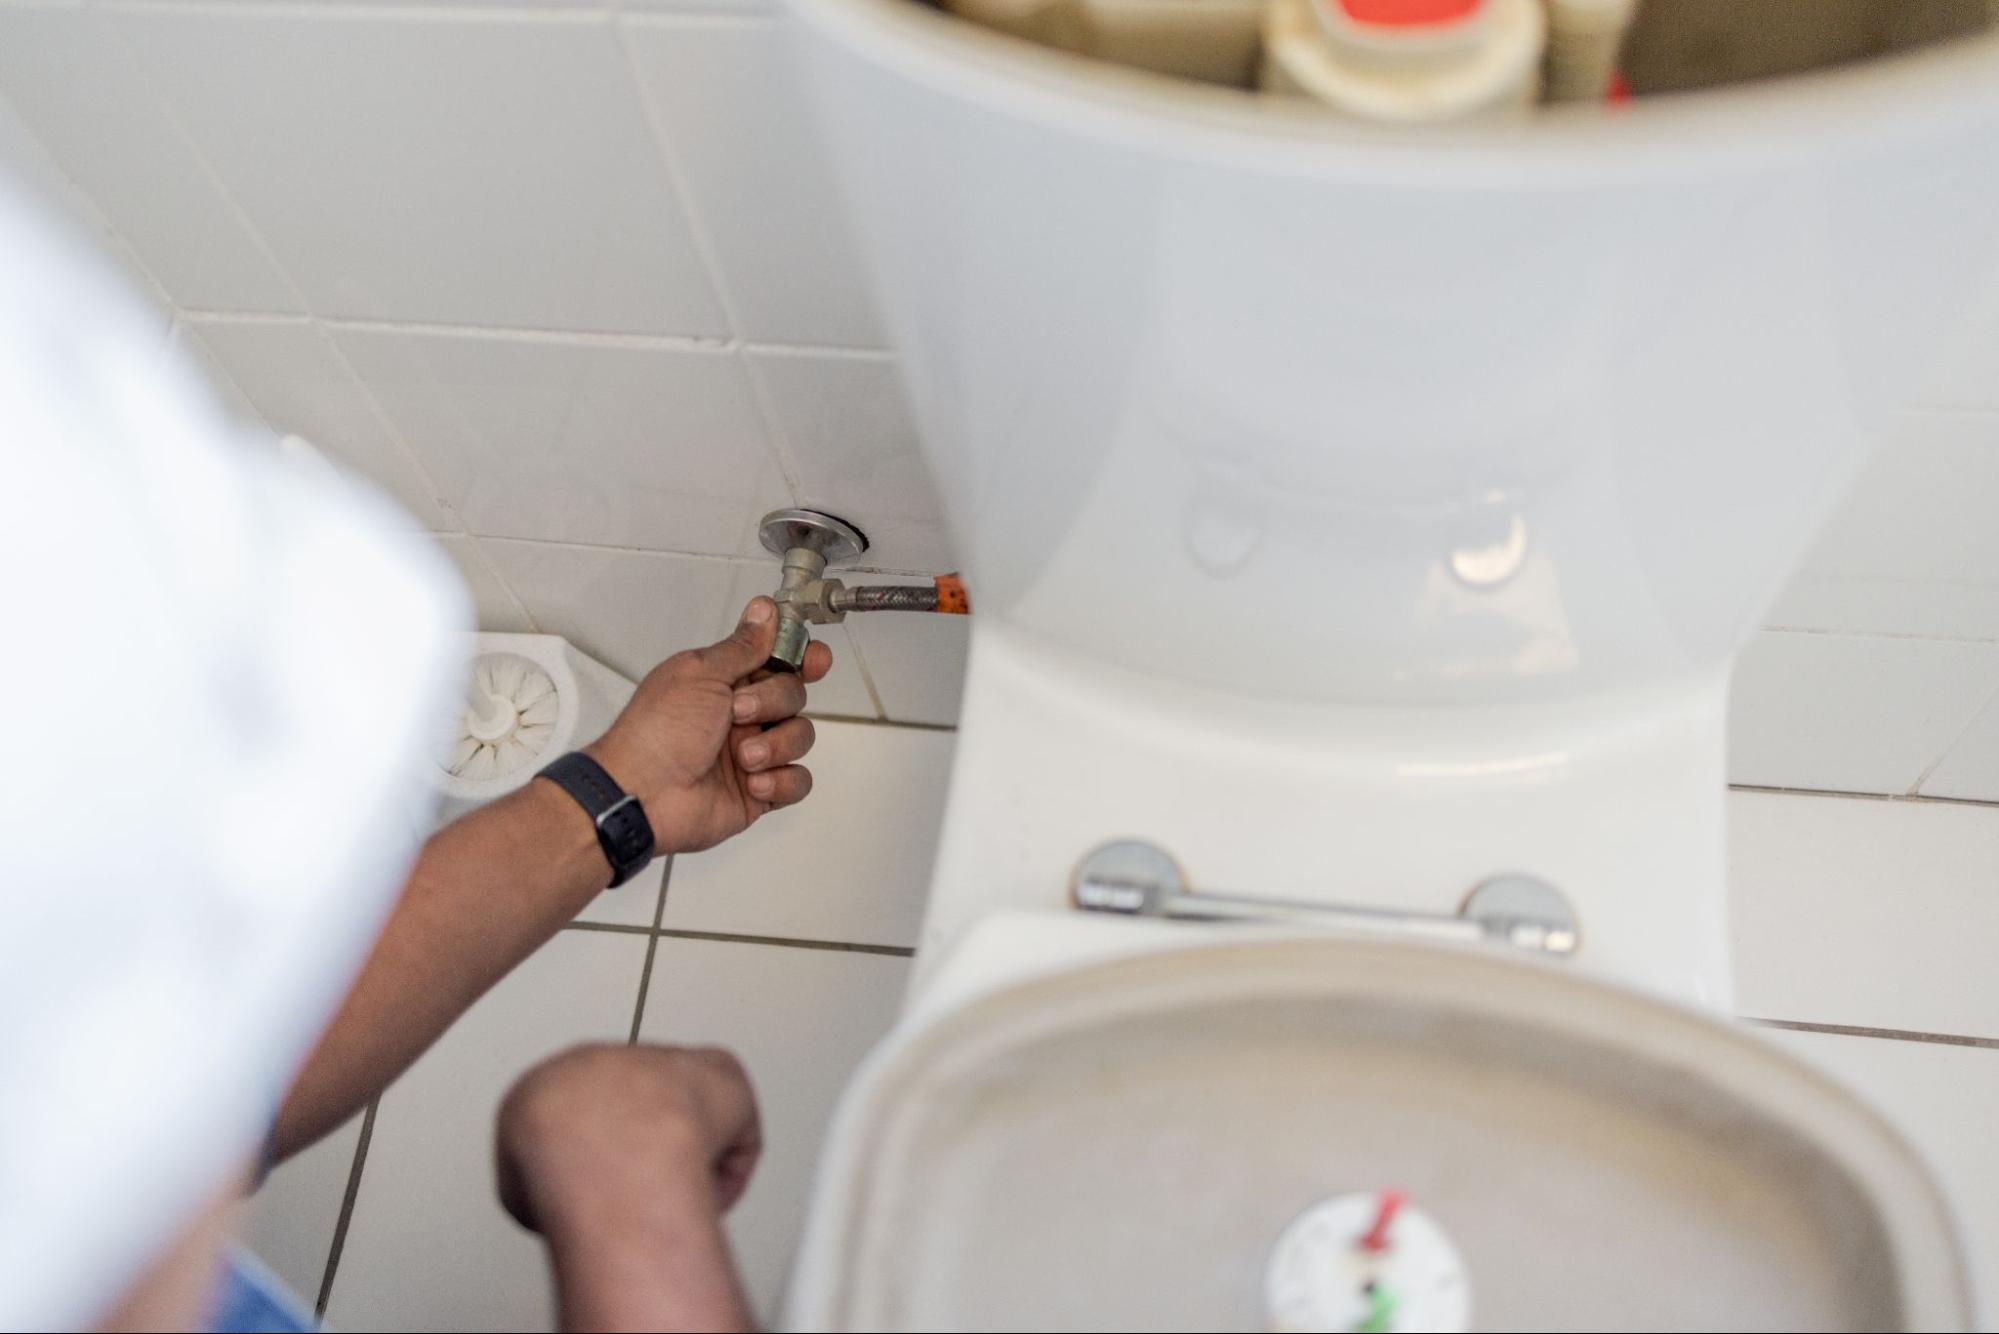
Tackling complex toilet issues requires specialized knowledge and tools. These techniques go beyond basic fixes to address stubborn problems and improve overall toilet performance.
For running toilets that won’t stop, check the flapper valve for proper sealing. Replace it if worn or damaged. Adjust the chain length to ensure the flapper closes fully after each flush.
If your toilet is clogged frequently, use a toilet auger to clear deep blockages. Insert it carefully into the bowl and crank the handle to break up stubborn clogs.
For weak flushes, inspect the rim jets under the toilet bowl rim. Clean them with a wire hanger to remove mineral buildup. This improves water flow and flushing power.
Call a plumber if you notice water pooling around the base of your toilet. This may indicate a broken wax ring seal, which requires lifting the toilet to replace it.
Seek professional help for issues with your toilet’s water supply line or if you suspect problems with your septic system. These repairs often need specialized tools and expertise.
If you’ve tried multiple DIY fixes without success, a plumber can diagnose hidden issues and provide lasting solutions.
Consider upgrading to a low-flow toilet to save water and reduce your bills. Modern models use less than 1.6 gallons per flush while maintaining good performance.
When replacing your toilet, measure the rough-in distance from the wall to the center of the drain pipe. Choose a new toilet that matches this measurement.
Install a new wax ring seal during replacement. Apply it to the toilet flange, not the toilet base, for a proper seal. Tighten the bolts evenly to prevent leaks.
For areas prone to condensation, look into insulated toilet tanks. These reduce “sweating” on humid days, protecting your bathroom floor from water damage.
Remember to regularly clean and inspect your toilet to prevent problems before they start. With proper care, your toilet should provide years of trouble-free service.
If you’re not comfortable doing repairs yourself, consider calling a professional plumber. Kaminskiy Care and Repair specializes in toilet maintenance and can quickly resolve more complex issues. Contact us today
First, check the flapper valve at the bottom of the tank. If it’s not sealing properly, water will keep flowing. Next, examine the chain connecting the flush lever to the flapper. Adjust it if it’s too tight or loose.
Inspect the fill valve for any signs of wear or damage. If these steps don’t fix the issue, you may need to replace the fill valve or flapper.
Start by using a plunger to clear any blockages. If that doesn’t work, try a toilet auger to remove deeper clogs.
Check the water level in the tank. If it’s too low, adjust the float to increase the water level. Make sure the chain isn’t too long, preventing the flapper from opening fully.
Listen for constant running water or hissing sounds. Watch for water leaking around the base of the toilet.
Pay attention to weak flushes or if the bowl doesn’t refill properly after flushing. Strange noises during or after flushing can also indicate problems.
Check the water level in the tank. If it’s too low, adjust the float. Ensure the flush lever is connected properly to the flapper chain.
Clear any blockages in the rim jets under the toilet bowl rim. If these steps don’t work, you may need to replace the flush valve or call a plumber.
When it comes to assembling furniture, a little preparation can save a lot of frustration. Whether working with flat-pack furniture or more complex pieces, a systematic approach is key. Start by laying out all the pieces and tools you’ll need. This simple step can prevent missing screws and parts, making the process smoother.
Carefully following instructions is critical for successful furniture assembly. Each piece of furniture has instructions to ensure all parts fit together correctly. Skipping or misreading a step can lead to a weak structure or even damage.
Understanding how each piece fits into your interior design can also help. Well-assembled furniture not only functions better but also enhances the look of your home. Paying attention to detail during assembly will produce more durable and attractive furniture.
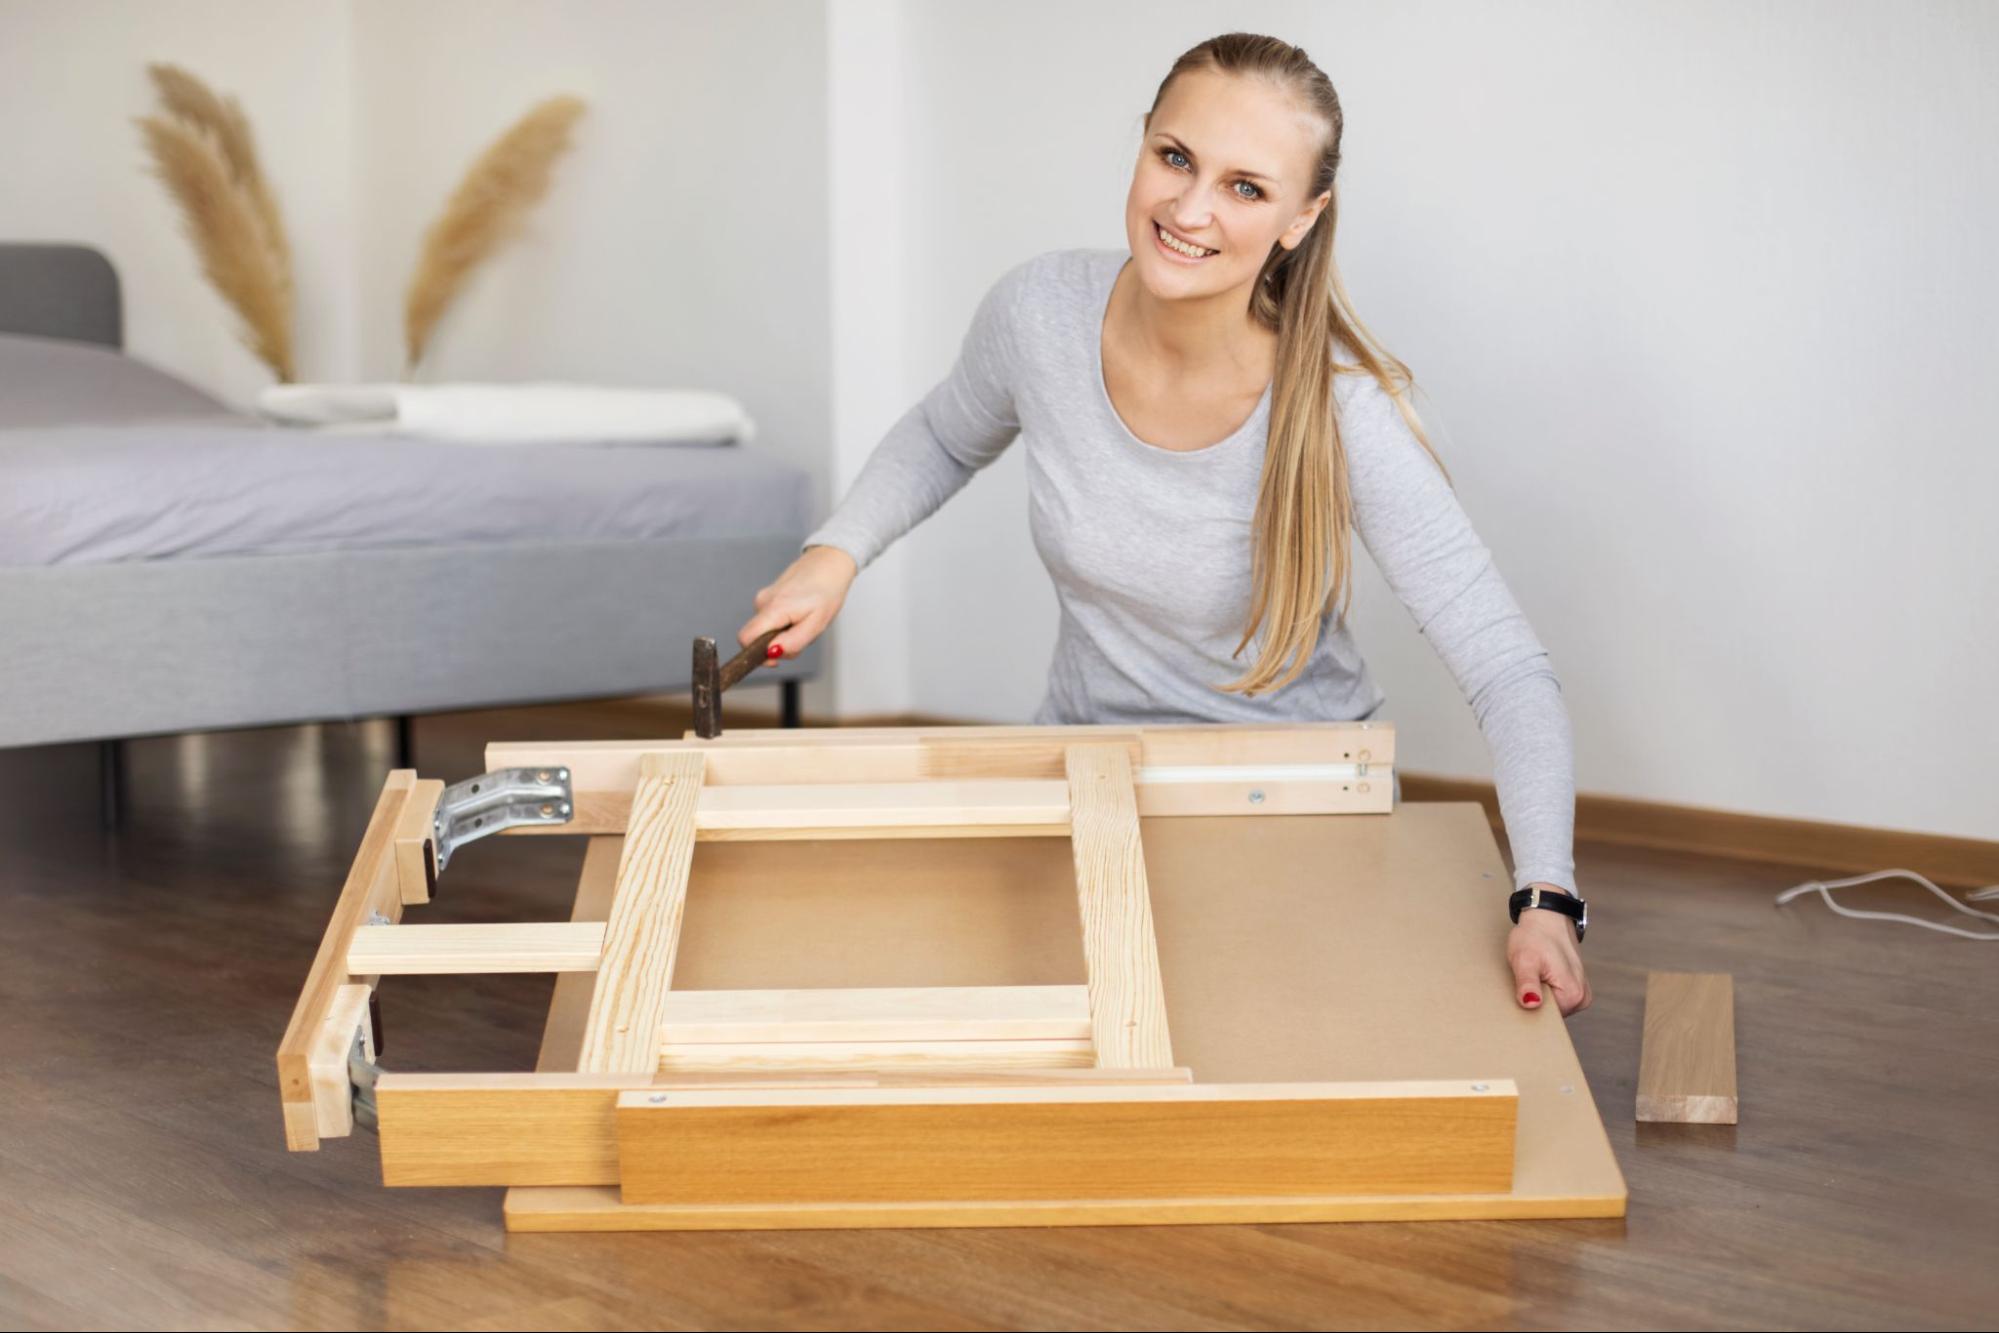
Setting up your workspace, gathering the necessary tools, thoroughly understanding the instructions, and inventorying the components are crucial to ensuring a smooth furniture assembly project. These preparatory steps will help avoid common pitfalls and ensure a successful assembly.
Choose a clean, flat area with plenty of space to work. A well-lit environment will help you see small components. Lay down a protective covering such as cardboard or an old blanket to prevent scratching the furniture. Keep pets and children away from the work area to avoid distractions and accidents. Prepare a small table or tray to keep your tools and hardware within easy reach.
Before you start, collect all required tools. Standard tools include screwdrivers, an adjustable wrench, a rubber mallet, an Allen key, and a hammer. Make sure you have the correct sizes for each tool. Check if your kit includes specific hardware like screws, nuts, and bolts. If not, contact customer service for any missing pieces. Using the right tools will make the job easier and prevent damage to the furniture.
Carefully read through the assembly instructions before beginning. Many guides feature a step-by-step approach with diagrams. Pay attention to warnings and tips from the manufacturer. Misinterpreting steps or skipping parts can lead to mistakes. If you struggle with any part of the manual, seek help from online videos or forums. Some manufacturers also offer supportive customer service to guide you through tricky steps.
Take out all furniture components and spread them out in your workspace. Organize them by type, size, and step in the instructions. Use small containers or bags for screws, nuts, and bolts to prevent loss. Count all components to ensure you have the correct quantities. That is your chance to check for any missing or damaged parts before you start assembling. Proper organization will save you time and frustration.
With these steps, your preparation will be thorough, ensuring a smoother and more efficient furniture assembly process.
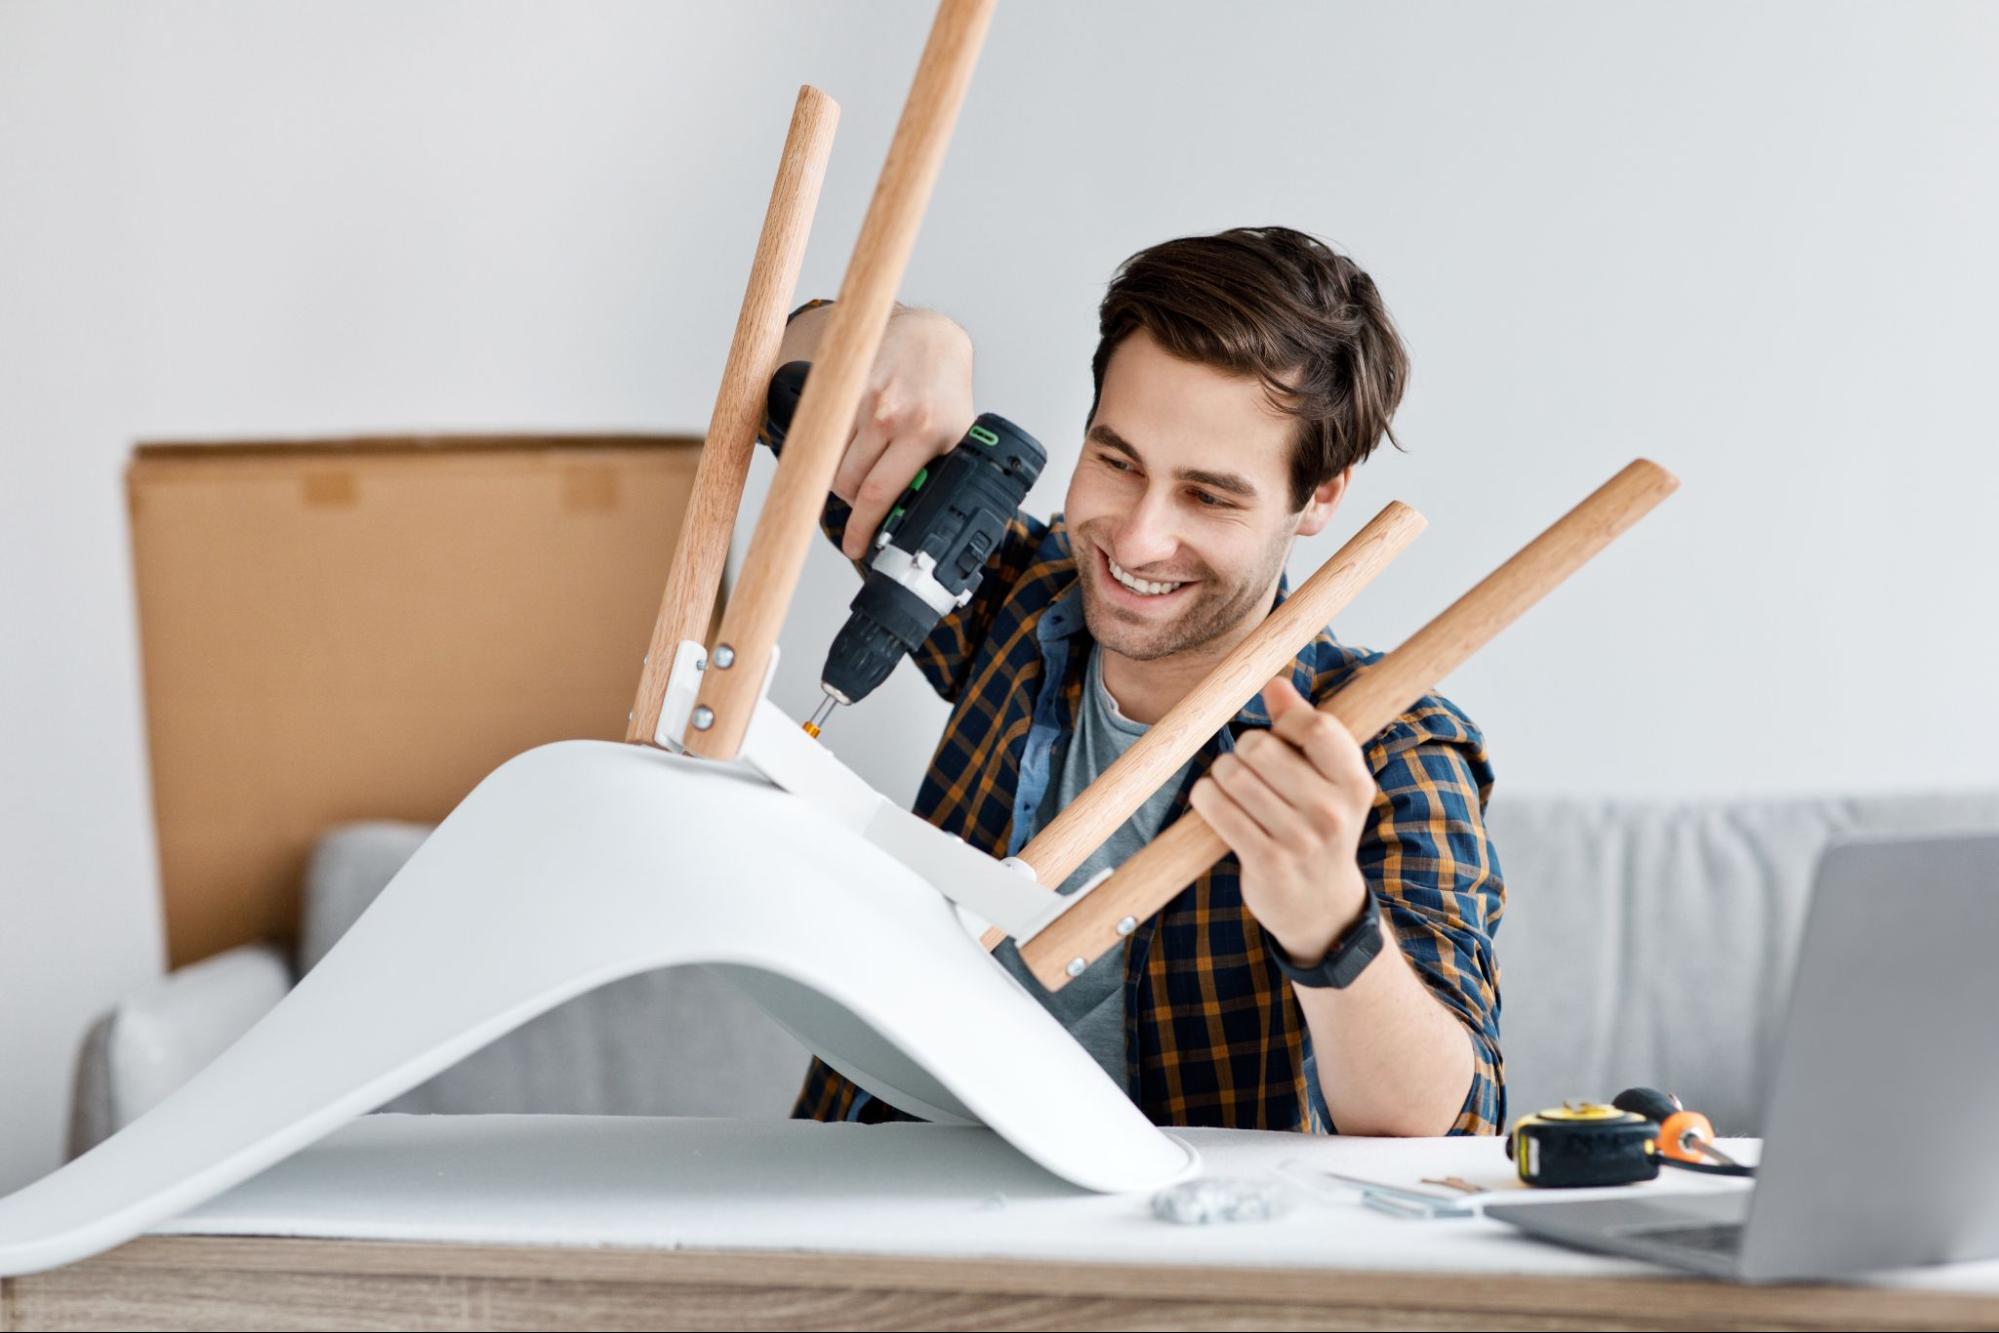
Follow these steps to ensure your furniture assembly is done correctly. This process includes starting the assembly, providing stability and leveling, applying finishing touches and final adjustments, and considering environmental aspects during cleanup.
Begin by organizing all parts and tools needed for the assembly. Lay out each item and thoroughly read the instructions to understand the step-by-step approach. Identify smaller parts like screws and bolts, and place them in containers to avoid losing them.
Clear a large, flat surface to work on. That helps prevent parts from getting misplaced and ensures you have enough room to maneuver. Make sure the space is well-lit so you can see small details. Use packaging materials like cardboard to protect the floor from scratches.
Ensure the stability of your furniture by carefully tightening all screws and bolts during each step of the assembly process. Loose screws can result in wobbly furniture, which can be unsafe. Use a level to properly align all parts, especially for items like drawers or shelves.
If you are working on a soft surface like carpet, consider moving to a harder and more stable area. Uneven surfaces can make the assembly more complicated and affect the stability of your furniture. During this step, periodically check that all components are tight and secure.
Once the main structure is assembled, focus on any finishing touches and final adjustments. Make sure drawers slide smoothly and doors open and close correctly. Adjust hinges and handles as needed to ensure functionality.
Inspect the furniture for any scratches or imperfections. Tighten any loose components one last time before declaring the piece finished. Pay attention to the aesthetics and ensure that everything looks aligned and clean. This step is crucial for both the functionality and appearance of your furniture.
After finishing the assembly, gather all leftover parts and tools. Dispose of or recycle packaging materials like cardboard and plastic responsibly. Organize any remaining screws or bolts into labeled containers for future use.
Consider the environmental impact while cleaning up. Recycle materials wherever possible and dispose of non-recyclable parts properly. This not only helps keep your space tidy but also contributes to environmental conservation. A thorough cleanup ensures that the area is ready for its next use.
Following these steps, you can efficiently execute the entire furniture assembly process, ensuring stability, functionality, and environmental consciousness.
If you need professional help, Kaminskiy Care and Repair can offer assistance. Our services ensure a smooth and efficient furniture assembly process. Contact us today.
Start by clearing the space where you will assemble the furniture. Ensure you have enough room to lay out all components and tools. A hard, flat surface prevents parts from warping or damaging during assembly.
A well-equipped toolkit is crucial. Essential tools include screwdrivers (Flathead and Phillips), an adjustable wrench, and a hammer.
Avoid assembling furniture in the wrong space and not seeking help when needed. Building your project near its final location can prevent issues such as difficulty moving the furniture.
To ensure stability, tighten screws and bolts securely. Use washers to distribute pressure evenly and prevent loosening over time. Double-check that all parts are correctly aligned before finalizing the assembly.
Do your tiles look worn out and old? Regrouting can make them look brand new without the cost of replacement. Whether for a kitchen backsplash or a bathroom floor, this guide will walk you through everything you need to know to bring your tiles back to life.
You’ll learn how to prepare your workspace, remove the old grout, apply new grout like a pro, and have the confidence to tackle any tile regrouting project.
There is no need to feel intimidated. With the right tools and a bit of patience, you can transform your space and make it feel fresh and clean again. Plus, doing it yourself can save you money.
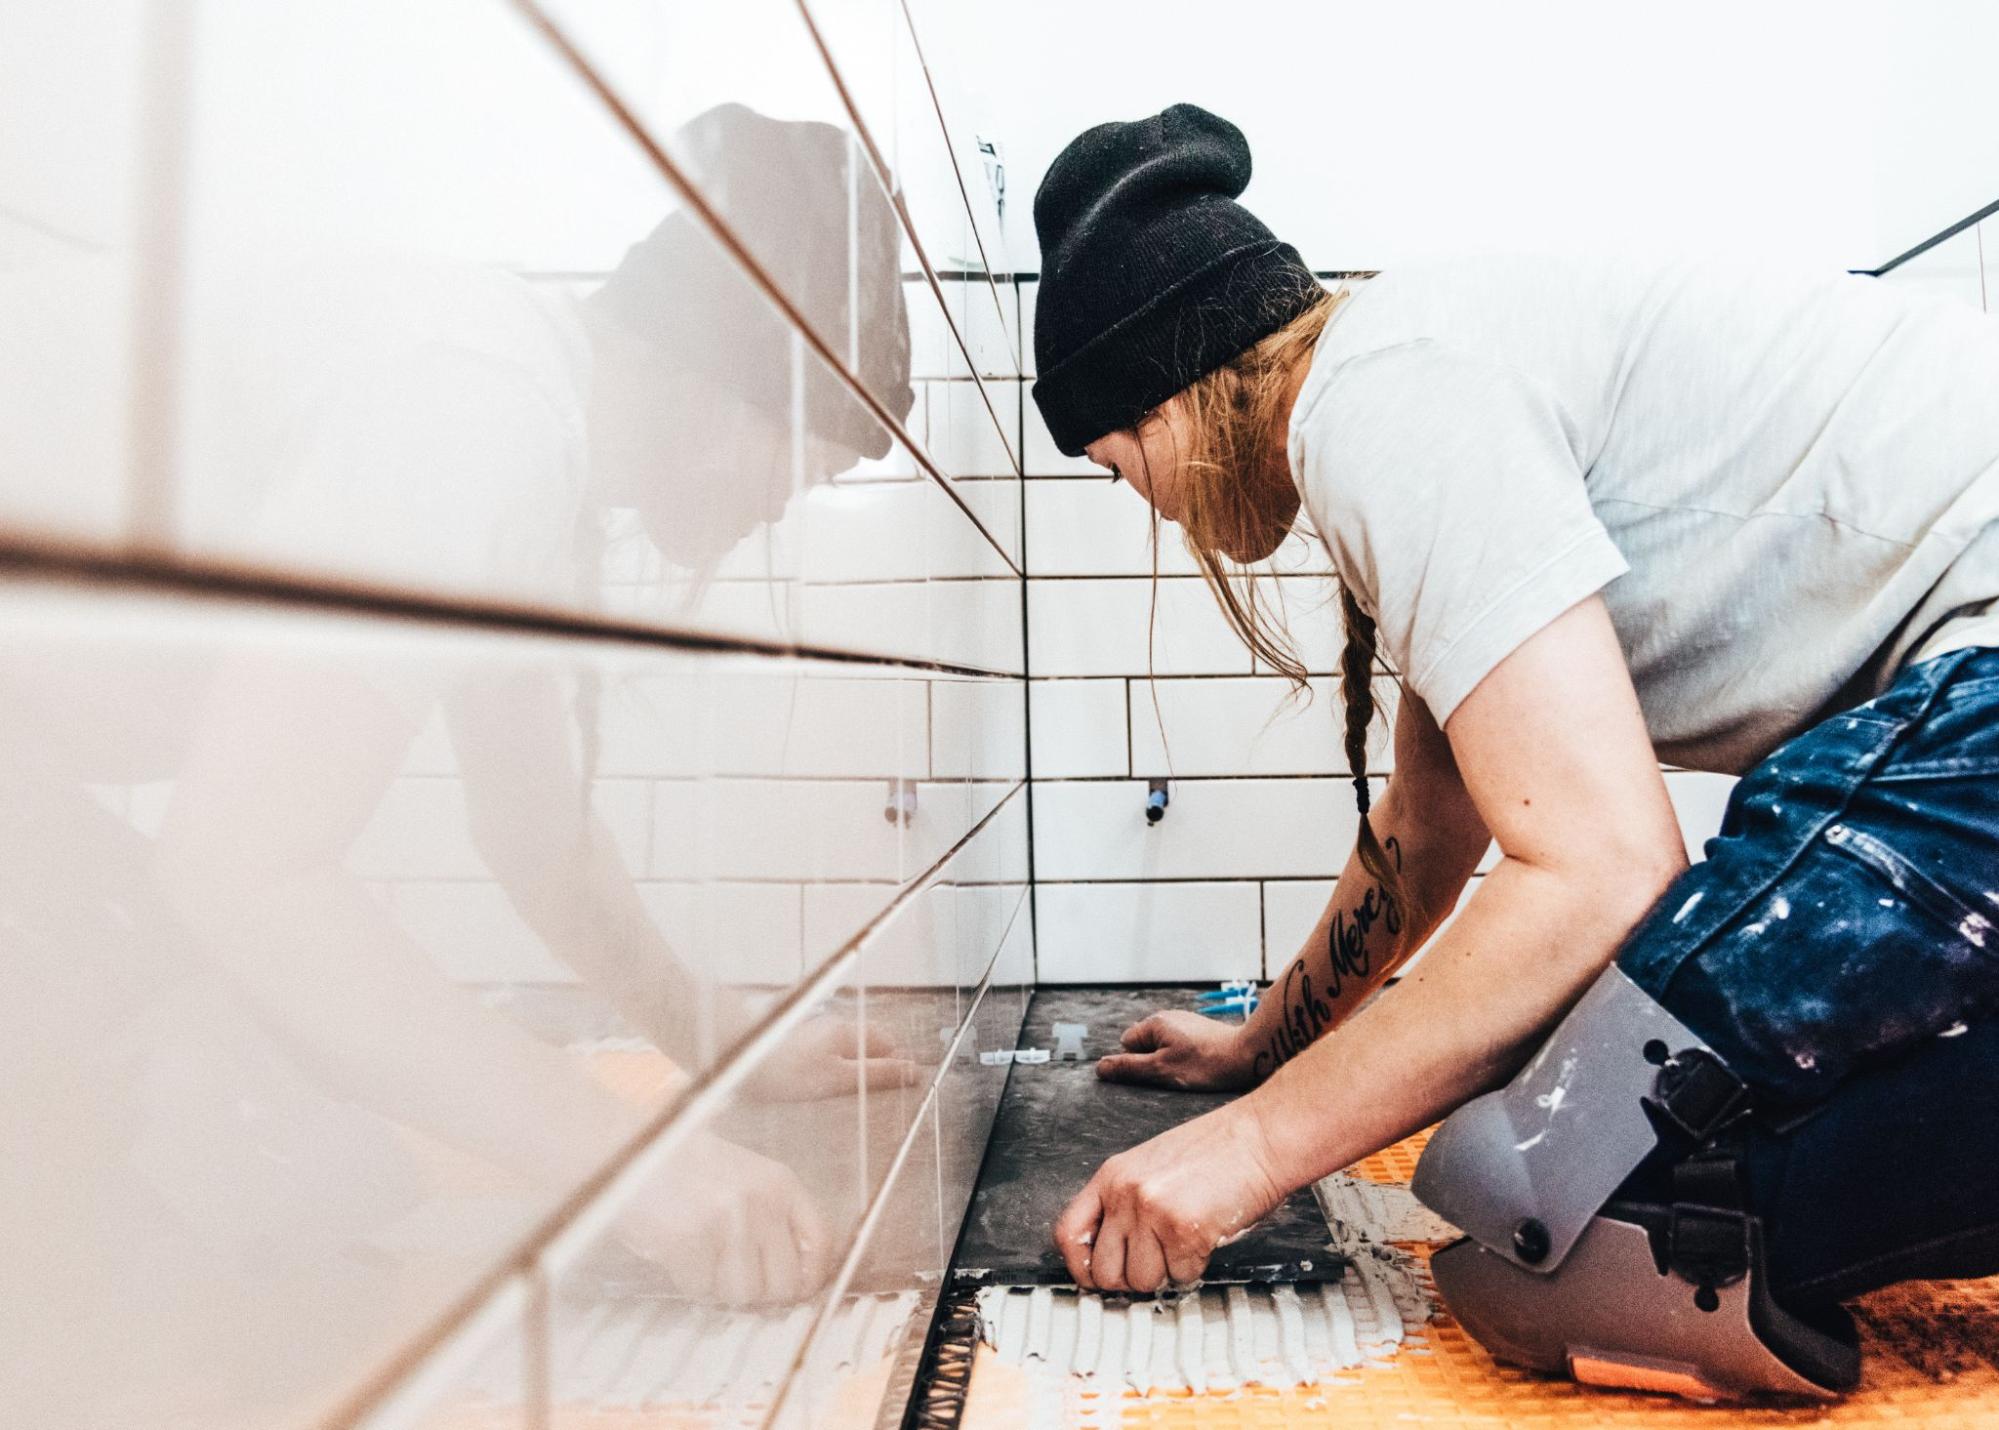
Ensure your workspace is ready before beginning your regrouting project. This includes checking the current state of your tiles and grout, gathering all the necessary tools, and protecting the surrounding areas to avoid damage or mess.
First, inspect your tiles and grout. Look for cracks, missing pieces, or mold. If the grout is falling apart or the tiles are loose, you must address these issues before rerouting. Identify any problem areas where tiles may need to be replaced. Use a grout saw or utility knife to test if the existing grout easily comes out. If it does, it’s time to remove it carefully.
Before you start, make sure you have all the tools and materials. You will need a grout saw or a multitool with a grout removal blade, a grout float, a bucket, a sponge, and the new grout.
The Tools and Materials Checklist includes a grout saw, Grout float, Grout Bucket, Sponge, Protective gloves, and safety glasses. Having these tools ready will streamline the regrouting process and save you time.
To keep your workspace clean and prevent damage, cover nearby surfaces with drop cloths or plastic sheets. Mask off the edges of the areas you will work on with painter’s tape. That will help keep grout from spilling onto areas you want to protect. If you’re working in a bathroom, remove any items that could get in the way, like toiletries or decorations.
By taking these steps, you can ensure a smooth and efficient regrouting process.
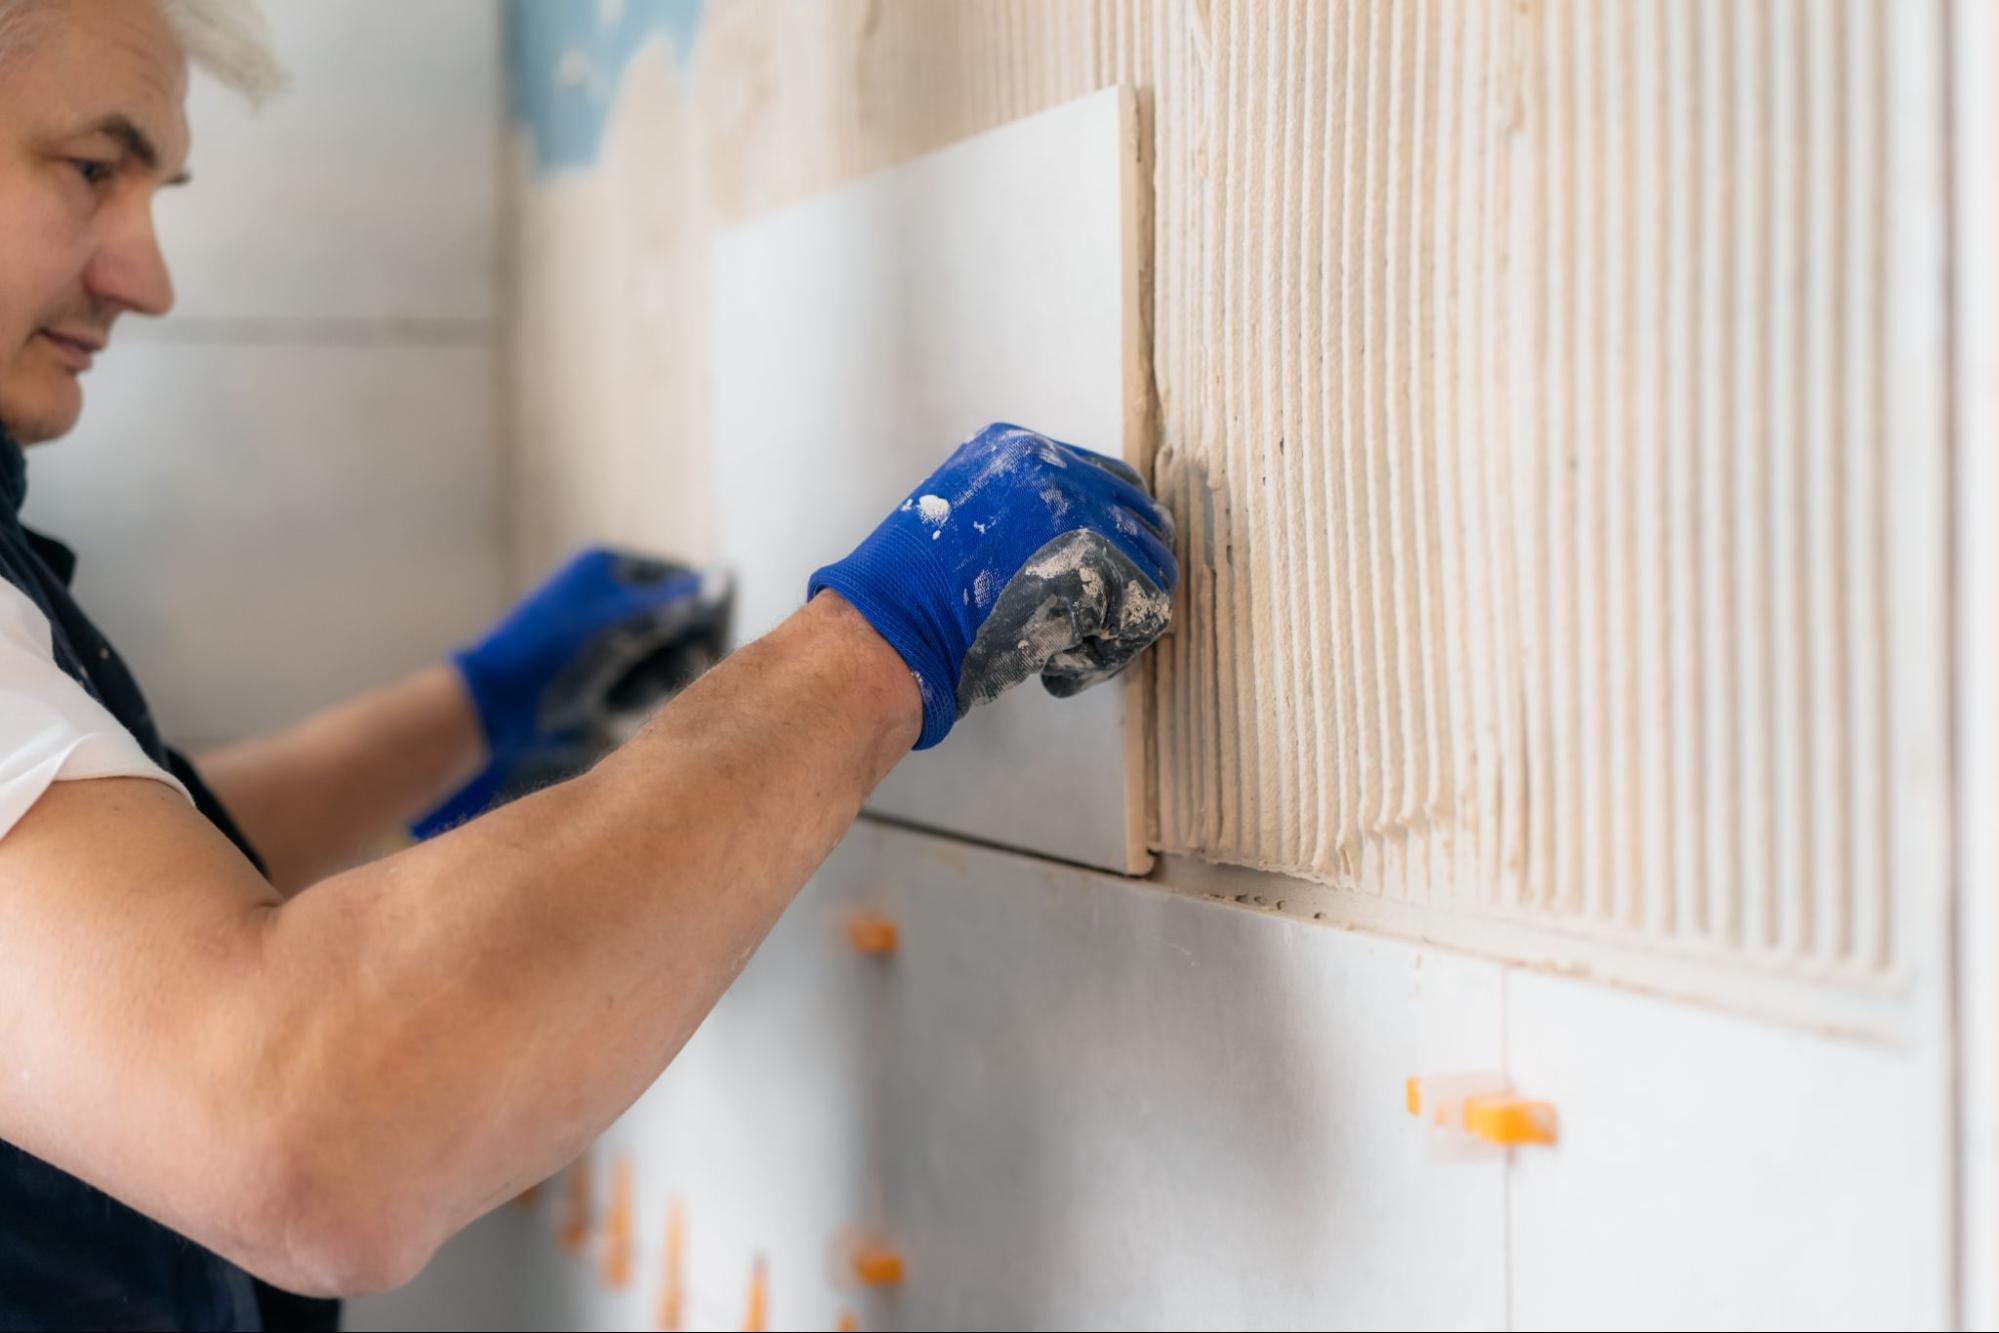
To achieve a neat and long-lasting tile regrouting job, you must focus on removing old grout, mixing and applying new grout, and finishing and curing the newly grouted tiles. Each step is essential to ensure a top-quality result.
Start by assessing the condition of the old grout. Then, use a grout saw or a rotary tool with a grout removal attachment to remove it. Be careful not to damage the tiles.
Once the bulk of the old grout is removed, vacuum-clean the gaps thoroughly. This step is crucial to avoid mixing debris with the new grout. If any old grout remains, repeat the process until the gaps are clean and free of loose material.
First, follow the manufacturer’s instructions on the grout packaging for mixing. Use a bucket and a grout mixing tool to ensure a smooth consistency. The grout should have the texture of toothpaste.
Apply the grout using a rubber float, holding it at a 45-degree angle. Spread the grout diagonally across the tile joints to fill them completely. With the edge of the float, remove any excess grout.
After applying the grout, clean the surface of the tiles with a damp sponge, wiping diagonally to avoid pulling grout out of the joints.
Allow the grout to set for about 15-30 minutes, then use a damp sponge to clean the tiles again. Be gentle to avoid disturbing the grout lines. Once the grout is fully cured, usually 24-48 hours, buff the tiles with a dry cloth to remove any grout haze.
Finally, apply grout sealant to protect your work. Use a small brush or a spray to apply the sealant, and let it dry according to the manufacturer’s recommendations. This will help prevent stains and extend the life of your grout.
Here is a quick checklist to remember:
By following these steps, you can achieve professional regrouting results on your own.
Before regrouting, clean the tiles and grout lines to remove any mold, mildew, or old grout residue. Ensure the area is dry. Remove any loose or damaged grout, then apply a grout cleaner and let it dry. Gather all necessary tools, such as a grout float and sponge.
You cannot apply new grout directly over old grout as it won’t adhere properly. Remove at least 1/8 inch of the old grout using a grout saw or an oscillating tool. Clean the area well before applying the new grout to ensure it bonds correctly.
Practical tools for removing grout include a grout saw, an oscillating multitool with a grout removal blade, and a utility knife. Power tools like a rotary tool with a grout removal attachment can save time and effort for bigger jobs.
To ensure a clean and professional finish, use a rubber grout float to apply the grout smoothly. Press the grout firmly into the joints. After application, wipe away excess grout with a damp sponge, rinsing it frequently. Allow the grout to dry, then clean the tiles with a soft cloth.
Southern California is currently one of the hottest housing markets in the United States. The generally high price of homes isn’t always great news for those who are not currently homeowners. But it has a number of implications for those who are fortunate enough to own some of the country’s most valuable real estate in one of its most picturesque locations.
One consequence of the area’s explosion in real estate prices is that many who were fortunate enough to buy into San Diego real estate in the 1990s have seen their home prices soar in value by six times or more. But even those who have just bought homes in the area may be interested in knowing another secret that uniquely applies to areas with high median home prices like Southern California: High home prices mean that a whole host of renovations can see huge returns on investment.
It turns out that crown molding installation is one of the cheapest and highest-impact home improvements. While crown molding installation costs usually run from $2,000 to $4,000 for an entire home with professional installation, these crown molding installation costs can turn out to be more than worth the price.
Crown molding can dramatically improve the look of a room, giving it a clear edge over similar homes that lack it. This is especially true in high-end home markets like that of Southern California, where buyers are often not just looking for a roof over their heads but also for building space that can visually dazzle guests and serve as a sort of life statement.
It is difficult to say how much value crown molding alone could add. But in a highly competitive real estate market, where bidding wars often form around in-demand properties, million-dollar homes could easily see tens of thousands of dollars added to their ultimate sale price as a direct result of well-done crown molding.
While it is possible for those with construction or carpentry experience to install their own crown molding, those looking for in-depth crown molding installation tips would do well to read how-to articles that are written by home-finishing experts. Those who are not experienced with home renovation tasks may be well advised to hire professionals.
Crown molding installation involves serious carpentry skills, including locating and accurately nailing into studs from unusual angles, cutting compound angles into often fragile boards, as well as holding boards above one’s head while nailing. Painting crown molding also requires extreme caution, as surrounding walls and window frames must be carefully taped off and paint applied in a perfectly even way. Failing to properly execute any of these tasks will result in noticeably subpar work.
However, if you are going to install crown molding yourself, using corner blocks can make things much easier should you not be an expert at cutting angles with a miter saw. These corner blocks often look completely professional and remove the need to pencil in, cut, and fit together two pieces of molding at often difficult angles.
The simple fact is that crown molding is a difficult job, even for those who work on homes for a living. And a botched crown molding job will not just fail to add any value to your home; it will likely detract from its current value. At worst, a poorly done job may have to be professionally removed.
Kaminskiy Care and Repair is one of San Diego’s leading handyman services. We have been helping Southern California homeowners keep their properties in top condition for more than 13 years. We also have a handyman who is ready to repair or improve any home.
We are one of the area’s crown molding experts, completing beautiful work that may add a healthy dose of style and tens of thousands of dollars in value to local homes. Furthermore, we guarantee all of our work. All of our fixed-price contract work is guaranteed for a period of two years. And all of our materials are guaranteed to last for at least a year. If our work doesn’t meet these minimum thresholds, we’ll redo it until we get it right, free of charge.
No price games. You get a clear written quote before any work begins, backed by our workmanship warranty.