Dripping faucets can be more than just an annoyance; they can lead to higher water bills and potential damage to your home. Preventing this issue will save you time and money while ensuring your plumbing system remains in good shape. Whether you’ve noticed a slow drip or you’re looking to avoid future problems, understanding your faucet’s mechanics and how to maintain them is essential.
Regular maintenance plays a key role in keeping your faucets functioning properly. Simple checks and timely repairs solve minor issues before they become major leaks. Knowing when to handle repairs yourself and when to seek professional help can also make a significant difference in how effectively you manage this common household problem.
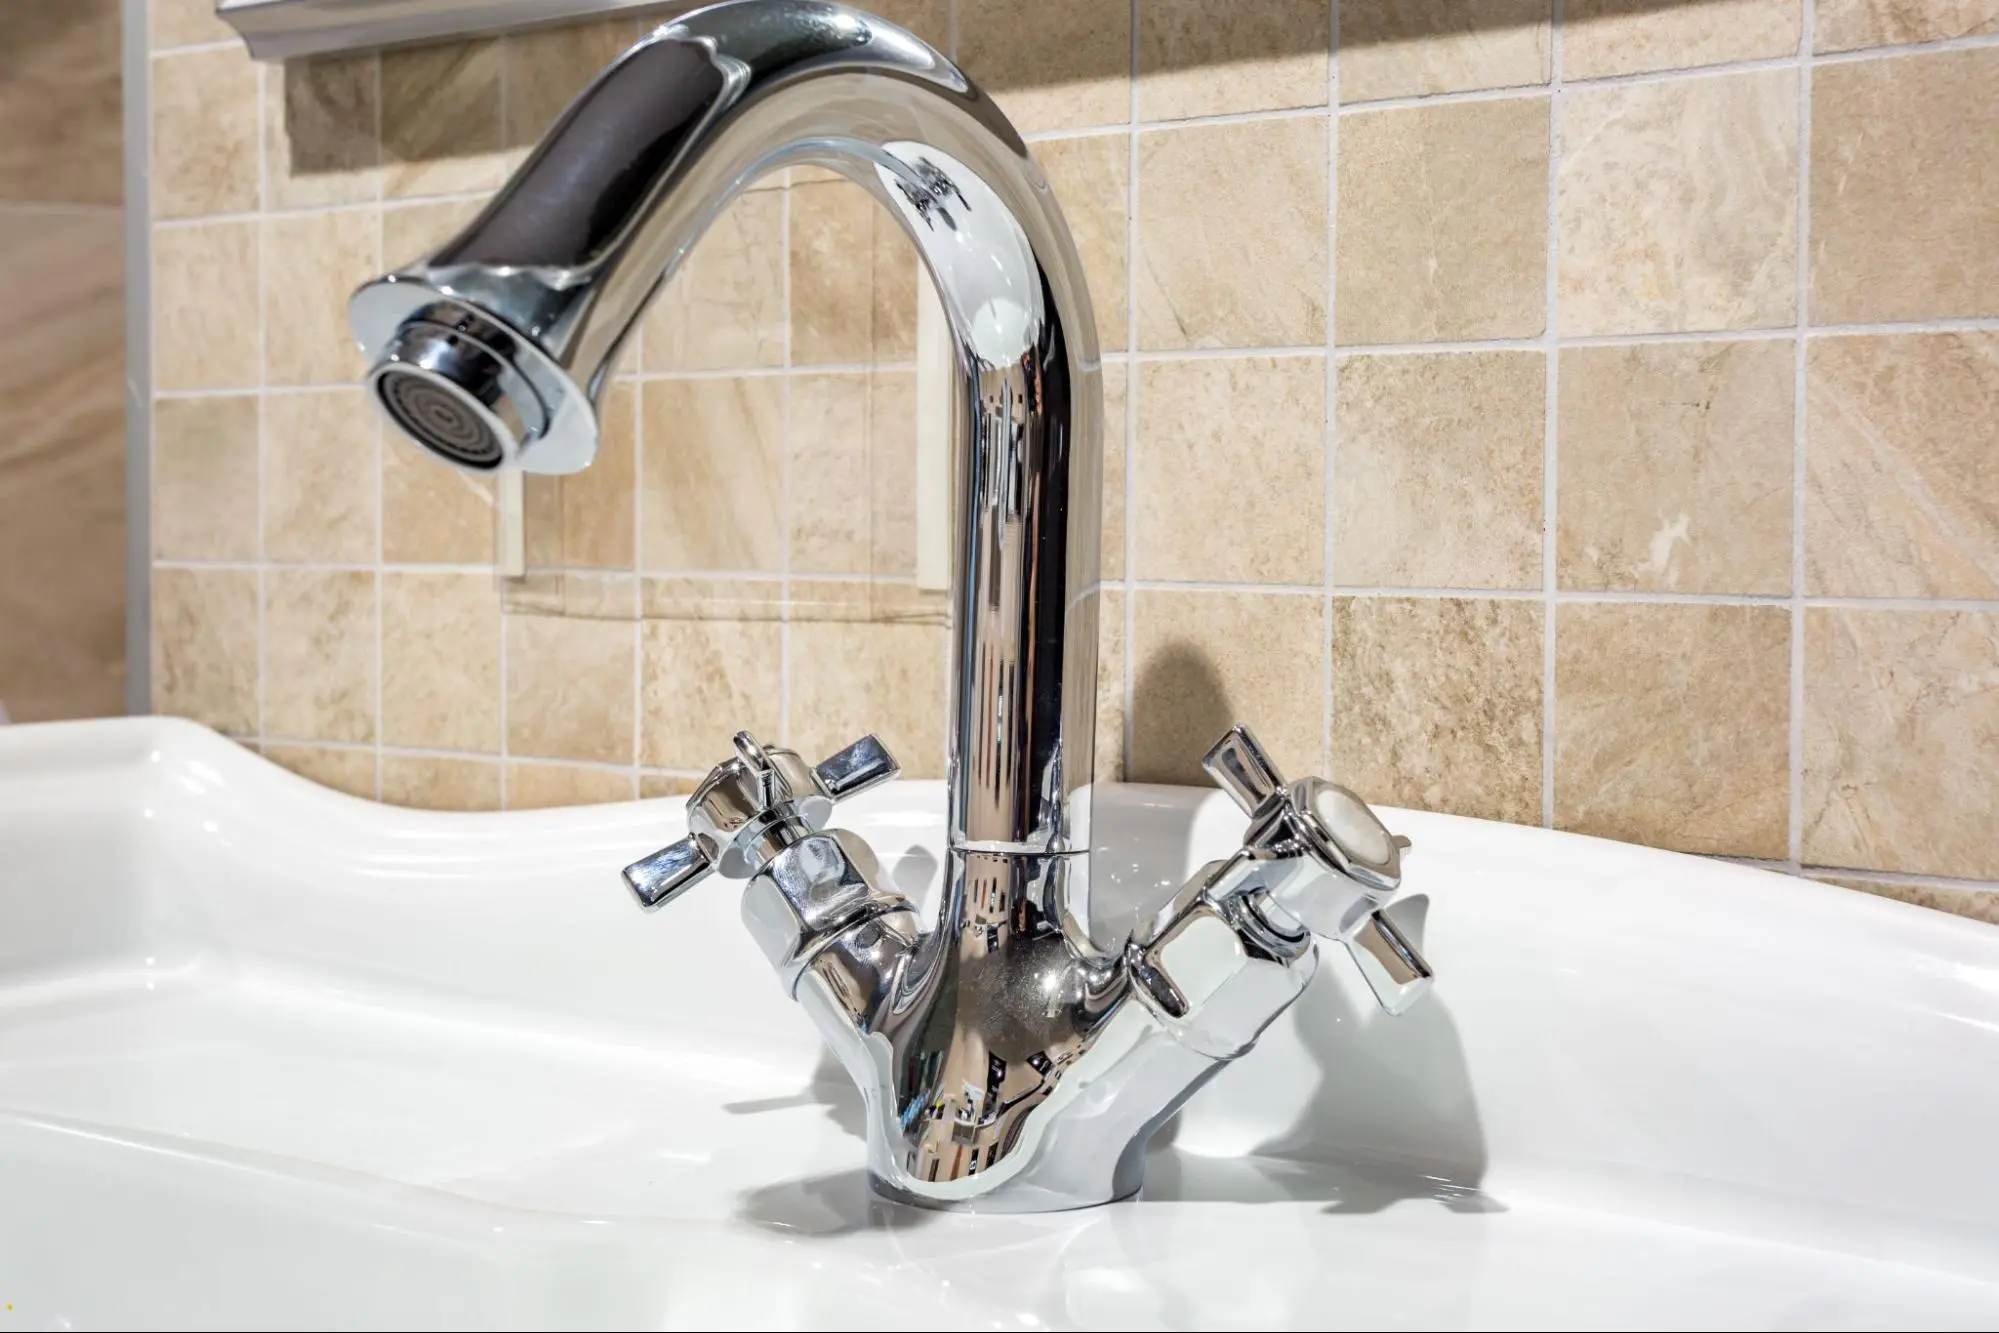
Faucets play an essential role in your home. To effectively prevent drips, it’s important to understand how they work and what can lead to leaks.
Four types of faucets exist: compression, ball, cartridge, and ceramic disk. Each type operates differently, which affects how they may develop issues.
Several factors can lead to a dripping faucet. Understanding these causes helps you address them early.
By recognizing these issues related to faucet types and their mechanics, you can take steps to prevent drips in your home.
Regular maintenance and inspection can keep your faucets functioning well. By being proactive, you can spot problems early and save yourself from costly repairs down the road.
Inspect your faucets regularly for signs of wear and tear. Look for corrosion, cracks, and other visible damage. Pay close attention to the faucet handles, spout, and base.
If you notice any rust or mineral buildup, these could lead to leaks. Also, check the screws and fittings for tightness. Loose parts can cause dripping. Tighten screws if necessary, or replace stripped ones.
Performing these inspections every few months can help you catch issues before they escalate. The sooner you address them, the less likely you are to face significant water damage in your home.
Aerators and O-rings are vital for the proper functioning of your faucets. Start by unscrewing the aerator from the faucet tip. Soak it in vinegar to remove mineral deposits, then scrub gently with a brush.
Next, check the O-rings. These rubber seals can wear out over time and cause leaks. If you see cracks or changes in texture, it’s time to replace them.
Make sure to apply the plumber’s grease on the new O-rings to ensure a good seal. Reassemble the aerator once everything is clean. Regular cleaning can extend the life of your faucets and prevent drips.
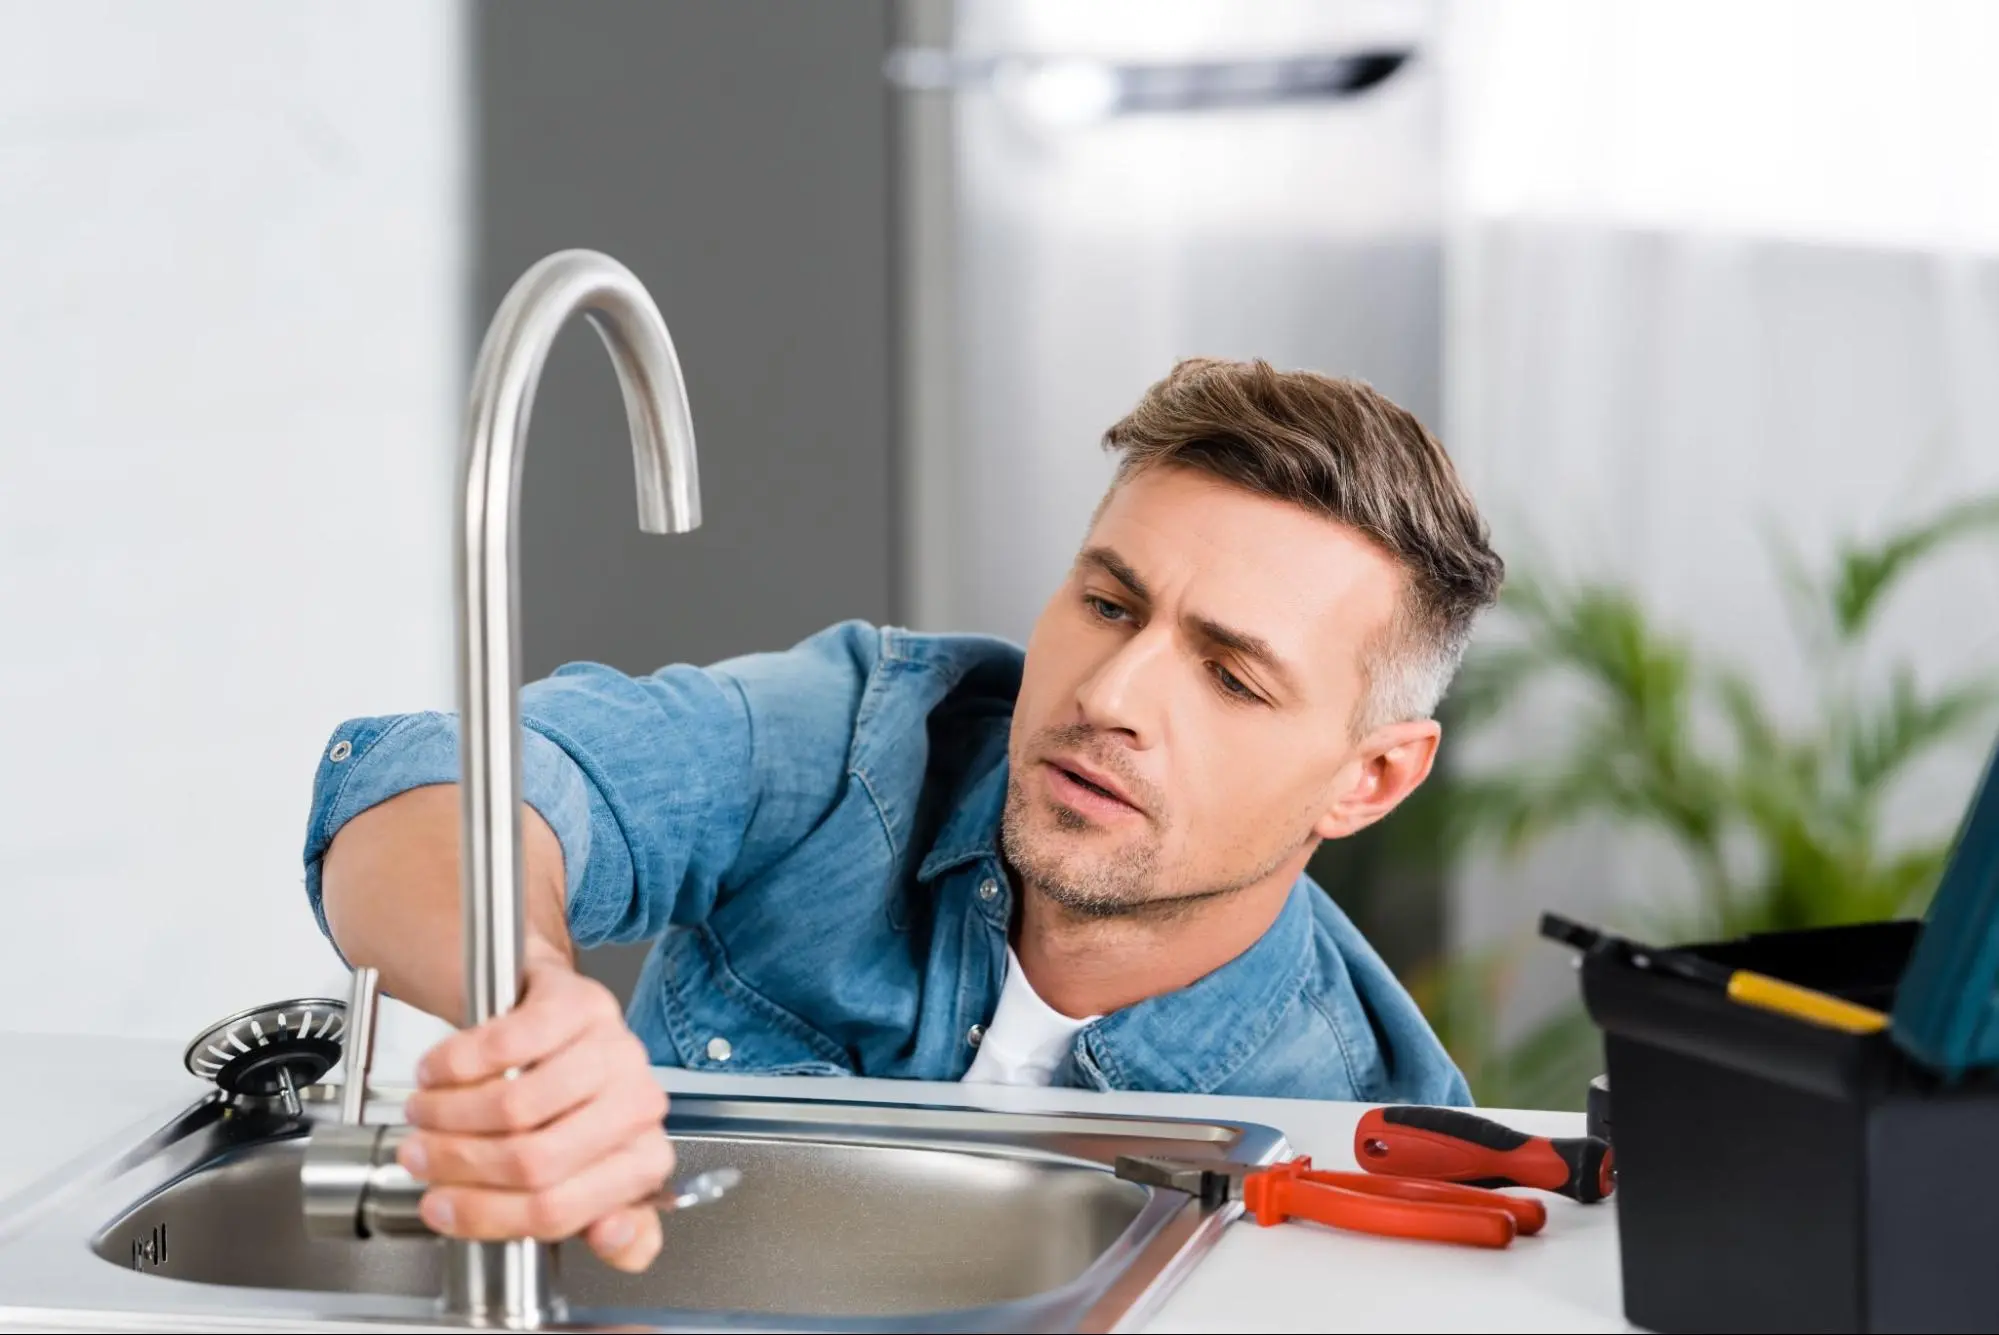
You can handle many common faucet issues yourself. Two frequent problems include worn washers and gaskets or valve seat corrosion. Both can lead to dripping faucets and fixing them can be a straightforward task.
To replace washers and gaskets, start by turning off the water supply under the sink. Use a wrench to remove the faucet handle. Once off, locate the rubber washer or gasket at the bottom of the faucet.
Check for leaks after reassembling. This simple fix can save you money and water.
Valve seat corrosion can cause leaking around the faucet. To fix this, follow these steps:
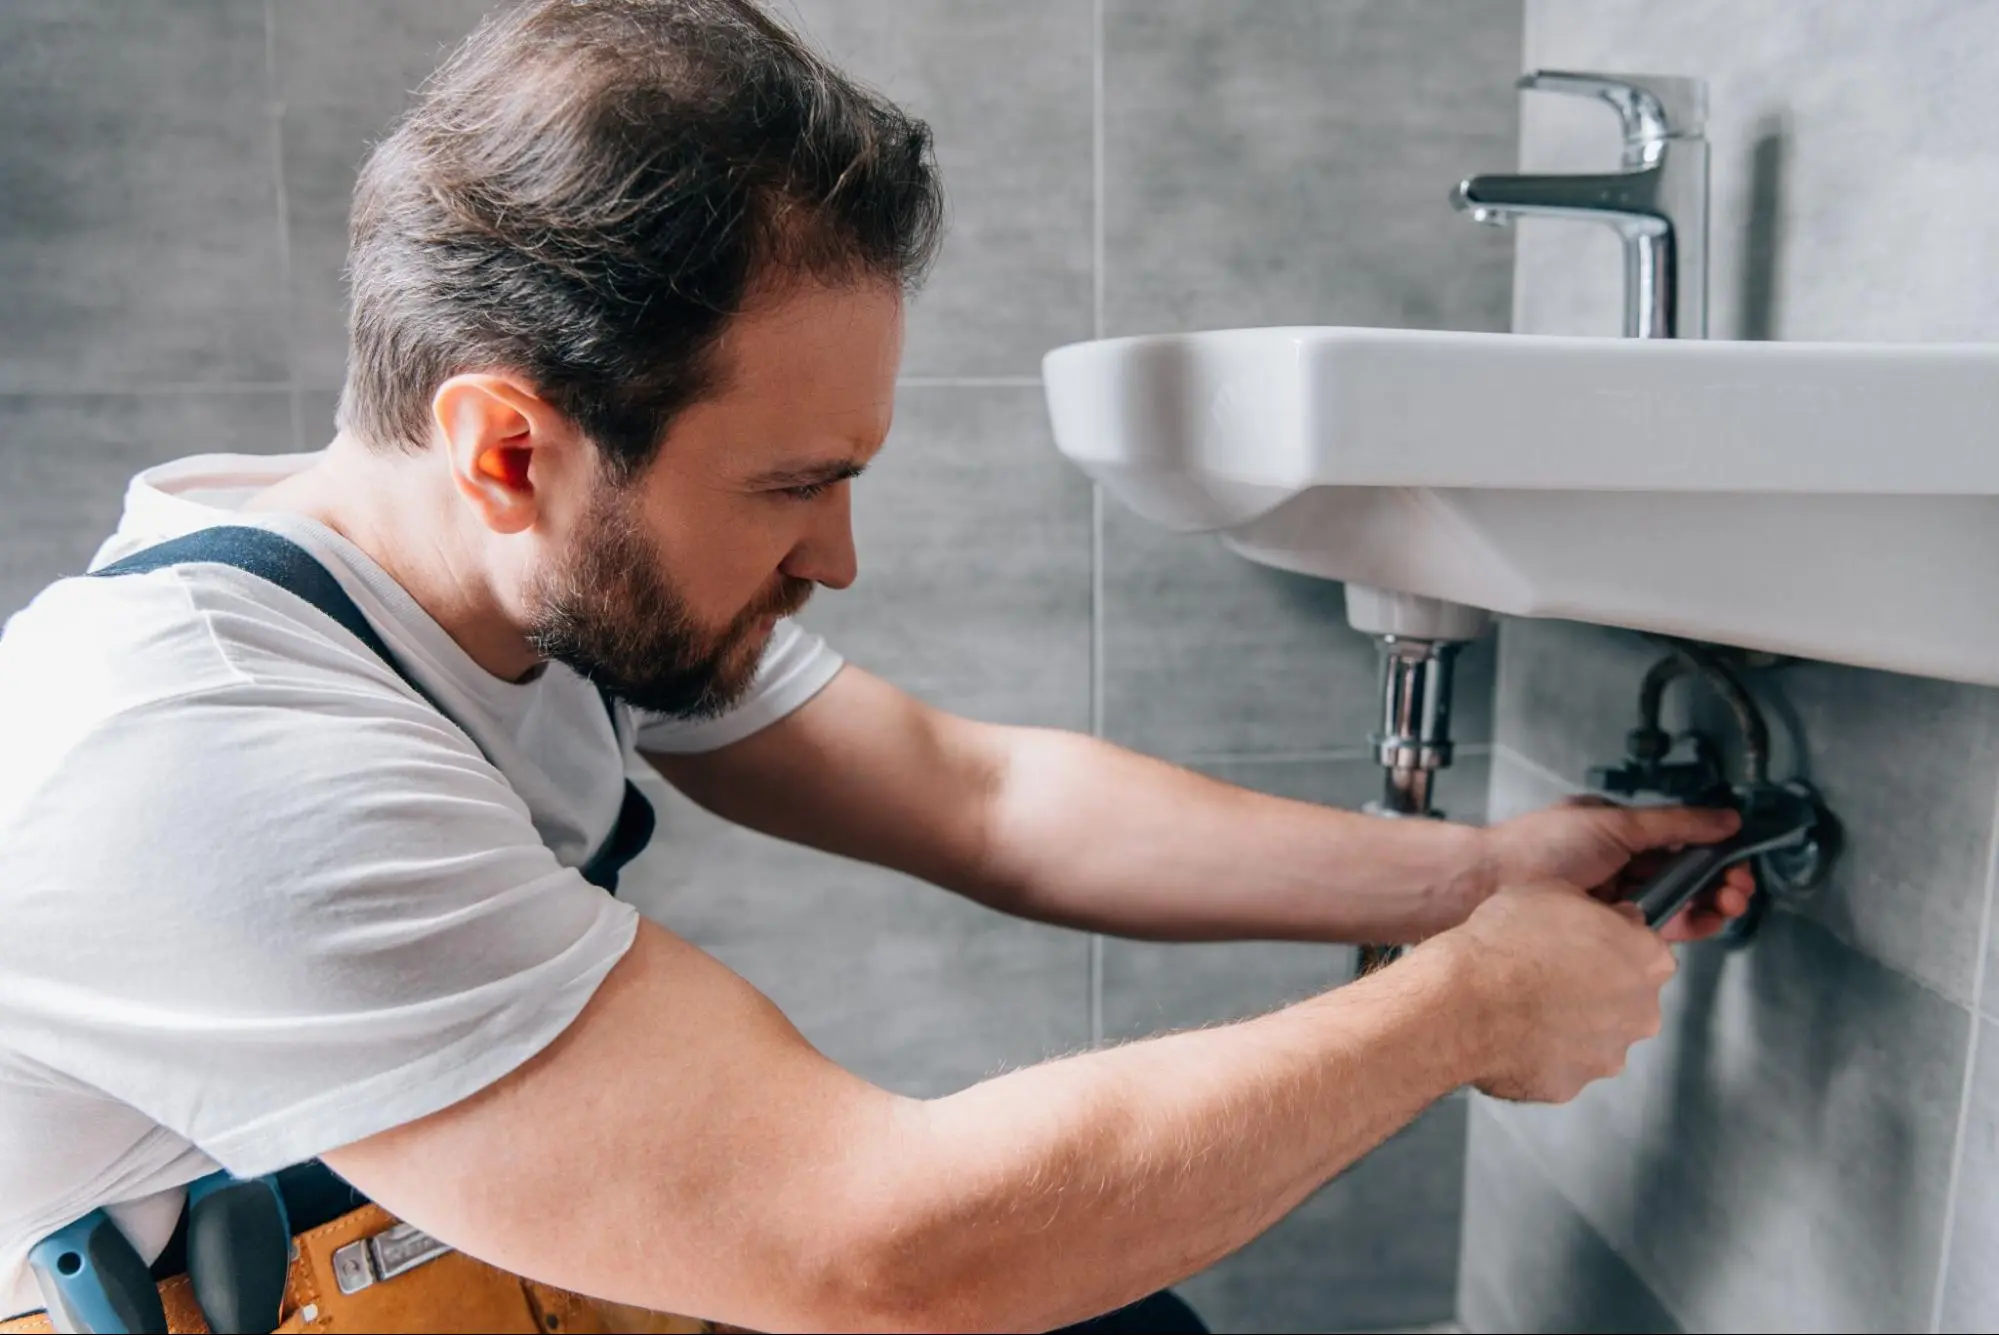
Knowing when to call a plumber can save you time and money. If you’re facing persistent leaking or suspect serious plumbing issues, it’s wise to consult a professional. Here are some key considerations.
Start by assessing the situation. If you notice a constant drip from your faucet, check if it’s a minor issue, like a loose screw or a faulty washer. These are often simple fixes you can handle yourself.
However, if the dripping is accompanied by low water pressure, discoloration in water, or water damage around your fixtures, the problem may be more serious. Issues related to pipe damage or severe leaks require an expert.
Signs that you need help include multiple dripping faucets, increasing water bills, and visible leaks under sinks. Act quickly to prevent further damage and costly repairs.
Choosing the right plumber is crucial for effective problem resolution. Start by getting recommendations from friends, family, or neighbors who have had positive experiences.
Look for licensed professionals with good reviews. Online platforms can help you find ratings and past customer feedback. It’s also important to check their credentials, including insurance and bonding, to ensure you’re protected.
When contacting potential plumbers, ask for estimates and timelines. Be wary of very low quotes; these might indicate subpar work. Trustworthy plumbers will provide a detailed assessment and explain your options clearly.
Dripping faucets can result from worn-out washers, loose screws, or corroded valves. To fix these, check and replace worn parts and tighten any loose screws. Regular maintenance will help prevent these issues.
Start by turning off the water supply to the faucet. Use a wrench to remove the faucet handle and inspect the internal parts. Replace any damaged washers or O-rings. Reassemble the faucet and turn the water back on to see if the leak is fixed.
If a faucet still drips after turning it off, it may indicate a faulty valve or worn washer. You should inspect the components and replace any damaged parts. If unsure, consult a plumber for assistance.
To repair a dripping kitchen faucet, first shut off the water supply. Then, disassemble the faucet and check for worn washers or O-rings. Replace any damaged parts, reassemble the faucet, and turn the water back on to test for leaks.
Toilets can be tricky. When they break down, it’s a real hassle. But don’t worry – many toilet issues are easy to fix on your own. With some basic know-how, you can save money and avoid calling a plumber.
Most toilet problems can be solved by checking the flapper, adjusting the fill valve, or unclogging the drain. These simple fixes often do the trick. For example, a running toilet can often be fixed by replacing the flapper at the bottom of the tank.
If your toilet is making strange noises, it might just need some lubricant on the seat hinges. For a toilet that won’t flush properly, you may need to adjust the water level in the tank. With a little patience and the right tools, you can tackle most toilet troubles yourself.
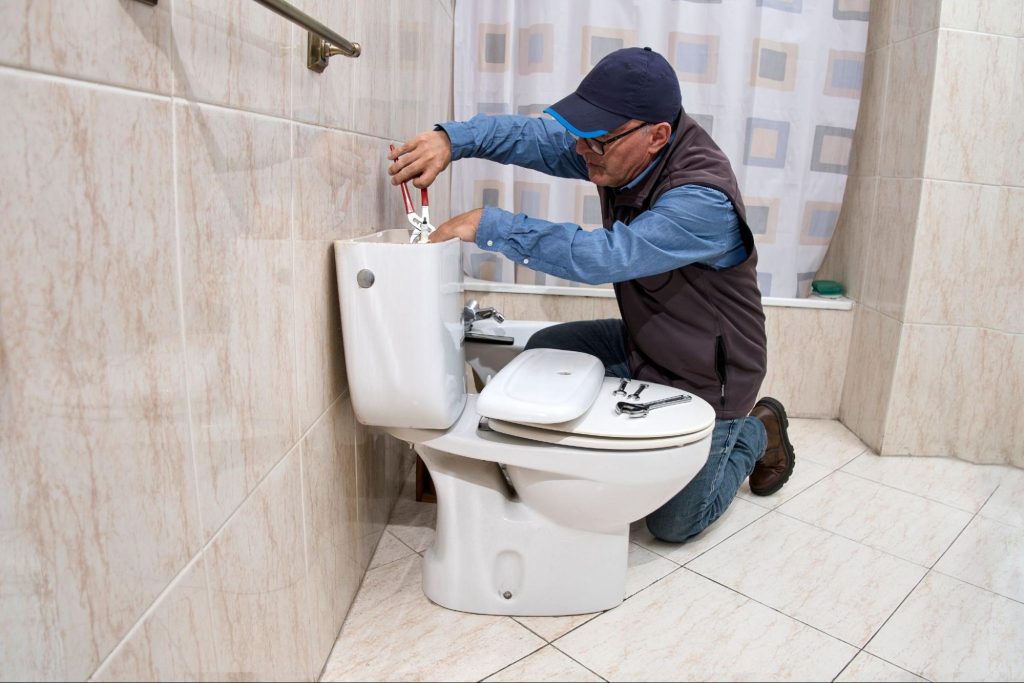
Toilets can develop various issues that affect their performance. Knowing how to spot and fix these problems can save you time and money.
A running toilet wastes water and increases your bill. To check for this issue, add a few drops of food coloring to the tank. If the color appears in the bowl without flushing, you have a leak.
The flapper is often the culprit. Inspect it for damage or debris. Clean or replace it if needed.
Check the chain connecting the flush lever to the flapper. If it’s too loose or tight, adjust it.
Examine the fill valve for proper function. If it’s not shutting off correctly, you may need to replace it.
For a clogged toilet, start with a plunger. Place it over the bowl’s opening and push down gently, then pull up sharply. Repeat until the water drains.
If plunging doesn’t work, try a toilet auger. Insert it into the bowl and turn the handle to break up the clog.
For slow-flushing toilets, check the rim jets under the toilet bowl rim. Clean them with a brush and vinegar to remove mineral buildup.
Ensure the water level in the tank is correct. Adjust the float if needed.
To find tank leaks, wipe it dry and wait for wet spots to appear. Tighten any loose bolts or nuts.
For bowl leaks, check the wax ring seal between the toilet and the floor. If it’s damaged, you’ll need to replace it.
Look for cracks in the tank or bowl. If you find any, it’s time for a new toilet.
Check the supply line connection. Tighten it if loose, or replace it if damaged.
The flapper often needs replacement. Turn off the water, flush to empty the tank, and unhook the old flapper. Install the new one and reattach the chain.
To replace the fill valve, turn off the water and flush. Unscrew the supply line and remove the old valve. Install the new one and reconnect everything.
For a new flush valve, you’ll need to remove the tank. This job might be best left to a pro.
When replacing parts, bring your toilet’s make and model to the store to ensure a proper fit.
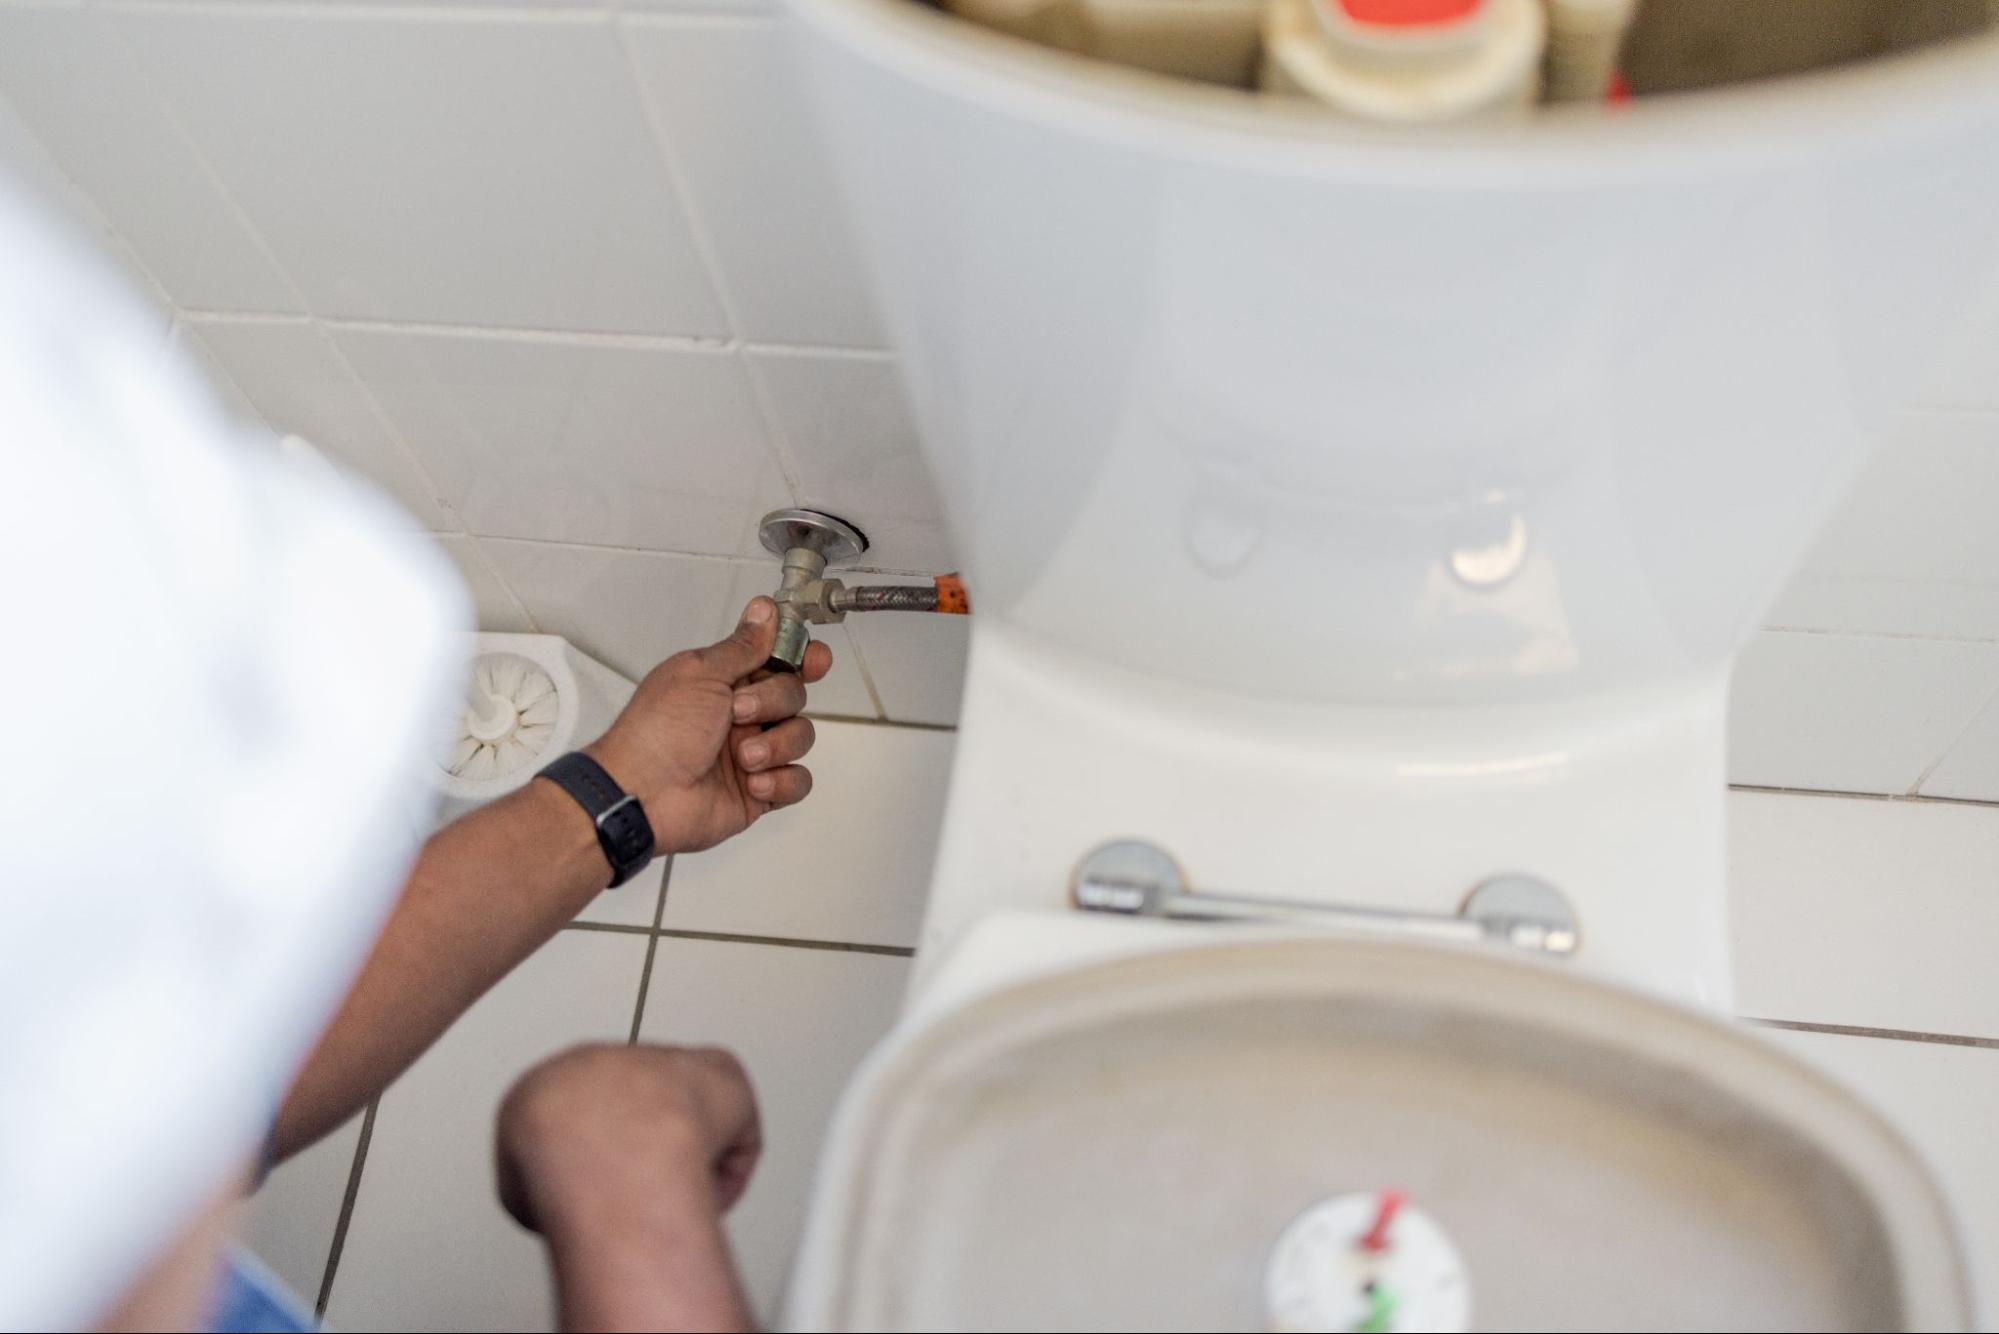
Tackling complex toilet issues requires specialized knowledge and tools. These techniques go beyond basic fixes to address stubborn problems and improve overall toilet performance.
For running toilets that won’t stop, check the flapper valve for proper sealing. Replace it if worn or damaged. Adjust the chain length to ensure the flapper closes fully after each flush.
If your toilet is clogged frequently, use a toilet auger to clear deep blockages. Insert it carefully into the bowl and crank the handle to break up stubborn clogs.
For weak flushes, inspect the rim jets under the toilet bowl rim. Clean them with a wire hanger to remove mineral buildup. This improves water flow and flushing power.
Call a plumber if you notice water pooling around the base of your toilet. This may indicate a broken wax ring seal, which requires lifting the toilet to replace it.
Seek professional help for issues with your toilet’s water supply line or if you suspect problems with your septic system. These repairs often need specialized tools and expertise.
If you’ve tried multiple DIY fixes without success, a plumber can diagnose hidden issues and provide lasting solutions.
Consider upgrading to a low-flow toilet to save water and reduce your bills. Modern models use less than 1.6 gallons per flush while maintaining good performance.
When replacing your toilet, measure the rough-in distance from the wall to the center of the drain pipe. Choose a new toilet that matches this measurement.
Install a new wax ring seal during replacement. Apply it to the toilet flange, not the toilet base, for a proper seal. Tighten the bolts evenly to prevent leaks.
For areas prone to condensation, look into insulated toilet tanks. These reduce “sweating” on humid days, protecting your bathroom floor from water damage.
Remember to regularly clean and inspect your toilet to prevent problems before they start. With proper care, your toilet should provide years of trouble-free service.
If you’re not comfortable doing repairs yourself, consider calling a professional plumber. Kaminskiy Care and Repair specializes in toilet maintenance and can quickly resolve more complex issues. Contact us today
First, check the flapper valve at the bottom of the tank. If it’s not sealing properly, water will keep flowing. Next, examine the chain connecting the flush lever to the flapper. Adjust it if it’s too tight or loose.
Inspect the fill valve for any signs of wear or damage. If these steps don’t fix the issue, you may need to replace the fill valve or flapper.
Start by using a plunger to clear any blockages. If that doesn’t work, try a toilet auger to remove deeper clogs.
Check the water level in the tank. If it’s too low, adjust the float to increase the water level. Make sure the chain isn’t too long, preventing the flapper from opening fully.
Listen for constant running water or hissing sounds. Watch for water leaking around the base of the toilet.
Pay attention to weak flushes or if the bowl doesn’t refill properly after flushing. Strange noises during or after flushing can also indicate problems.
Check the water level in the tank. If it’s too low, adjust the float. Ensure the flush lever is connected properly to the flapper chain.
Clear any blockages in the rim jets under the toilet bowl rim. If these steps don’t work, you may need to replace the flush valve or call a plumber.
Sliding doors can add beauty and functionality to your home but often face issues over time. Whether your sliding door is sticking, not opening smoothly, or has other malfunctions, it can be frustrating to deal with these problems. Knowing some simple repair tips can help restore your sliding door to its optimal condition.
In this article, you will discover practical tips for handling common sliding door issues. From adjusting tracks to replacing worn-out parts, these solutions aim to improve the performance and safety of your sliding doors. By following these tips, you can easily manage repairs and maintain the functionality of your doors.
Keeping the tracks of your sliding door clean is essential for smooth operation. Dirt and debris can cause your door to stick or jump off track. Regular maintenance will help prevent these issues.
Inspect the tracks for any visible dirt, grime, or obstructions. Use a damp microfiber cloth to wipe away dust and loose particles. If you see stubborn buildup, apply a bit of dish soap to your cloth to aid in the cleaning process.
Consider using a mixture of equal parts vinegar and water for tougher grime. Spray this solution onto the tracks and let it sit for a few minutes. This will help break down the buildup. Then, scrub gently with a toothbrush or soft brush to remove any remaining dirt.
After cleaning, ensure the tracks are completely dry. Moisture can affect performance or cause rust over time. Once dry, you can apply a light lubricant to the tracks. This helps the door glide more smoothly.
Remember, consistent cleaning of the tracks promotes the longevity of your sliding door. Regular maintenance can save you time and effort on repairs in the future, and keeping the tracks clean ensures your sliding door operates as it should.
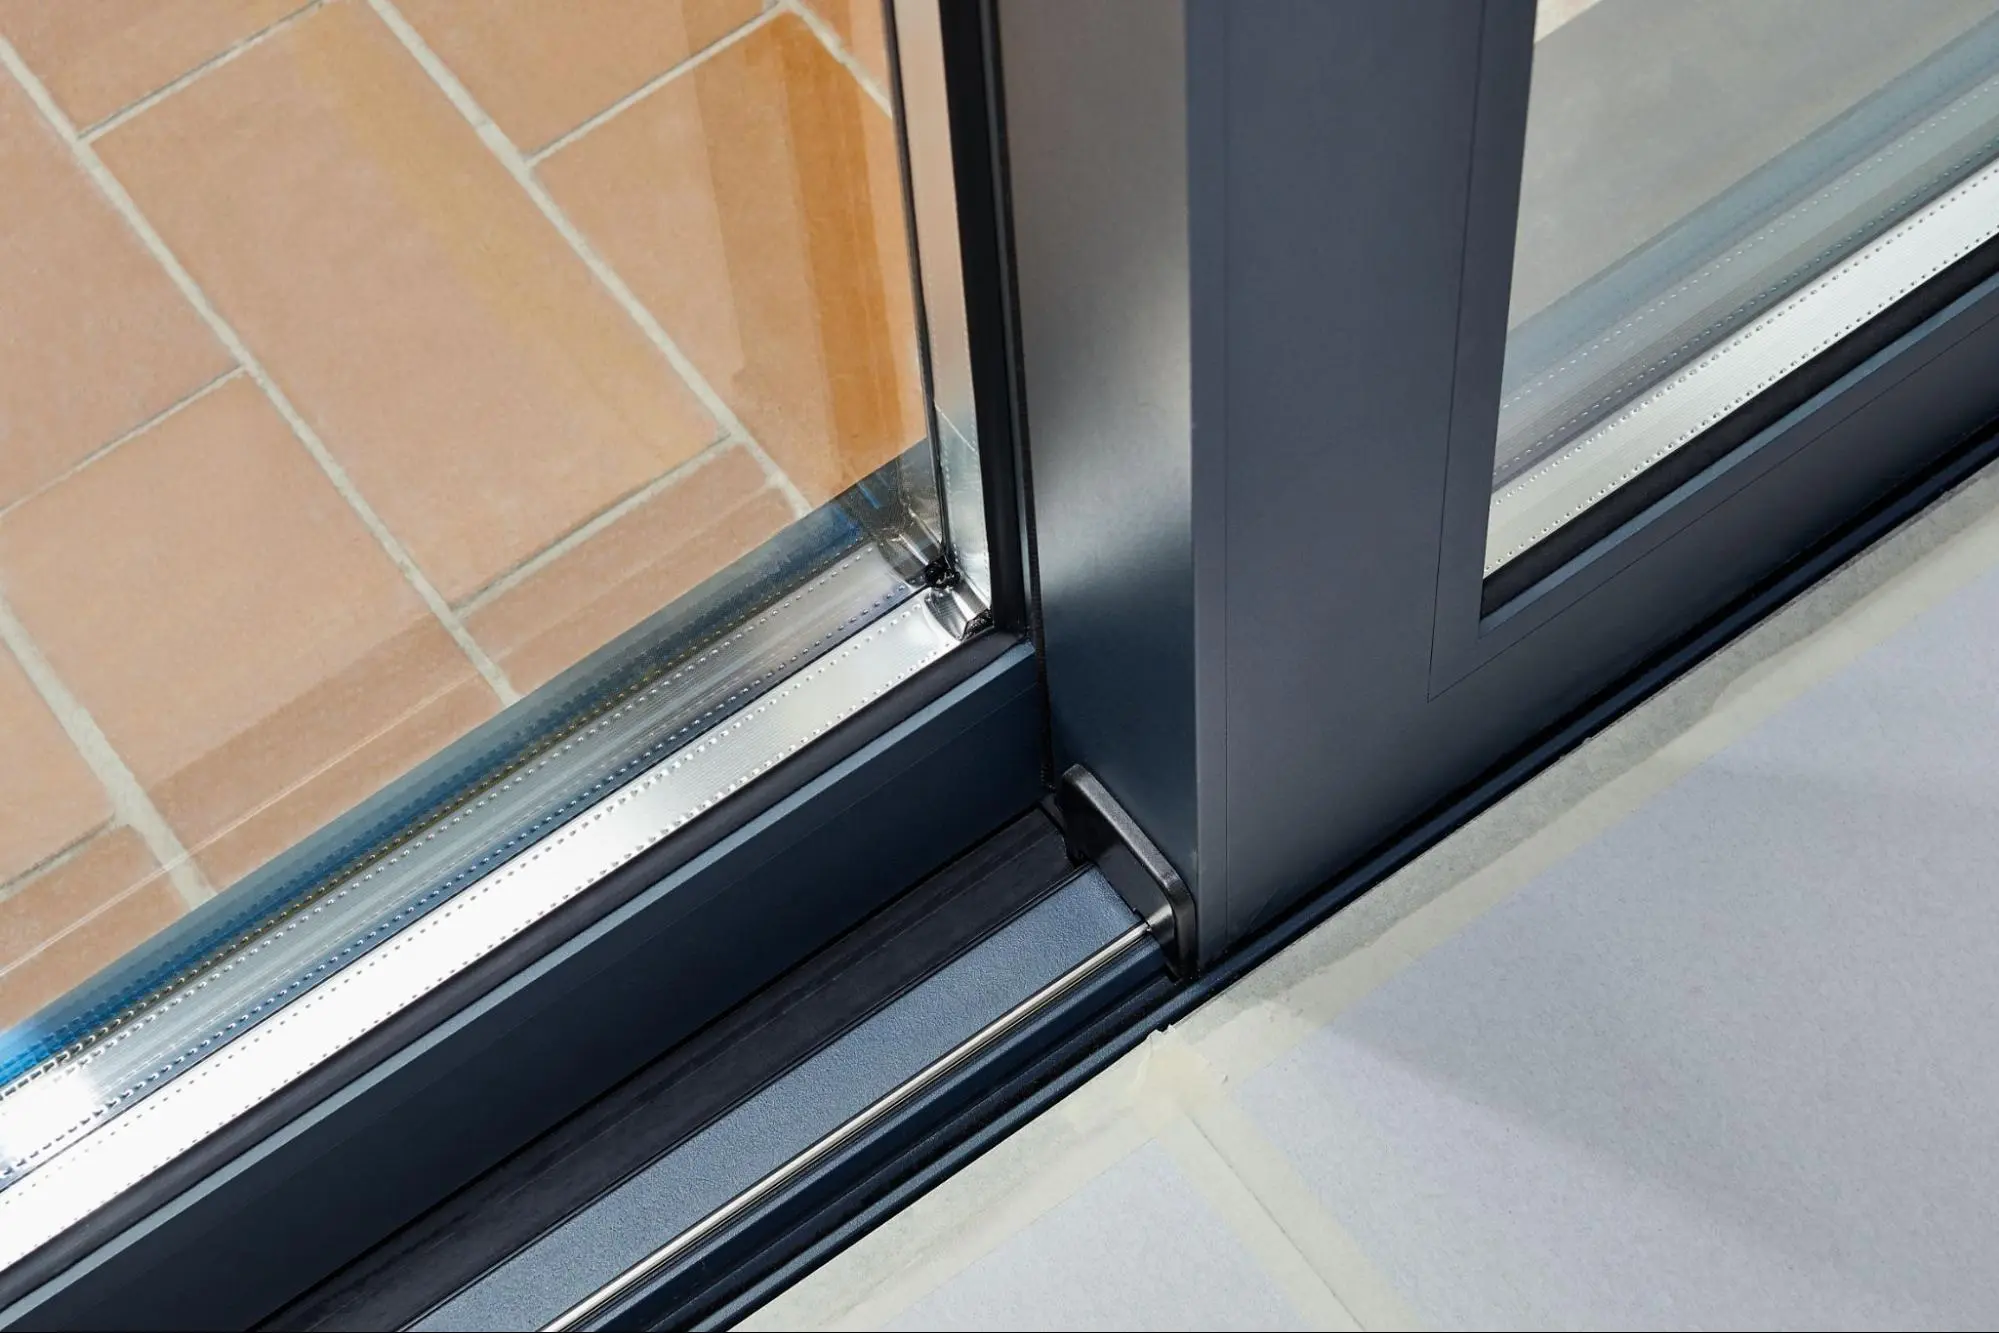
Lubricating the rollers is essential to keeping your sliding door moving smoothly. Proper lubrication reduces friction and helps prevent sticking, making opening and closing the door easier.
Start by removing the door from the track. This step allows you to access the rollers easily. A friend can help stabilize the door while you work.
Next, clean the rollers to remove dirt and debris. Use a stiff brush and soapy water for this task. Afterward, make sure to dry the rollers completely.
Choose a suitable lubricant for your sliding door. Silicone spray is often a good option, as it provides long-lasting smoothness. For the best results, apply the lubricant directly to the rollers, covering all exposed surfaces.
Once you have applied the lubricant, check the door’s alignment and adjust the rollers if necessary. This adjustment helps ensure that the door slides evenly.
After everything is in place, carefully reattach the door to the track. Test the door by sliding it open and closed several times. It should glide smoothly without any resistance.
Routine maintenance is key. Regularly check the rollers and lubricate them as needed. This practice will extend the life of your sliding door and keep it operating seamlessly.
Checking the weatherstripping around your sliding door is crucial. This component helps seal the edges, keeping drafts and moisture from entering your home.
Start by examining the weatherstripping for signs of wear. Look for cracks, tears, or gaps. If you notice any damage, it’s time to replace it.
Inspect the weatherstripping at least once a year to keep your home energy-efficient. This simple task can help you maintain comfort throughout the seasons.
If you find any issues, measure the door’s perimeter to determine how much new weatherstripping you need. Add 5-10% to your measurement to ensure you purchase enough material.
When installing new weatherstripping for sliding doors, choose the right type. Look for products specifically designed for this purpose, which will fit better and provide a tighter seal.
Clean the track and frame before applying new weatherstripping. Use a damp cloth to remove dirt and debris, and allow the surfaces to dry completely.
Once everything is clean, cut the weatherstripping to the correct length. Ensure it fits snugly against the door frame to maximize its effectiveness.
Regularly checking and maintaining your weatherstripping can save you money on energy bills and improve the comfort of your home.
Adjusting the sliding door rollers can help improve the door’s movement. Over time, these rollers may become misaligned or worn, causing the door to stick or not open smoothly.
First, locate the adjustment screws at the bottom of the door. These screws are usually found on the edge facing the doorframe. You may need to remove any trim caps that cover the screws.
Next, use a screwdriver to turn the screws. If one side of the door is lower, turn the screw clockwise to lift that side. If the door sticks, adjust both screws a bit at once to raise the door evenly.
While adjusting, slide the door back and forth. This will help you see how well it moves. If it still catches, make minor adjustments until it glides smoothly.
Clean the roller tracks regularly. Dirt and grime buildup can slow down your door. A clean track allows the rollers to function better and extend their lifespan.
If the rollers are damaged, consider replacing them. Pry out the roller units with a screwdriver, then install new ones following the manufacturer’s instructions. This step will restore smooth operation.

Checking the door alignment is crucial for smooth operation. It may be misaligned if your sliding door doesn’t close properly or drags on the track.
Start by observing how the door fits in the frame. Look for gaps or uneven spaces at the top and bottom edges. If you notice a lot of light coming through, the door is likely off.
Adjust the roller height to fix alignment issues. Locate the adjustment screws usually found on the bottom of the door. Turn these screws clockwise to raise the door or counterclockwise to lower it.
After adjusting, test the door’s movement. Open and close it several times to ensure it slides smoothly. If it still sticks, check the track for debris or damage.
Depending on your door’s design, you may need to adjust the hinges. Ensure they are tight and in the correct position to support proper alignment.
Regular checks of your sliding door alignment can prevent larger issues. Properly aligned doors enhance their lifespan and functionality. With simple adjustments, you can enjoy a well-functioning sliding door for years to come.
Loose screws can cause your sliding door to operate poorly. They may lead to wobbling, misalignment, or even difficulty in sliding the door open and closed. Regular maintenance can help you avoid these problems.
Start by inspecting the screws on the handle and track. Use a screwdriver to tighten any loose screws. Be careful not to overtighten them, as this can cause damage to the door.
Check the screws around the roller mechanism as well. These are vital for keeping the door aligned. If they are loose, the door may droop or stick.
If you notice that screws continue to loosen, consider replacing them with new ones. Over time, screws can wear out or become stripped. Using the right size screws will ensure a secure fit.
During your maintenance routine, also check the track for debris. Dirt and grime can impact how well your door slides. Keeping the track clean will enhance its performance.
If you address loose screws promptly, you can prevent bigger issues later. Tightening screws is a simple yet effective repair tip for maintaining your sliding door’s functionality. Regular checks will keep your door operating smoothly.
If your sliding door isn’t moving smoothly, the rollers might be the problem. Damaged or worn rollers can make opening and closing the door hard.
Start by removing the sliding door from its track. Grip the door’s edges and tip it slightly toward you. Lift one side up and out of the track, then repeat with the other side.
Once the door is out, check the rollers at the bottom. If they’re stuck, you may need to use a flathead screwdriver to pry them out. Inspect them for signs of bending or damage.
If the rollers need replacement, look for new ones at a home improvement store or online. When you have the new rollers, align them with the holes at the bottom of the door and insert them securely.
Make sure the new rollers spin freely. This movement is essential for easy sliding. After you’ve confirmed they work, lift the door back into the track.
If your door allows for it, adjust the height of the rollers to ensure the door operates smoothly. Proper alignment helps the door glide without sticking or jamming.

Cleaning the glass on your sliding doors is essential for appearance and function. Clear glass allows natural light to flow in, enhancing the beauty of your space.
Start by preparing the glass for cleaning. Wipe away surface dirt with a clean rag soaked in water. This initial step helps loosen grime for a deeper clean.
Next, mix a mild solution of warm water and a small amount of detergent. You can also add vinegar for extra cleaning power. Gently wash the glass with a microfiber cloth or sponge.
Soak the cloth in the soapy solution and apply it to the glass. Allow the solution to sit for 10 to 15 minutes to help remove stubborn dirt. After that, wipe the glass from top to bottom for thorough cleaning.
Spray a DIY cleaning solution onto a fresh microfiber cloth for the final touch. Wipe both sides of the glass again from top to bottom. This helps create a streak-free finish.
Remember to clean the tracks as well. Dust and debris can affect how well the door opens and closes. Vacuum the tracks regularly and scrape out any stubborn dirt.
Keeping your sliding doors clean ensures they function well and look their best. Regular maintenance can significantly improve their longevity and performance.
If the screen on your sliding door is damaged, you can choose to repair or replace it. First, inspect the screen closely for tears or holes. Small tears might be fixable with screen repair tape.
Replacing the screen is the best option if the damage is more extensive. Start by removing the screen from the frame. Look for a spline that holds the screen in place. You can use a flat tool to pry it out carefully.
Once the old screen is removed, buy a new screen material that fits your door frame. Lay the new screen over the frame, ensuring it is centered and taut. Then, use a spline tool to press the new spline material into the groove around the frame’s perimeter. This method will keep the screen tight and secure.
After installing the new screen, double-check that it does not sag or tear.
Following these steps, you can restore your sliding door screen to good condition and improve your home’s ventilation and appearance.
If your sliding door frame is damaged, it can affect the door’s operation. You may notice gaps, warping, or cracks that need attention. Fixing these issues can help restore function and efficiency.
Start by examining the frame closely. Look for any visible damage, such as cracks or splits in the material. If you find any soft spots, they may need to be reinforced.
Apply sealant to any gaps. This can help protect the frame from further moisture damage. A good sealant can also improve the overall look of the frame.
If the frame is warped, you might need to make some adjustments. Loosen any screws holding the frame in place, then gently push it back into alignment. Tighten the screws once it’s straight.
In some cases, you may need to replace damaged frame sections. Measure the affected area and cut a new piece to fit. Ensure it matches the existing material for a seamless look.
When repairing, always ensure proper installation. Properly secured frames can prevent future issues. This means checking that everything is tight and well-fitted.
Lastly, monitor any repairs made. Regular inspection can help catch new problems early, allowing for quick fixes. Promptly addressing frame damage will extend the life of your sliding door.
Following these steps, you can restore your sliding door screen to good condition and improve your home’s ventilation and appearance.
Begin by checking the tracks for dirt and debris. Clean the tracks thoroughly using a soft brush or vacuum. After cleaning, apply a suitable lubricant to the rollers to ensure smooth movement.
Inspect the top track for any misalignment or debris. If it’s dirty, clean it carefully. If you notice damage, you may need to replace the track. Follow the manufacturer’s instructions for a proper installation.
Start by removing the door from the track. Once removed, inspect the rollers for wear or damage. If they are damaged, you can replace them by unscrewing the old ones and attaching the new ones. Ensure they are correctly adjusted when reinstalling the door.
Gently lift the door and align it back onto the track. Ensure the rollers fit properly within the track. If the track is damaged, you may need to repair or replace it before the door can function correctly.
Do your tiles look worn out and old? Regrouting can make them look brand new without the cost of replacement. Whether for a kitchen backsplash or a bathroom floor, this guide will walk you through everything you need to know to bring your tiles back to life.
You’ll learn how to prepare your workspace, remove the old grout, apply new grout like a pro, and have the confidence to tackle any tile regrouting project.
There is no need to feel intimidated. With the right tools and a bit of patience, you can transform your space and make it feel fresh and clean again. Plus, doing it yourself can save you money.
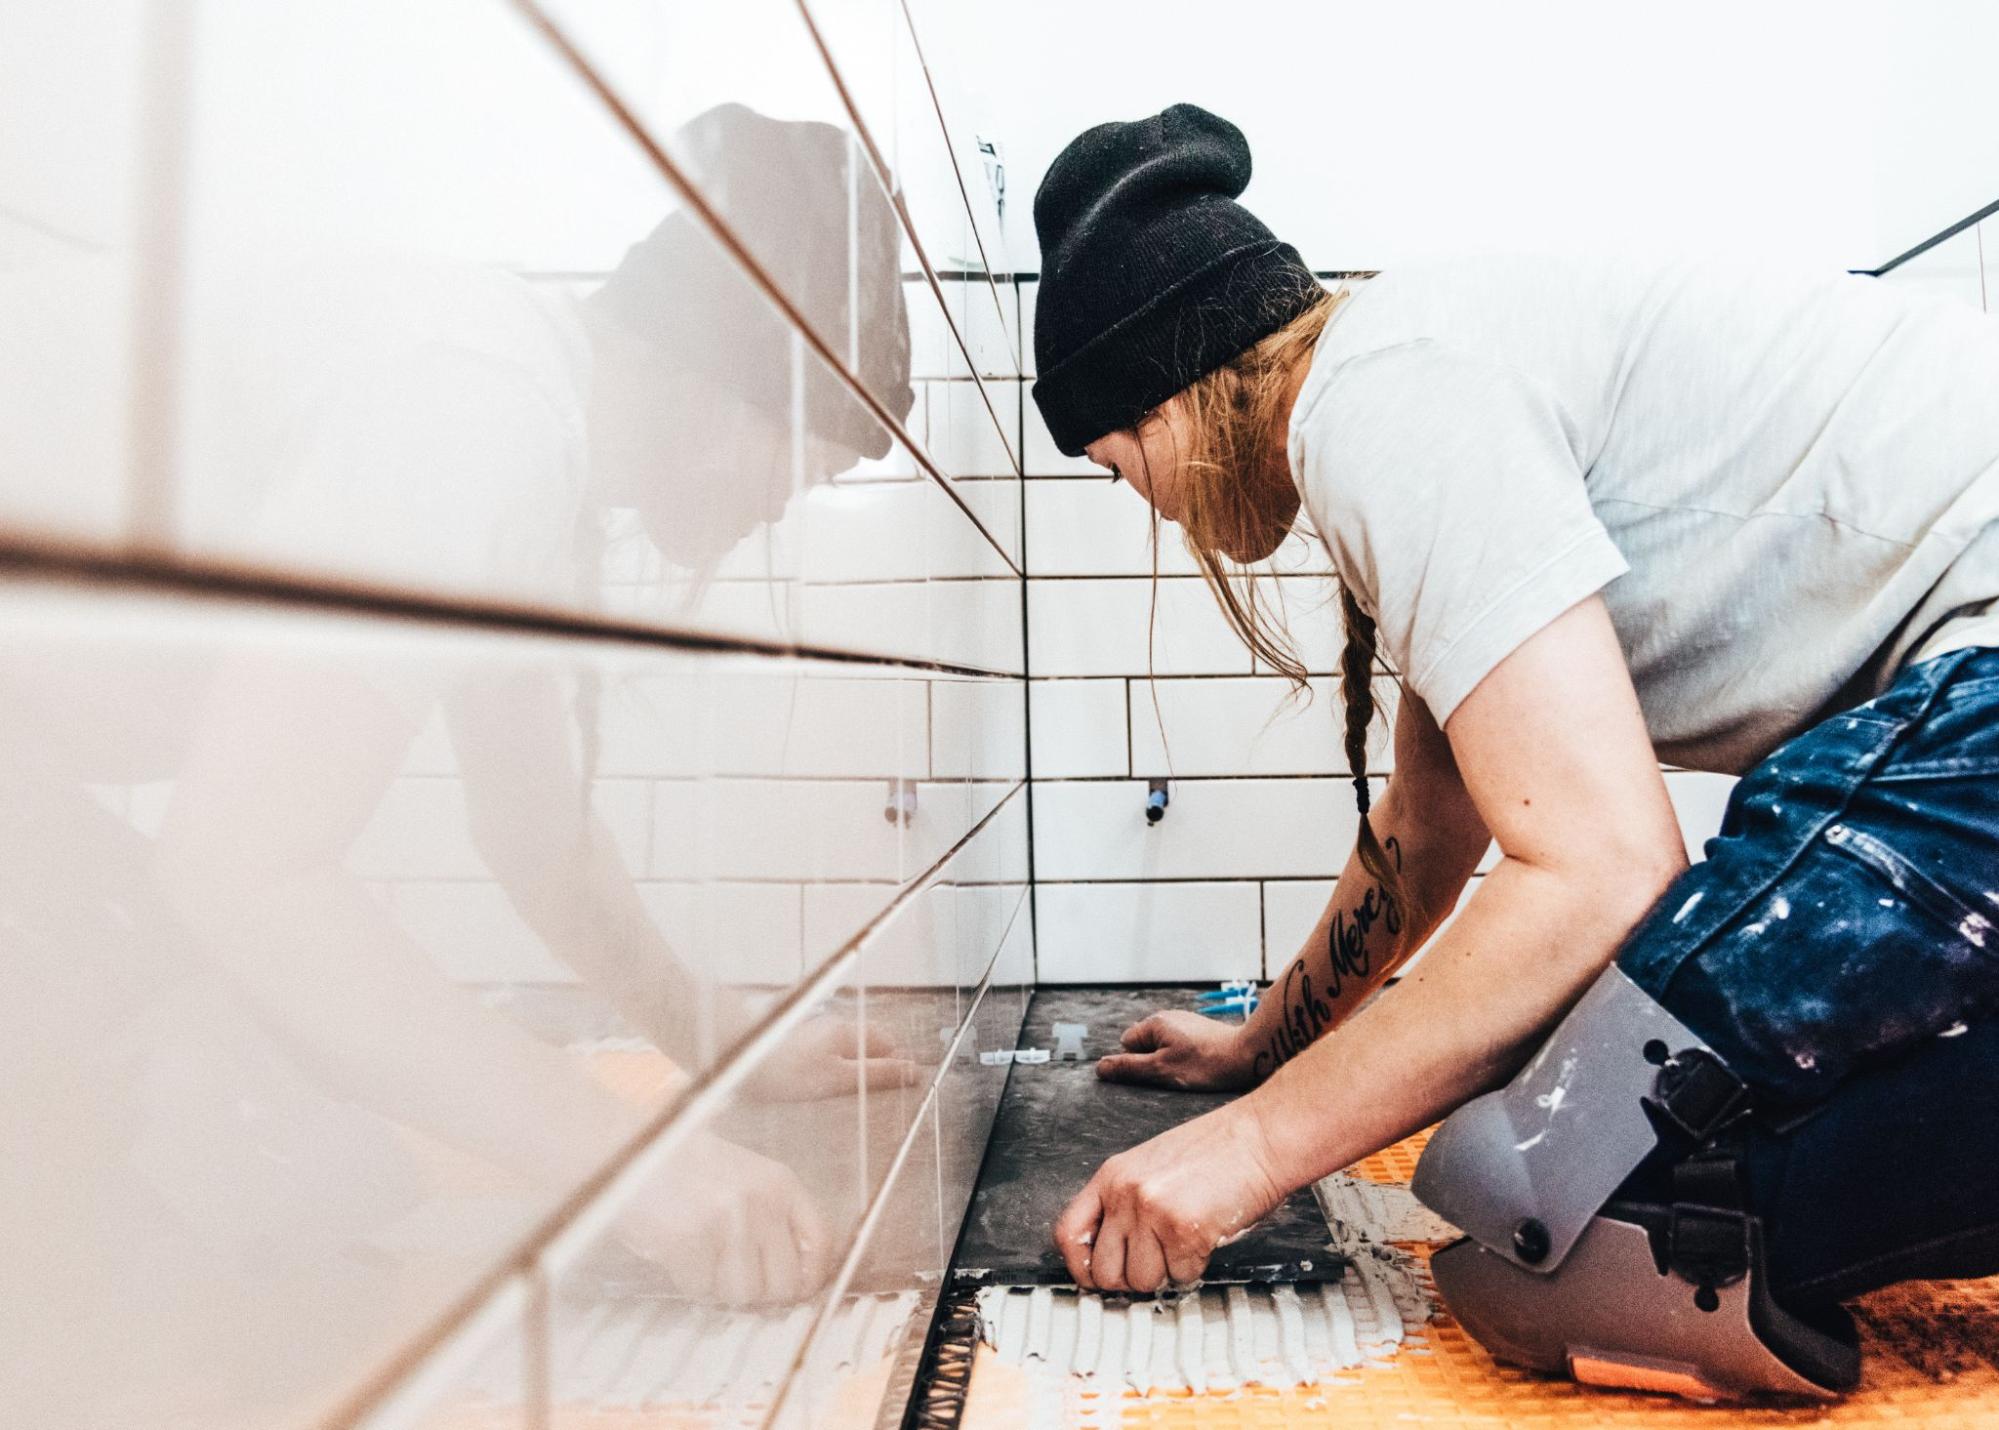
Ensure your workspace is ready before beginning your regrouting project. This includes checking the current state of your tiles and grout, gathering all the necessary tools, and protecting the surrounding areas to avoid damage or mess.
First, inspect your tiles and grout. Look for cracks, missing pieces, or mold. If the grout is falling apart or the tiles are loose, you must address these issues before rerouting. Identify any problem areas where tiles may need to be replaced. Use a grout saw or utility knife to test if the existing grout easily comes out. If it does, it’s time to remove it carefully.
Before you start, make sure you have all the tools and materials. You will need a grout saw or a multitool with a grout removal blade, a grout float, a bucket, a sponge, and the new grout.
The Tools and Materials Checklist includes a grout saw, Grout float, Grout Bucket, Sponge, Protective gloves, and safety glasses. Having these tools ready will streamline the regrouting process and save you time.
To keep your workspace clean and prevent damage, cover nearby surfaces with drop cloths or plastic sheets. Mask off the edges of the areas you will work on with painter’s tape. That will help keep grout from spilling onto areas you want to protect. If you’re working in a bathroom, remove any items that could get in the way, like toiletries or decorations.
By taking these steps, you can ensure a smooth and efficient regrouting process.
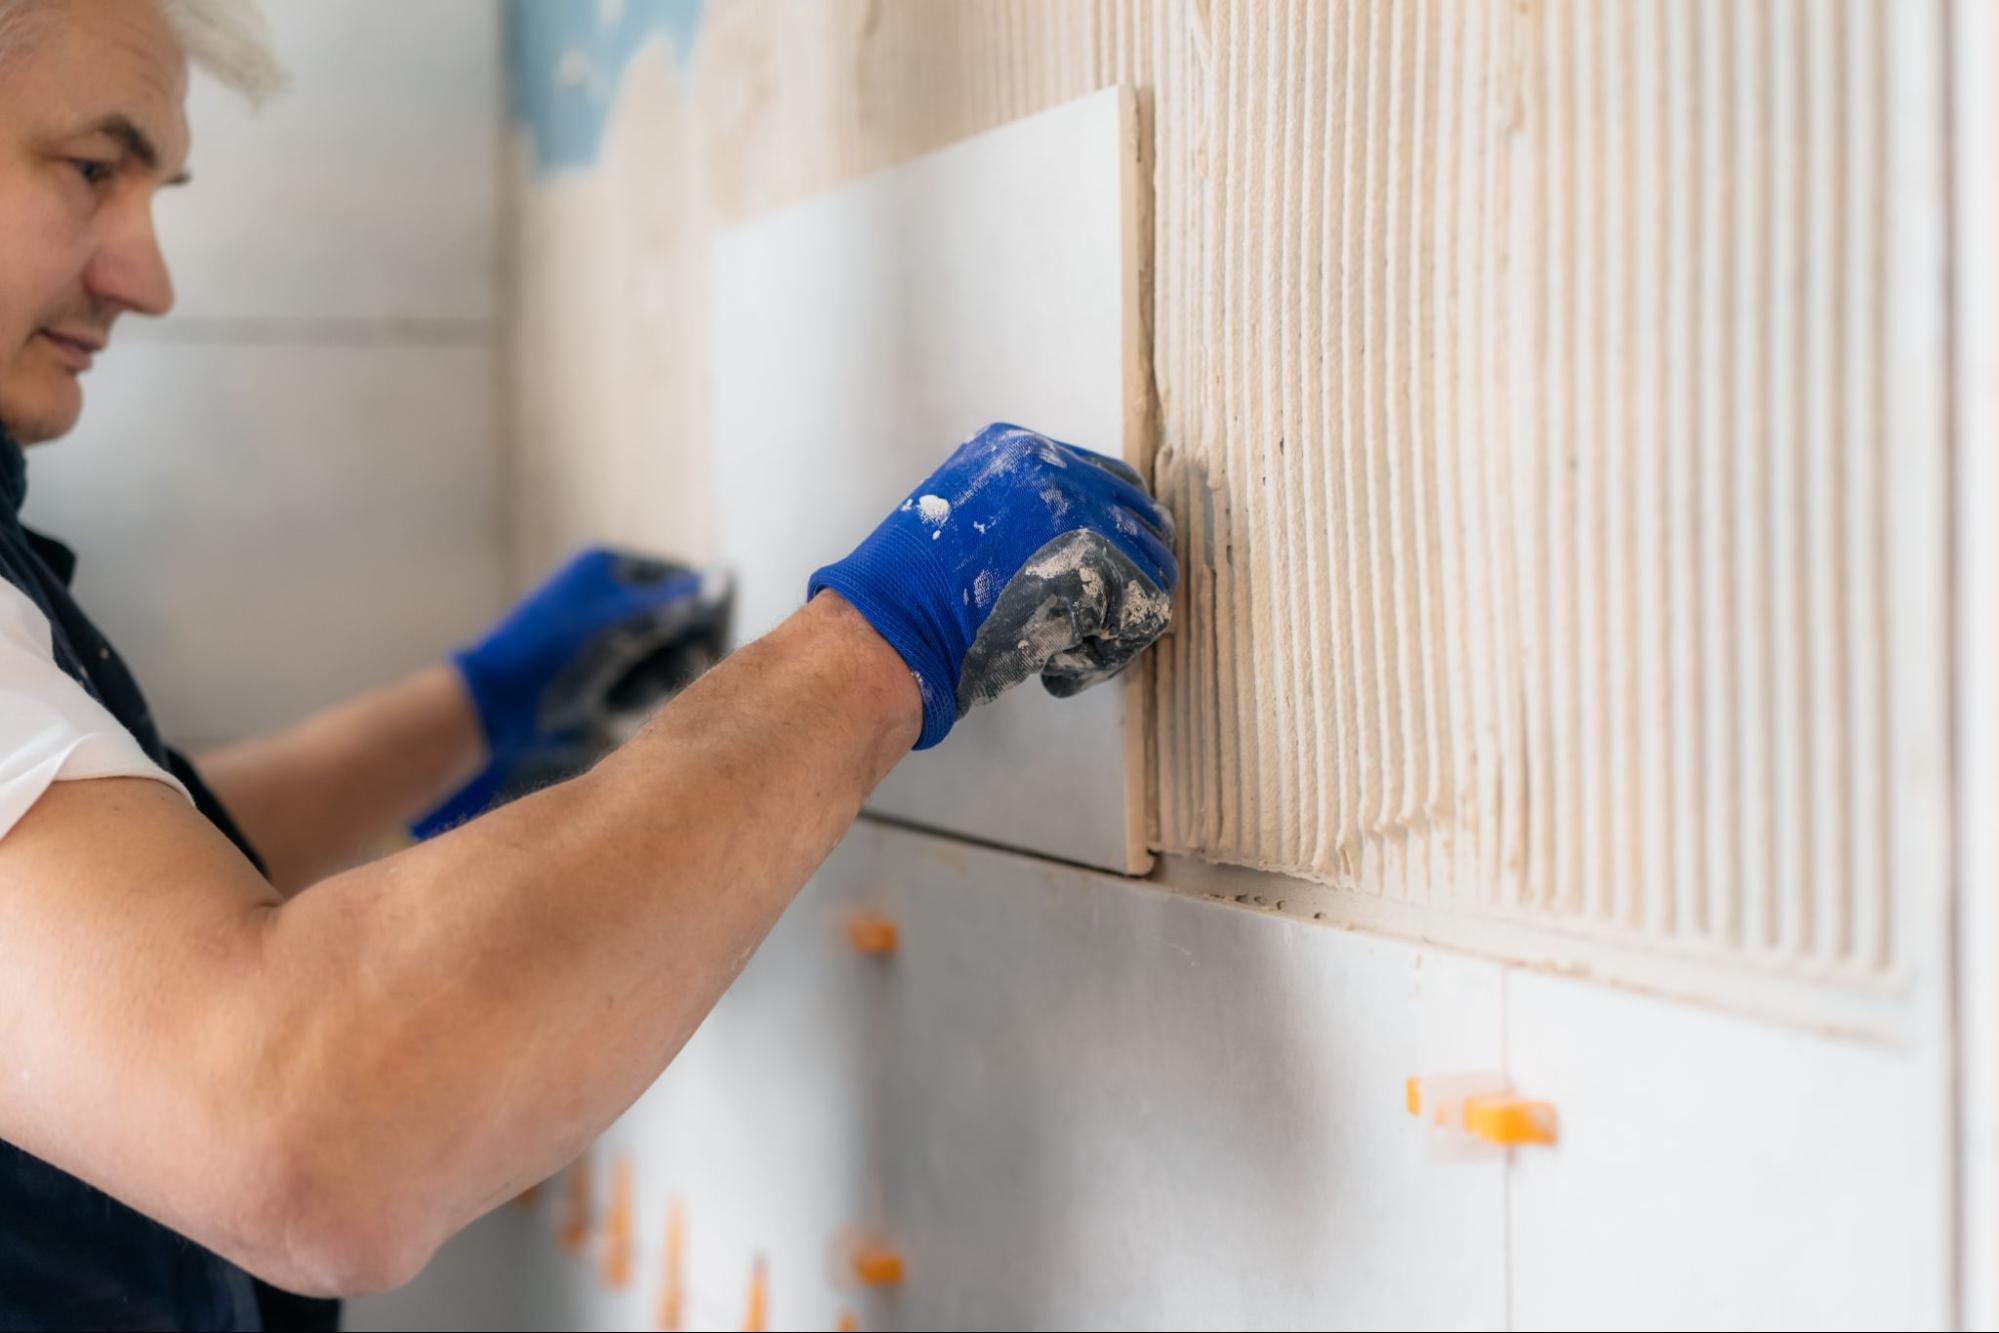
To achieve a neat and long-lasting tile regrouting job, you must focus on removing old grout, mixing and applying new grout, and finishing and curing the newly grouted tiles. Each step is essential to ensure a top-quality result.
Start by assessing the condition of the old grout. Then, use a grout saw or a rotary tool with a grout removal attachment to remove it. Be careful not to damage the tiles.
Once the bulk of the old grout is removed, vacuum-clean the gaps thoroughly. This step is crucial to avoid mixing debris with the new grout. If any old grout remains, repeat the process until the gaps are clean and free of loose material.
First, follow the manufacturer’s instructions on the grout packaging for mixing. Use a bucket and a grout mixing tool to ensure a smooth consistency. The grout should have the texture of toothpaste.
Apply the grout using a rubber float, holding it at a 45-degree angle. Spread the grout diagonally across the tile joints to fill them completely. With the edge of the float, remove any excess grout.
After applying the grout, clean the surface of the tiles with a damp sponge, wiping diagonally to avoid pulling grout out of the joints.
Allow the grout to set for about 15-30 minutes, then use a damp sponge to clean the tiles again. Be gentle to avoid disturbing the grout lines. Once the grout is fully cured, usually 24-48 hours, buff the tiles with a dry cloth to remove any grout haze.
Finally, apply grout sealant to protect your work. Use a small brush or a spray to apply the sealant, and let it dry according to the manufacturer’s recommendations. This will help prevent stains and extend the life of your grout.
Here is a quick checklist to remember:
By following these steps, you can achieve professional regrouting results on your own.
Before regrouting, clean the tiles and grout lines to remove any mold, mildew, or old grout residue. Ensure the area is dry. Remove any loose or damaged grout, then apply a grout cleaner and let it dry. Gather all necessary tools, such as a grout float and sponge.
You cannot apply new grout directly over old grout as it won’t adhere properly. Remove at least 1/8 inch of the old grout using a grout saw or an oscillating tool. Clean the area well before applying the new grout to ensure it bonds correctly.
Practical tools for removing grout include a grout saw, an oscillating multitool with a grout removal blade, and a utility knife. Power tools like a rotary tool with a grout removal attachment can save time and effort for bigger jobs.
To ensure a clean and professional finish, use a rubber grout float to apply the grout smoothly. Press the grout firmly into the joints. After application, wipe away excess grout with a damp sponge, rinsing it frequently. Allow the grout to dry, then clean the tiles with a soft cloth.
A faulty door knob can be frustrating, but fixing it is easier than you might think. With just six simple steps, you can restore the function of your door and improve your home’s security. Knowing how to address common issues with door knobs can save you time and money.
This article will guide you through the process, making it accessible whether you are a beginner or have some experience with DIY projects. You will find clear instructions that make repairing your door knob straightforward and efficient.
First, look closely at the door knob. You might find that loose screws are the reason for the wobbliness.
Use a screwdriver to gently tighten any exposed screws. If you see them moving, they likely need attention. This step can significantly improve the knob’s stability.
For knobs with hidden screws, check for a small hole around the knob’s neck. You can use a paperclip to press in and release the knob. Then, look for screws inside that need tightening.
If the knob crews are worn or rusted, consider replacing them. New screws can create a firmer fit and enhance the knob’s lifespan.
After tightening or replacing the screws, retest the knob. Make sure it turns smoothly and feels secure. You may need to explore other potential issues if there is still movement.
Regular checks on door knobs can prevent future problems. Keeping screws tight will save you time and effort later on.
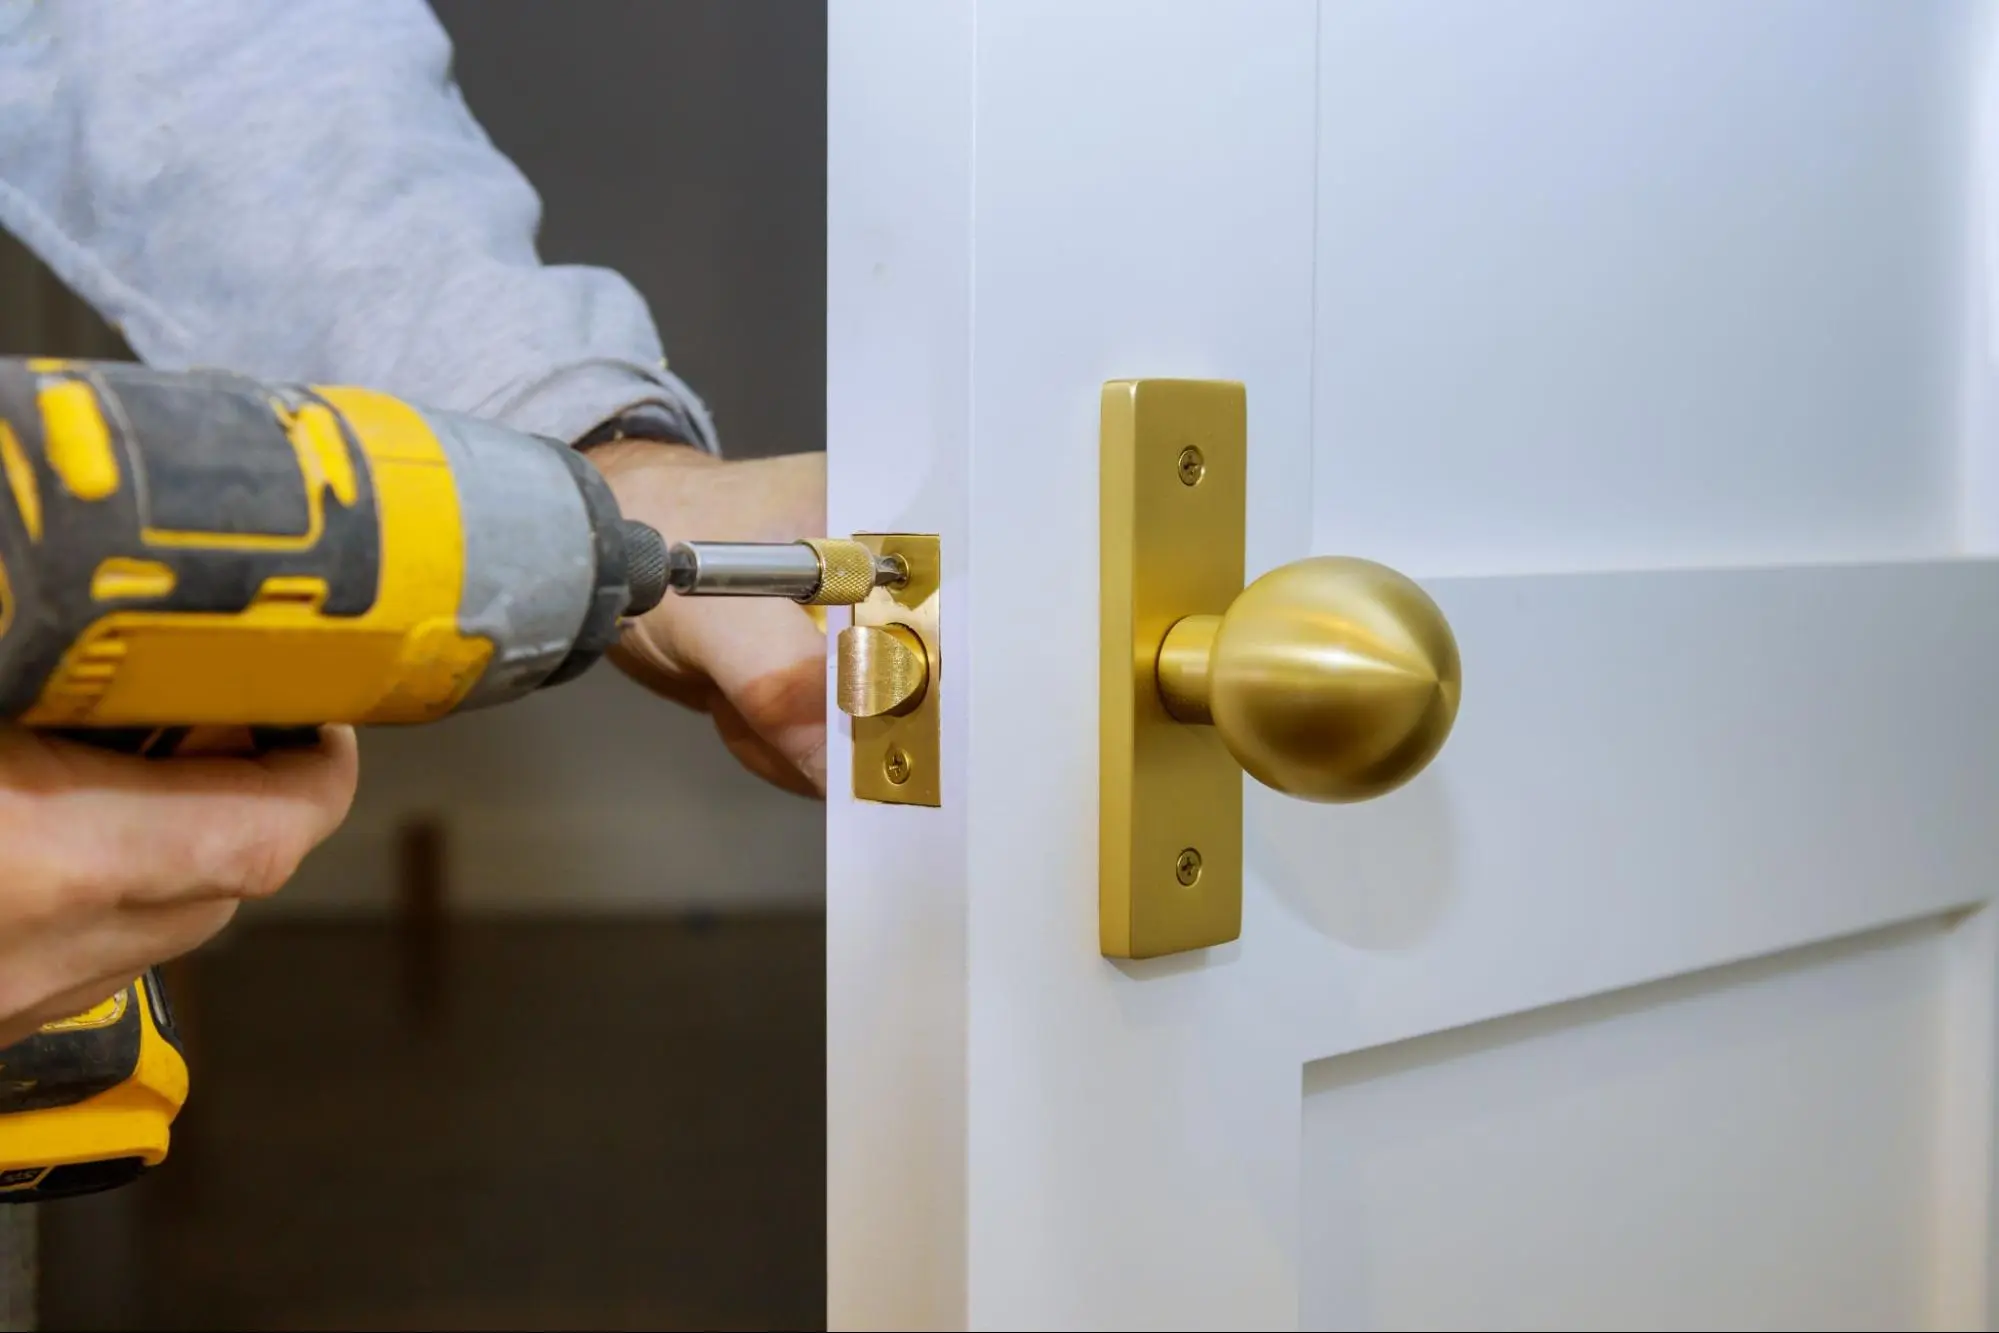
To fix a loose door knob, start by locating the set screw. This screw secures the handle to the spindle. It’s often located on the side of the knob or underneath a decorative cover.
If you find a visible screw, use a screwdriver that fits it. Turn it clockwise to tighten. Make sure it is snug but not overly tight, as this can damage the knob.
For knobs with hidden screws, look for a small hole or slot. You may need a flat-head screwdriver or a paper clip to press the release mechanism. Gently push and hold while turning the knob.
After securing the knob, test its function. Turn the handle to see if it moves smoothly. If it still feels loose, you might need to apply a bit more pressure when tightening.
Always remember to keep the screw in a safe place while you work. Losing the set screw can make your repair more difficult. You can refer to guides on fixing a loose knob for specific brands, as some handles have unique designs.
Following this step should help restore your door knob’s stability. A properly tightened set screw can enhance both the look and function of your door knob.
First, to realign the strike plate, check if the door latch lines up with the strike plate when the door is closed. Adjustments are needed if the latch does not fit appropriately into the plate.
Open the door and plan to move the strike plate. You can see where the latch hits the plate by applying a little chalk to the end of the latch. Close the door and turn the knob to let the latch make a mark on the strike plate.
Unscrew the strike plate from the door frame. If the mark shows it is too high or too low, use a file to gently remove some material from the plate. You can also adjust the plate’s position if needed so that the latch fits perfectly.
If the strike plate is very loose or moves easily, consider adding longer screws. This can help to secure it better to the frame. Be sure to tighten everything down so it stays in place.
After making adjustments, recheck the door. Close it and test if the latch catches properly inside the strike plate. Repeat the process until it latches smoothly without any resistance.
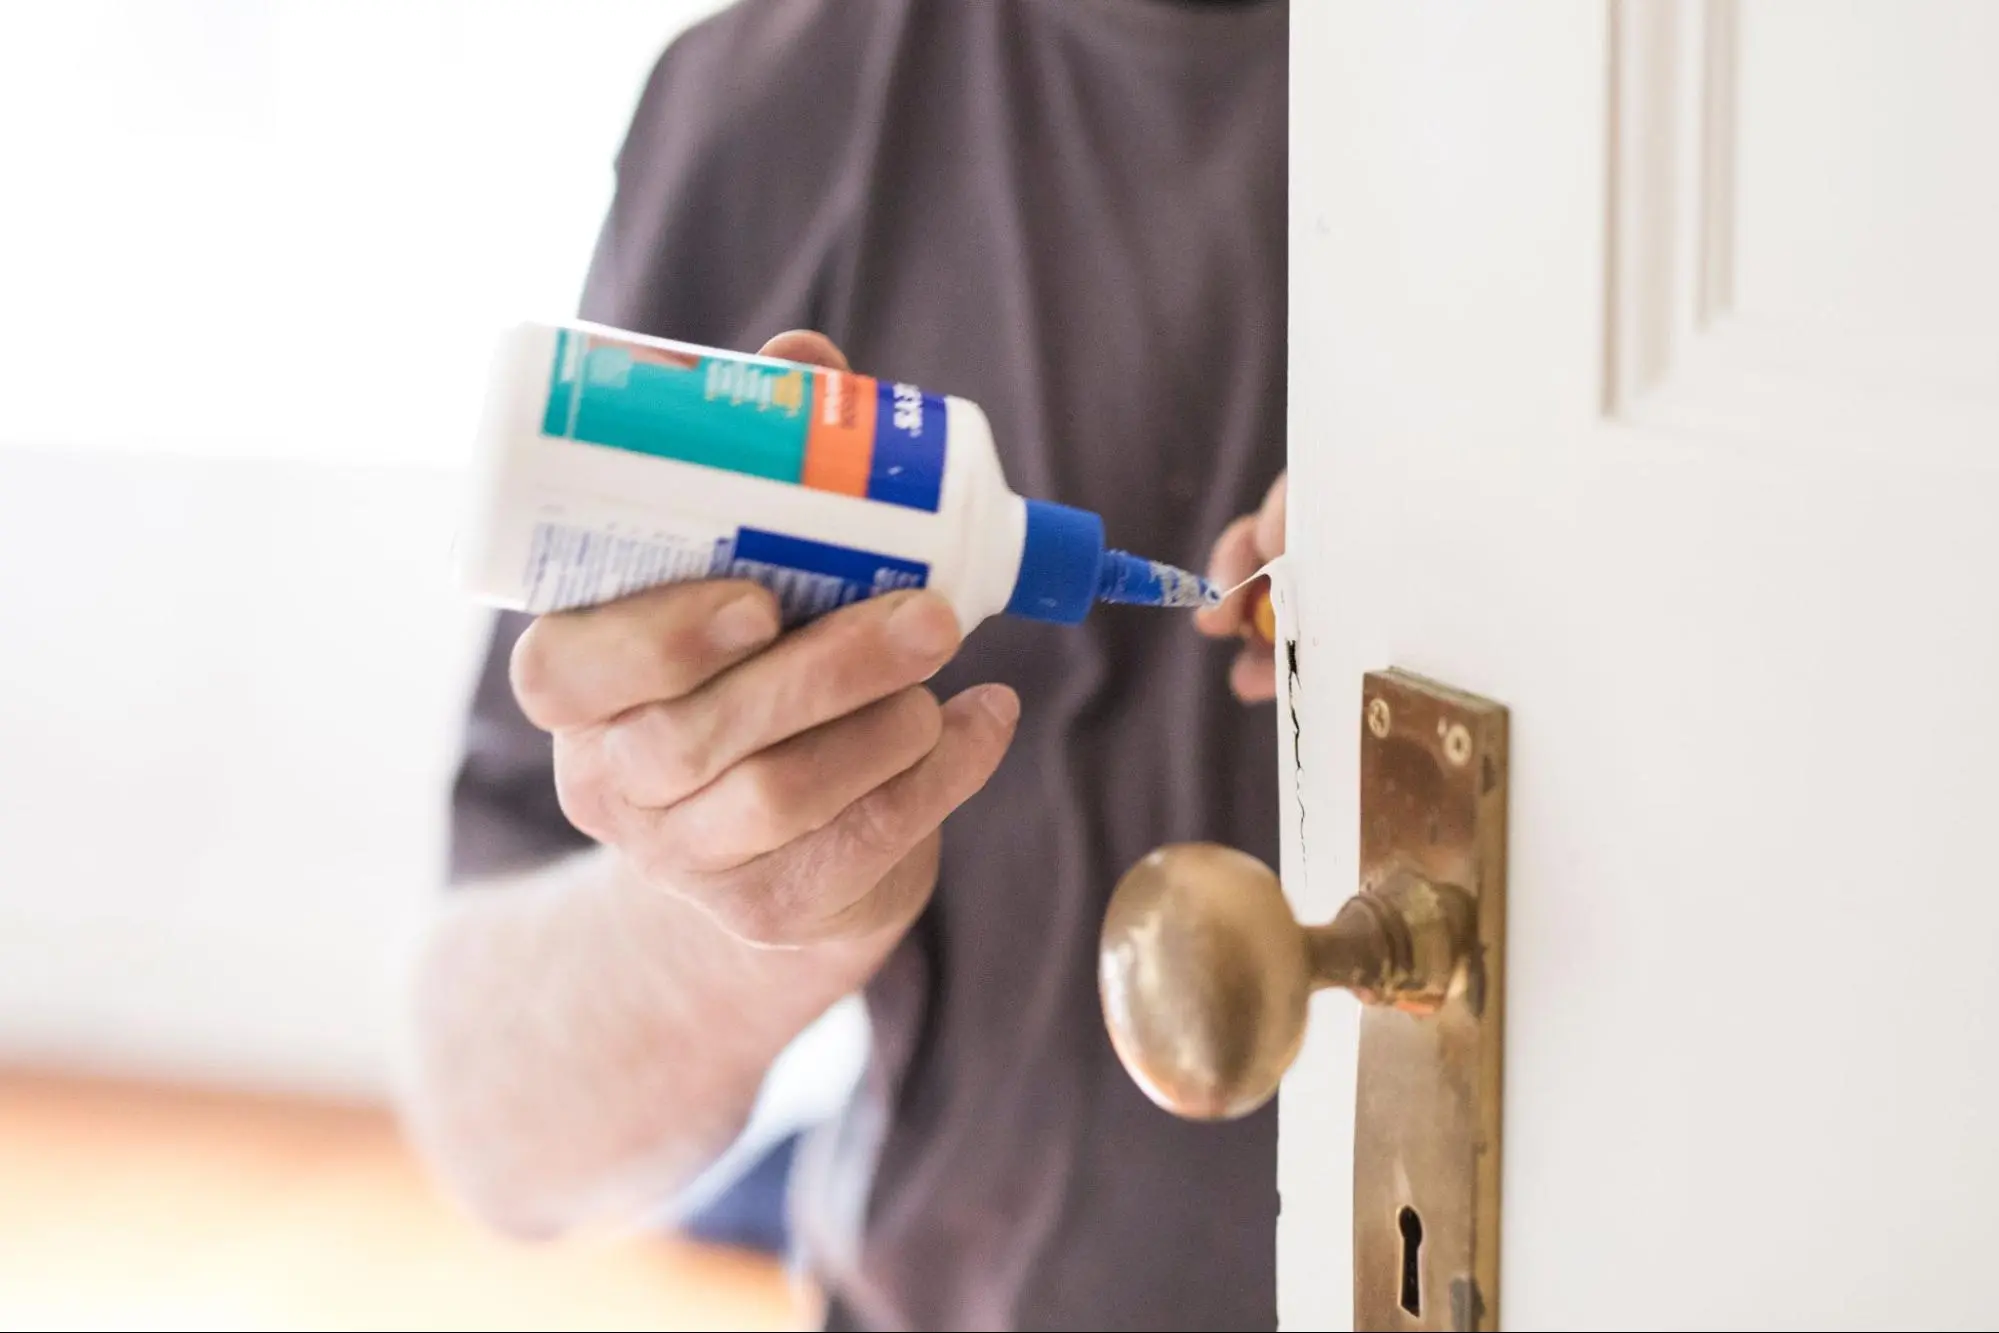
Lubricating the lock mechanism is an essential step in fixing a door knob that sticks or doesn’t turn smoothly. Dirt and dust can build up inside the lock, causing it to malfunction.
Start by choosing a suitable lubricant. Graphite powder is often recommended for locks because it does not attract dirt. You can also use silicone-based sprays for this purpose.
Before applying lubricant, clean the keyhole and surrounding area. Use a damp cloth to remove any visible dust or debris. This ensures that the lubricant can work effectively.
Next, apply the lubricant sparingly. Insert the tip of the applicator into the keyhole and give it a small squeeze. You only need a little—too much can clog the lock.
After applying the lubricant, insert your key into the lock and turn it back and forth several times. This helps distribute the lubricant throughout the mechanism.
If the lock still feels sticky, apply a little more lubricant. Repeat the process until you achieve smoother operation.
Remember to wipe away any excess lubricant to avoid dripping on your door or floor. Regular maintenance like this will keep your door knob functioning well for a long time.
To replace the latch, start by locating the screws on the edge of the door that secure the latch mechanism. Use a screwdriver to remove these screws carefully.
Once the screws are out, gently pull the latch assembly from the door. Take care not to damage the surrounding area.
If the latch is stuck, you might need to wiggle it a bit to release it. Check the condition of the old latch. If it appears worn or broken, a new latch is necessary.
Now, insert your new latch into the hole where the old latch was. Ensure it fits snugly and properly aligns with the strike plate on the door frame.
Next, secure the new latch by tightening the screws you removed earlier. Ensure it is firmly attached, but don’t overtighten, as this can cause damage.
Test the latch by inserting and turning the doorknob. The latch should move smoothly in and out of the door frame. If it doesn’t, check its alignment and make any necessary adjustments.
By replacing the latch correctly, you ensure that your door knob functions smoothly and securely.
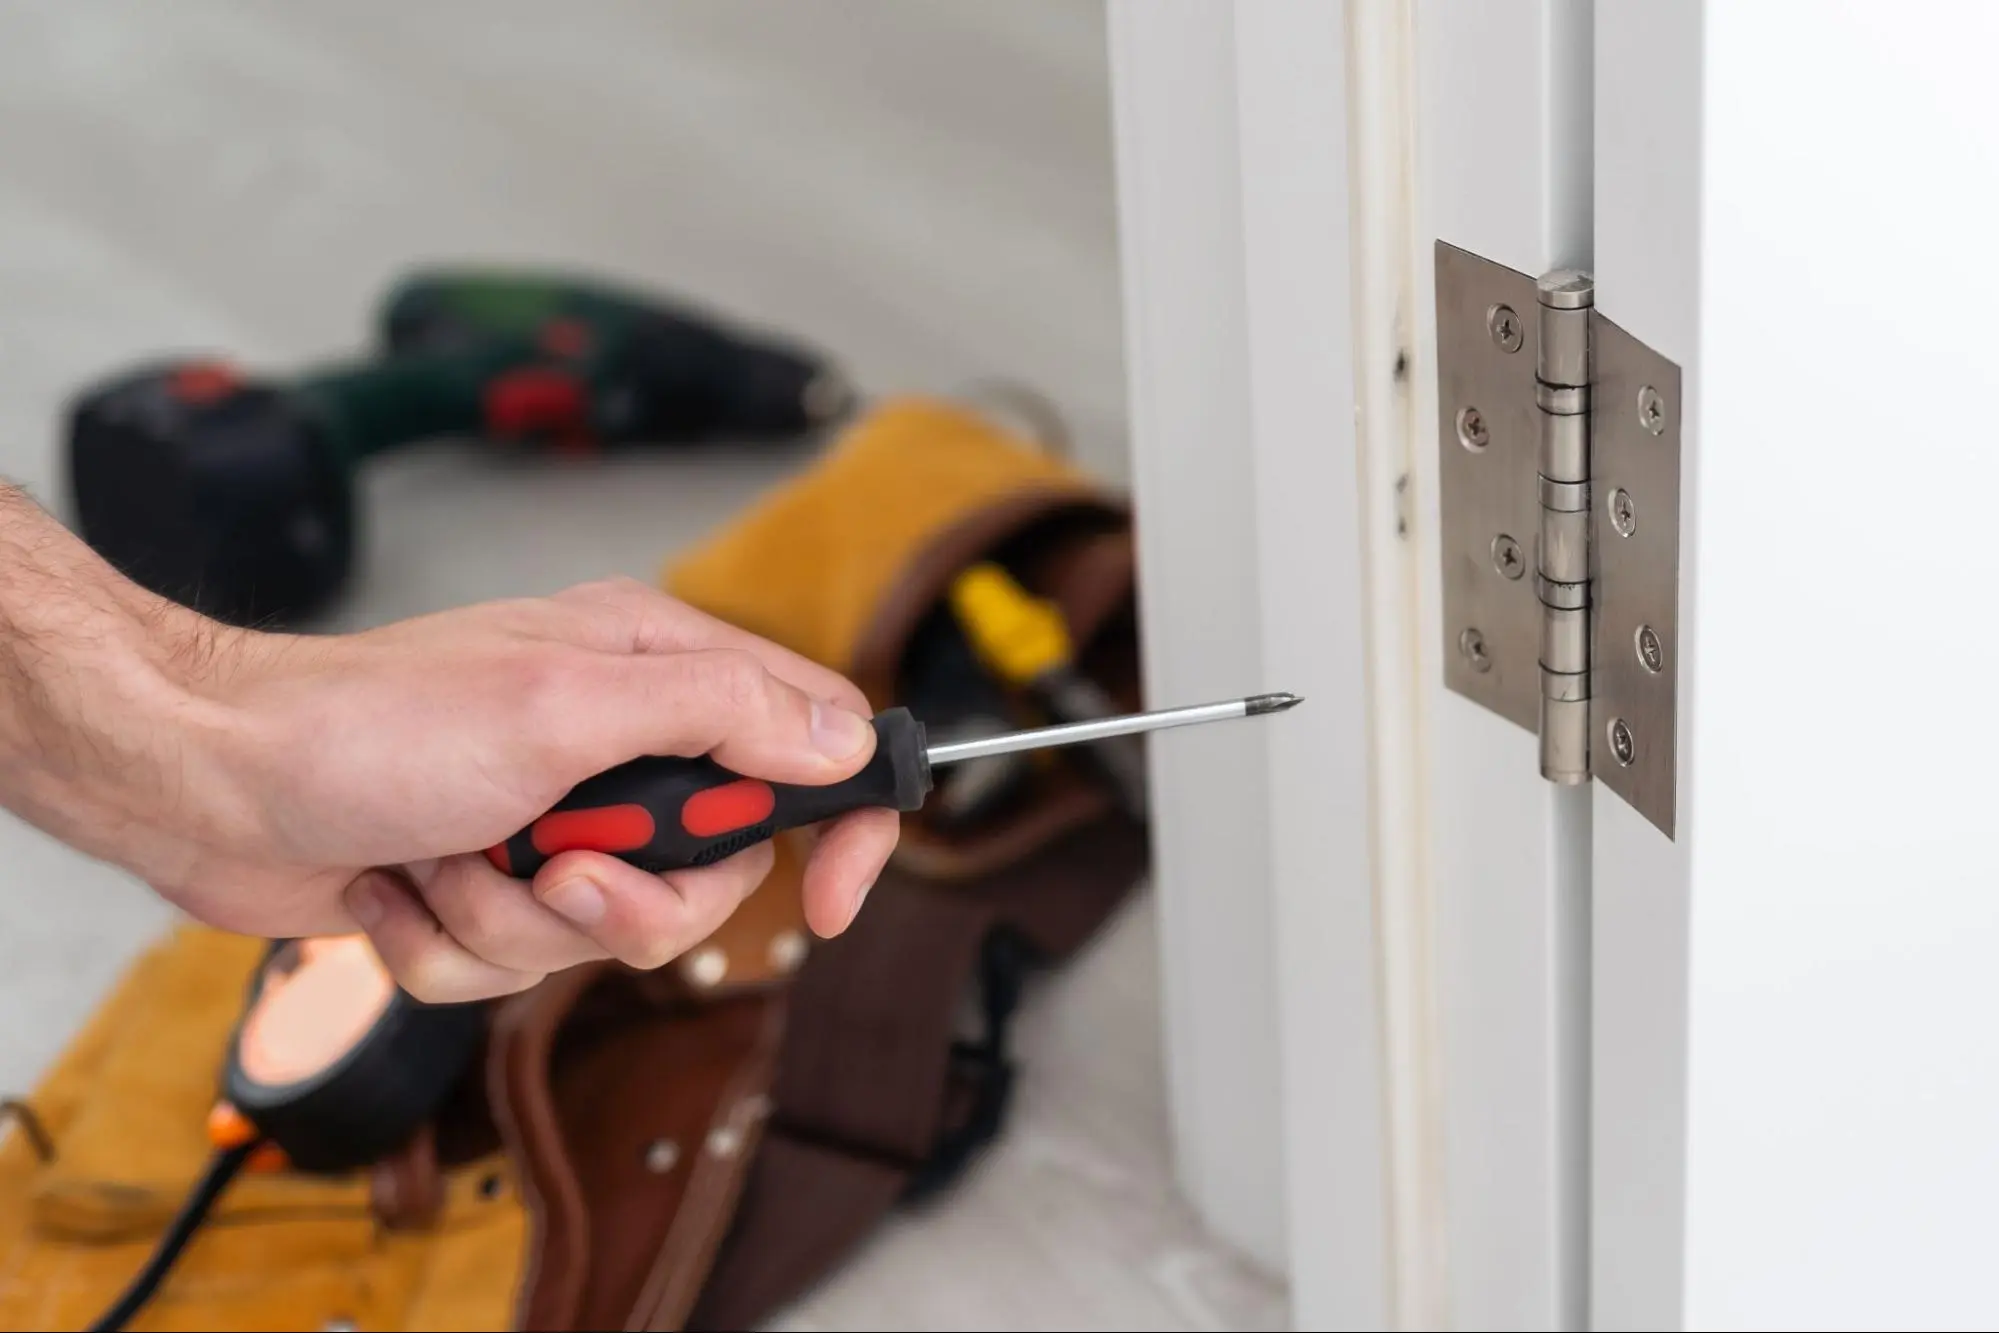
If your door is sticking or isn’t aligning correctly, adjusting the hinges may help. Start by inspecting the door and the hinges. Look for gaps between the door and the frame.
To adjust the hinges, you might need a screwdriver. Check if the screws in the hinges are loose. If they are, tighten them to see if it improves the door’s alignment.
If the door still doesn’t fit well, you can take it a step further. Unscrew the middle screw on the top hinge. Replace it with a longer screw. This will help pull the door closer to the frame.
You can also tweak the position of the hinges. Sometimes, you may need to tap the hinge slightly to adjust the angle. Use a hammer carefully to avoid damaging the door or the frame.
You might need a bit more adjustment for doors that rub against the frame. You can slightly lift the door by adjusting the bottom hinge. Loosening the screws and shifting the hinge position can help.
After making your adjustments, test the door. Open and close it a few times to see if it operates smoothly. Adjusting the hinges can often resolve issues related to sticking doors. If problems persist, further inspection may be needed to identify other issues.
To fix a loose doorknob, first check for loose screws. If the main screws are loose, tighten them with a screwdriver. Next, if your doorknob has a set screw, make sure to tighten that as well. This should help secure the knob firmly.
If your doorknob won’t turn, inspect the locking mechanism for any debris or dirt. Sometimes, lubrication can help ease the movement. Apply a few drops of lock lubricant to the mechanism. If this doesn’t work, you may need to remove the doorknob and check for internal issues.
If your doorknob has fallen off, locate any screws or set screws that may have come loose. Reattach the knob by aligning it with the spindle. Tighten all screws securely to ensure it stays in place. Double-check that the latch is functional.
If your doorknob installation isn’t working, first ensure all screws are correctly tightened. Check the strike plate’s alignment to ensure it lines up with the latch. If the knob still doesn’t function, examine the lock mechanism for any obstructions and lubricate as needed.
Replacing the weather stripping on your garage door is vital to improving your home’s energy efficiency and comfort. Installing new weather stripping prevents drafts, keeps out pests, and maintains a consistent temperature in your garage. This simple project not only enhances the overall performance of your garage door but also preserves the condition of your belongings inside.
As you consider this task, you’ll want to assess your garage door’s needs and select the correct type of weather stripping. With various options available, choosing materials that will provide an effective seal against the elements is essential. Once you gather the right tools and materials, removing the old weather stripping and installing the new one can be done quickly and easily.
By following a straightforward step-by-step approach, you can ensure that your garage door is well-protected and energy-efficient for years to come.

Before you start replacing the weather stripping, it is essential to assess your garage door’s needs. This involves checking for damage and wear and measuring your garage door correctly. A thorough inspection will help you choose the materials for an effective seal.
Begin by carefully examining your garage door frame. Look for visible signs of damage, such as cracks, chips, or warped sections. Pay attention to areas where the weather stripping attaches.
Examine the old weather stripping for wear and tear. It will not provide a proper seal if it is cracked, brittle, or has gaps. Gently remove any old material to see the condition of the surface underneath. This inspection helps you decide if any repairs are necessary before installing new weather stripping.
Note any problematic areas. These may need additional attention to ensure a tight fit for the new weather stripping. You want to create a clean and smooth surface to help the new material adhere better.
Accurate measurements are crucial for ensuring that your new weather stripping fits correctly. Use a measuring tape to determine the length of the edges of your garage door frame. Start from the bottom and measure along the sides, noting the height and width.
Take the time to measure the top of the door, too. Ensure that you account for any irregularities in the shape of the door frame. Getting precise measurements for both the vertical and horizontal sections is essential.
After measuring, write down your dimensions. This information will guide you in choosing the appropriate length of weather stripping needed. Using the correct measurements helps avoid waste and ensures a snug fit for better protection against the elements.

Choosing the right weather stripping for your garage door is crucial for maintaining energy efficiency and protecting your garage from the elements. You need to consider the materials and specific types designed for different areas.
The material of the weather stripping affects its durability and effectiveness. Common materials include:
Consider the climate in your area when selecting materials. A rubber bottom seal is highly effective for colder climates as it remains flexible and provides a tight fit even in freezing temperatures. Ensure the weather stripping you choose will last and resist cracking under stress.
Different areas of your garage door may require specific types of weather stripping. Common types include:
Consider using a combination of these types for complete protection. For example, a bottom seal paired with a nail-on v-strip can effectively guard against drafts and pests. Measure accurately to ensure a snug fit for your selected weather stripping.
Before you begin, it is crucial to take safety precautions and gather the right tools for the job. Remove the weather stripping carefully to avoid damaging your garage door.
Before starting, wear safety glasses to protect your eyes from debris. Gloves are also wise to keep your hands safe and clean.
For this task, you will need a few essential tools:
Having these tools ready allows for a smooth removal process and helps ensure that you won’t cause damage while working on your garage door.
Following these steps carefully will help you perform a damage-free removal, allowing for an adequate replacement later.
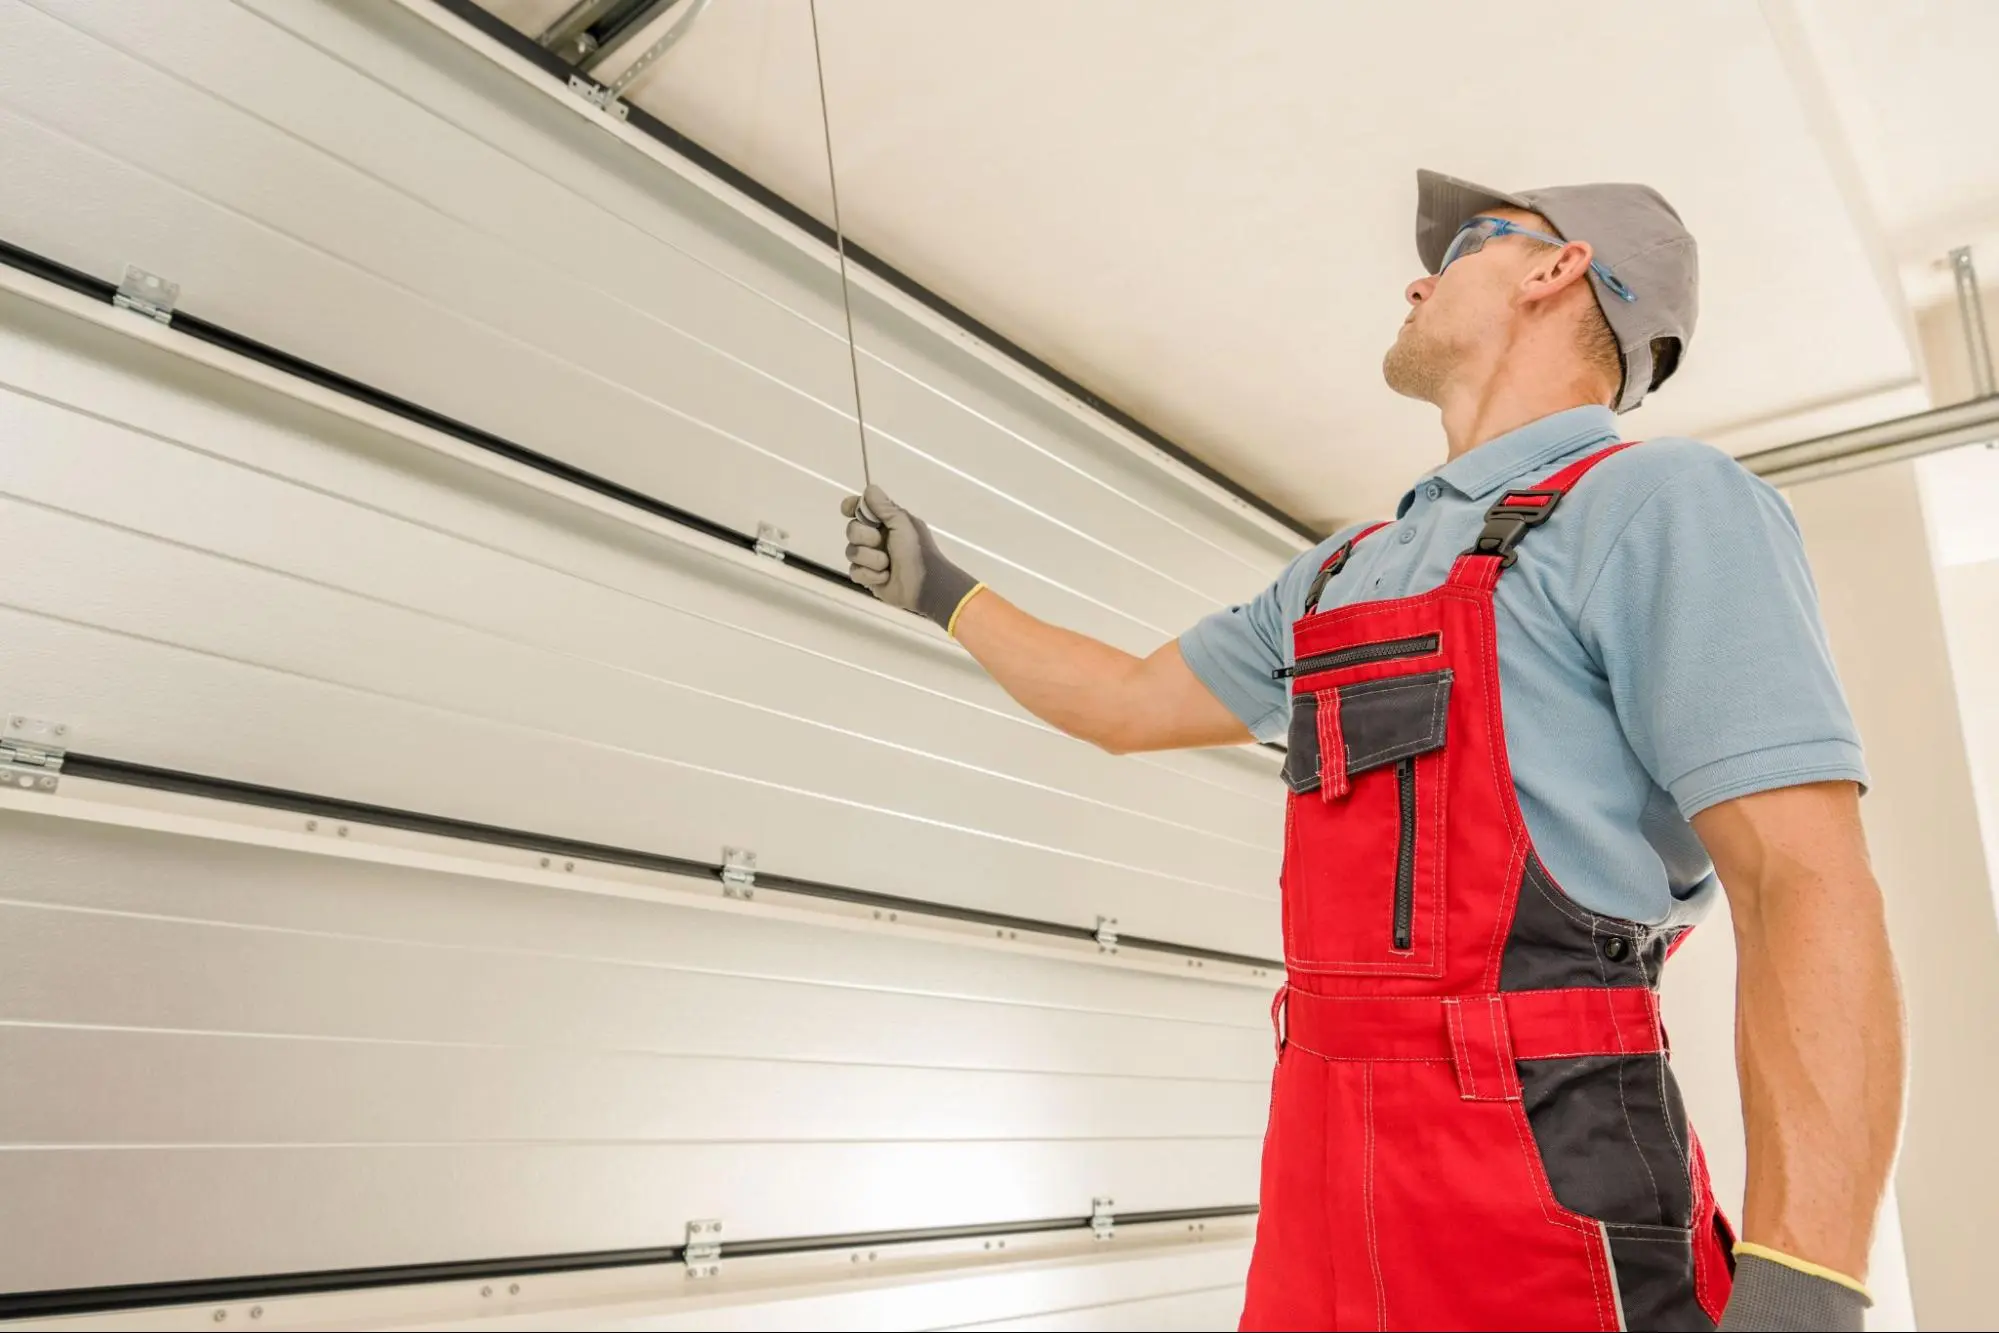
Following a clear process is essential when installing new weather stripping. Proper preparation, precise cutting, and ensuring alignment will help create a strong seal that keeps out drafts and moisture.
Start by cleaning the garage door frame. Remove any old weather stripping and debris. Use a scraper if necessary to ensure a smooth surface. This will help the new material adhere better.
Next, measure the perimeter of the door and the width of the top, sides, and bottom. Write down these figures. This will guide you when cutting your new strips. If you’re using adhesive weather stripping, ensure the surface is dry.
Afterward, decide on the type of weather stripping you’ll use. Options include adhesive strips, nails, or screws. Choose what’s best for your situation.
Once you have your measurements, gather your tools. You will need a utility knife for cutting, a measuring tape, and possibly nails or screws for attachment.
Cut your weather stripping to the measured lengths. Make sure to have clean, straight cuts. This ensures a good fit.
Begin attaching the strips to the garage door frame. Peel off the backing and press it firmly against the frame if you use adhesive material. For nailed or screwed options, position the strip so that it fits snugly, then secure it in place. Use nails or screws every few inches to make sure your weather stripping stays in place.
After attaching the weather stripping, check its alignment. Close the garage door and inspect how the strips line up with the door edges.
You want a snug fit without gaps. Adjust if needed to ensure full contact. If the bottom of the door needs additional elevation, consider adding a door sweep for better sealing.
You can use caulk at the corners or any gaps for added protection. That creates a tighter seal. Make sure everything is straight and secure. A well-aligned weather stripping system will keep your garage insulated and dry.
Replacing the weather stripping on your garage door is straightforward. It helps keep your garage insulated and protects against pests and moisture.
Completing this task can enhance your garage’s comfort and help save on energy bills. Regular maintenance ensures your garage door works well and keeps your space protected.
Clean the surfaces first to install weather stripping on the sides and top. Measure the needed lengths and cut the weather stripping to size. Peel off the adhesive backing and press the weather stripping firmly against the door frame. Make sure it seals nicely when the door is closed.
Vinyl and rubber are the best seals for garage door bottoms. They are durable and resistant to wear. Nail-on V-strips and T-shaped seals also provide a good seal against drafts, water, and pests.
To change a single-channel seal, remove the old seal from the channel. Clean the channel thoroughly so the new seal adheres well. Insert the new seal into the channel and press down firmly. Trim any excess seal material for a perfect fit.
You should replace the rubber strip if you notice cracks or wear or if it no longer seals properly. If you feel drafts or see water seepage beneath the door, it’s time for a new strip. Regular inspections can help you determine the right time for replacement.
Bathroom leaks can be a homeowner’s nightmare. If left unchecked, they waste water, damage property, and lead to mold growth. However, you can save time and money by learning to spot and fix bathroom leaks yourself.
Finding the source of a leak is the first step. Look for wet spots, water stains, or mold on walls, floors, and ceilings. Check under sinks, around toilets, and near shower or tub edges. You can use food coloring in the toilet tank to test for silent leaks.
Once you’ve found the leak, you’ll need the right tools and materials to fix it. Typical repairs include replacing worn washers, tightening connections, or applying new caulk. For bigger issues, you may need to call a plumber. Regular checks and maintenance can help prevent future leaks.
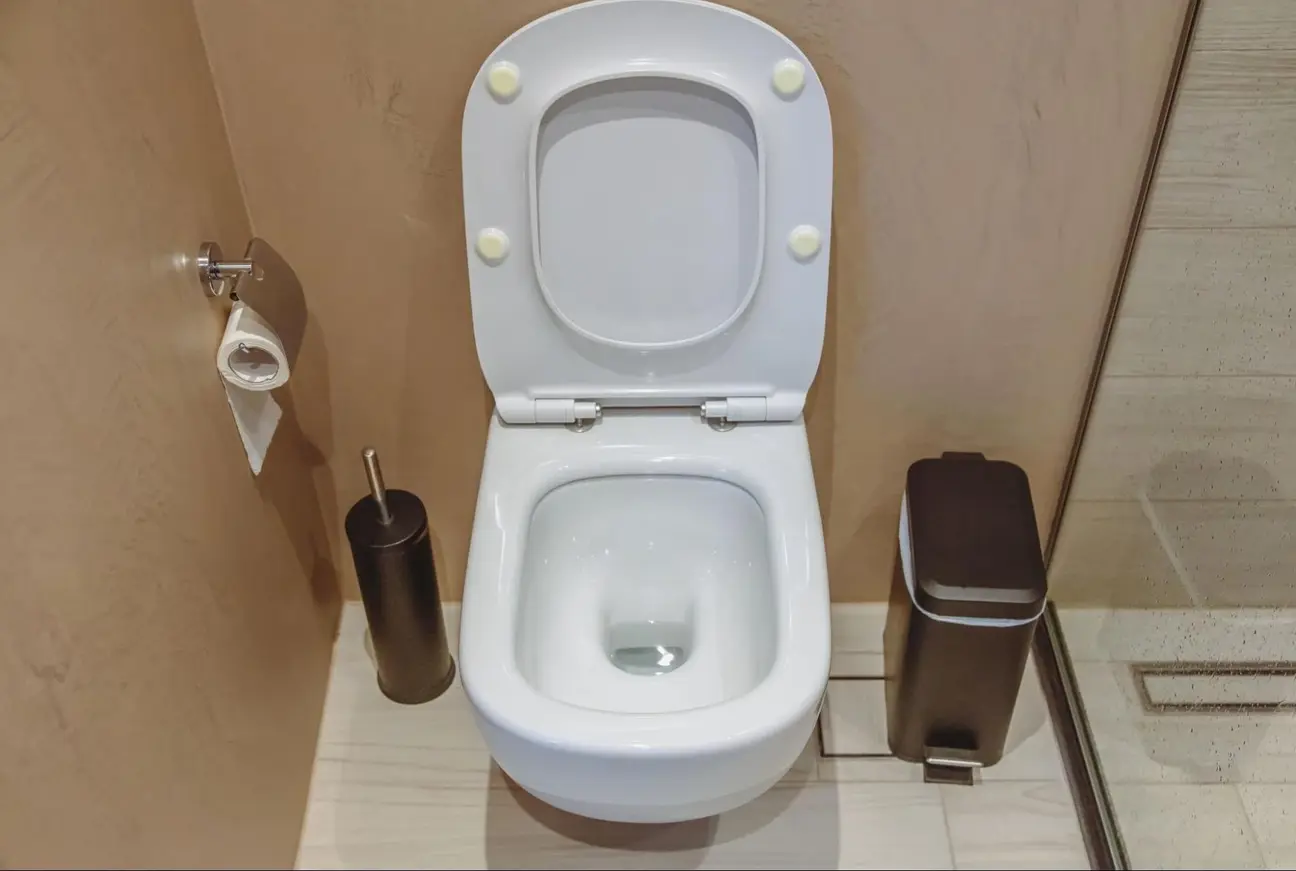
Bathroom leaks can happen in several places. Knowing where to look helps you find and fix problems fast. Let’s check the main spots where leaks often occur.
Toilet leaks can waste a lot of water. Add food coloring to the tank to test for leaks and wait 15 minutes without flushing. If color appears in the bowl, you have a toilet leak.
Check the flapper valve at the bottom of the tank. It might not seal properly. Look for cracks or wear.
Examine the toilet’s base. The water there could indicate a bad wax ring or loose bolts. If the bolts are loose, tighten them. If that doesn’t work, you may need to replace the wax ring.
Don’t ignore running toilets. They often mean the flush valve chain is stuck or the fill valve needs adjustment.
Dripping faucets are easy to spot. But leaks under the sink can go unnoticed. Check the pipes and connections regularly.
Look for water stains, dampness, or mold under the sink. These are signs of hidden leaks.
Worn-out faucets can cause drips. You should replace the washer or O-ring. For bigger issues, you may have to get a new faucet.
Check the sink drain assembly. Loose parts can cause leaks. Tighten connections with an adjustable wrench.
Don’t forget to look at the caulking around the sink. Gaps here can let water seep into the counter or floor.
Shower leaks can cause major damage if not caught early. Look for loose or cracked tiles and check the grout between tiles for gaps.
Test the shower pan by plugging the drain and filling it with water. Mark the water level and check back in a few hours. If the level drops, you have a leak.
Examine the caulk around the tub or shower. Replace it if it’s cracked or missing.
Check for leaks around the showerhead and faucet. Tighten connections or replace parts if needed.
Don’t ignore wet spots on the ceiling below the bathroom. That could mean a serious leak in the shower or tub plumbing.
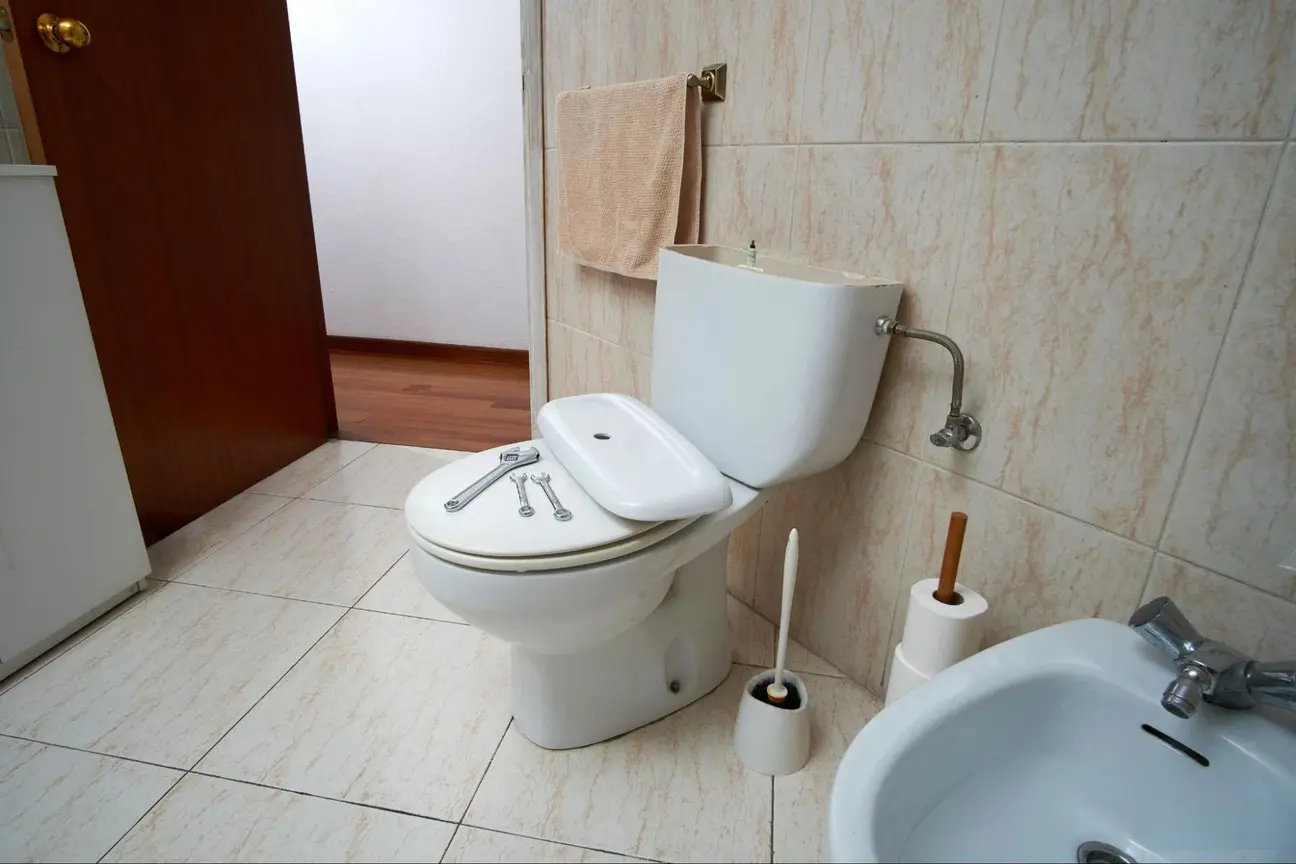
Having the right tools and materials is key to fixing bathroom leaks. Specific plumbing tools are needed to diagnose and access problem areas, and proper sealing materials are crucial to stop water from escaping.
To tackle bathroom leaks, you’ll want these essential tools:
A flashlight and mirror can help you spot leaks in tight spaces. Keep a bucket handy to catch water when working on pipes.
To stop leaks, you’ll need:
New ones might be needed if old supply lines are the source of leaks. Grout and tile sealers can fix leaks in shower walls. Always choose materials rated for bathroom use to ensure durability in wet conditions.
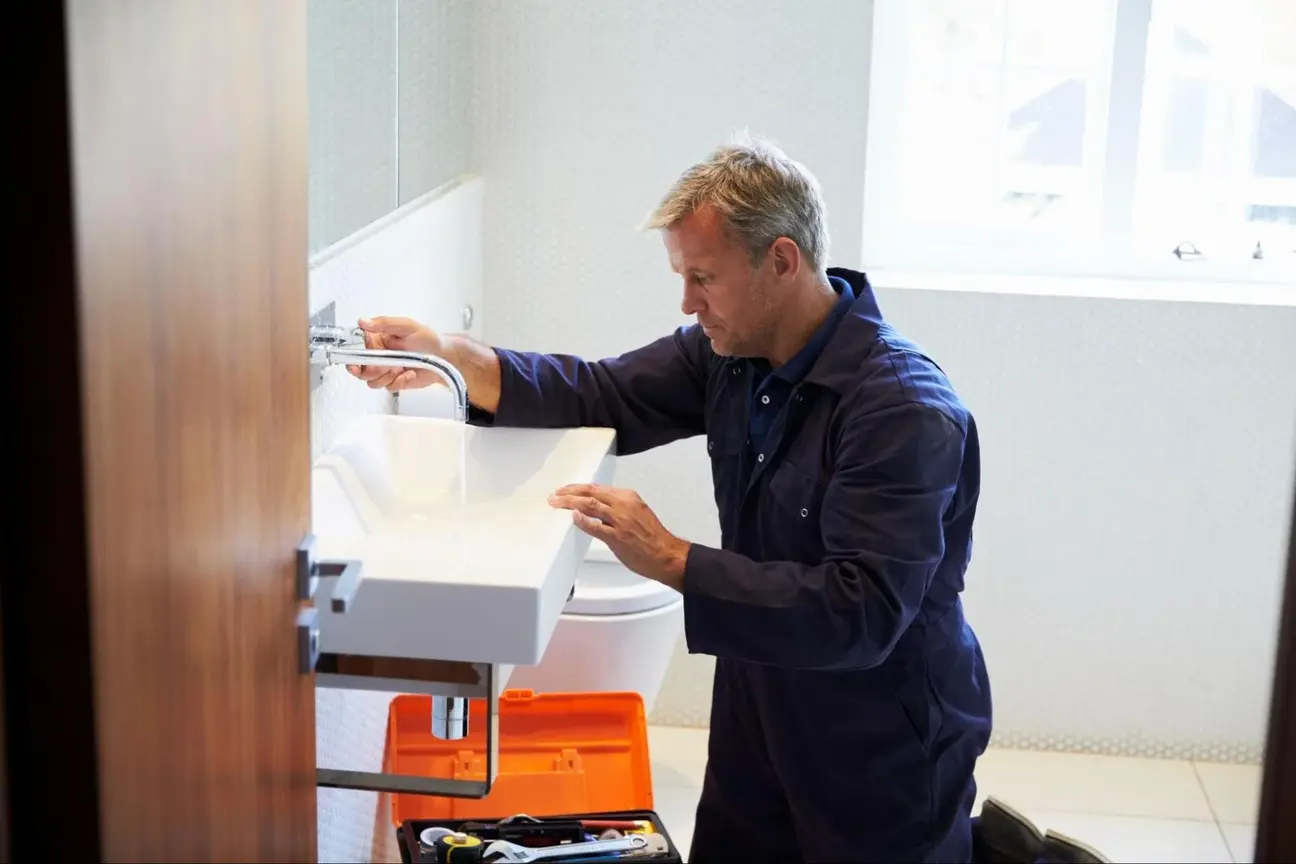
Fixing bathroom leaks requires careful inspection and targeted repairs. You’ll need basic tools and materials to address common issues with toilets, sinks, and showers.
Start by identifying the source of the leak. Add a few drops of food coloring to the tank and wait 15 minutes. If color appears in the bowl, the flapper needs replacing.
To replace the flapper:
If the water runs constantly, check the fill valve and adjust or replace it if needed. Also, inspect the tank-to-bowl gasket for cracks. If cracked, replace it to stop leaks between the tank and bowl.
Tighten loose bolts at the base of the toilet. If the leaking persists, you may need to replace the wax ring seal. That involves removing the toilet, so consider calling a plumber if you’re uncomfortable with the task.
First, locate the source of sink leaks. Typical spots include the faucet, drain, or supply lines. Turn off the water supply before starting repairs.
To fix a dripping faucet:
Check the P-trap connections for leaks under the sink. Tighten loose nuts or replace the gasket if necessary. Inspect supply lines for damage and replace them if necessary.
If the sink drain leaks, remove the old plumber’s putty around the drain flange, apply new putty, and retighten the drain assembly. For stubborn leaks, you might need to replace the entire drain assembly.
Bathtub and shower leaks often stem from worn caulking or grout. Inspect these areas closely. Remove the old caulk and apply fresh silicone caulk around the tub edges where it meets the floor.
For shower leaks:
Examine the shower pan for cracks. Small cracks can be sealed with epoxy designed for tubs and showers. Larger cracks or a failing shower pan may require professional help.
Check the drain for leaks. Tighten the drain flange or apply the plumber’s putty if needed. If the leaks are persistent, you may need to access the drain from below to repair or replace it.
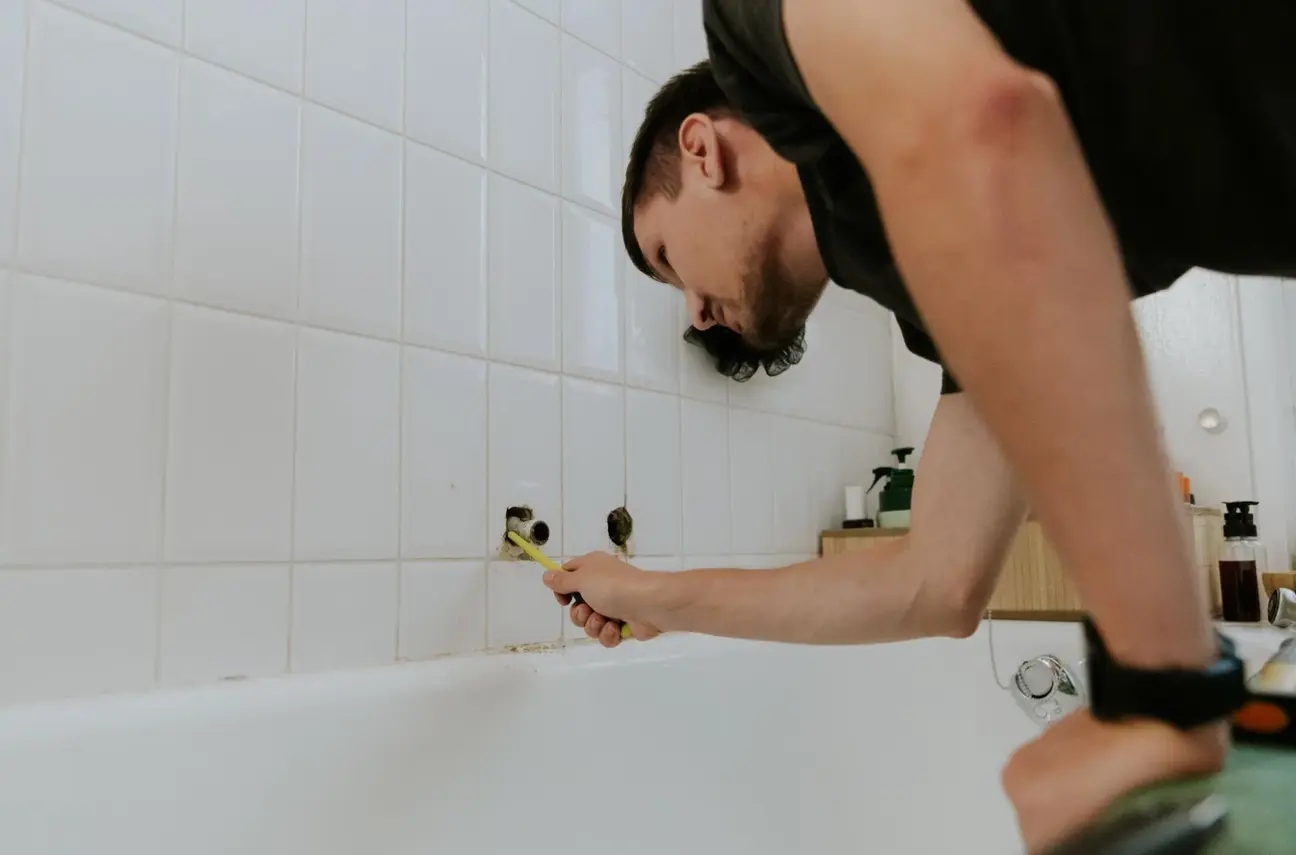
Taking care of your bathroom plumbing can prevent costly repairs. Regular checks and addressing small issues quickly are key to avoiding big problems.
Check your water bill each month for unusual spikes. That can signal hidden leaks. Look for signs of water damage on walls, floors, and ceilings.
Test your toilet for leaks. Put food coloring in the tank and wait 15 minutes. If color appears in the bowl, you have a leaky toilet.
Inspect visible pipes and fixtures for corrosion or small drips. Tighten loose connections and replace worn washers and O-rings.
Clear slow drains before they clog fully. Use a plunger or drain snake. For stubborn clogs, try using natural cleaners.
Replace old caulk and grout to prevent water seepage. Reseal areas around tubs, sinks, and toilets every few years.
Dripping faucets must be fixed promptly. They waste water and can lead to stains or damage. Often, you just need to replace the washer.
Consider updating old fixtures during remodeling. Modern, efficient models can prevent leaks and save water.
Have a plumber review your bathroom’s plumbing system every 2-3 years. They can spot potential issues before they become major problems.
Be gentle with your plumbing. Don’t flush anything but toilet paper. Use drain guards to catch hair and debris in sinks and tubs.
Turn off all water sources in the bathroom. Look for visible signs of water damage, such as stains or mold. Use food coloring in the toilet tank to check for toilet leaks. Check under sinks and around fixtures for drips or puddles. Run water in sinks and showers to observe any leaks. Look for loose tiles or grout that may allow water to seep through.
Check the showerhead for leaks and tighten or replace it if needed. Inspect the shower arm and apply the plumber’s tape to the threads if it’s loose. Replace worn-out caulking around the shower enclosure. If the shower valve leaks, you may need to replace the cartridge or the entire valve assembly.
Look for discoloration or water stains on the ceiling below the bathroom. Peeling paint or bubbling wallpaper can also indicate a leak. In the bathroom above, watch for cracking or chipping grout. Musty odors or visible mold growth are other red flags of water damage.
Immediately shut off the water supply to the upstairs bathroom. Place a bucket to catch dripping water and remove any valuables from the area below. Identify and fix the source of the leak in the upstairs bathroom. Dry out the affected areas thoroughly. Repair any water damage to the ceiling and check for mold growth.
Warped wood can be a frustrating problem for any DIY enthusiast or homeowner. Understanding how to fix warped wood effectively can save you time and money while restoring the beauty and function of your wooden items. Knowing the right techniques can turn your warped wood back into a usable state, whether it’s furniture, flooring, or crafting projects.
In this guide, you will discover various restoration methods tailored to address different types of warping. From moisture application to pressure techniques, you will learn how to assess the degree of warp and choose the best solution for your situation. With the proper knowledge and tools, you can tackle this challenge confidently.
No longer will you need to view warped wood as an unsolvable issue. You can restore your wood pieces, from flooring to antiques, to their former glory and enhance your skills.
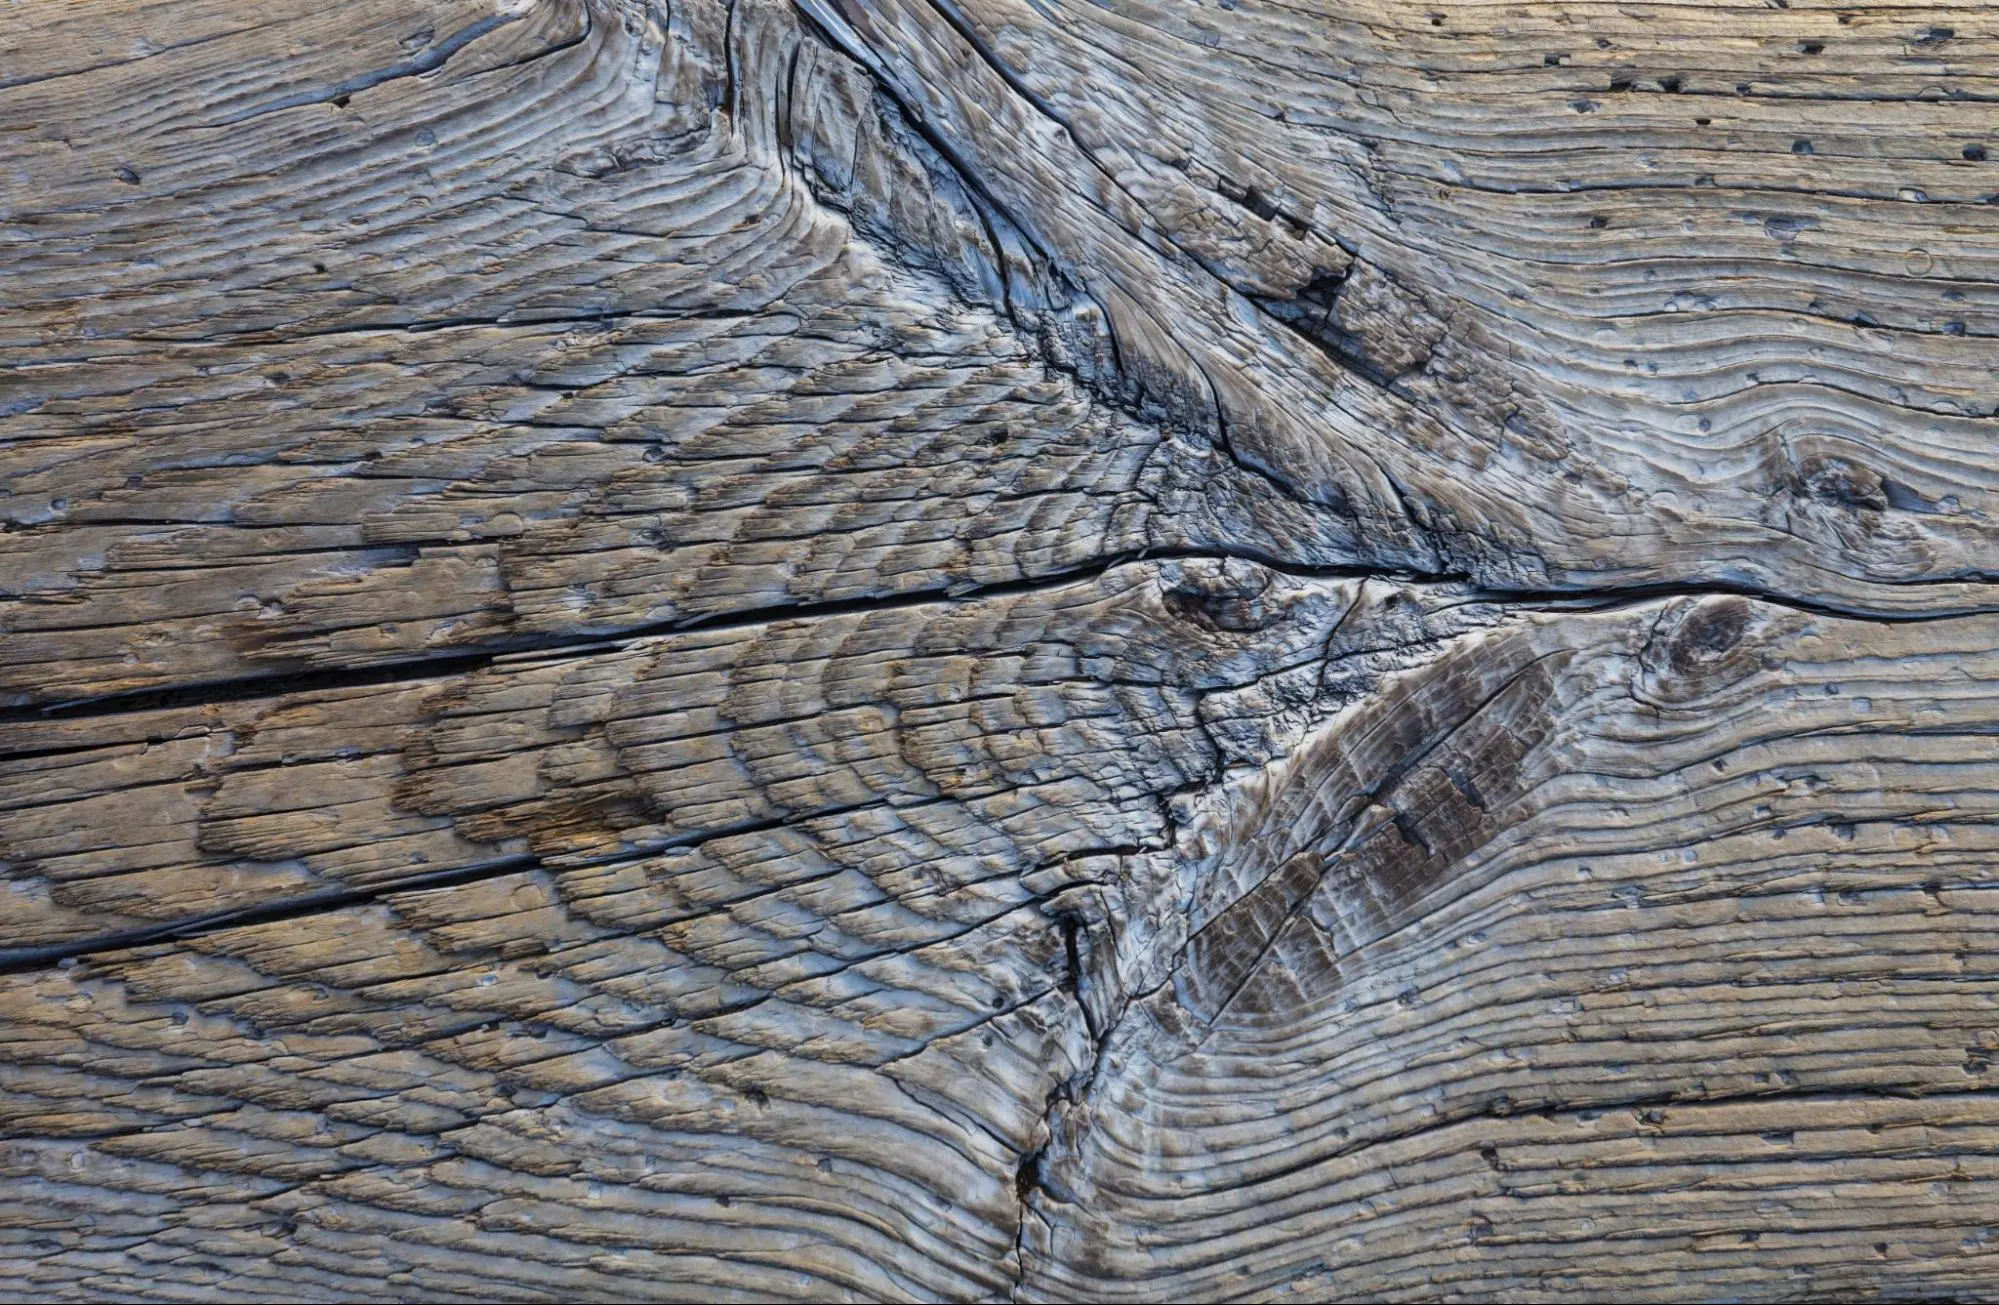
Warped wood is a common issue that can affect the quality and appearance of your projects. To effectively manage this problem, it’s crucial to identify the different types of warping, understand their causes, and learn how to prevent them.
There are several types of warping you might encounter:
Identifying these types will help you determine the best restoration method.
Warping typically results from several factors, primarily related to moisture and the environment:
These factors can significantly impact the condition of your wood and should be monitored.
Preventing warping is essential for maintaining the integrity of your wood. Consider these strategies:
By implementing these strategies, you can help ensure your wood remains straight and true over time.
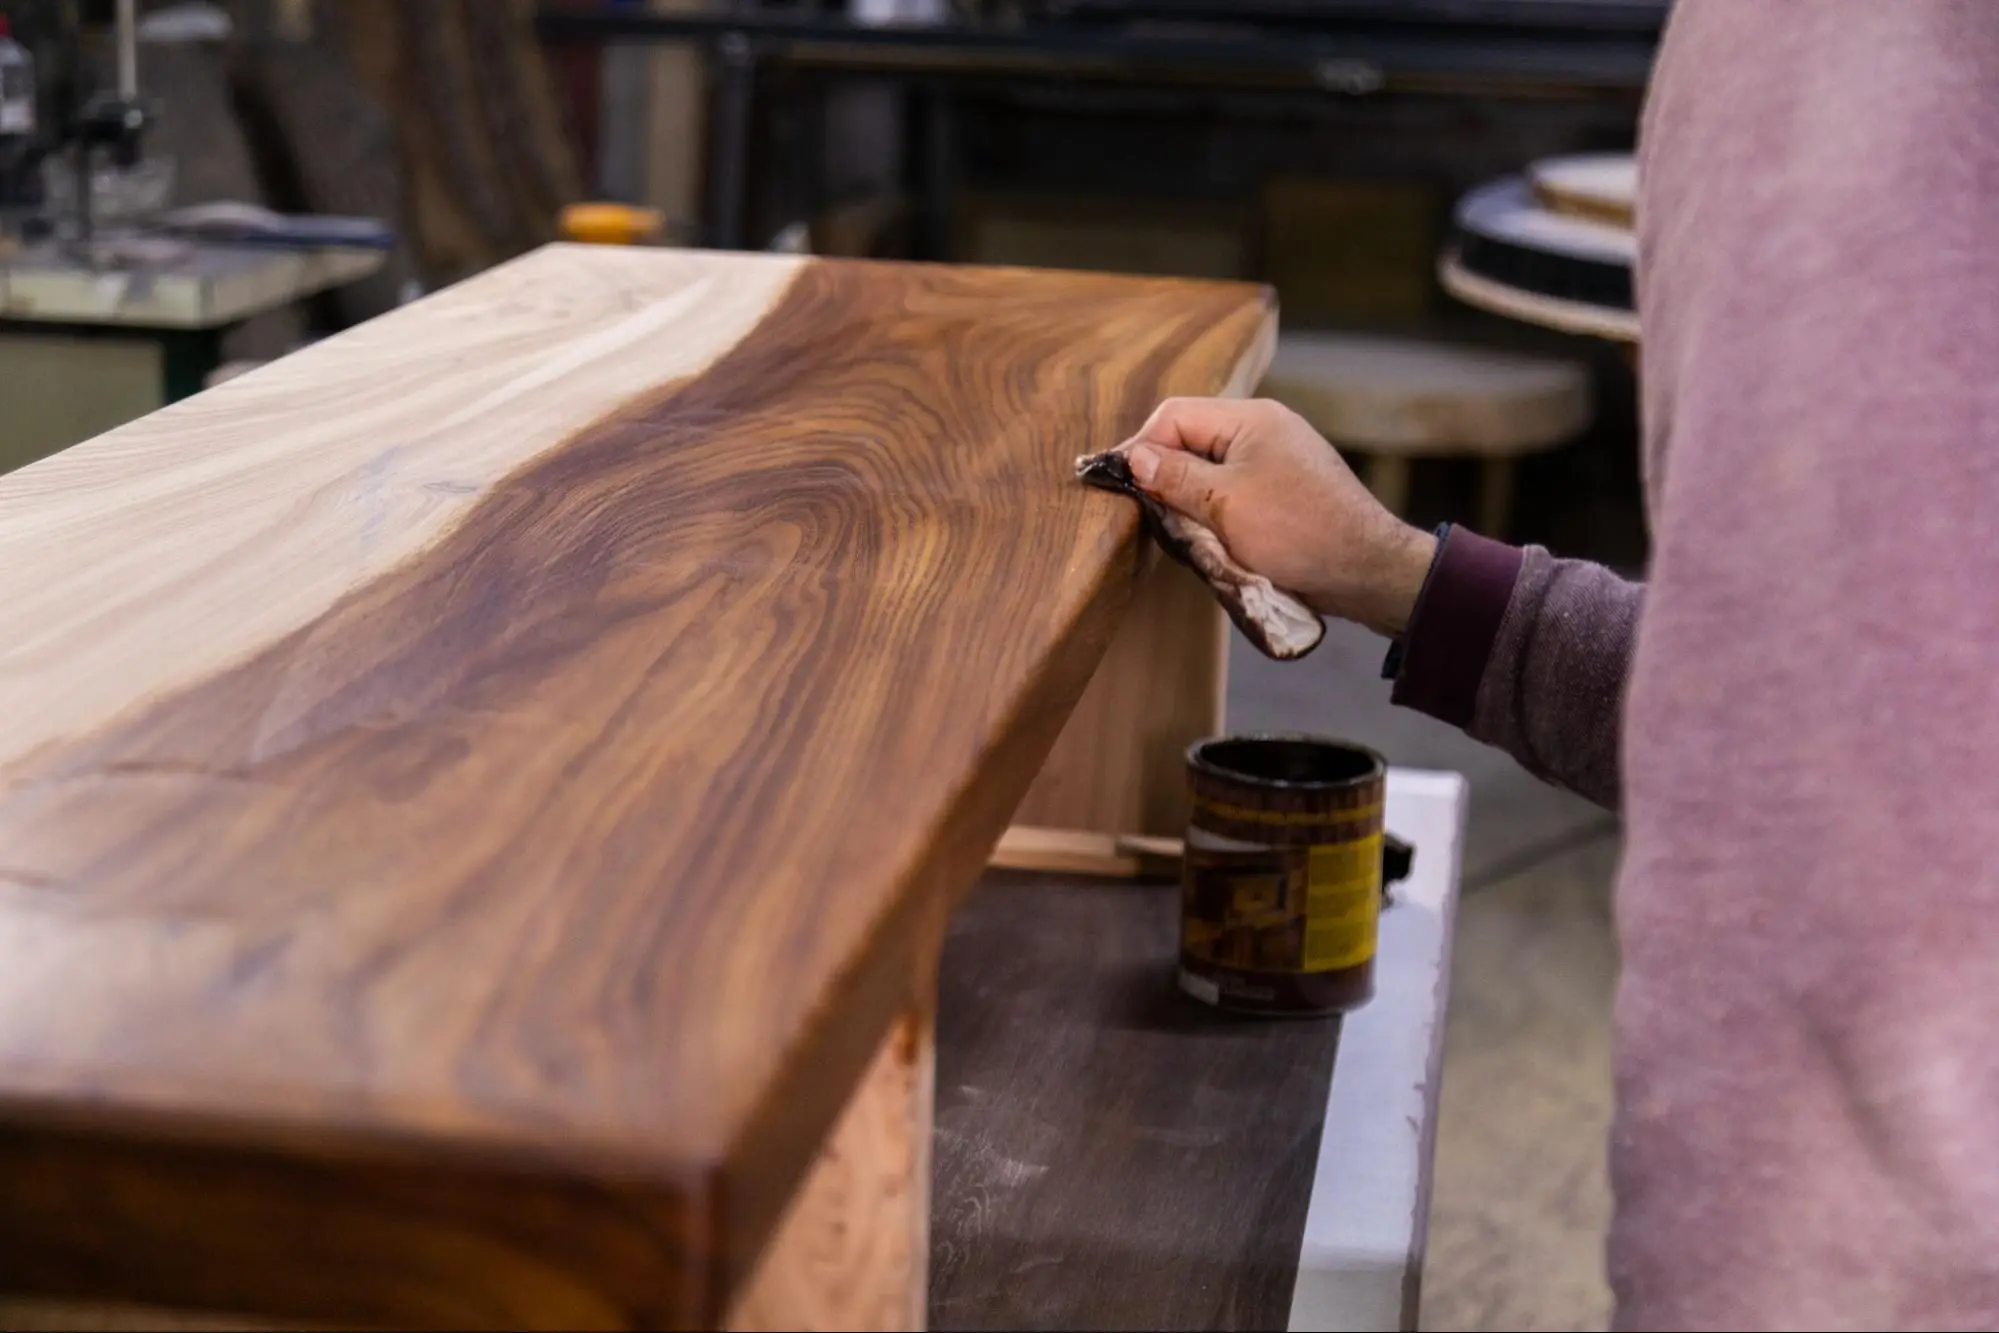
Restoring warped wood requires specific heat, moisture, and mechanical techniques. These approaches can effectively restore your wood to its original shape.
The sunlight method is a simple yet effective way to straighten warped wood. You start by placing the warped piece in direct sunlight for several hours. This exposure will cause the wood to expand and soften.
While the wood is warming up, perform a visual inspection to assess the degree of warping. Ensure you frequently check on the board’s progress. To enhance the effect, dampen a towel and lay it across the concave side of the wood.
After a few hours, use clamps to hold the wood in place as it cools down. This combination of heat and pressure can help reshape the wood significantly.
The moisture and steam approach is effective for more stubborn warps. Begin by laying the warped wood flat on a sturdy surface. Spray the concave side with water, ensuring the wood absorbs moisture evenly.
Next, cover the wood with a wet towel. You can heat an iron and carefully move it over the towel to create steam. Be cautious not to directly touch the wood with the iron, as excess heat can cause damage.
After applying steam for about 10 minutes, let the wood sit under pressure using clamps to help it maintain its new shape as it cools down. This method is excellent for novice woodworkers looking for an effective solution.
Another option is to use the heat method. Start by using a heat gun on a low setting. Hold the gun at least six inches away from the wood to avoid burning it. Move it back and forth across the warped area, heating it gradually.
Once the wood feels warm, take a jack plane and gently shave down any high spots. This can help create a flat surface. Afterward, let the wood cool while being held down by clamps for about 30 minutes.
This technique needs careful monitoring to avoid overheating. It can be handy for sections of wood that are not too severely warped.
Mechanical correction uses physical methods to restore warped wood. Start by removing any nails or screws that may be in the way. Use a wood chisel to clean the edges if necessary.
Apply pressure to the warped area. You can use clamps or pressure by placing a weight on top. Be sure to support the entire length of the wood for even adjustments.
Sometimes, sanding will be needed to smoothen any rough edges once the wood has been straightened. After achieving a good shape, consider applying a sealant to protect the wood from future warping.
Restoring warped wood can be straightforward if you follow the proper steps. Start by assessing the type and severity of the warp. Knowing the best method for your situation is crucial.
For professional help, consider Kaminskiy Care and Repair. We provide wood restoration and flooring services and expert guidance. This can save you time and ensure quality results. Contact us today
To fix warped wood furniture, first, identify the concave side of the warp. Apply moisture to that side using a damp cloth or steam. You can also place weight on the high side to encourage it to flatten out over time.
You can prevent wood from warping by maintaining a stable environment with controlled humidity. Use air conditioning or dehumidifiers in humid areas. Properly seal the wood with finishes to protect it from moisture.
Effective methods for straightening warped wood include moistening the concave side, using weights, or employing heat with a steam iron. Each technique helps to relax the fibers, allowing the wood to return to its original shape.
The duration of flattening warped wood varies depending on the method used. Moisture methods may take several hours to overnight, while weight applications may take a day or more. Regular checks can help you monitor progress.
Septic systems are crucial in managing wastewater, especially in homes not connected to municipal sewage systems. Proper maintenance is essential to avoid costly repairs and ensure your system operates efficiently. Neglecting your septic system can lead to unpleasant problems, such as backups or costly replacements. Understanding the basics of septic system maintenance can save you time, money, and stress.
Regular checks and simple habits can significantly extend the life of your septic system. Knowing how to identify and address common issues early can prevent major repairs down the line. In this article, you will discover essential tips and techniques to keep your septic system running smoothly.
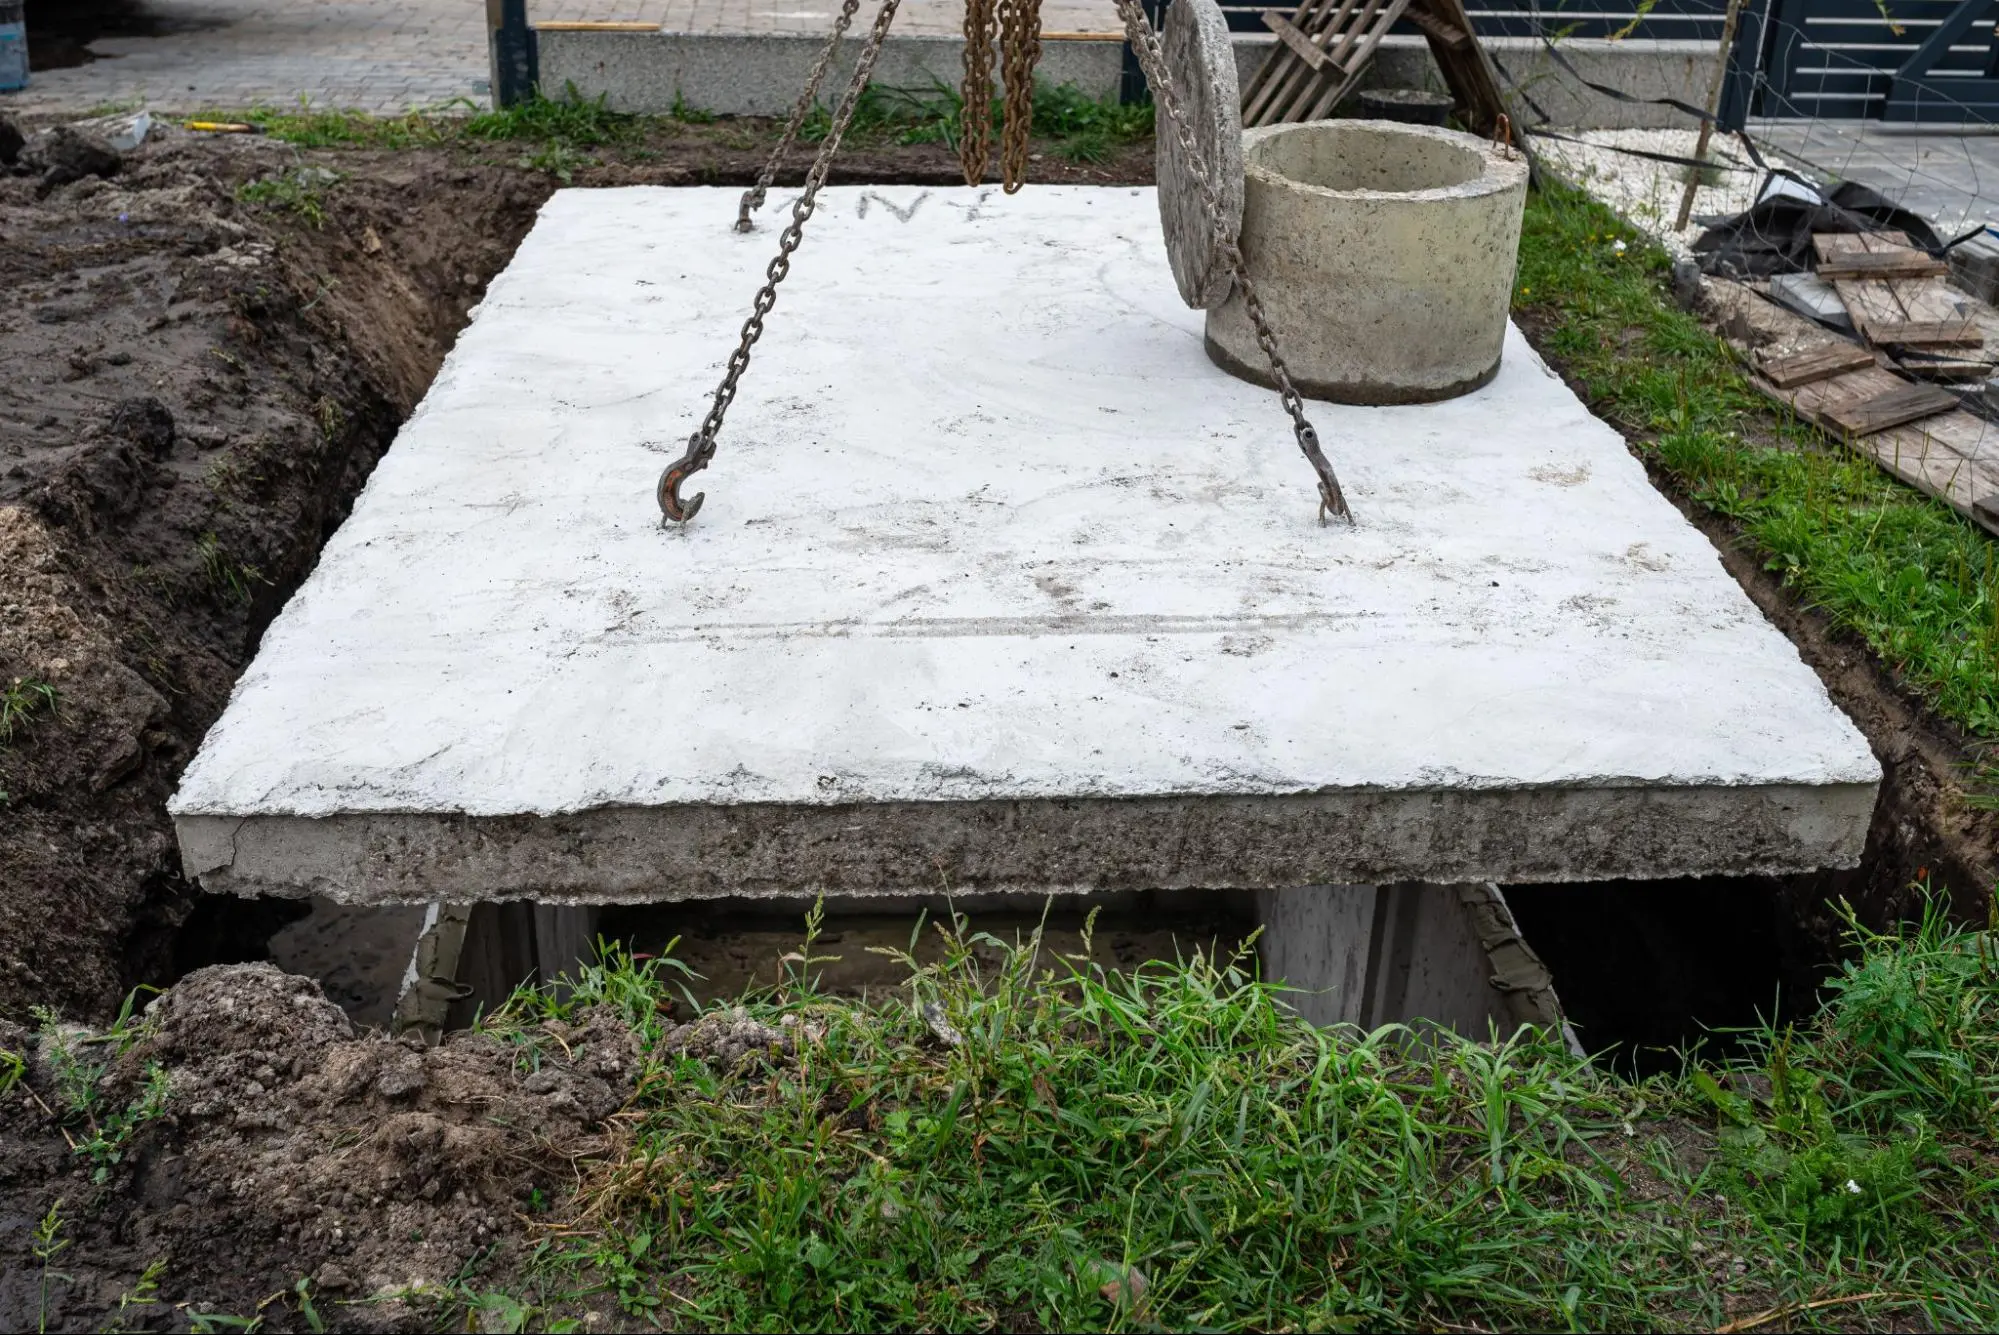
Septic systems are vital for managing wastewater in areas without centralized sewer services. Knowing their components and types will help you care for your system effectively.
A septic system mainly consists of three key components: the septic tank, drain field, and soil. The septic tank stores waste and allows solids to settle at the bottom, forming sludge. The lighter materials, like grease, float to the top as scum.
When wastewater flows into the tank, it undergoes anaerobic digestion, breaking down solid waste. After this, liquid effluent exits the tank and moves into the drain field. The drain field consists of perforated pipes buried in gravel or sand. These pipes distribute the effluent into the ground, where soil naturally filters it.
This process removes harmful bacteria and nutrients, ensuring clean water returns to the environment. Regular maintenance, like pumping the tank, keeps these components functioning and extends your system’s life.
There are several types of septic systems designed for different needs. The most common system is the conventional septic system, which includes a septic tank and a drain field. This system works well in many environments.
Another option is the alternative septic system. This type is usually used in areas with poor drainage or where conventional systems are not suitable. Alternative systems may include sand filters, aerobic treatment units, or mounds.
Lastly, there’s the cesspool. This older design collects wastewater in a pit, allowing it to seep into the surrounding soil. While simpler, cesspools can lead to contamination and are often being replaced by safer options.
Having the right understanding of these types helps you choose the right system for your home and environment.
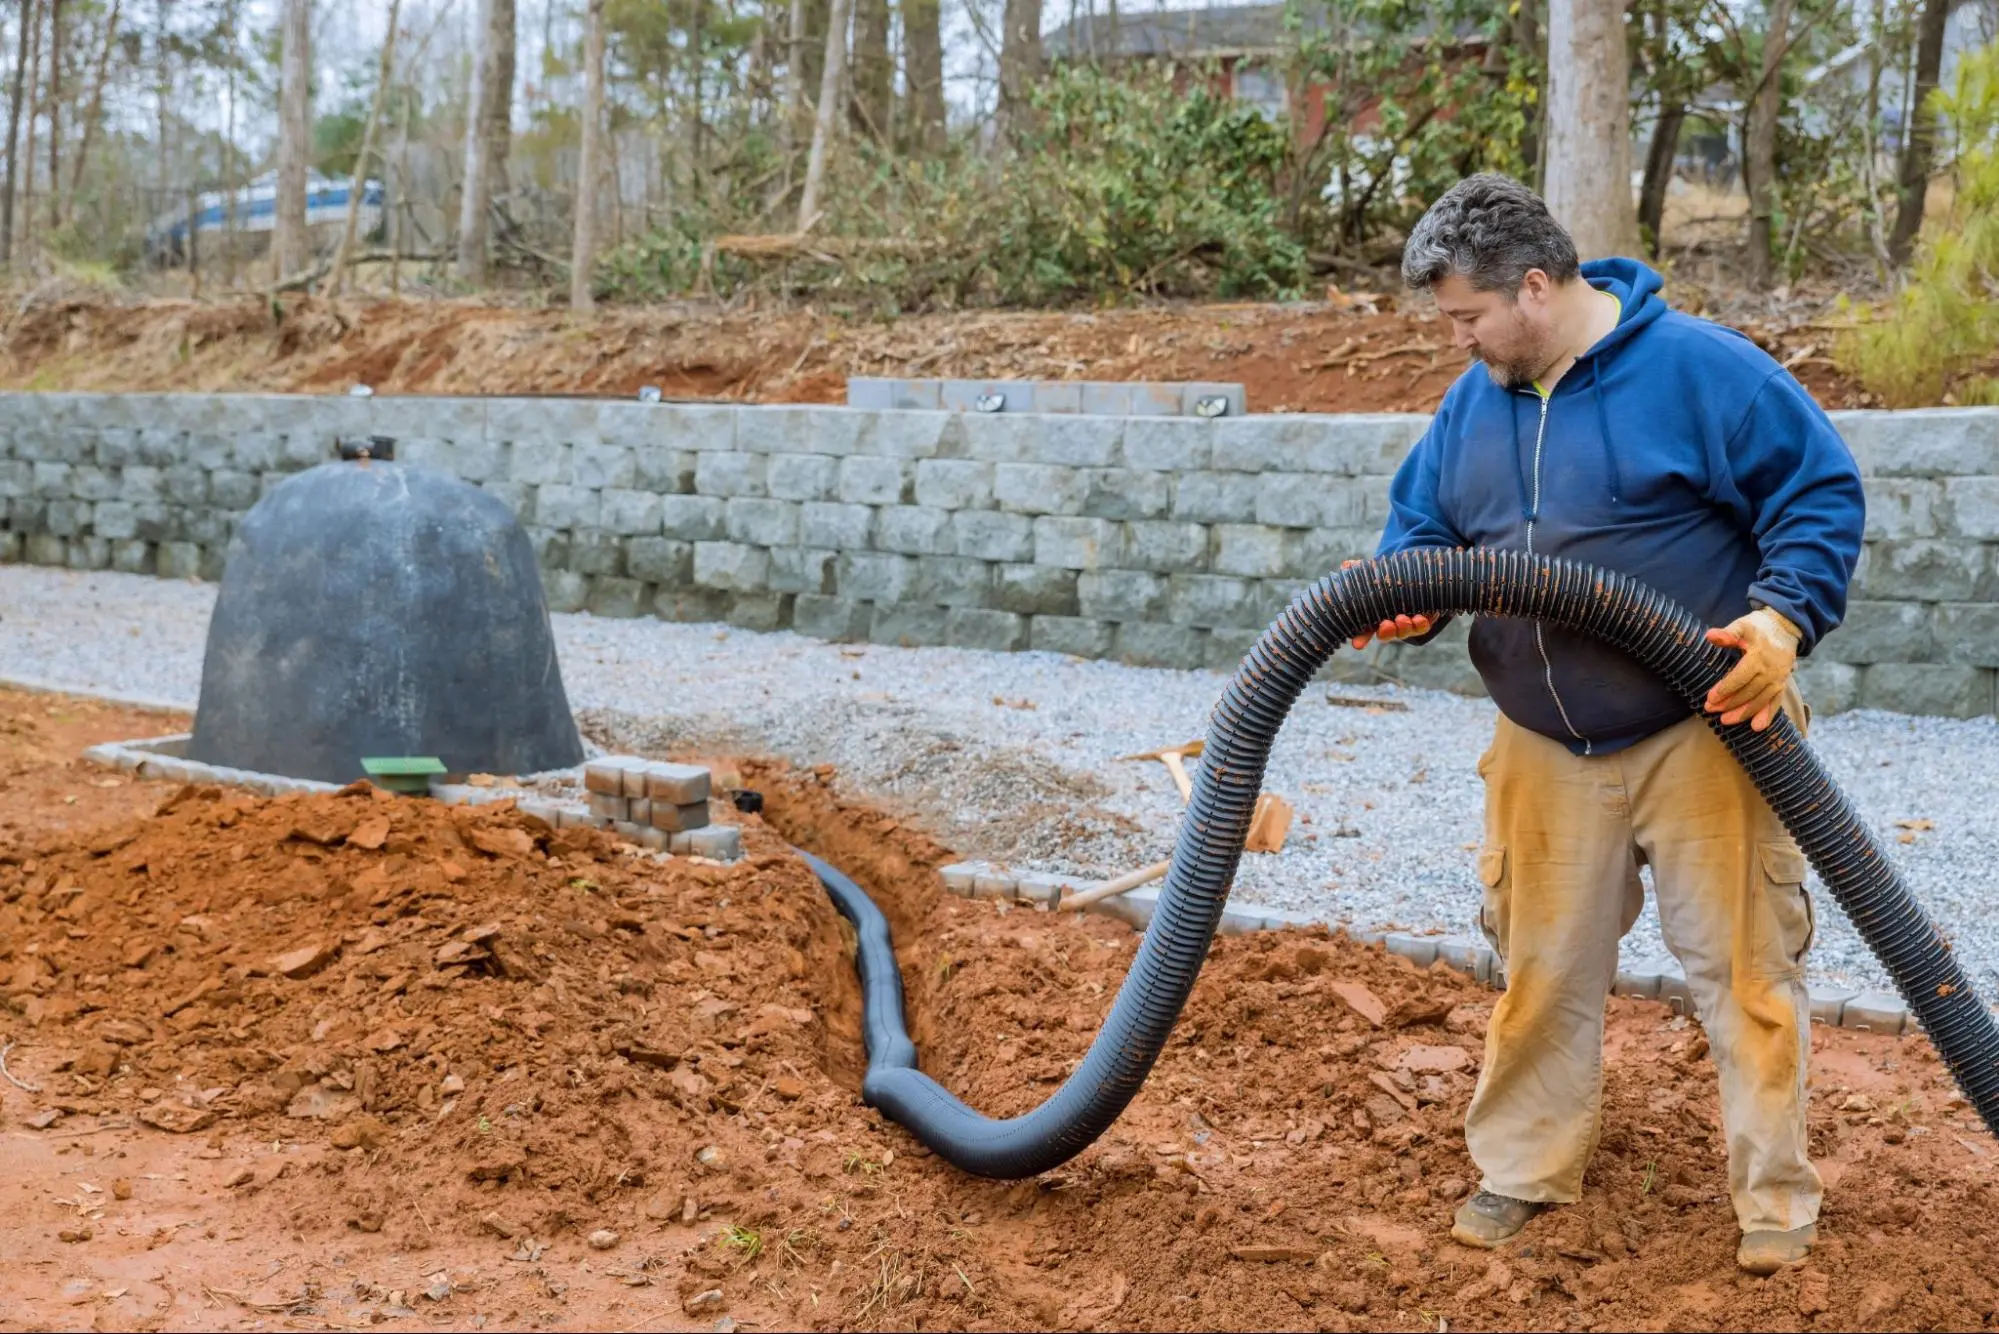
Regular upkeep of your septic system is essential for its efficiency and longevity. Understanding inspection frequencies and best practices can help prevent costly repairs and ensure your system operates smoothly.
You should inspect your septic system yearly to identify any issues early on. This inspection typically includes checking the tank, distribution box, and drain field for signs of failure.
Pumping your septic tank is crucial. Generally, it should be pumped every 3 to 5 years, but factors like household size, water use, and system design can affect this frequency. Always consult with a professional to customize your schedule.
Taking care of your septic system starts with mindful usage. Avoid flushing non-biodegradable items, such as wipes or paper towels, which can clog the system.
Limit the use of garbage disposals, as they add solids to the system. Instead, compost food waste when possible. Be careful with household chemicals; never pour harmful substances like paints or motor oil down the drain.
Following these practices helps maintain an efficient septic system.
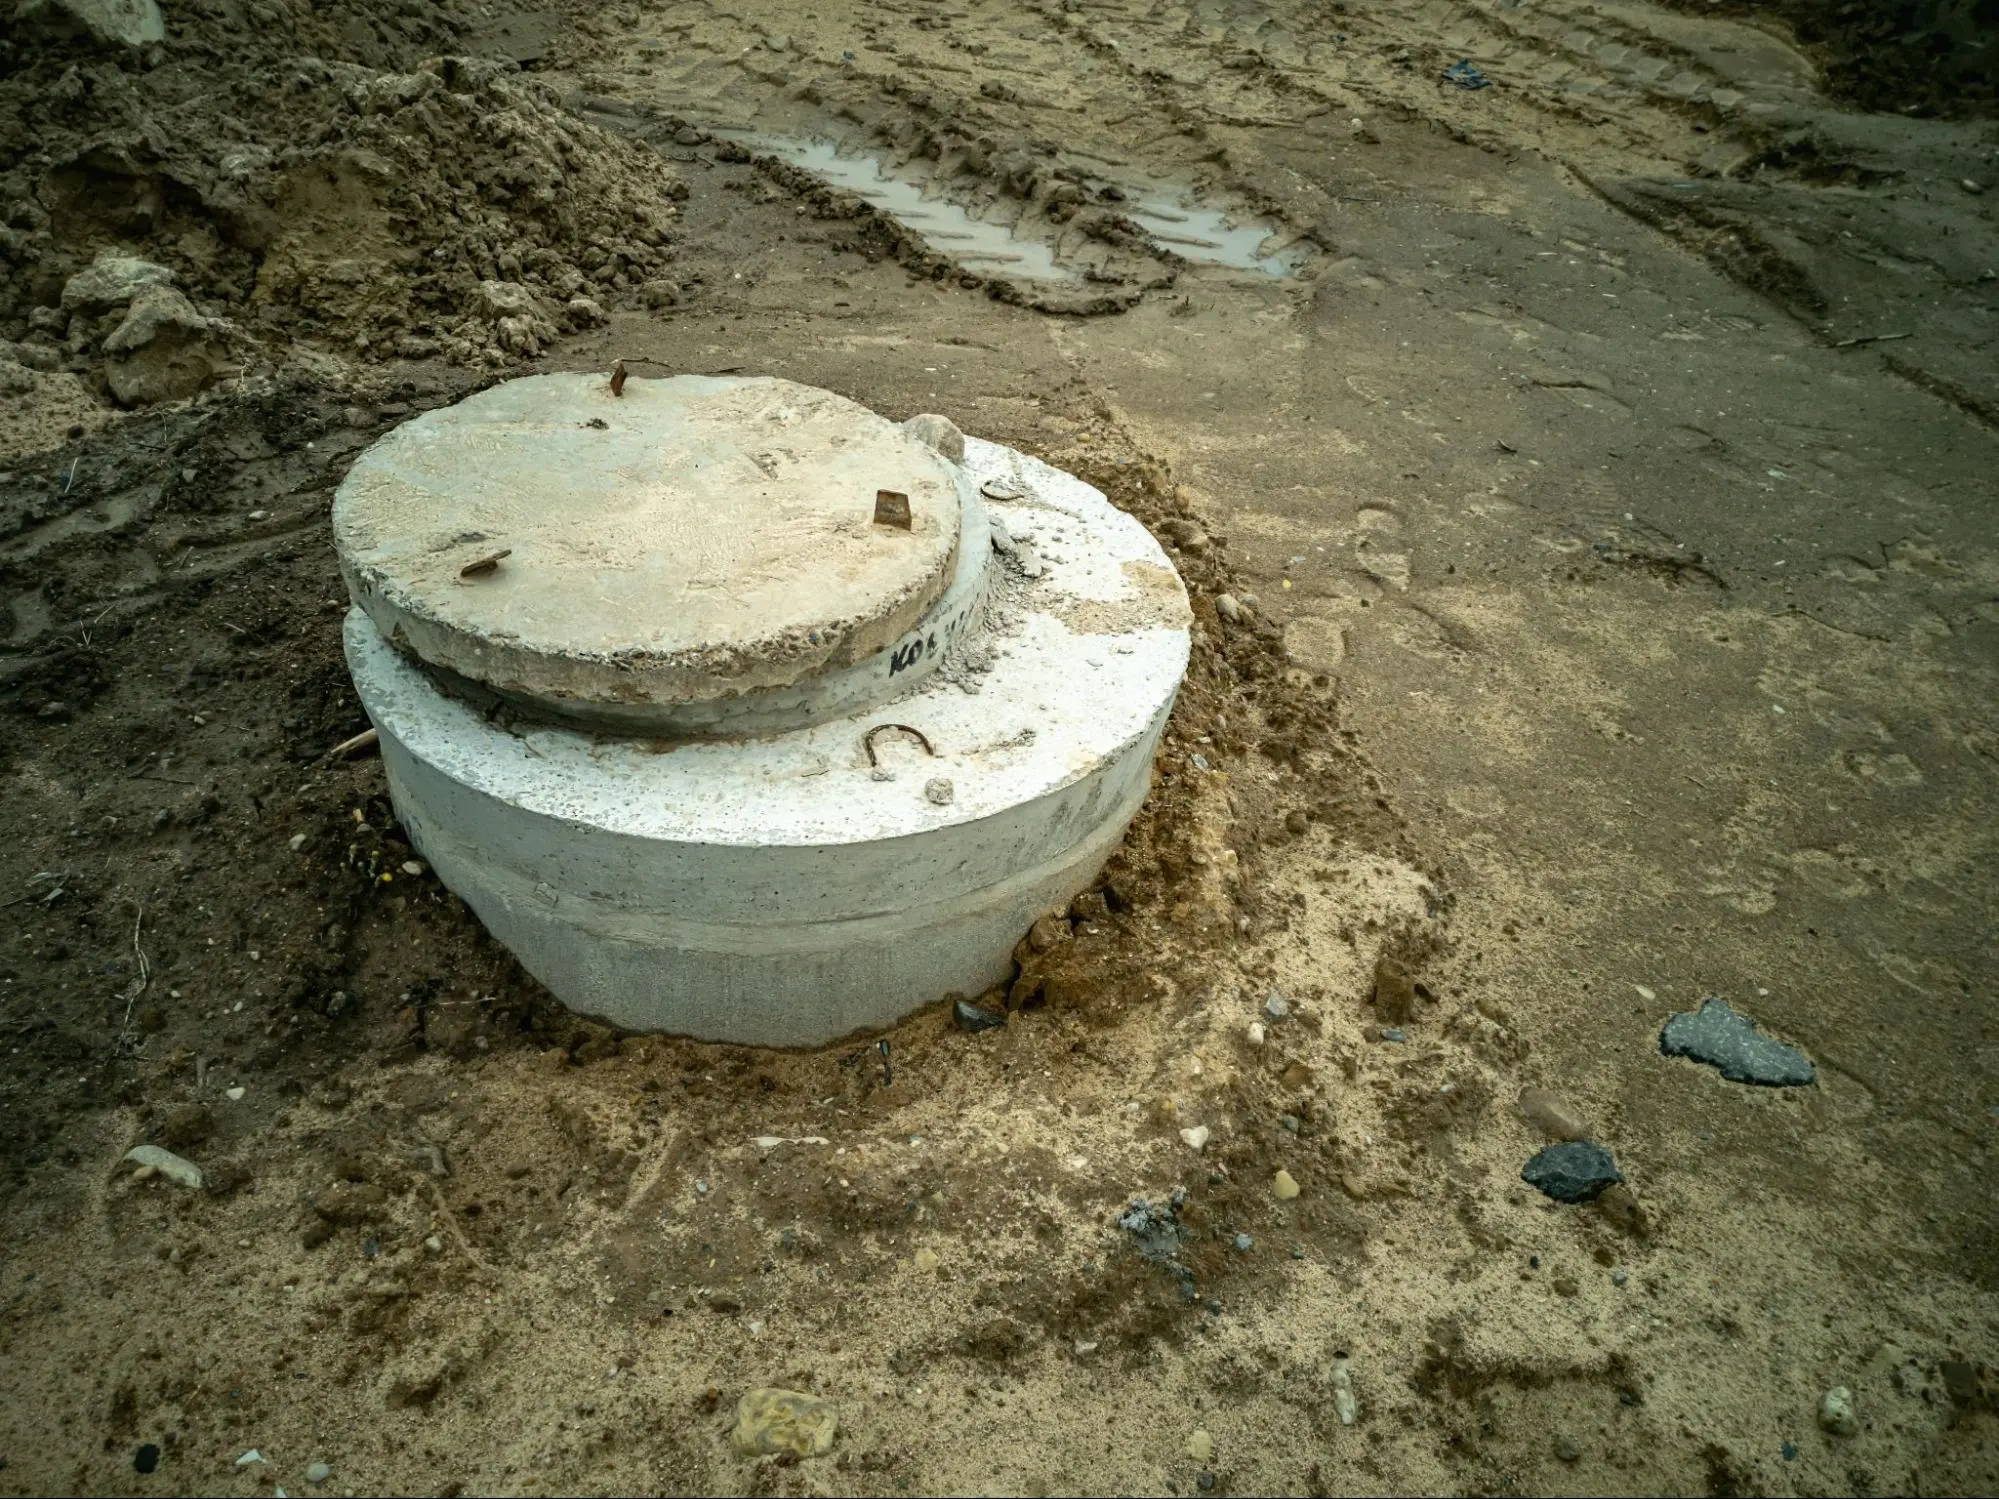
Recognizing issues with your septic system early can save you from costly repairs. Pay attention to specific signs and follow some straightforward troubleshooting tips to keep your system running smoothly.
There are several clear signs that your septic system may be failing. Watch for:
To address identified issues, try these troubleshooting steps:
By keeping an eye out for these signs and following these tips, you can help maintain the health of your septic system.
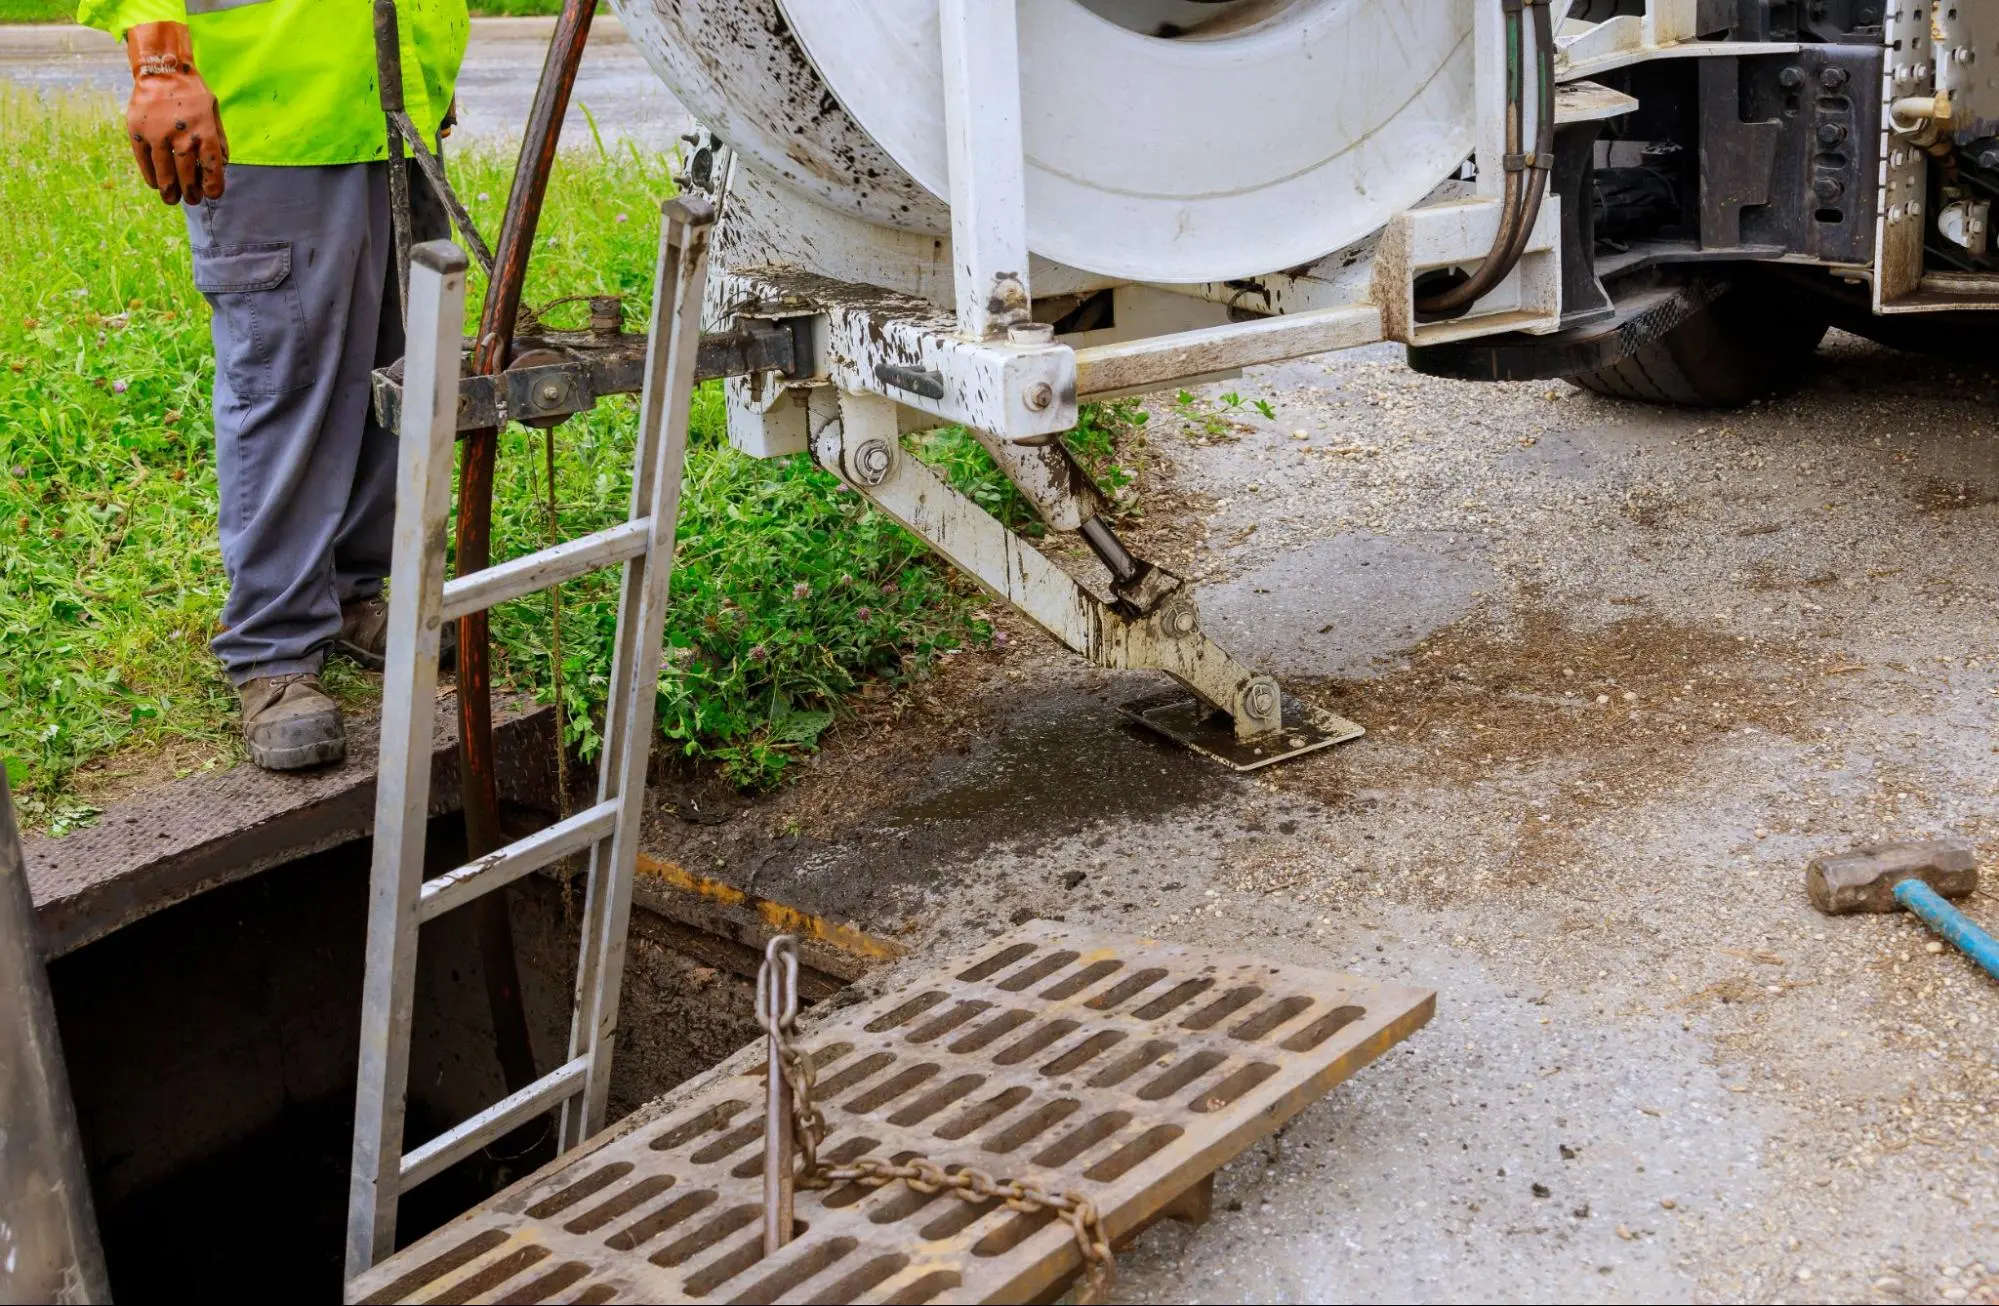
Repairing and restoring your septic system involves various techniques. Understanding these options can help you maintain your system effectively, whether you tackle minor issues or seek professional help.
You can handle some septic system repairs yourself. Everyday DIY tasks include clearing clogged drains and fixing minor leaks. First, inspect the system regularly for visual signs of trouble, like pooling water or odors.
For small clogs, try a plumbing snake or a drain cleaner that is safe for septic systems. Avoid harsh chemicals, as they can damage the system.
If you notice minor leaks, using sealant tape can often temporarily fix the issue until you can address it more permanently. Always check the system’s filters and screens; cleaning them can improve functionality.
Make sure to follow any local guidelines when performing DIY repairs to avoid issues later.
Certain situations require professional expertise. If you notice persistent problems, such as frequent backups, inconsistent drainage, or unusual odors, you should contact a septic system specialist.
Signs that indicate professional help is needed include:
Professionals can perform comprehensive inspections and provide necessary repairs. They may also address complex problems, such as drain field failures, which can cause significant environmental issues.
Regular professional maintenance can prevent costly repairs by identifying problems early. Always choose a qualified contractor who understands your specific septic system needs.
To maintain your septic tank, you should have it inspected regularly, typically every 1 to 3 years. Reduce the amount of non-biodegradable waste entering the system to prevent clogs and backups.
It is generally recommended that you pump your septic tank every 3 to 5 years. The exact timing can depend on several factors, such as the tank size, the number of people in your home, and your water usage habits. Regular pumping helps prevent overflow and costly repairs.
Bacteria are the primary agents that break down solids in your septic tank. You can also use enzyme-based treatments that promote the growth of these helpful bacteria. Avoid adding substances that could harm these bacteria, like antibacterial cleaners.
The cost of pumping a septic tank can vary widely based on location and the tank size. Generally, you might expect to pay between $200 and $500 for a pumping service. Additional costs may
Pipe leaks can lead to costly damage if they are not addressed quickly. Knowing how to diagnose and repair these leaks in your home can save you time and money. Whether you notice water stains, hear dripping sounds, or find a sudden increase in your water bill, detecting and fixing leaks promptly is essential for maintaining your home’s integrity.
In this article, you will learn methods to identify the signs of leaks and assess the damage they cause. You’ll find practical DIY techniques for minor repairs and discover when to call a professional plumber. This information enables you to confidently tackle leaks and protect your home from further issues.
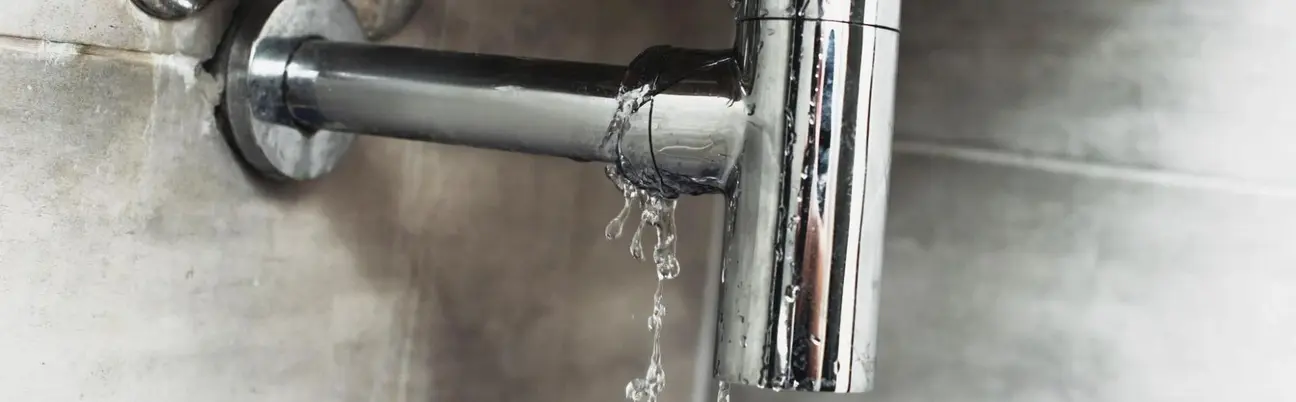
Detecting leaks early can prevent significant damage in your home. Awareness of signs like visible water damage, musty smells, or unexpected increases in your utility bills is crucial for timely repairs.
Start with a thorough visual inspection of your home. Look for water stains on ceilings, walls, and floors. These stains often appear as yellow or brown spots. They can indicate moisture buildup from hidden leaks.
Check areas around sinks, toilets, and bathtubs for mold growth, which often occurs in damp, hidden places. If you notice a musty smell in certain areas, it can signal water problems nearby.
Also, inspect your basement or crawl spaces for rot or visible water damage. Don’t overlook surfaces like the underside of cabinets or around the dishwasher. Even small leaks can lead to significant damage over time.
Your water meter is a valuable tool for detecting leaks. First, turn off all water sources in your home. Make sure no taps are running and appliances aren’t using water.
Next, check the water meter’s reading. Wait for about an hour without using any water, then read the meter again. If the number has changed, you likely have a leak.
Recording your monthly water bill can help, too. An unexplained increase in your utility bills might indicate a leak. Look for sudden spikes, especially if your usage remains the same.
Some leak indicators are less visible but still important. Pay attention to any unusual dripping sounds, especially at night when it is quieter. These sounds can indicate water escaping from pipes.
Monitor your water pressure. A sudden drop in water pressure can indicate a hidden leak.
Also, be aware of musty smells in areas where leaks are likely to occur. These odors are often signs of mold growth from hidden moisture. Check spaces like behind appliances or under sinks for dampness.
Recognizing these signs early can save you money on repairs and protect your home’s integrity.
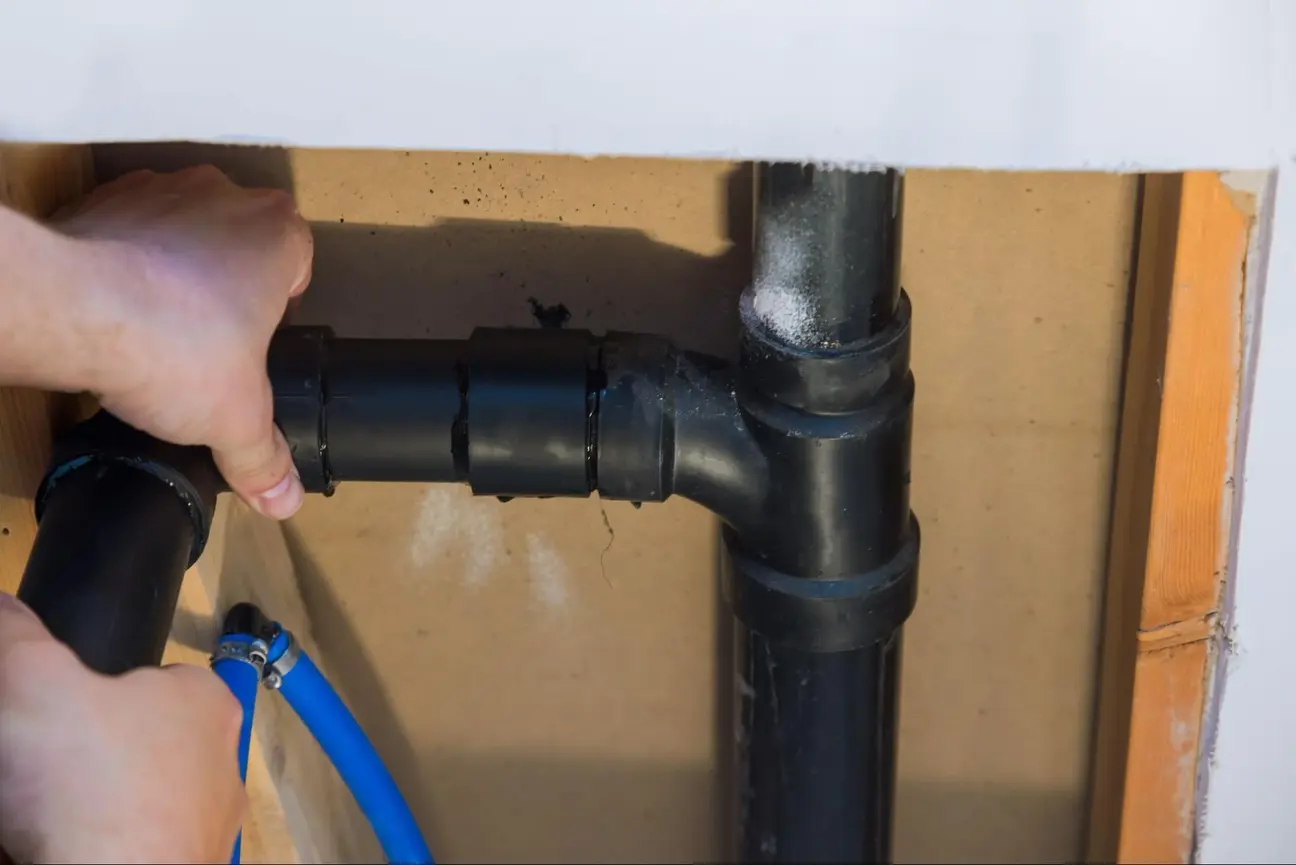
When diagnosing pipe leaks, it is crucial to assess where the damage is coming from and what might have caused it. By understanding common leak locations and analyzing factors contributing to deterioration, you can take effective steps toward repairs.
Pipe leaks can occur in various areas of your home. Common spots include:
Identifying these areas early can prevent further damage and costly repairs down the line.
Understanding these causes helps you address the problem before it escalates into more significant damage.
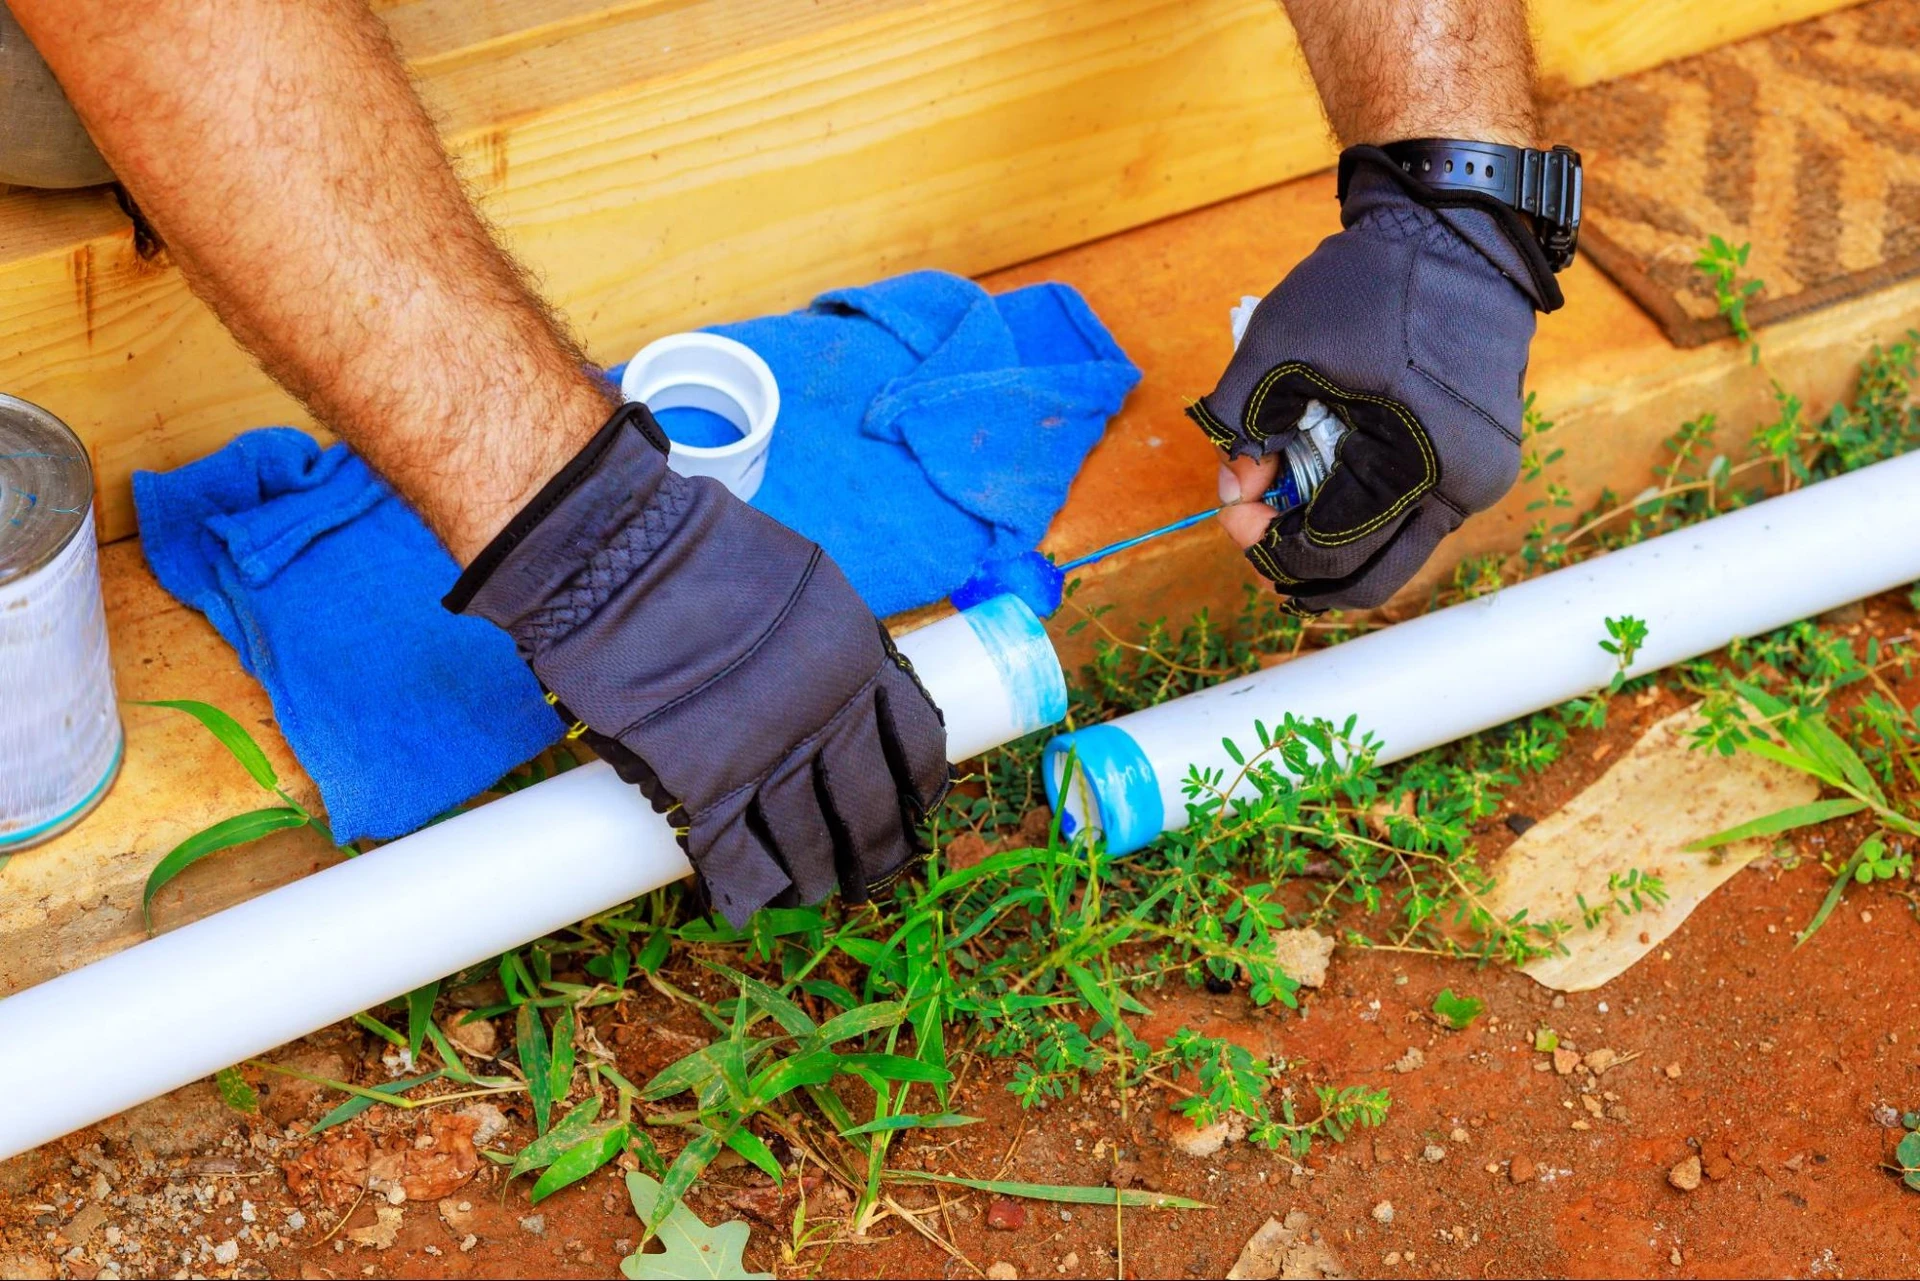
You can address minor leaks in your home with effective DIY techniques. Understanding how to repair common plumbing fixtures and tackle issues in pipes and joints will help you save time and money.
Faucet leaks often occur because of worn washers or gaskets. To fix this, turn off the water supply and disassemble the faucet. Replace the old washer with a new one that fits tightly, and reassemble the faucet. Make sure everything is secured to prevent further leaks.
Toilets can leak due to a faulty flapper or a bad seal. Start by checking the flapper; replace it with a new one if it’s worn or misaligned. The wax seal may need replacing if you notice water pooling around the base. Turn off the water, drain the toilet, and remove it to replace the wax seal effectively.
Leaking pipes can often be repaired with tape or clamps. Clean the area around the pipe thoroughly if the leak is small, then wrap it tightly with the plumber’s tape. For larger leaks, consider using a repair sleeve and clamp.
If the leak persists at plumbing joints, check for loose fittings. Tighten any loose connections and apply thread sealant if necessary. If the leak continues, you may need to replace the joint or use a gasket to create a better seal. Always ensure pipes are dry and clean before making repairs.
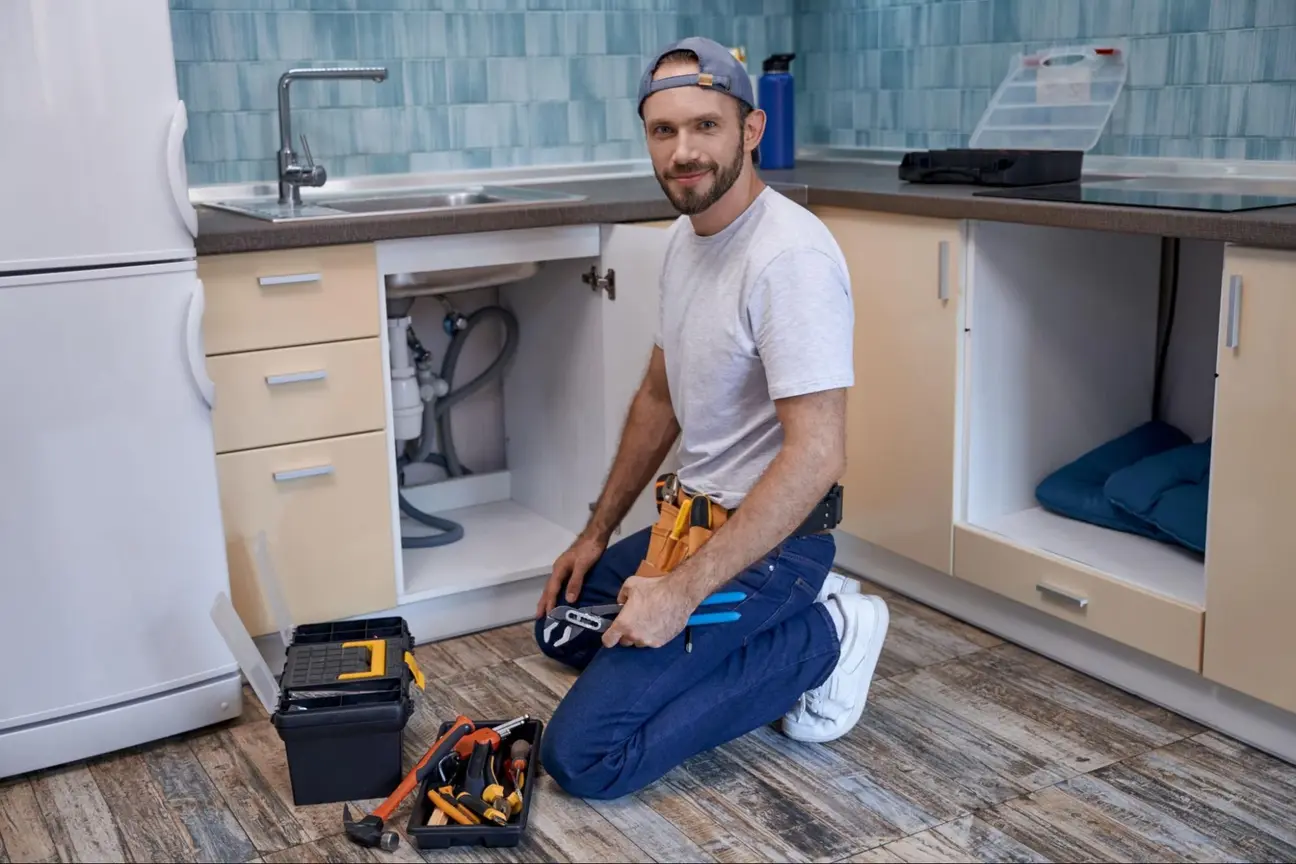
Identifying plumbing leaks can sometimes be tricky. If you notice any persistent issues, it’s wise to seek professional help.
Certain problems, like low water pressure, pipe corrosion, or breaks, might signal serious issues. In such cases, a plumbing repair expert can diagnose the issue correctly.
Don’t hesitate to reach out for help if you’re unsure. Calling a professional can prevent minor issues from turning into major repairs. Contact Kaminskiy Care and Repair for your plumbing repair needs.
To find a leak in your wall, check for damp spots or discoloration on the surface. Listen for sounds of dripping or running water. Use a moisture meter for a more accurate measure of dampness. If necessary, remove drywall to inspect pipes directly.
Detecting underground leaks may involve looking for signs like unusual wet spots in your yard. You can also check your water meter for fluctuations when no water is in use. Listening to hissing sounds near the ground can also help indicate a potential leak.
Look for staining or bubbling paint, which indicates moisture behind the surface. Feel for dampness or cold areas, and check for warping in the drywall. If you suspect a leak, turn off the water and observe if the problem persists.
First, turn off the water supply to a leaking pipe joint. Then, apply a repair clamp or use a plumber’s putty to seal smaller leaks. Replacing the joint or section of pipe may be necessary for a lasting solution in cases of significant damage.
No price games. You get a clear written quote before any work begins, backed by our workmanship warranty.