If you’re a homeowner, you know that maintaining your home can be a challenge. There are always repairs to make, systems to check, and appliances to maintain. However, creating a home maintenance schedule can help you stay on top of these tasks and keep your home in good condition. By working with a handyman, you can create a plan that works for your home and your budget.
Setting up a home maintenance schedule can seem overwhelming at first, but it doesn’t have to be. With the help of a skilled handyman, you can identify the key areas of your home that need regular attention, and create a plan to keep everything in good working order. From HVAC systems to plumbing, electrical, and roofing, your handyman can help you prioritize the most important tasks and schedule them at regular intervals throughout the year.
Implementing your maintenance plan is the key to success. By working with your handyman, you can ensure that your home is being properly maintained and that any issues are addressed quickly. With regular maintenance, you can avoid costly repairs down the road and keep your home in good condition for years to come.

Creating a home maintenance schedule can feel overwhelming, but it doesn’t have to be. By breaking down your tasks into manageable chunks, you will be able to keep your home in good working order with minimal effort. Here are some steps to help you set up your home maintenance schedule.
Regular maintenance is crucial to keeping your home in good condition. By performing regular maintenance tasks, you can catch small problems before they turn into big ones. This can save you time and money in the long run. It’s important to understand that regular maintenance is not just about fixing things that are broken. It’s also about preventing things from breaking in the first place.
Different seasons require different maintenance tasks. For example, in the spring, you may need to clean gutters and check for any damage caused by winter weather. In the summer, you may need to check your air conditioning system and clean your outdoor grill. In the fall, you may need to clean up fallen leaves and prepare your home for winter. In the winter, you may need to check your heating system and prepare for snow removal.
Creating a monthly maintenance calendar can help you stay on top of your home maintenance tasks. Start by making a list of all the tasks that need to be done every month. This might include things like changing air filters, checking smoke detectors, and cleaning drains. Once you have your list, assign each task to a specific day or week of the month. You can use a calendar or a spreadsheet to keep track of your tasks.
Remember, your home maintenance schedule should be customized to your specific needs. Don’t feel like you have to do everything at once. Start with the most important tasks and work your way through the list. By following a regular maintenance schedule, you can keep your home in good condition and avoid costly repairs in the future.

As a homeowner, it’s important to maintain your property to keep it in good condition and prevent costly repairs. Creating a home maintenance checklist with your handyman can help you stay on top of necessary tasks. Here are the key areas and tasks to include in your schedule.
Regular indoor maintenance can improve the comfort and safety of your home. Some key tasks to include in your schedule are:
Outdoor maintenance is essential to protect your home from the elements and keep it looking its best. Some key tasks to include in your schedule are:
Some maintenance tasks require the expertise of a professional. Here are some areas where it’s important to schedule regular inspections and repairs:
By including these key areas and tasks in your home maintenance schedule, you can keep your home in good condition and prevent costly repairs. Remember to schedule tasks at the appropriate frequency, and don’t hesitate to call a professional when needed.
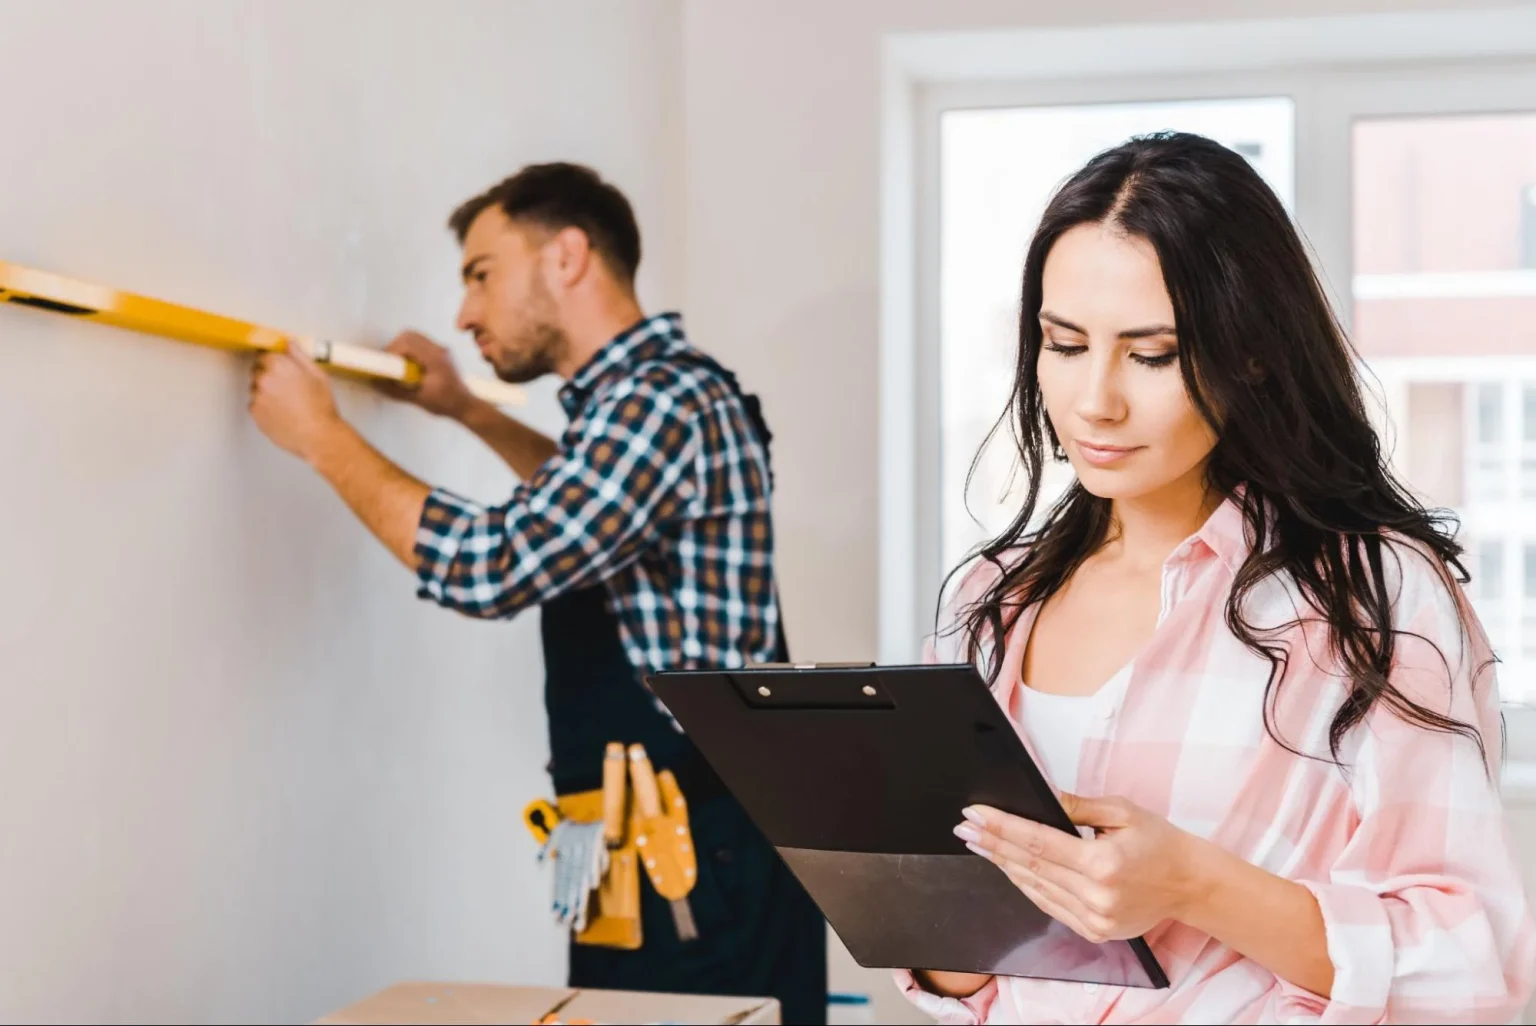
Now that you have created your home maintenance schedule, it’s time to put it into action. Here are some tips for implementing your plan effectively:
To ensure that you don’t forget any important tasks, consider using technology to set up reminders. You can use a home maintenance app to keep track of your schedule and receive notifications when it’s time to perform a task. This will help you stay on top of your maintenance schedule and avoid any potential issues.
Home safety should be a top priority when creating a maintenance plan. Be sure to include tasks such as checking smoke detectors and carbon monoxide detectors, testing the sump pump, and cleaning the dryer vent. These tasks are essential for keeping your home safe and preventing potential hazards.
Creating a home maintenance schedule with your handyman is a great way to ensure that your home is kept in tip-top shape. By working with a handyman you can stay on top of all the tasks that need to be done and avoid costly repairs down the line.
One of the first steps in creating a home maintenance schedule is to make a list of all the tasks that need to be done. This can include everything from changing air filters to cleaning gutters to inspecting your roof for damage. Once you have a list of tasks, you can then prioritize them based on their importance and frequency.
It’s also important to consider the seasonality of certain tasks. For example, you may need to have your HVAC system serviced in the fall before the winter months, or you may need to have your sprinkler system checked in the spring before the summer heat sets in. By scheduling these tasks ahead of time, you can ensure that your home is always prepared for the changing seasons.
Overall, creating a home maintenance schedule with your handyman is a smart investment in the health and longevity of your home. By staying on top of regular maintenance tasks and addressing issues as they arise, you can ensure that your home remains a safe and comfortable place for you and your family to live.
Kaminskiy Care and Repair offers handyman services that are helpful when it comes to creating a home maintenance schedule. We provide expert advice on which tasks should be prioritized and how often they should be done. Additionally, our team of experts can help you identify potential issues before they become major problems, saving you time and money in the long run. Contact us today!
A weekly home maintenance checklist should include tasks such as cleaning the kitchen and bathrooms, vacuuming and dusting the house, and checking for any signs of water damage. A monthly home maintenance checklist should include tasks such as changing air filters, inspecting the HVAC system, and testing smoke detectors. A yearly home maintenance checklist should include tasks such as inspecting the roof, cleaning gutters, and servicing the furnace.
One effective way to organize and keep track of home maintenance records is to create a spreadsheet or use a home maintenance app. These tools allow you to keep track of when tasks were completed, what needs to be done in the future, and any associated costs.
The best way to develop a home maintenance schedule with a professional handyman is to discuss your needs and preferences with them. They can help you identify which tasks need to be done on a regular basis, and how often they should be completed. They can also help you prioritize tasks based on your budget and time constraints.
To create a comprehensive home maintenance checklist that is easy to follow, start by identifying all of the tasks that need to be completed on a regular basis. Then, organize the tasks into categories such as weekly, monthly, and yearly. Finally, break down each category into specific tasks that need to be completed, and create a checklist that you can refer to on a regular basis.
A home maintenance services list typically includes tasks such as cleaning gutters, inspecting the roof, servicing the furnace, and testing smoke detectors. Other services may include landscaping, pest control, and cleaning services. The specific services offered may vary depending on the provider.
If you’re looking to make your home safer and more accessible, installing home safety features is a great place to start. There are many different types of safety features available, from grab bars and handrails to non-slip flooring and motion-sensor lights. However, installing these features can be a challenge, especially if you’re not experienced with home improvement projects, we’ll provide you with some handyman advice for installing home safety features, so you can make your home safer and more comfortable for you and your loved ones.
Assessing and planning home safety improvements is an important first step before you start installing any safety features. You should evaluate your home’s safety features and identify areas needing improvement. This could include adding grab bars in the bathroom, installing handrails on stairs, or adding non-slip flooring in high-traffic areas. Once you’ve identified the areas that need improvement, you can start planning the installation process. This may involve hiring a handyman or contractor to help you with the installation, or it may be something you can do yourself with the right tools and knowledge.
Installation tips and techniques are also important to consider when installing home safety features. For example, when installing grab bars, it’s important to make sure they’re securely attached to the wall and can support your weight. When installing handrails, you’ll need to make sure they’re at the right height and angle to provide the most support. And when installing non-slip flooring, you’ll need to ensure it’s installed properly to prevent tripping hazards. With the right knowledge and tools, you can install these safety features yourself or with the help of a professional handyman.
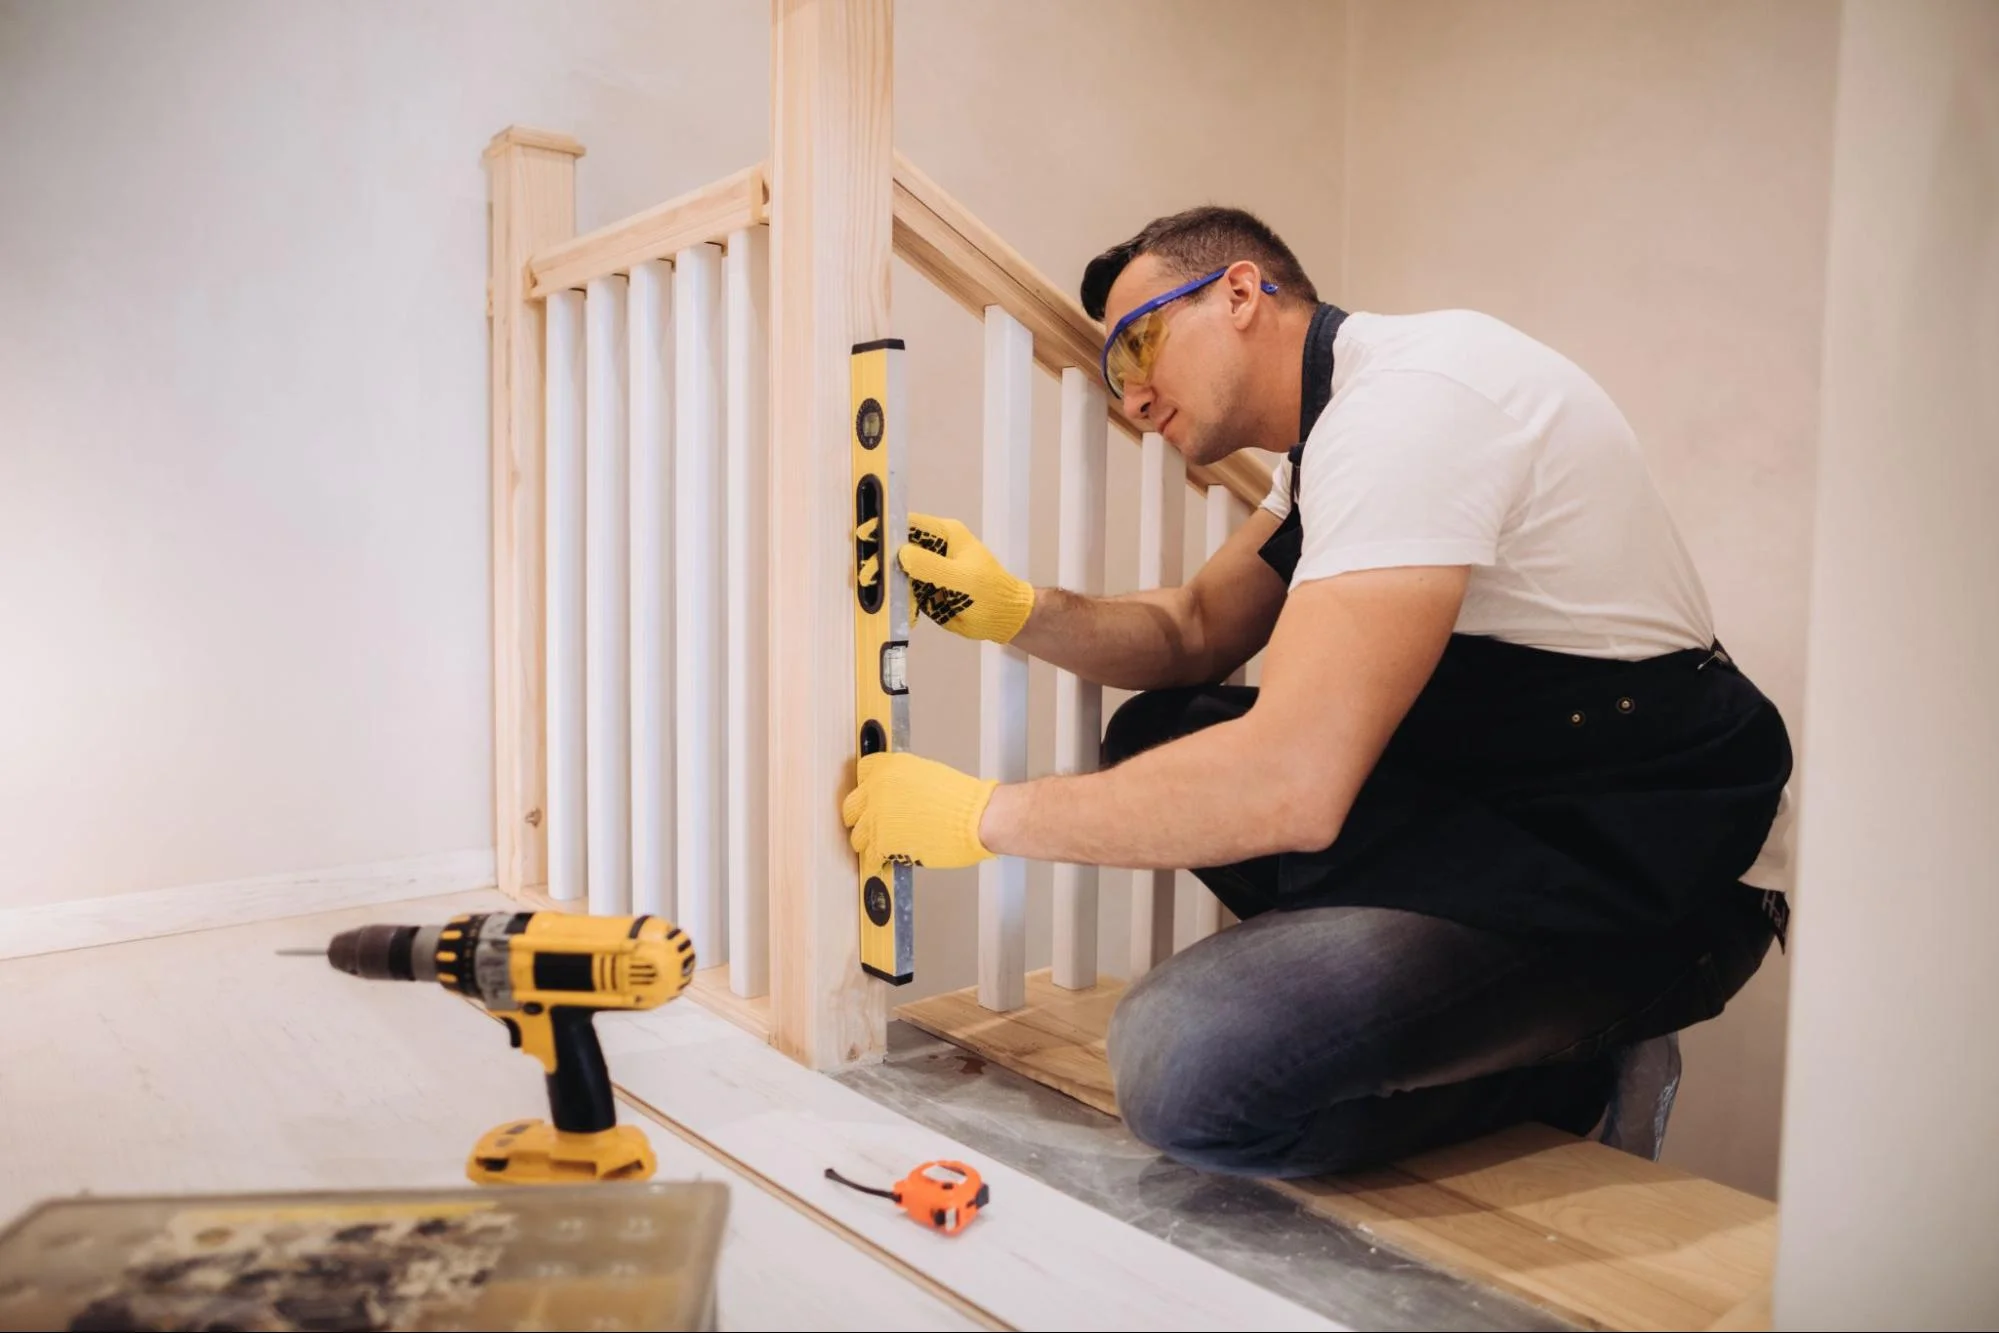
When it comes to home safety, it’s important to assess your living space and plan accordingly. By identifying potential safety hazards, prioritizing safety features for different home areas, and selecting appropriate safety and accessibility tools, you can create a safer living environment for yourself and your loved ones.
The first step in assessing and planning home safety improvements is to identify potential safety hazards. This can include anything from loose rugs and cords to inadequate lighting and slippery floors. It’s important to walk through each room of your home and take note of any potential hazards that could lead to falls, burns, or other accidents.
Once you’ve identified potential safety hazards, it’s important to prioritize safety features for different home areas. For example, bathrooms and kitchens are high-risk areas for falls and burns, so installing grab bars and non-slip mats can help prevent accidents. Additionally, ensuring that all stairways have handrails and that walkways are clear and well-lit can also help prevent falls.
Finally, selecting appropriate safety and accessibility tools is crucial for creating a safer living environment. This can include anything from installing wheelchair ramps and stair lifts to adding motion-activated lighting and smart home technology. It’s important to review safety features and modifications that are available and select the ones that best meet your needs.
By reviewing a home safety checklist for seniors and making safety modifications as needed, you can create a safer living environment for yourself and your loved ones. Remember to prioritize safety features for different home areas, identify potential safety hazards, and select appropriate safety and accessibility tools to create a safer, more accessible home.
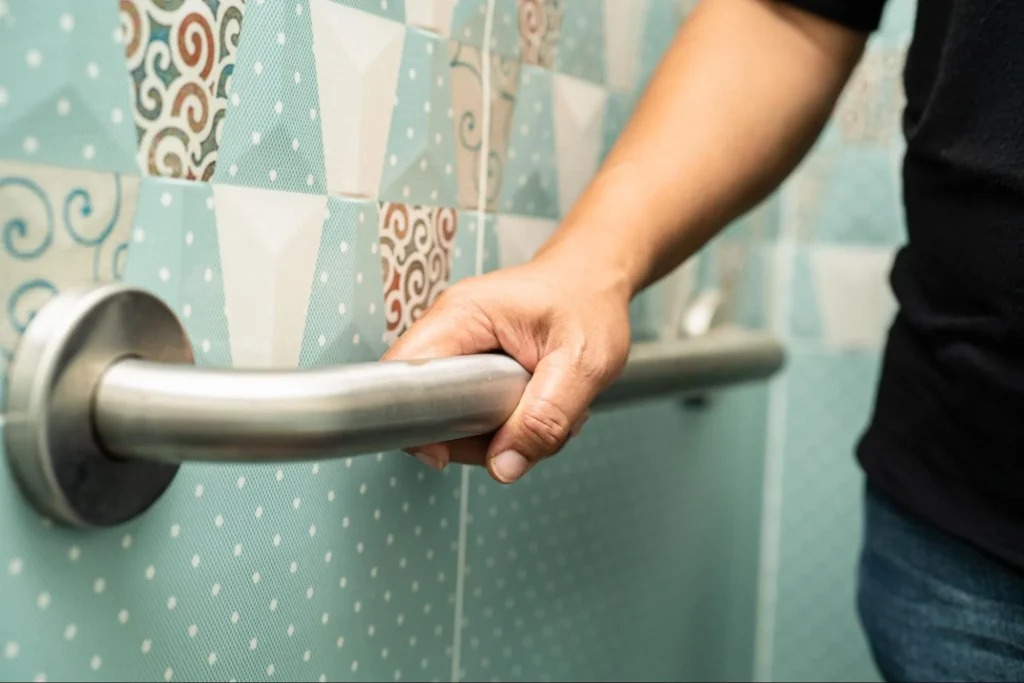
When it comes to installing home safety features, there are a few tips and techniques that can help ensure a successful and safe installation. For example, when installing grab bars, it’s important to make sure they’re securely attached to the wall and can support your weight. When installing handrails, you’ll need to make sure they’re at the right height and angle to provide the most support. And when installing non-slip flooring, you’ll need to ensure it’s installed properly to prevent tripping hazards. With the right knowledge and tools, you can install these safety features yourself or with the help of a professional handyman.
One of the most effective ways to secure your home is by installing a security system. A security system can help deter burglars and alert you and the authorities in case of a break-in. When installing a security system, it’s important to consider the layout of your home and the most vulnerable areas. You can also install motion-sensor lights around the perimeter of your home to deter intruders and increase visibility at night.
Installing grab bars and handrails can help enhance mobility and prevent falls, especially in areas like the bathroom and near stairs. When installing grab bars and handrails, it’s important to choose the right materials and ensure that they are securely fastened to the wall. You can also consider adding non-slip mats to areas that are prone to moisture to further enhance safety.
If you have aging residents in your home, it’s important to make modifications that can help them maintain their independence and safety. This can include widening doorways, installing ramps, and adding a walk-in tub. When making these modifications, it’s important to consider the needs and preferences of the resident and ensure that the modifications are made safely and effectively.
Overall, installing home safety features can help enhance the safety and security of your home. By following these tips and techniques, you can ensure a successful and safe installation of these features.
When it comes to installing home safety features, it’s important to take a comprehensive approach to ensure that your home is safe and secure. From grab bars to non-slip rugs, there are a variety of safety features that can help prevent falls and accidents in the home.
One of the best ways to get started is to conduct a home safety check. This will help you identify potential hazards and areas that may need improvement. You can use a home safety checklist, to guide you through the process.
Once you’ve identified areas that need improvement, it’s important to hire a qualified handyman to help with the installation process. A handyman can assist with everything from installing grab bars and handrails to widening doorways and installing non-slip flooring.
It’s also important to keep up with regular home maintenance tasks, like gutter cleaning and window repair, to prevent potential hazards from developing. By taking a proactive approach to home safety, you can help ensure that your home is a safe and secure environment for you and your loved ones. For expert handyman services, Kaminskiy Care and Repair is your go-to partner. We have the experience to tackle your home repair projects giving you satisfaction and peace of mind. Contact us today
Windows are one of the most vulnerable points of entry for intruders. One effective method to secure windows against break-ins is to install one-way privacy film on your windows. This film allows light in and lets you see outside, but people outside only see a dark window or a mirror reflection. Most of these films only work during the day, so make sure to close your blinds at night. Installation is easy and affordable.
Burglar-proofing your home doesn’t have to be expensive. One budget-friendly option is to reinforce your doors with a door security bar. These bars are easy to install and prevent intruders from forcing open your doors. Another budget-friendly option is to install window locks on all windows. Window locks make it more difficult for intruders to gain entry to your home.
When you’re away from home, it’s important to take steps to protect your house. One effective method is to install a smart security system that allows you to monitor your home remotely. You can receive alerts if there is any suspicious activity and take action if necessary. Another step you can take is to have a trusted neighbor or friend keep an eye on your home while you’re away.
When setting up a home security system, there are several key considerations to keep in mind. First, you need to determine your budget and what type of system you want to install. Do you want a traditional alarm system or a smart security system? Second, you need to consider the size and layout of your home. Do you need cameras in every room or just at the entrances? Finally, you need to consider the level of monitoring you want. Do you want to monitor your home yourself or have a professional monitoring service do it for you?
As a homeowner, you may encounter various electrical issues in your home, ranging from flickering lights to dead outlets. While some of these issues may seem daunting, many can be resolved with a little knowledge and a few basic tools. In this guide, we will provide you with a handyman guide to fixing common electrical issues in your home.
Understanding Your Home’s Electrical System is the first step to troubleshooting and repairing electrical issues in your home. It is essential to know where your electrical panel is located, how to turn off the power to your home, and how to identify the different circuit breakers and fuses. You will also need to know how to use a multimeter to test electrical outlets, switches, and appliances.
DIY Troubleshooting and Repairs can save you time and money when it comes to fixing common electrical issues in your home. From replacing a light switch to fixing a dead outlet, many electrical issues can be resolved with a few basic tools and some patience.
As a homeowner, it is important to understand the basics of your home’s electrical system. This knowledge will help you identify and fix common electrical issues, and ensure the safety of your home and family.
Your home’s electrical system consists of several components that work together to provide power to your appliances and devices. These components include:
Common electrical issues that you may encounter in your home include flickering lights, burning smells, overloaded circuits, and short circuits. These issues can be caused by wiring problems, loose electrical connections, or outdated devices that consume more power than necessary.
To identify these issues, you should look for signs such as flickering lights, buzzing sounds, or burning smells. If you notice any of these signs, you should turn off the power to the affected area and call a professional electrician to diagnose and fix the issue.
To prevent electrical issues in your home, you should follow the National Electrical Code (NEC) and other safety standards. These standards include using surge protectors, wearing protective gear, and following safety measures such as turning off the power before working on electrical systems.
In addition, you should regularly inspect your home’s electrical system for signs of wear and tear, and replace outdated devices and wiring as needed. By following these preventive measures and safety standards, you can ensure the safety of your home and family.
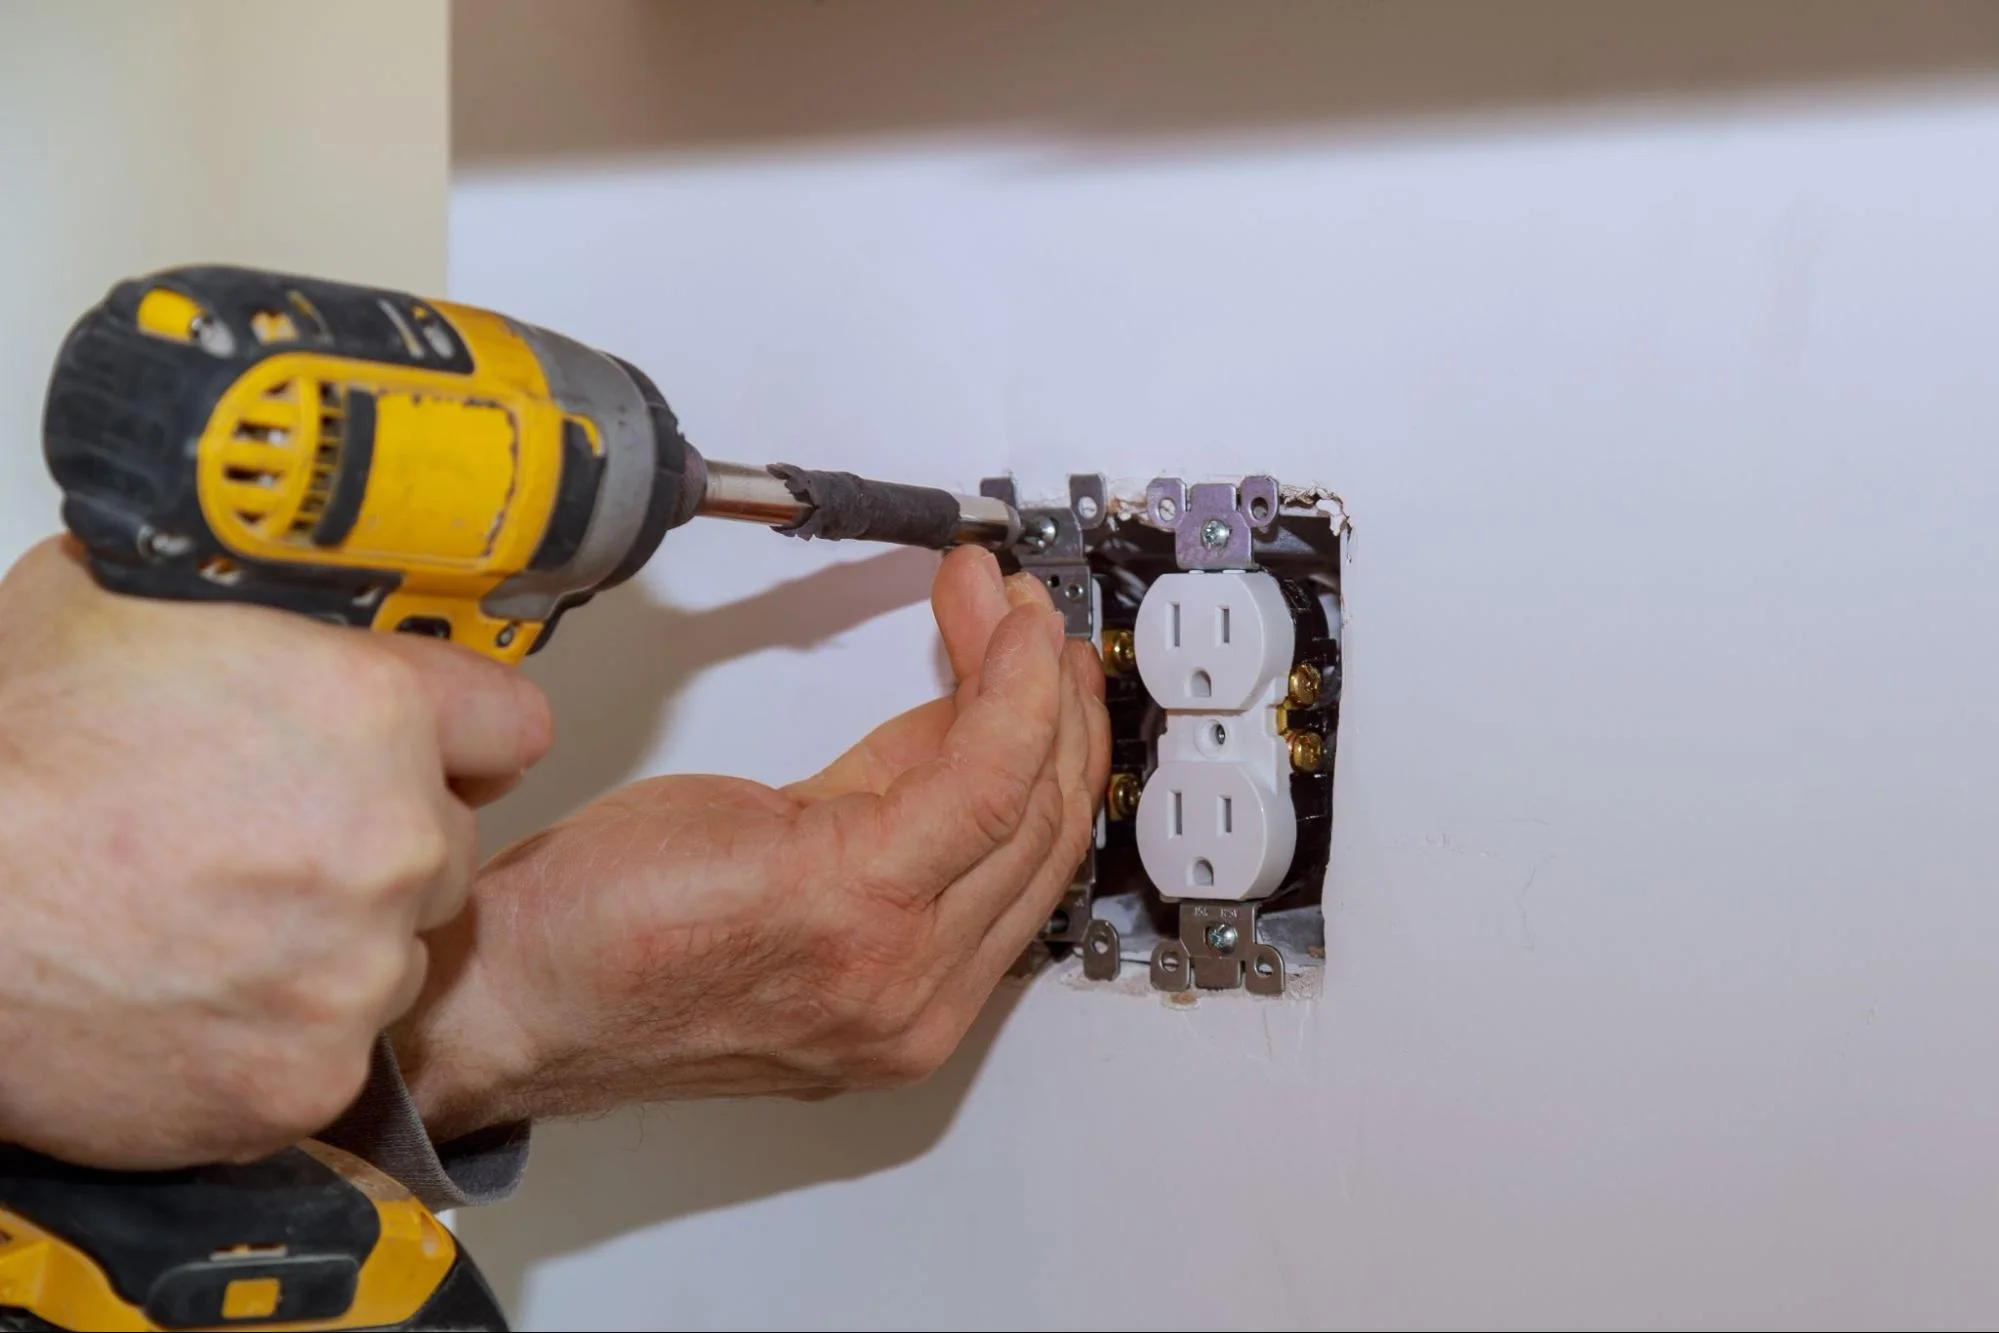
It’s important to know how to troubleshoot and fix common electrical issues in your home. In this section, we’ll cover some basic troubleshooting techniques, handling minor repairs and fixes, and when to call a professional electrician.
When you’re faced with an electrical issue, it’s important to start with some basic troubleshooting techniques. First, check to see if the circuit overload has tripped. If it has, simply reset the breaker and see if that solves the problem. If the circuit breaker keeps tripping, it could be a sign of a more serious issue.
Next, check for damaged cords or poor connections. Frayed wires and damaged cords can cause electrical issues, so make sure to inspect your cords and connections regularly. If you find any damage, replace the cord or connection immediately.
You can also use a voltage tester to check for electrical issues. A voltage tester will help you determine if there is a problem with the electrical circuit.
If you’re comfortable with DIY electrical repairs, there are some minor repairs and fixes you can handle on your own. For example, if you have a faulty light bulb, you can easily replace it yourself. Make sure to turn off the power before replacing the bulb.
You can also handle minor wiring repairs, such as fixing a loose connection or replacing a switch. Make sure to use insulated tools and electrical tape to protect yourself and prevent electrical shock.
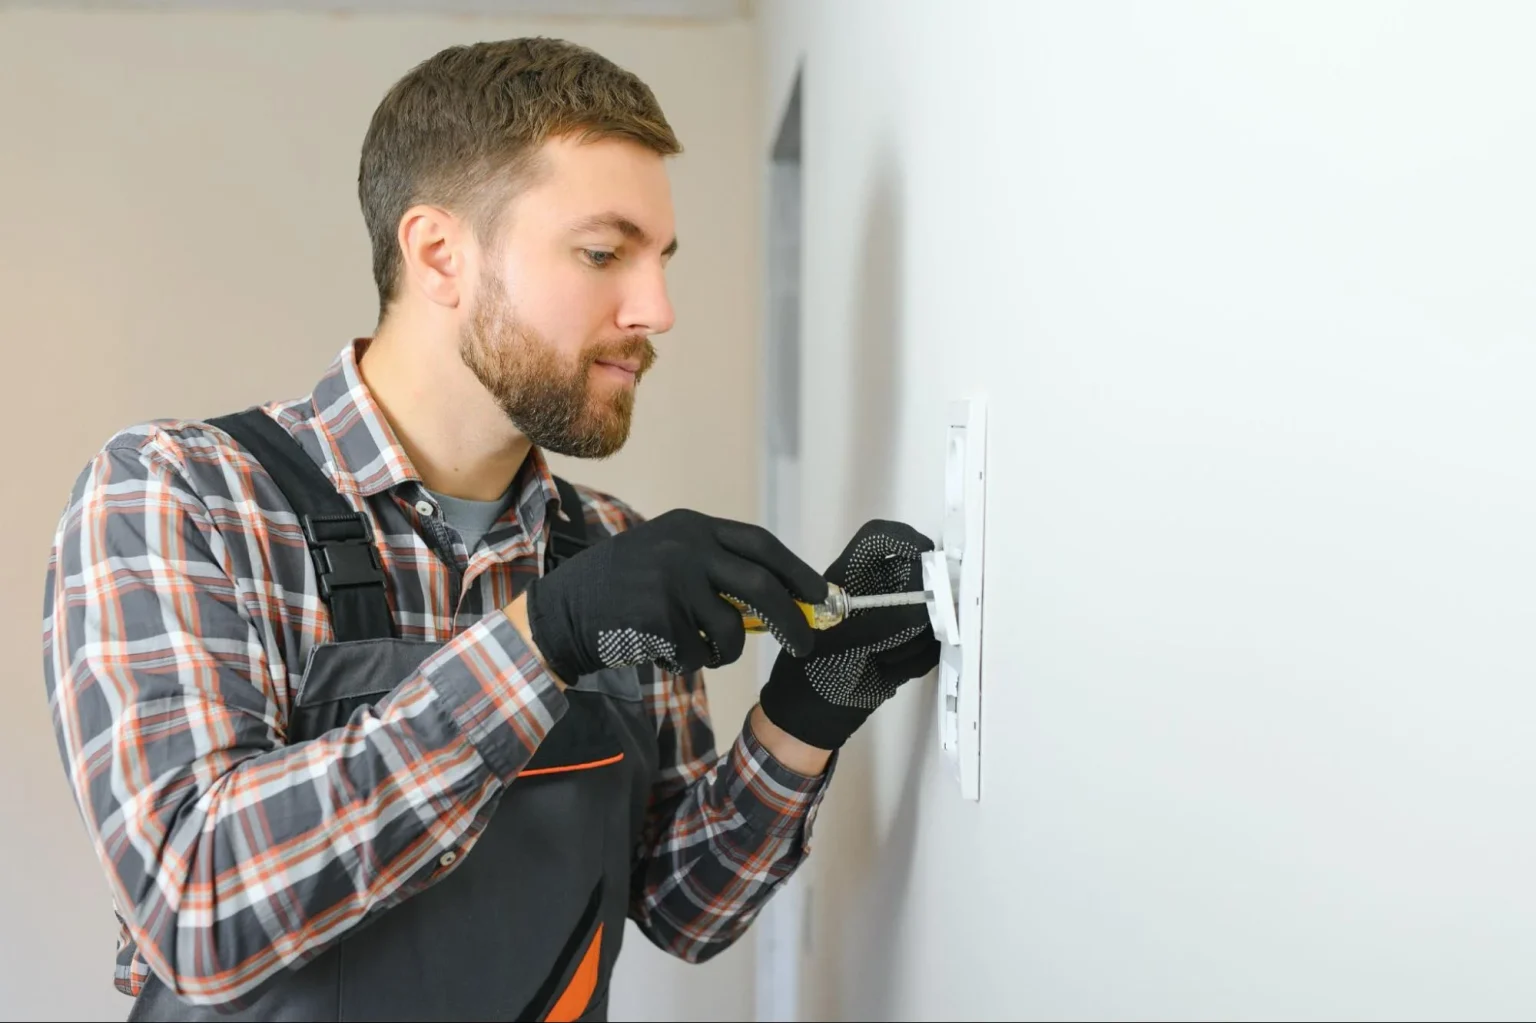
While some electrical issues can be handled with DIY troubleshooting and repairs, there are times when it’s best to call in an expert. If you’re not comfortable with electrical repairs or if you’re dealing with a more serious issue, it’s important to call a certified electrician.
Some signs that you need professional help include circuit breaker tripping, flickering lights, and electrical outlets and switches that don’t work. These issues could be a sign of a more serious electrical problem, and it’s best to leave it to the experts.
In conclusion, knowing how to troubleshoot and fix common electrical issues in your home can save you time and money. However, it’s important to know your limits and when to call in a professional electrician.
As a homeowner, it is important to be aware of common electrical issues that can occur in your home. By doing so, you can take the necessary steps to fix the problem or seek professional help when needed.
One common issue is flickering lights, which can be caused by faulty wiring or loose light bulbs. To address this issue, ensure that light bulbs are securely screwed into fixtures. If the problem persists, it may be time to call a professional electrician to inspect and repair the wiring.
Another issue that homeowners may face is electrical outlets that are not working. This can be caused by a tripped breaker or a faulty outlet. To fix the problem, try resetting the breaker or replacing the outlet. If these steps do not work, it is best to call a professional electrician to avoid potential hazards.
It is important to note that electrical repairs can be dangerous and should be approached with caution. Always turn off the power to the affected area before attempting any repairs. If you are unsure or uncomfortable with the repair process, it is best to seek professional help from a licensed electrician.
In conclusion, knowing how to troubleshoot and fix common electrical issues in your home can save you time and money. However, it’s important to know your limits and when to call in a professional electrician. Kaminskiy Care and Repair offers expert electrical handyman services ensuring safety and satisfaction for your home electrical projects. Contact us today
If you experience flickering lights, frequent power outages, or a burning smell, these may be signs of electrical issues in your home. Other indicators include buzzing or humming sounds coming from electrical outlets or switches and discolored or warm outlets or switch plates.
Before calling a professional electrician, you can try to troubleshoot electrical problems in your home by checking the circuit breaker or fuse box. Make sure that all switches are in the “on” position and that fuses are not blown. You can also check electrical outlets and switches for loose connections or signs of damage.
Common solutions to household electrical problems include replacing light bulbs, repairing or replacing damaged outlets or switches, resetting circuit breakers, or replacing fuses. For more complex issues, it is best to call a professional electrician.
To diagnose electrical problems in your house, you can start by checking the circuit breaker or fuse box and examining electrical outlets and switches for signs of damage or loose connections. If you are unable to identify the issue, it is best to call a professional electrician.
If you’re looking to update your bathroom, replacing an old vanity with a new one is a great place to start. Installing a new bathroom vanity may seem like a daunting task, but with the right tools and a little bit of know-how, it can be a straightforward DIY project. In this article, we’ll cover the basics of installing a new bathroom vanity, from preparing for installation to completing the project.
Before you start installing your new bathroom vanity, it’s important to prepare the space. This includes removing the old vanity, measuring the area to ensure the new vanity will fit, and making any necessary plumbing adjustments. Once you’ve prepared the space, you can begin installing the new vanity. This involves attaching the vanity to the wall, connecting the plumbing, and securing the sink and countertop.
By following the steps outlined in this article, you’ll be able to install a new bathroom vanity with confidence. Whether you’re updating your bathroom for your own enjoyment or to increase the value of your home, a new vanity can make a big difference. So let’s get started!
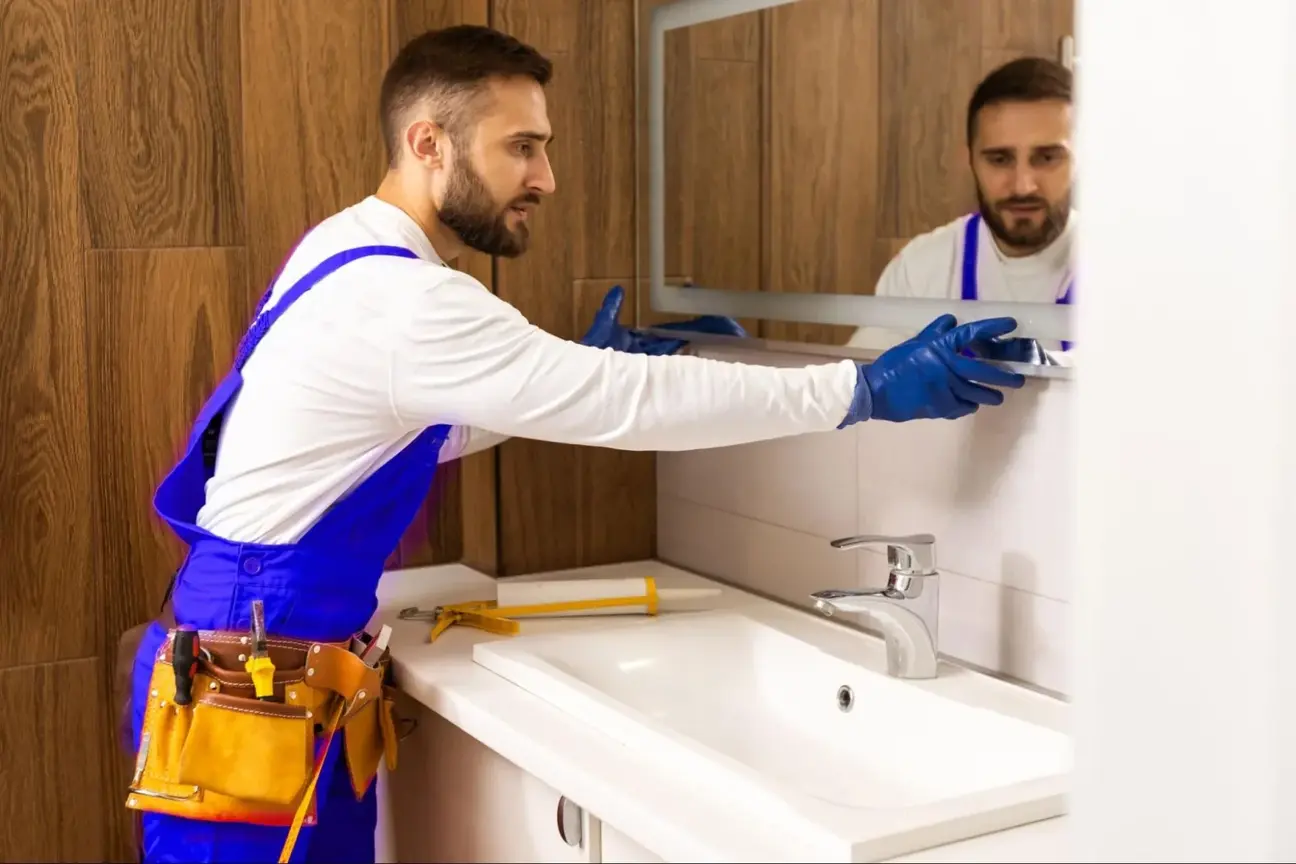
Before you begin installing bathroom vanity, there are a few things you need to do to prepare. This section will cover the three main steps you need to take before you start installing your new vanity: assessing your space and vanity selection, gathering tools and materials, and removing the old vanity.
The first thing you need to do is assess your bathroom space and choose the right vanity for your needs. Measure the area where you plan to install the vanity, including the height, width, and depth. Make sure to take into account any plumbing or electrical fixtures that may be in the way.
When choosing a vanity, consider the size and style of your bathroom. You want to choose a vanity that fits well in the space and complements the overall design of the room. Make sure to also consider the storage space and functionality of the vanity.
Once you have chosen your new vanity, you will need to gather the necessary tools and materials for the installation. You will need a stud finder, level, saw, utility knife, screws, drill, shims, caulk, silicone caulk, manufacturer’s instructions, safety glasses, gloves, and anchors.
Make sure to read the manufacturer’s instructions carefully before beginning the installation. This will ensure that you have all the necessary tools and materials and that you understand the installation process.
Before you can install your new vanity, you will need to remove the old one. Turn off the water supply and disconnect the plumbing. Remove any drawers or doors from the vanity and detach it from the wall. If the vanity is screwed into the wall studs, use a drill to remove the screws.
Once you have removed the old vanity, inspect the flooring and wall studs for any damage. Make any necessary repairs before beginning the installation of your new vanity.
By following these steps and taking the time to prepare for the installation properly, you can ensure a successful and hassle-free installation process for your new bath vanity.
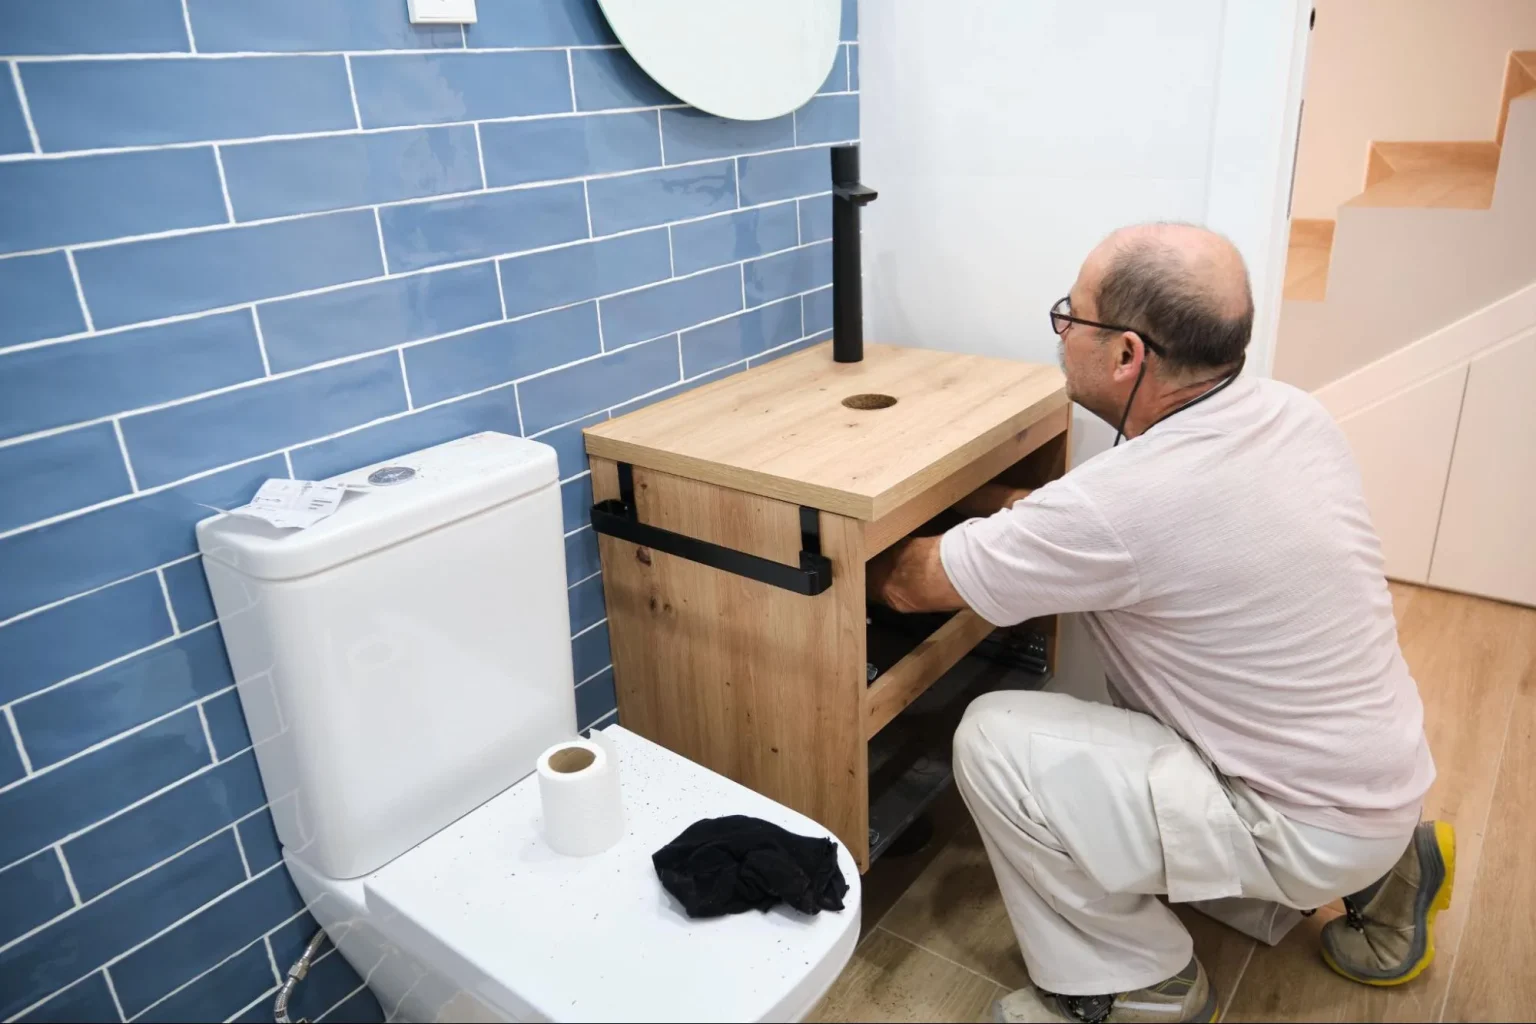
Once you have removed the old vanity, it’s time to install the new one. This section will guide you through the process of installing a new bathroom vanity.
First, you need to place the new vanity base in the desired location. Make sure that it is level. Use shims if necessary. Once you have the vanity base in place, secure it to the wall using screws. Use drywall screws if you are attaching the vanity to drywall. If you are attaching the vanity to a stud, use wood screws.
Next, attach the vanity top to the vanity base. Apply silicone caulk to the top of the vanity base and carefully place the vanity top on it. Make sure it is level. Once the vanity top is in place, attach the sink to the vanity top using the manufacturer’s instructions.
Now it’s time to finalize the plumbing. Connect the supply lines to the faucet and the water supply. Install the P-trap and connect the drain assembly to the sink. Check for leaks. If everything is okay, apply caulk around the edges of the sink and the backsplash.
Adjust the adjustable legs of the vanity to ensure it is level. Attach the hardware to the doors and drawers.
Finally, turn on the water supply and check for leaks. If everything is working correctly, you can now install the mirror and any other accessories.
Congratulations! You have successfully installed a new bathroom vanity. If you encounter any problems during the installation process, it may be best to consult a plumber. Remember to recycle any materials you can and enjoy your newly renovated bathroom.
Installing a new bathroom vanity can be a great way to update the look and functionality of your bathroom. It is a relatively simple process that can be completed in a few hours with the right tools and materials.
First, you need to choose the right vanity for your bathroom. Consider the size of your bathroom and the style of your existing fixtures. You can either purchase a pre-made vanity or build one yourself. If you are building a vanity yourself, you will need to measure the space where the vanity will be installed and cut the wood to fit.
Once you have your vanity, you need to prepare the space for installation. This involves removing the old vanity, disconnecting the plumbing, and ensuring the space is level. You may need to make some adjustments to the plumbing to ensure that everything fits properly.
Next, you will need to install the new vanity. This involves attaching the vanity to the wall and connecting the plumbing. Finally, you can add the finishing touches to your new vanity. This includes installing the sink, faucet, and any other accessories you may want. You may also want to add some storage solutions, such as shelves or drawers.
Overall, installing a new bathroom vanity is a relatively simple process that can be completed in a few hours with the right tools and materials. If you are unsure about any aspect of the installation process, In that case, it is always best to consult a professional.
Kaminskiy Care and Repair offers expert handyman services to take care of your bathroom vanity installation and ensure that everything is done correctly and safely. Contact us today
To install a new bathroom vanity, you will need a few basic tools such as a drill, level, measuring tape, screwdriver, and a wrench. Additionally, you will need materials such as screws, shims, silicone caulk, and plumber’s putty. Make sure to read the manufacturer’s instructions carefully to ensure that you have all the necessary tools and materials before beginning the installation process.
The steps involved in replacing an old bathroom vanity with a new one include removing the old vanity, preparing the space for the new vanity, installing the new vanity, and connecting the plumbing. It is important to turn off the water supply and disconnect the plumbing before removing the old vanity. Once the old vanity is removed, you will need to prepare the space by leveling the floor and ensuring that the new vanity fits properly. After the new vanity is installed, you can reconnect the plumbing and turn on the water supply.
Before attempting a DIY bathroom vanity installation, you should consider your level of experience, the complexity of the installation, and the tools and materials required. It is important to read the manufacturer’s instructions carefully and to follow all safety precautions. If you are unsure about any aspect of the installation, it may be best to consult a professional.
Are you tired of hearing the constant sound of water running in your toilet? A running toilet can be a frustrating and costly problem, but fortunately, it’s a relatively easy fix. In this article, we will walk you through the steps to fix a running toilet, from identifying common causes to step-by-step repair instructions.
Identifying the common causes of a running toilet is the first step to fixing the problem. There are several reasons why your toilet may be running, including a faulty flapper, a damaged fill valve, or a leaky flush valve. By diagnosing the issue, you can troubleshoot the problem and find the right solution.
With our step-by-step repair instructions, you can fix your running toilet in no time. We’ll provide you with the tools and knowledge you need to tackle this DIY project with confidence. Keep reading to learn how to fix a running toilet and save yourself time and money in the process.
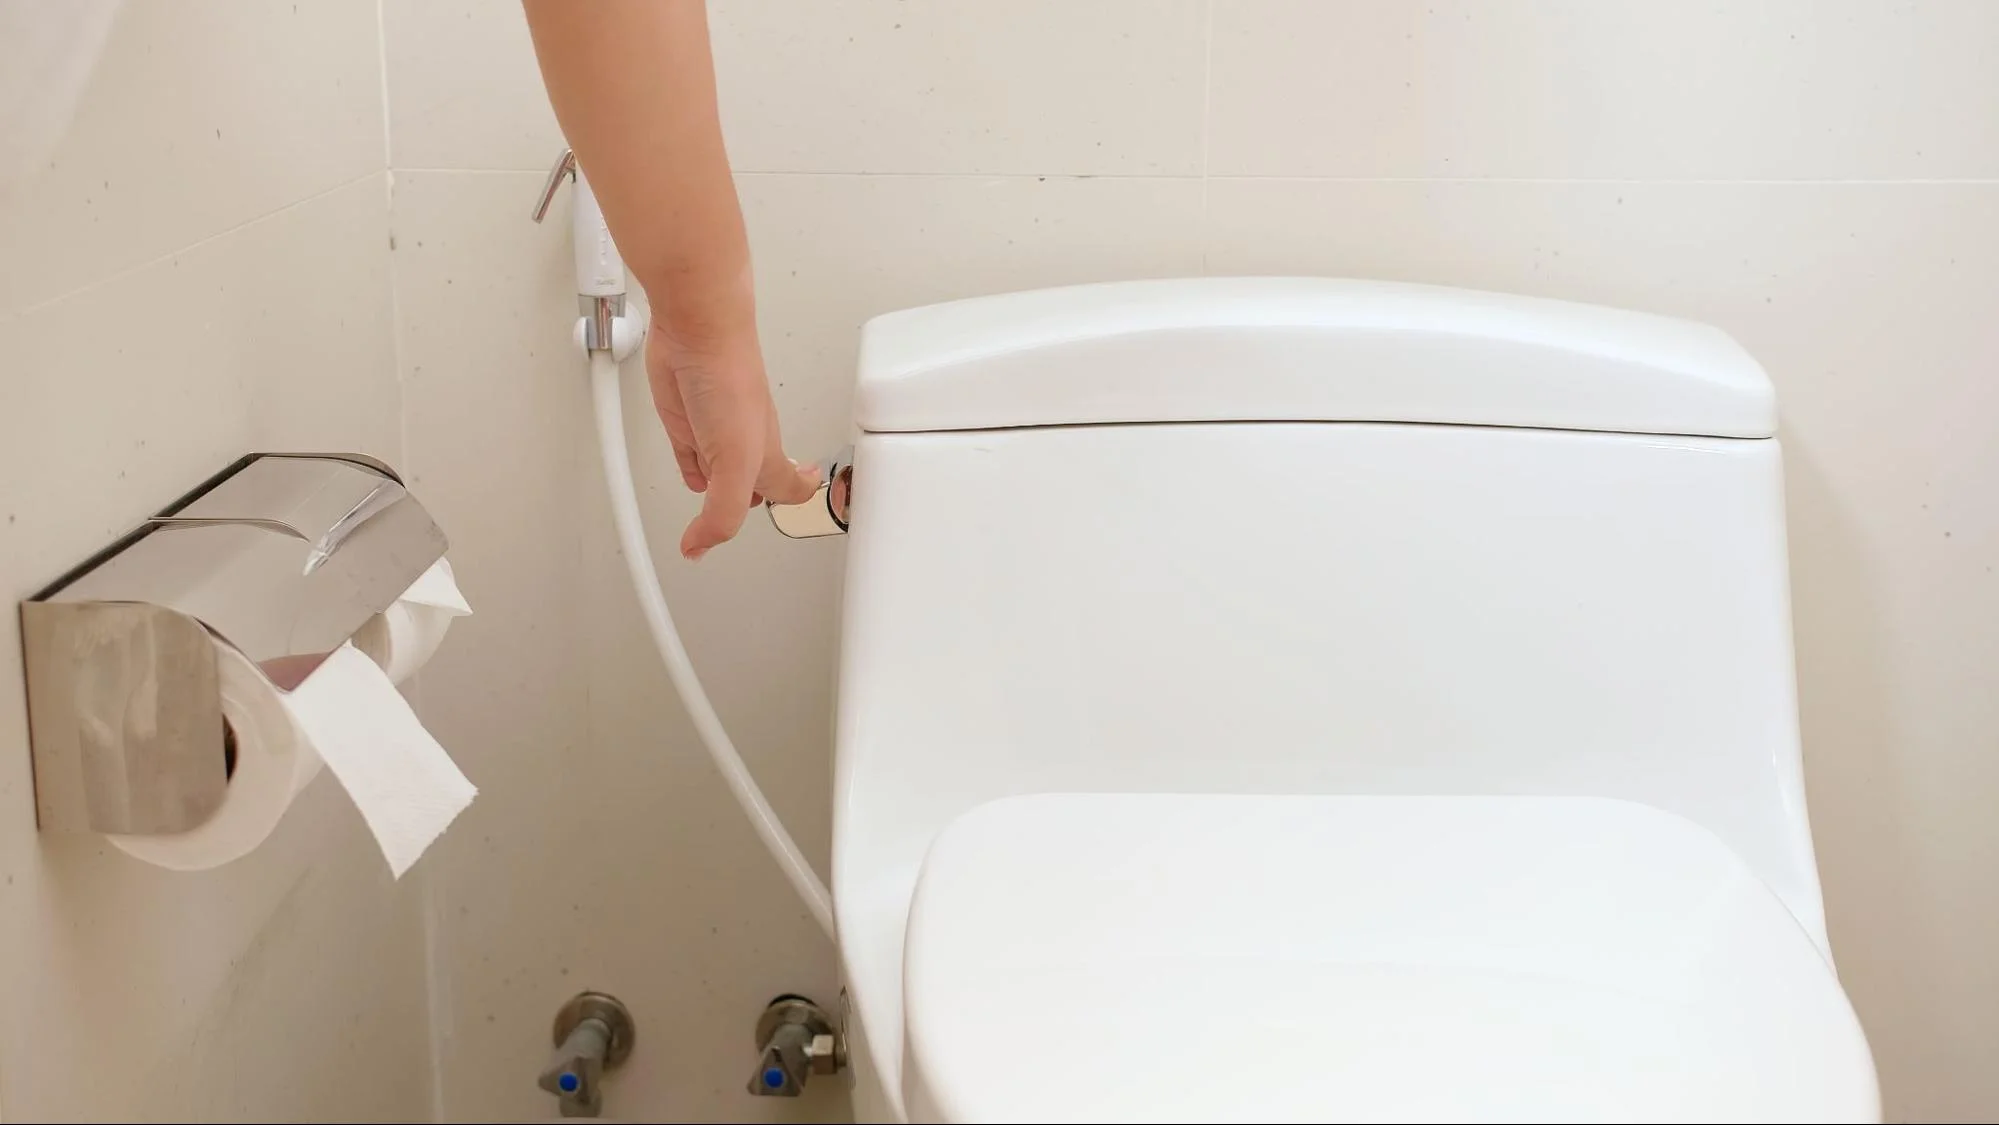
If your toilet is constantly running, it’s likely that there is an issue with one of the components inside the tank. Let’s explore the most common causes of a running toilet and how to identify them.
The flapper is a rubber valve that controls the flow of water from the tank to the bowl. Over time, the flapper can become dirty, worn, or misaligned, causing it to leak and resulting in a running toilet. To inspect the flapper, flush the toilet, and watch it as the tank empties. If the flapper doesn’t close properly or there are leaks around the base, it’s time to replace it.
The flush valve is the mechanism that allows water to flow from the tank into the bowl when you flush the toilet. If the chain that connects the flush lever to the flush valve is too loose or too tight, it can prevent the valve from closing properly, causing a running toilet. Check the chain to make sure it has just enough slack to allow the valve to close completely.
The fill valve is responsible for refilling the tank after you flush the toilet. If the float mechanism is not adjusted properly, it can cause the valve to stay open, resulting in a running toilet. Check the water level in the tank and make sure it’s not too high or too low. If the water level is too high, adjust the float mechanism by bending the float arm or adjusting the adjustment screw until the water level reaches the critical level mark.
If the water level is too low, adjust the float mechanism by bending the float arm or adjusting the adjustment screw until the water level is at the correct level. By inspecting the flapper, examining the flush valve and chain, and checking the fill valve and float mechanism, you can identify the most common causes of a running toilet and take the necessary steps to fix them, ensuring your plumbing system is in good shape.
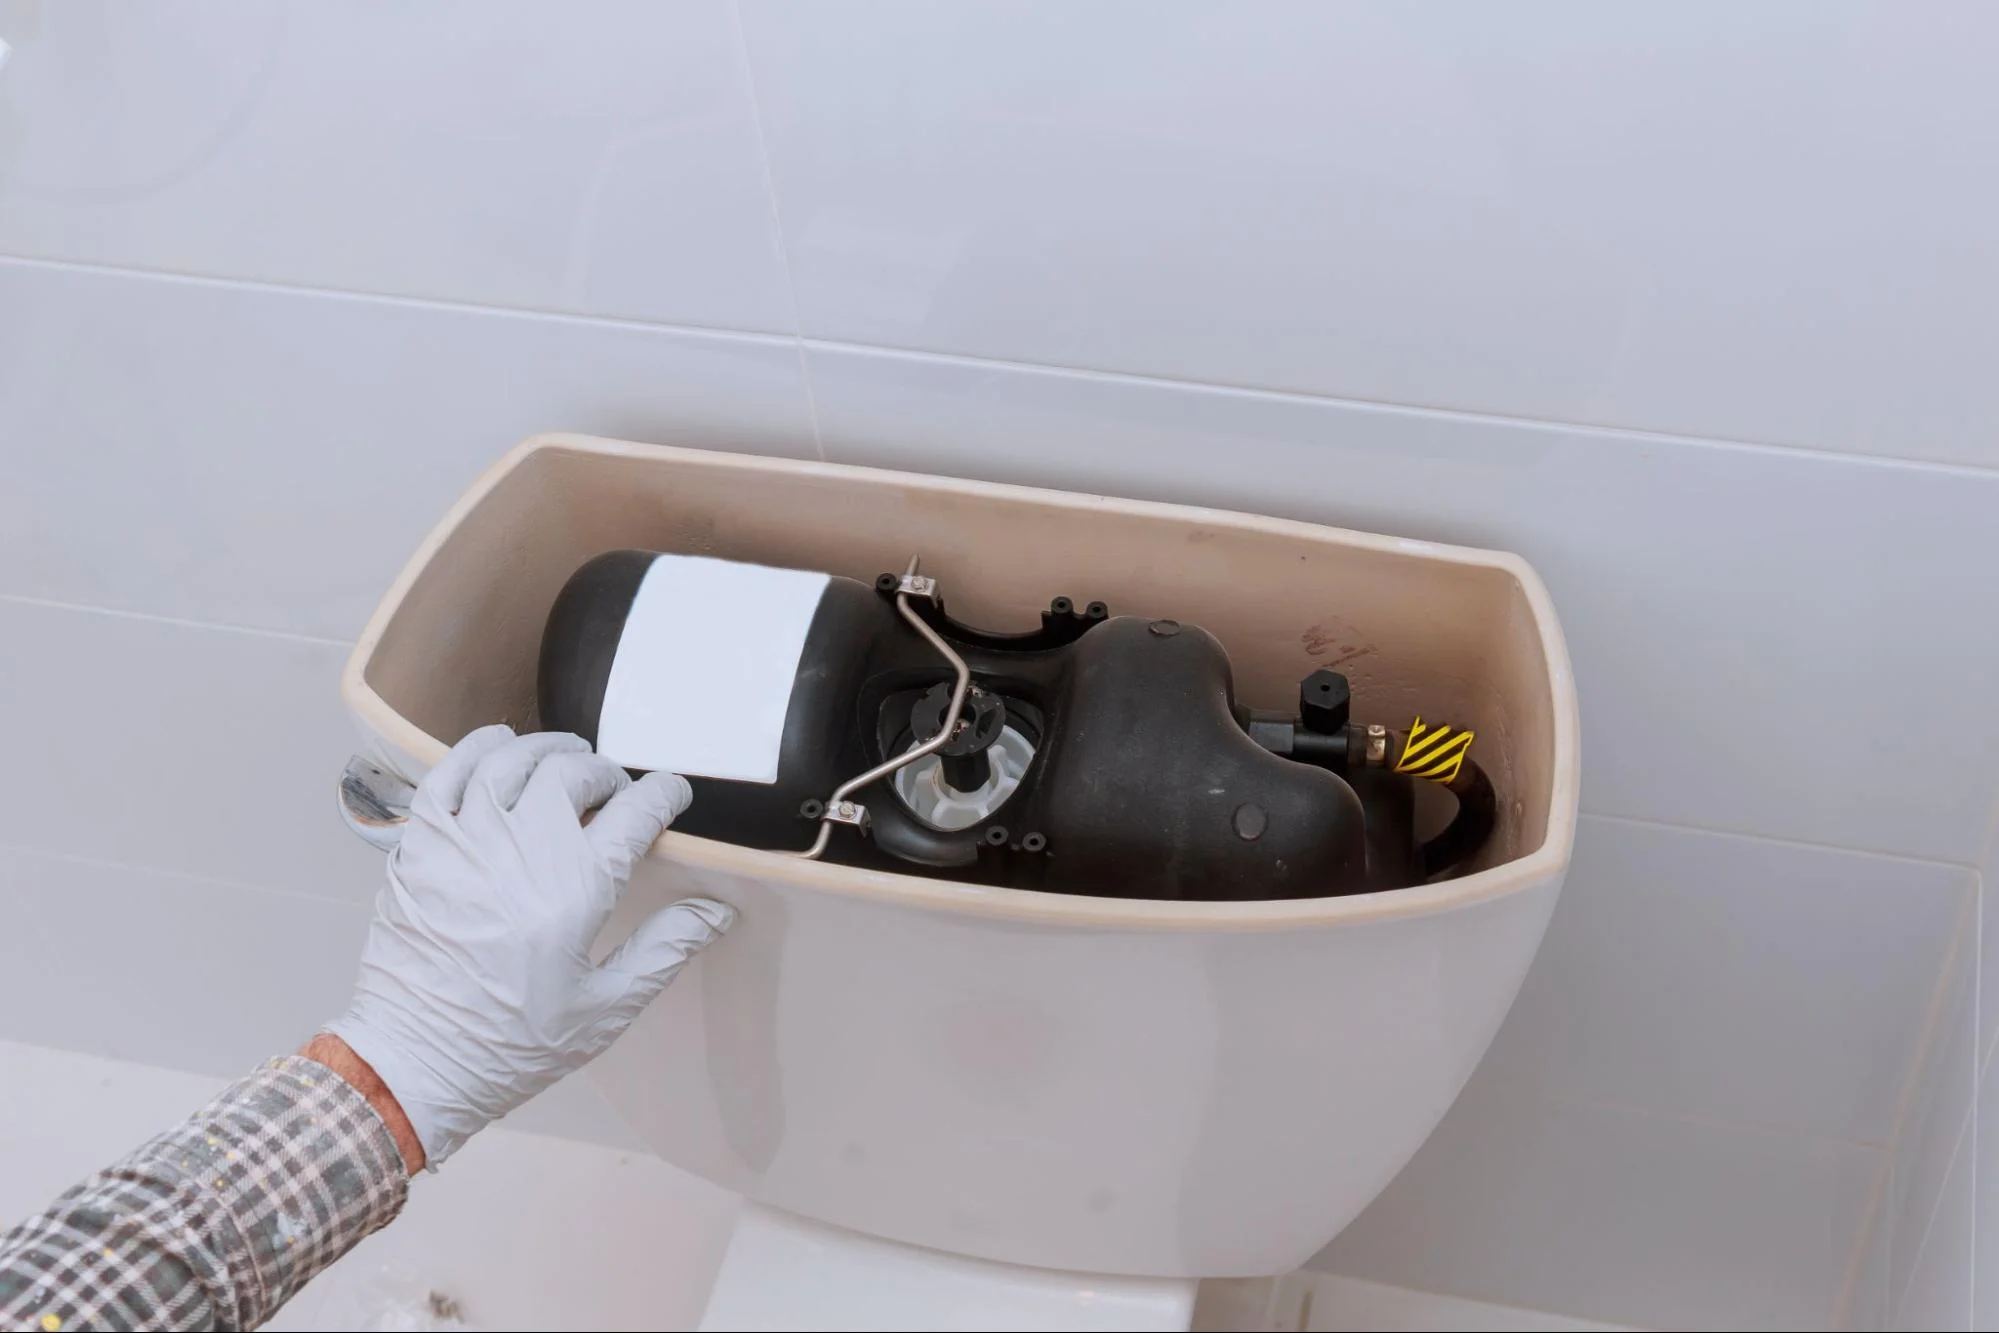
If your toilet is running, it’s important to fix it as soon as possible to avoid wasting water and increasing your water bill. In this section, we’ll provide step-by-step instructions on fixing a running toilet.
The flapper is a rubber valve that controls the flow of water from the tank to the bowl. Over time, the flapper can wear out and start leaking, causing your toilet to run. To replace the flapper, follow these steps:
The float and fill valve control the water level in the tank. If the water level is too high, it can overflow into the overflow pipe and cause your toilet to run. To adjust the float and fill valve, follow these steps:
If the flush handle or chain is loose or broken, it can cause your toilet to run. To fix the flush handle and chain, follow these steps:
By following these step-by-step instructions, you should be able to diagnose and fix most issues that cause a running toilet. If you’re still having problems with your toilet, it might be time to call a plumber. Remember, fixing a running toilet is important to conserve water and keep your plumbing in good working order.
Dealing with a running toilet can be frustrating, but with the right tools and knowledge, you can easily fix the issue. First, it is important to understand that a running toilet can be caused by several factors, such as a damaged flapper, a faulty fill valve, or a loose flush handle. One of the most common causes of a running toilet is a flapper that is not sealing properly. If this is the case, you can easily replace the flapper with a new one.
To replace the flapper, turn off the water supply to the toilet and flush it to drain the water from the tank. Remove the old flapper and install the new one according to the instructions on the package. Make sure that the chain connecting the flapper to the flush lever arm has a little slack when the flapper is closed.
Another cause of a running toilet is a faulty fill valve. If the fill valve is not working properly, it can cause the tank to overfill and the excess water to flow into the overflow tube. To fix this issue, you can replace the fill valve with a new one.
To replace the fill valve, turn off the water supply to the toilet and flush it to drain the water from the tank. Disconnect the water supply line and unscrew the locking nut on the bottom of the tank to remove the old fill valve. Install the new fill valve according to the instructions on the package and reconnect the water supply line.
In summary, fixing a running toilet is a simple task that can be done by anyone with the right tools and knowledge. By following the steps outlined in this guide, you can save money on plumbing bills and avoid the frustration of a constantly running toilet.
If you are not comfortable fixing a running toilet on your own, you can always call a professional plumber. Kaminskiy Care and Repair offers expert plumbing and handyman services that ensure and guarantee your toilets are leak-free. Contact us today.
If your toilet continues to run after flushing, there are a few steps you can take to fix the problem. First, check the water level in the tank and adjust the float arm if necessary. Next, inspect the flapper for damage or discoloration and replace it if needed. You can also check the fill valve and float ball for issues and replace them if necessary. Finally, check the flush valve and adjust it if needed.
If your toilet doesn’t have a flapper, it may have a different type of valve that controls the water flow. In this case, you can try adjusting the valve to see if that stops the running. If that doesn’t work, you may need to replace the valve entirely. It’s best to consult a professional plumber to ensure the repair is done correctly.
If your toilet occasionally starts running on its own, it may be due to a faulty flapper or fill valve. Over time, these parts can wear out or become damaged, causing the toilet to run. It’s best to replace these parts to prevent further damage to your toilet.
When it comes to major home repairs, preparation is key. Whether you’re facing a roof replacement, a kitchen remodel, or a significant plumbing overhaul, being well-prepared can make the process smoother and less stressful. In this guide, we’ll walk you through the essential steps to prepare your home for major repairs, ensuring you’re ready for every aspect of the project.
Major repairs can be daunting, but with proper planning and preparation, you can minimize disruptions and protect your home. This article will cover everything you need to know to get your home ready for major repairs, including how to safeguard your belongings.
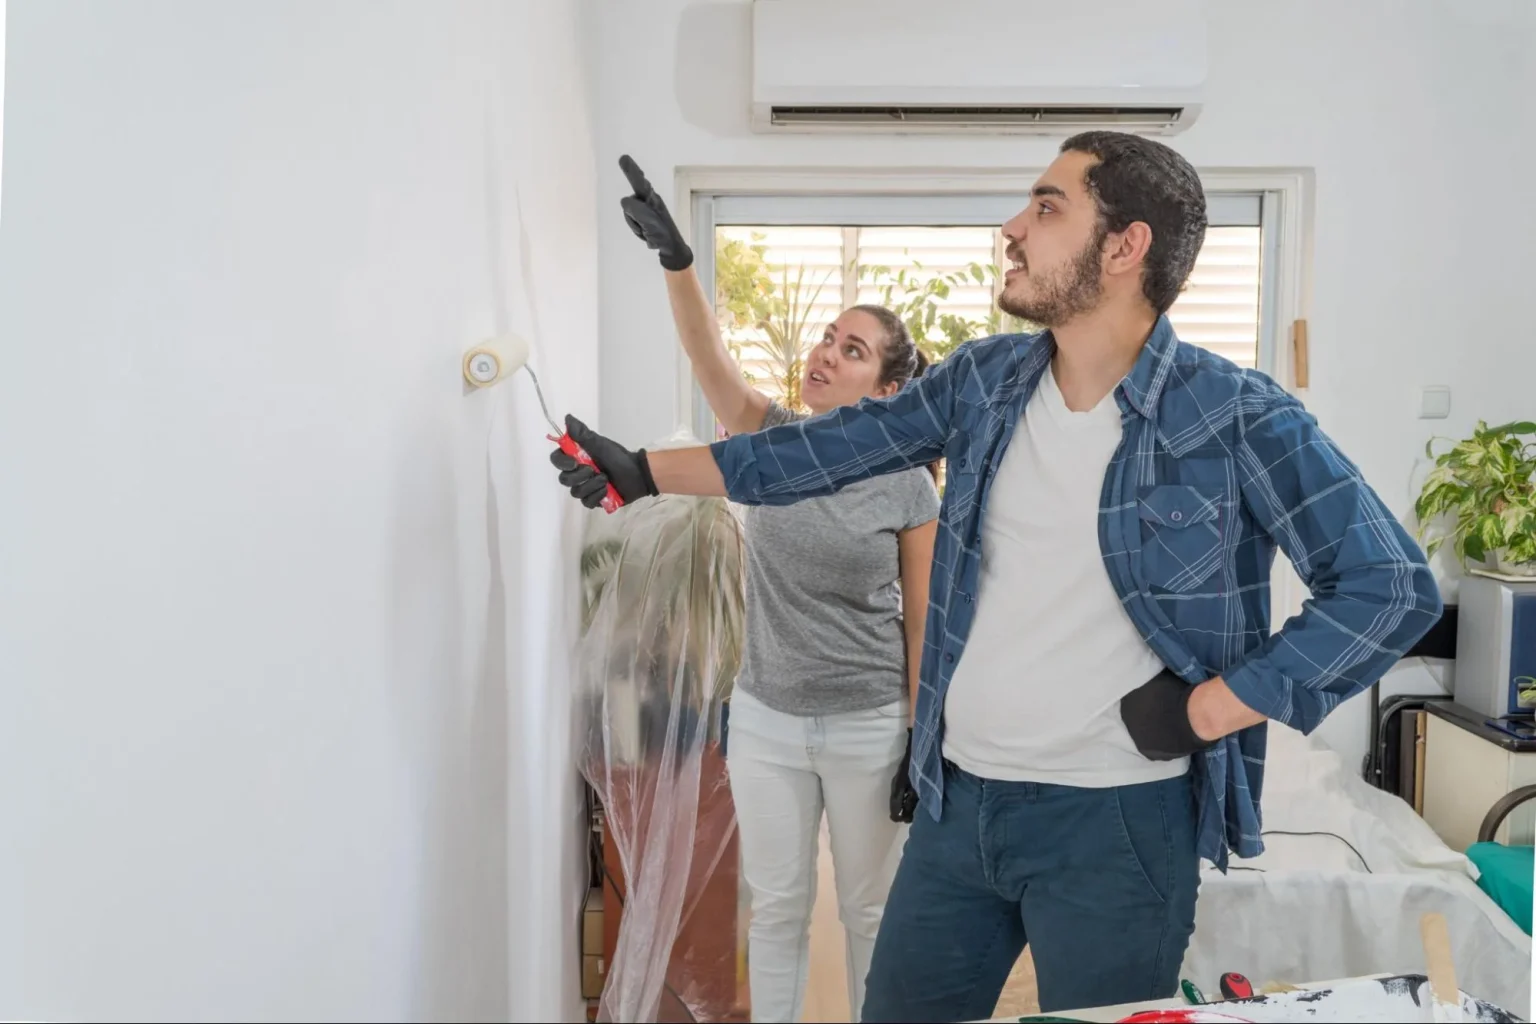
When planning for major repairs, it’s important to consider both the logistics and the practicalities. Here’s a step-by-step guide to ensure you’re well-prepared for the upcoming work.
Before diving into preparations, it’s crucial to understand the full scope of the project. Here’s how to assess what needs to be done:
Creating a realistic timeline is essential for managing expectations and ensuring the project stays on track. Consider these points:
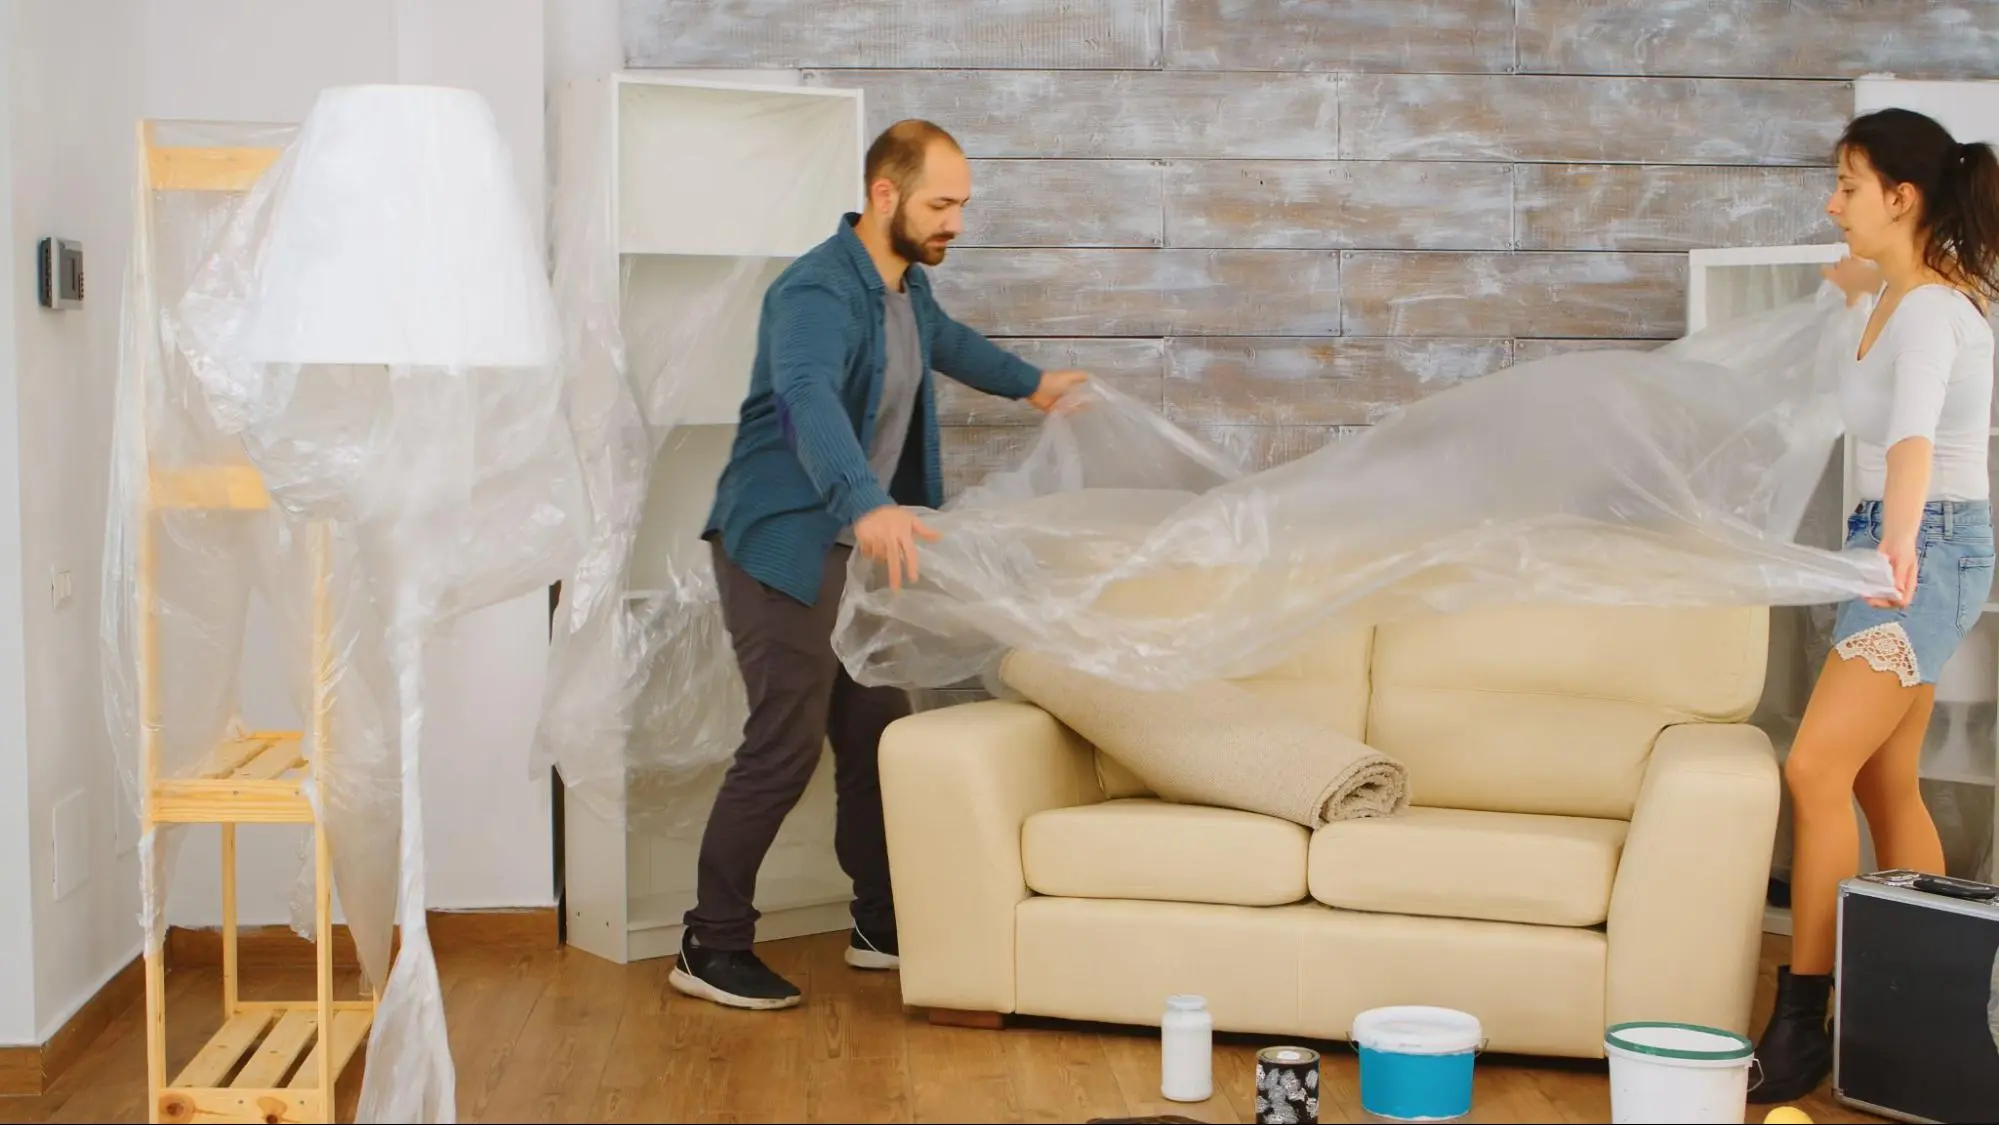
Major repairs often involve dust, debris, and potential damage to your belongings. Here’s how to safeguard your home:
The first step in protecting your home is to clear the area where the work will be done. This includes:
Depending on the extent of the repairs, you may need to set up temporary living arrangements:
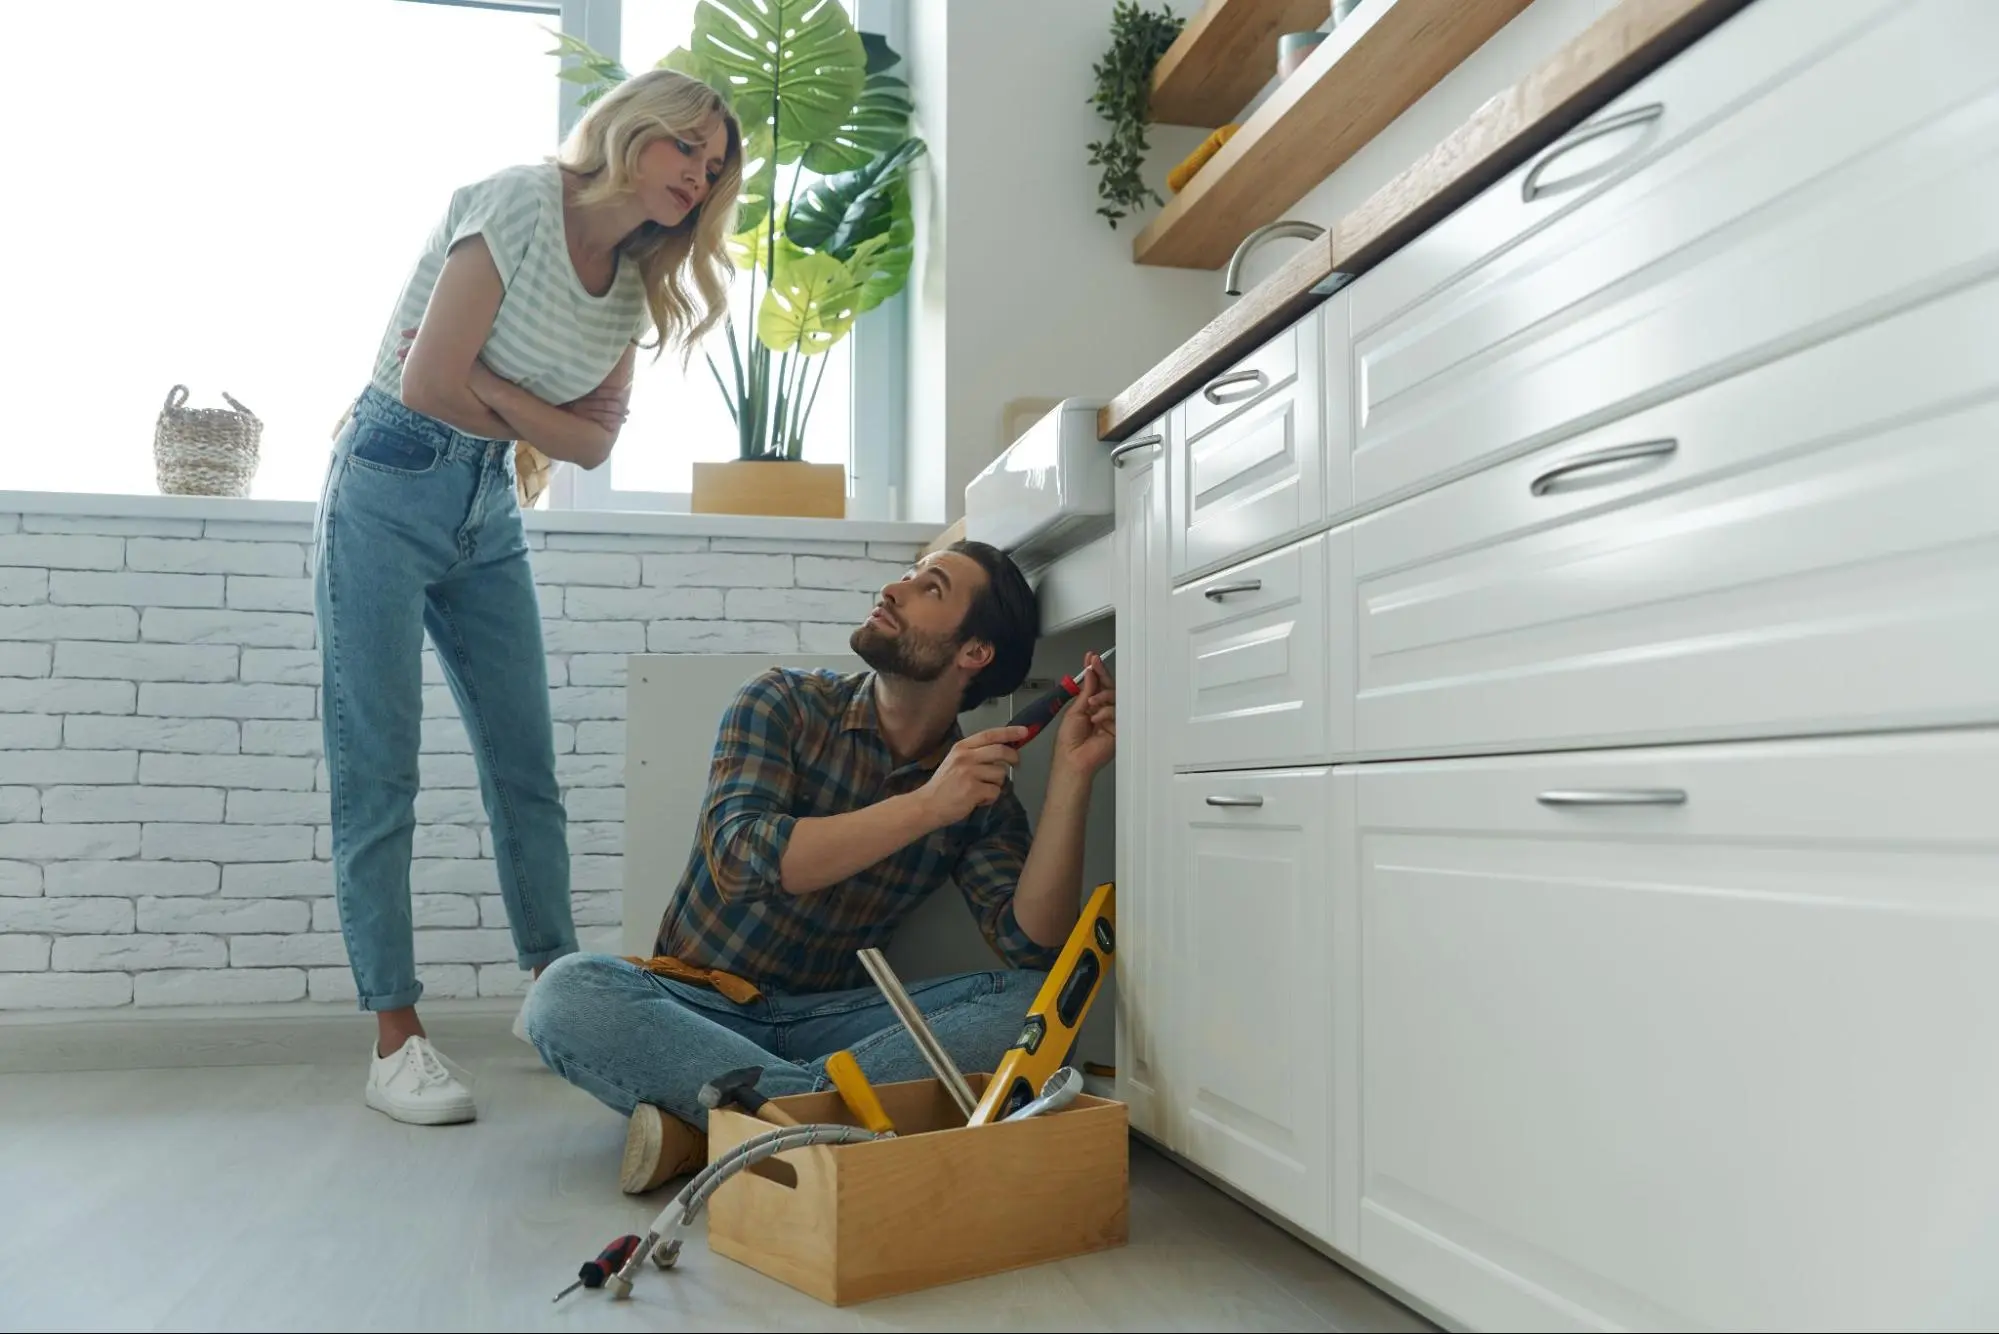
Effective communication with your contractors is crucial for a successful repair project. Here’s how to ensure smooth communication:
From the outset, establish how you will communicate with your contractor: follow these steps as a guide
Safety is paramount during any major repair project. Here’s how to maintain a safe environment in your home:
Take proactive steps to ensure safety throughout the repair process:
Major repairs can impact indoor air quality. Here’s how to manage it effectively:
As the repairs near completion, there are a few final steps to ensure everything goes smoothly:
Before signing off on the project, conduct a final walkthrough with your contractor:
Once the repairs are complete, focus on cleaning and restoring your home:
Preparing your home for major repairs involves careful planning, effective communication, and a focus on safety. By assessing the scope of work, protecting your belongings, maintaining clear communication with contractors, and ensuring a safe environment, you can navigate the repair process with confidence. Partnering with a reputable service provider like Kaminskiy Care and Repair can further enhance your experience. Our team of experts can guide you through every step of the process, ensuring high-quality work and minimal disruption to your daily life. Contact us today
Knowing when to repair or replace old plumbing can save you from potential disasters and costly repairs. Many homeowners put off plumbing updates due to the perceived complexity and expense. However, addressing issues early can enhance the efficiency and safety of your home.
When assessing your plumbing system, look for signs of aging like corrosion, leaks, and frequent clogs. Regular home inspection can help identify these issues before they turn severe. Updating plumbing in an old house not only prevents problems but also improves water efficiency and insulation, reducing your utility bills.
Understanding the best strategies for repair and replacement is crucial. Whether choosing cost-effective materials like PEX or planning a renovation to upgrade your pipes, stay informed to make the best decision for your home. Consulting professionals ensure the job is done right, giving you peace of mind.
Assessing your plumbing system involves inspecting for signs of trouble, checking the lifespan of different materials, and identifying common issues. This ensures your home’s plumbing remains functional and safe.
Start by inspecting all visible plumbing pipes, including those under sinks, in basements, and behind access panels. Look for leaks, corrosion, and mineral deposits. Pay close attention to areas around fittings and joints, where leaks and pinhole leaks are more likely to occur.
Test the water pressure. Low water pressure can indicate clogged pipes or corrosion. Additionally, examine the condition of supply pipes and look for rust or discoloration. Smell the water; a metallic smell can suggest lead pipes or galvanized steel pipes that may be corroded.
If you notice any signs of water damage or abnormal smells, it might be time to consult a plumbing professional.
Common plumbing issues include leaks, cracks in pipes, and corroded pipes. Older metal pipes like lead or galvanized steel are prone to decay and corrosion. Copper pipes, though more durable, can still develop pinhole leaks over time.
Hard water may cause mineral buildup, reducing the diameter of pipes and impacting water flow. Another sign of trouble is a sudden spike in water bills, which can indicate hidden leaks. Inspect for any signs of burst pipes, especially in cold climates.
Be aware of low water pressure, which might be due to blockages or wear and tear in the plumbing system. Regular inspection can help spot these issues before they lead to significant damage.
Copper pipes generally last over 50 years, while cast iron pipes can last between 75 to 100 years. Polyvinyl chloride (PVC) pipes usually last for 100 years or more. Each material has its unique advantages and disadvantages in terms of durability and cost.
Galvanized steel pipes often need replacement after about 50 years due to rust and corrosion. Lead pipes are hazardous and should be replaced immediately for health and safety reasons. Brass pipes offer longevity and resistance to corrosion but are less common.
Understanding the expected lifespan helps in planning for future pipe replacement. Regular maintenance and timely inspections can extend the functionality of your plumbing system and avoid unexpected problems.
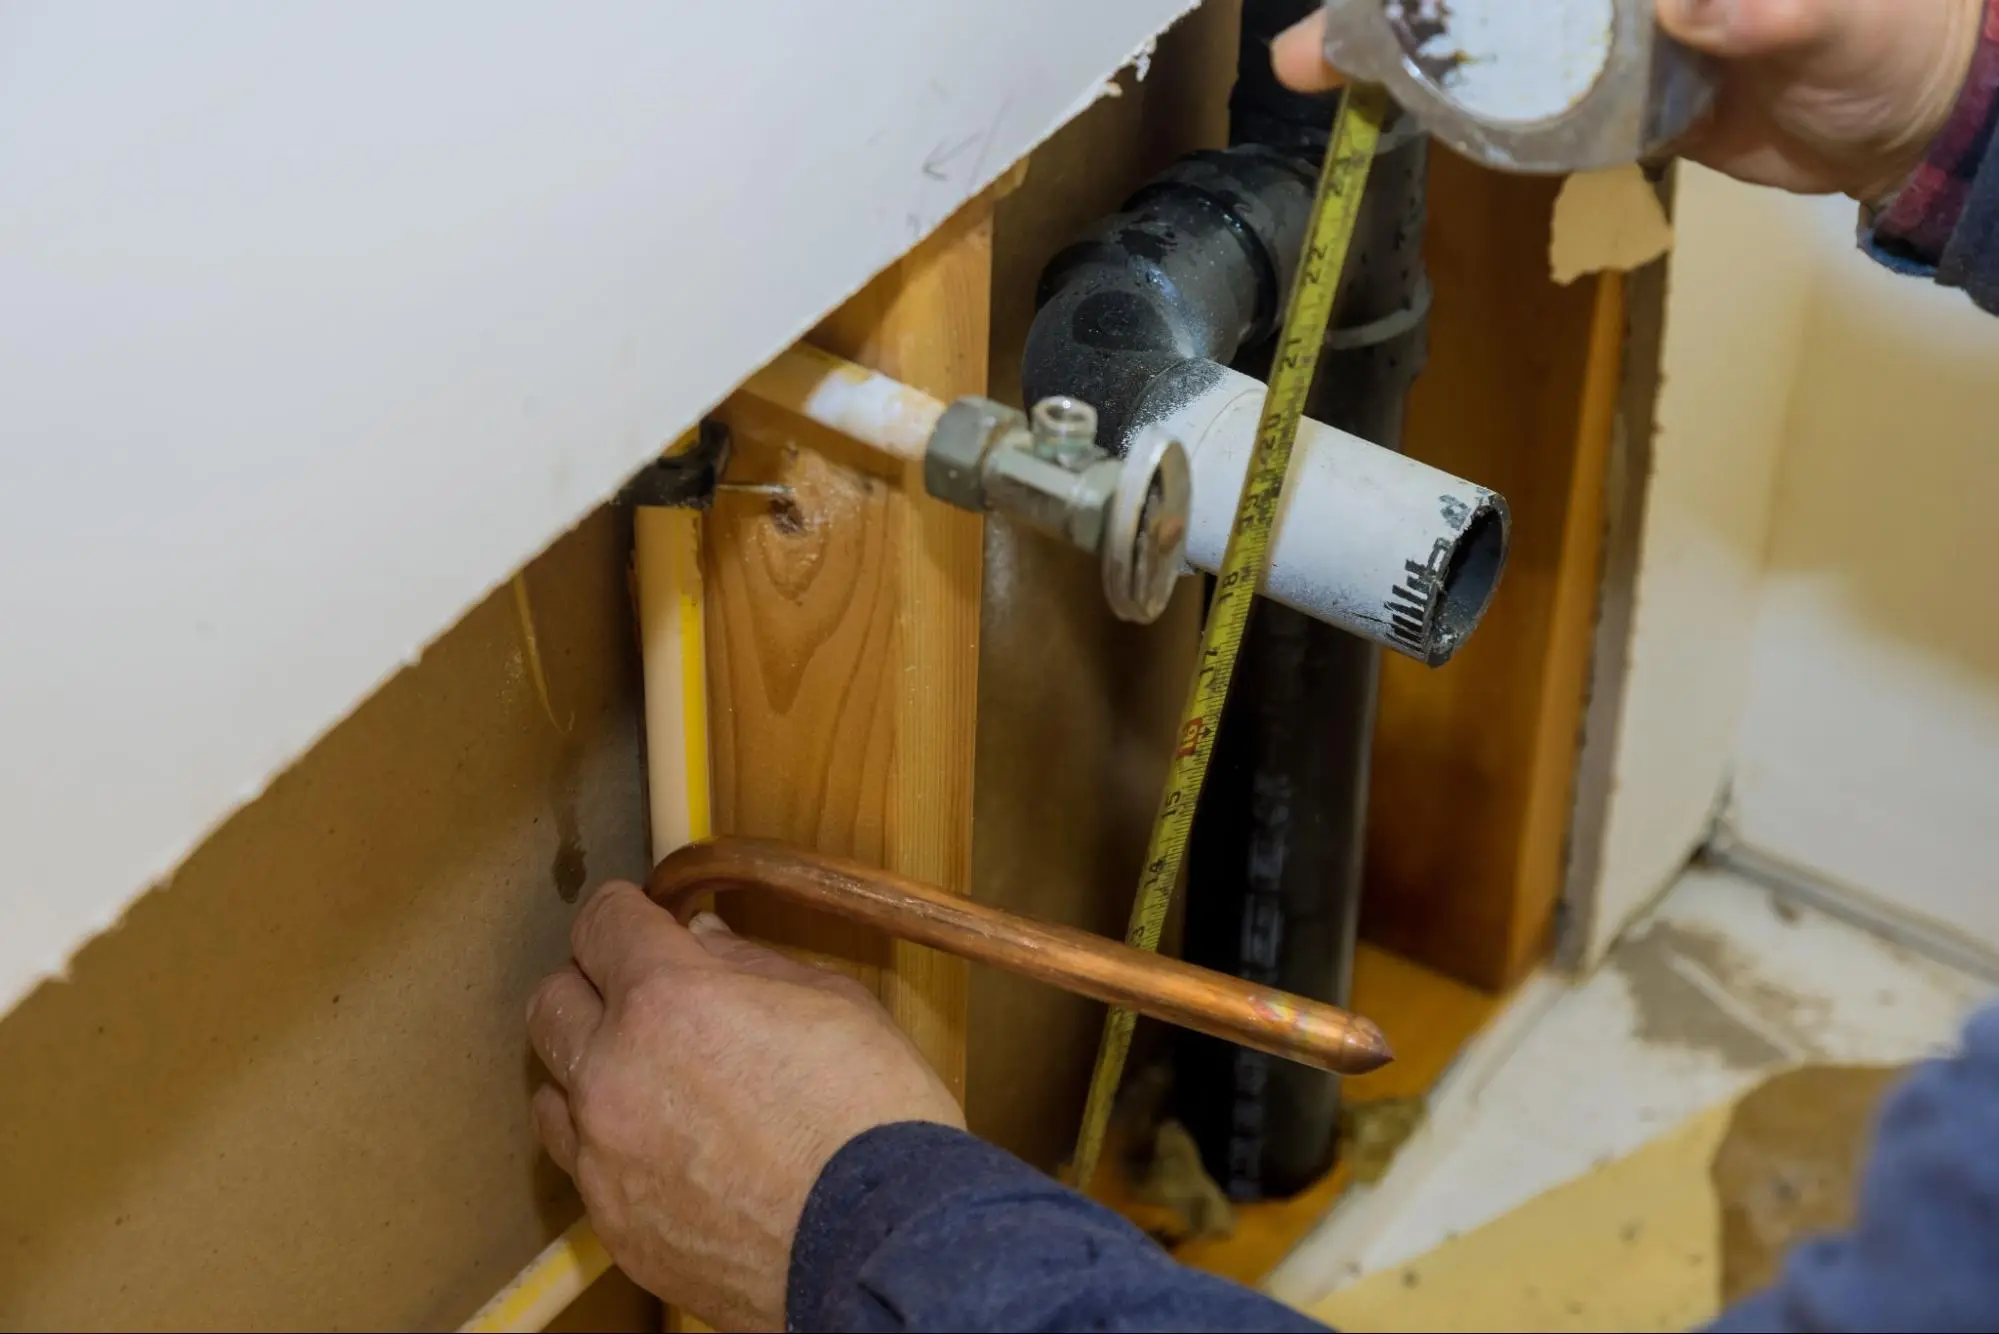
Updating old plumbing systems requires careful planning and consideration of the materials and methods that will yield the best results. This section details the choice of materials, repair steps when to seek professional help, and budgeting considerations.
Selecting the right materials is crucial for the longevity and efficiency of your plumbing. Copper pipes are known for their durability and safety but come at a higher cost. PVC and PEX are cost-effective alternatives with easier installation and good durability. PEX, in particular, offers excellent flexibility and resistance to wear and tear.If you are updating fixtures like garbage disposals, sinks, or bathtubs, choose modern materials that are energy-efficient and sturdy. Advanced technologies in these fixtures can also lead to better performance and lower water usage.
Repairing old plumbing involves several steps. Begin by shutting off the water supply to prevent leaks. Identify the damaged section of the pipe or fixture. For minor leaks, you can use pipe clamps or epoxy to seal the issue.
If pipes are corroded or damaged beyond repair, you will need to replace sections. Cut the damaged area using a pipe cutter and join new sections using the right fittings. PVC pipes require solvent cement, whereas PEX pipes are connected using crimp rings or push-fit connectors.
Always test your repair to ensure no leaks before restoring the water supply.
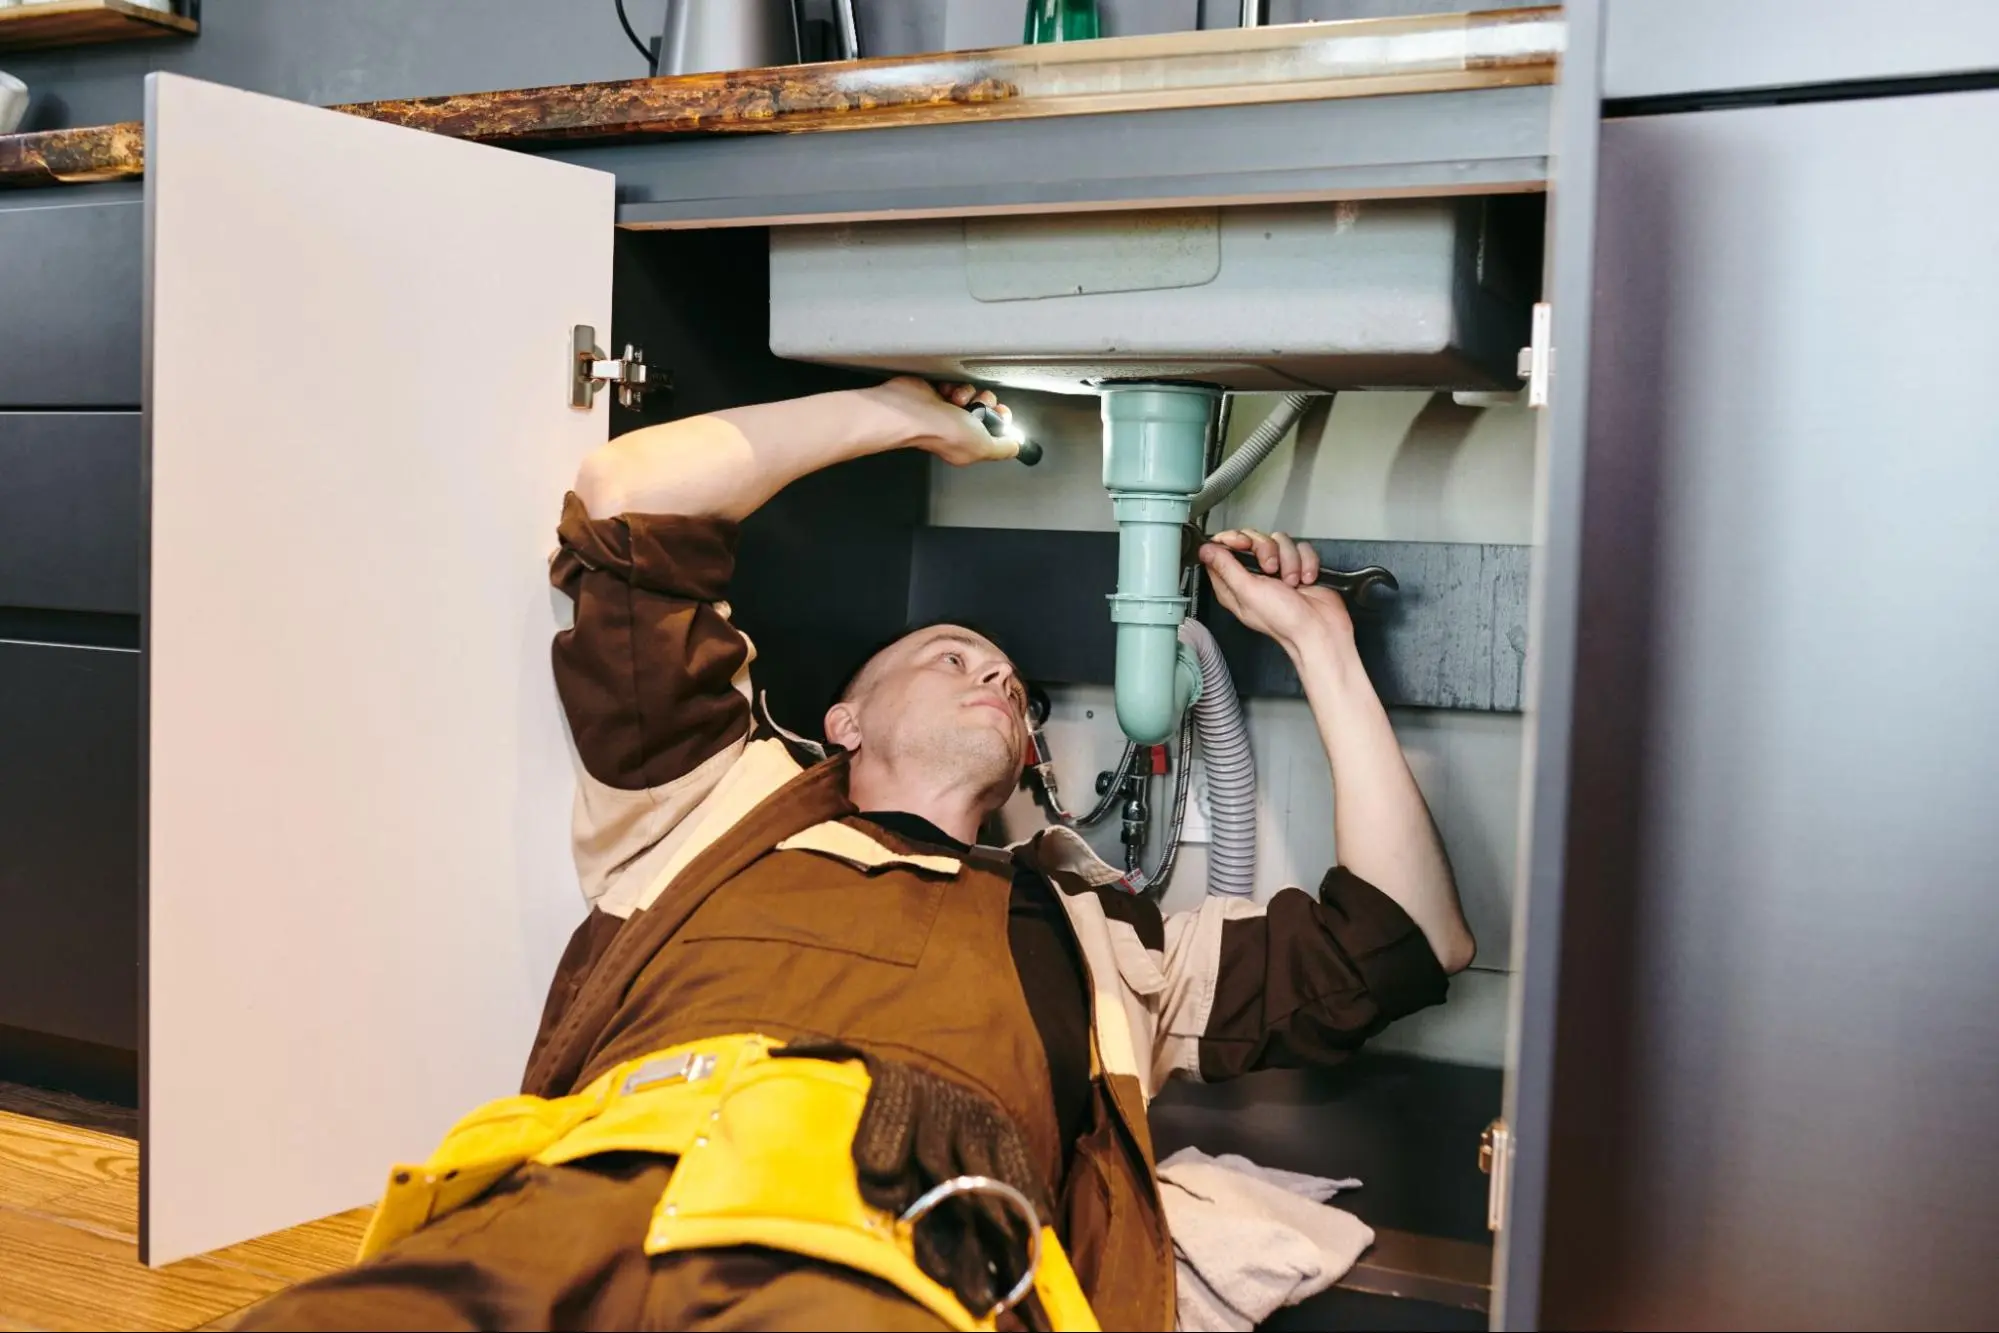
Some plumbing issues are too complex or risky to undertake on your own. If you encounter extensive corrosion, or multiple leaks, or require major pipe replacement involving copper pipes, it’s best to call a professional plumber.
Professionals have the expertise and tools to handle complex repairs, ensuring safety and compliance with local codes. They can also inspect the entire system for potential issues that might not be apparent to an untrained eye.
Understanding the costs involved in plumbing repairs and replacements is essential for budgeting. Replacing old pipes can range from $1,500 to $15,000 depending on the size of the project and materials used. Copper pipes are more expensive than PVC or PEX but offer superior durability.
Factor in labor costs, especially if hiring a professional. Updating fixtures will add to the total cost but can provide long-term savings through increased efficiency and reduced water waste. Prioritize areas that need immediate attention and plan your budget accordingly to manage expenses effectively.
Repairing and replacing old plumbing is essential to maintaining a safe and efficient home. Factors like pipe material, age, and visible problems can signal the need for action.
Common Signs to Watch for include discolored Water, low water pressure, and frequent Leaks
Old pipes made from materials like iron or galvanized steel tend to corrode. Modern materials such as PVC, copper, or PEX are more durable.
You should inspect pipes regularly. Look for visible signs of wear and test water quality. Prepare for replacement by deciding between a DIY approach or hiring professionals. DIY can be cost-effective but requires time and skill. Professionals ensure the job is done correctly and safely replacing old plumbing can save you money on water bills and avoid costly damage.
Kaminskiy Care and Repair offers professional handyman plumbing services that guarantee peace of mind. Contact us today
You might notice frequent leaks, unpleasant water odor, or discolored water. Low water pressure and unusual noises from pipes can also signal the need for new piping. If your home is more than 50 years old, it’s a good idea to have your plumbing inspected.
PEX piping is flexible, which makes it easier to install in tight spaces. It also resists scale and chlorine, ensuring it lasts longer. PEX is less expensive than copper and doesn’t require soldering, which reduces labor costs.
A whole-house repipe can take between a few days to a week. The duration depends on the home’s size and the complexity of the plumbing system. Homes with more bathrooms and extensive plumbing will take longer.
You start by shutting off the water supply and draining the system. Next, old pipes are removed, and any necessary structural repairs are made. Then, new pipes are installed, followed by testing the system for leaks before restoring the walls and finishes.
As a handyman, safety should always be your top priority. Whether you’re working on a home improvement project or running your own handyman business, taking the necessary precautions to prevent accidents and injuries is crucial. By following these safety tips, you can ensure that you and your clients are protected while on the job.
Personal safety and protective equipment are essential when working as a handyman. This includes wearing the appropriate clothing and gear, such as gloves, safety glasses, and work boots. It’s also important to have a first aid kit on hand in case of an emergency. By taking these precautions, you can minimize the risk of injury and ensure that you’re prepared for any situation that may arise.
Safe handling of tools and materials is another key aspect of being a safe and successful handyman. This includes inspecting your tools before use, using them properly, and storing them in a safe and secure location when not in use. Additionally, it’s important to know how to handle hazardous materials and dispose of them properly. By following these guidelines, you can keep yourself and others safe while on the job.
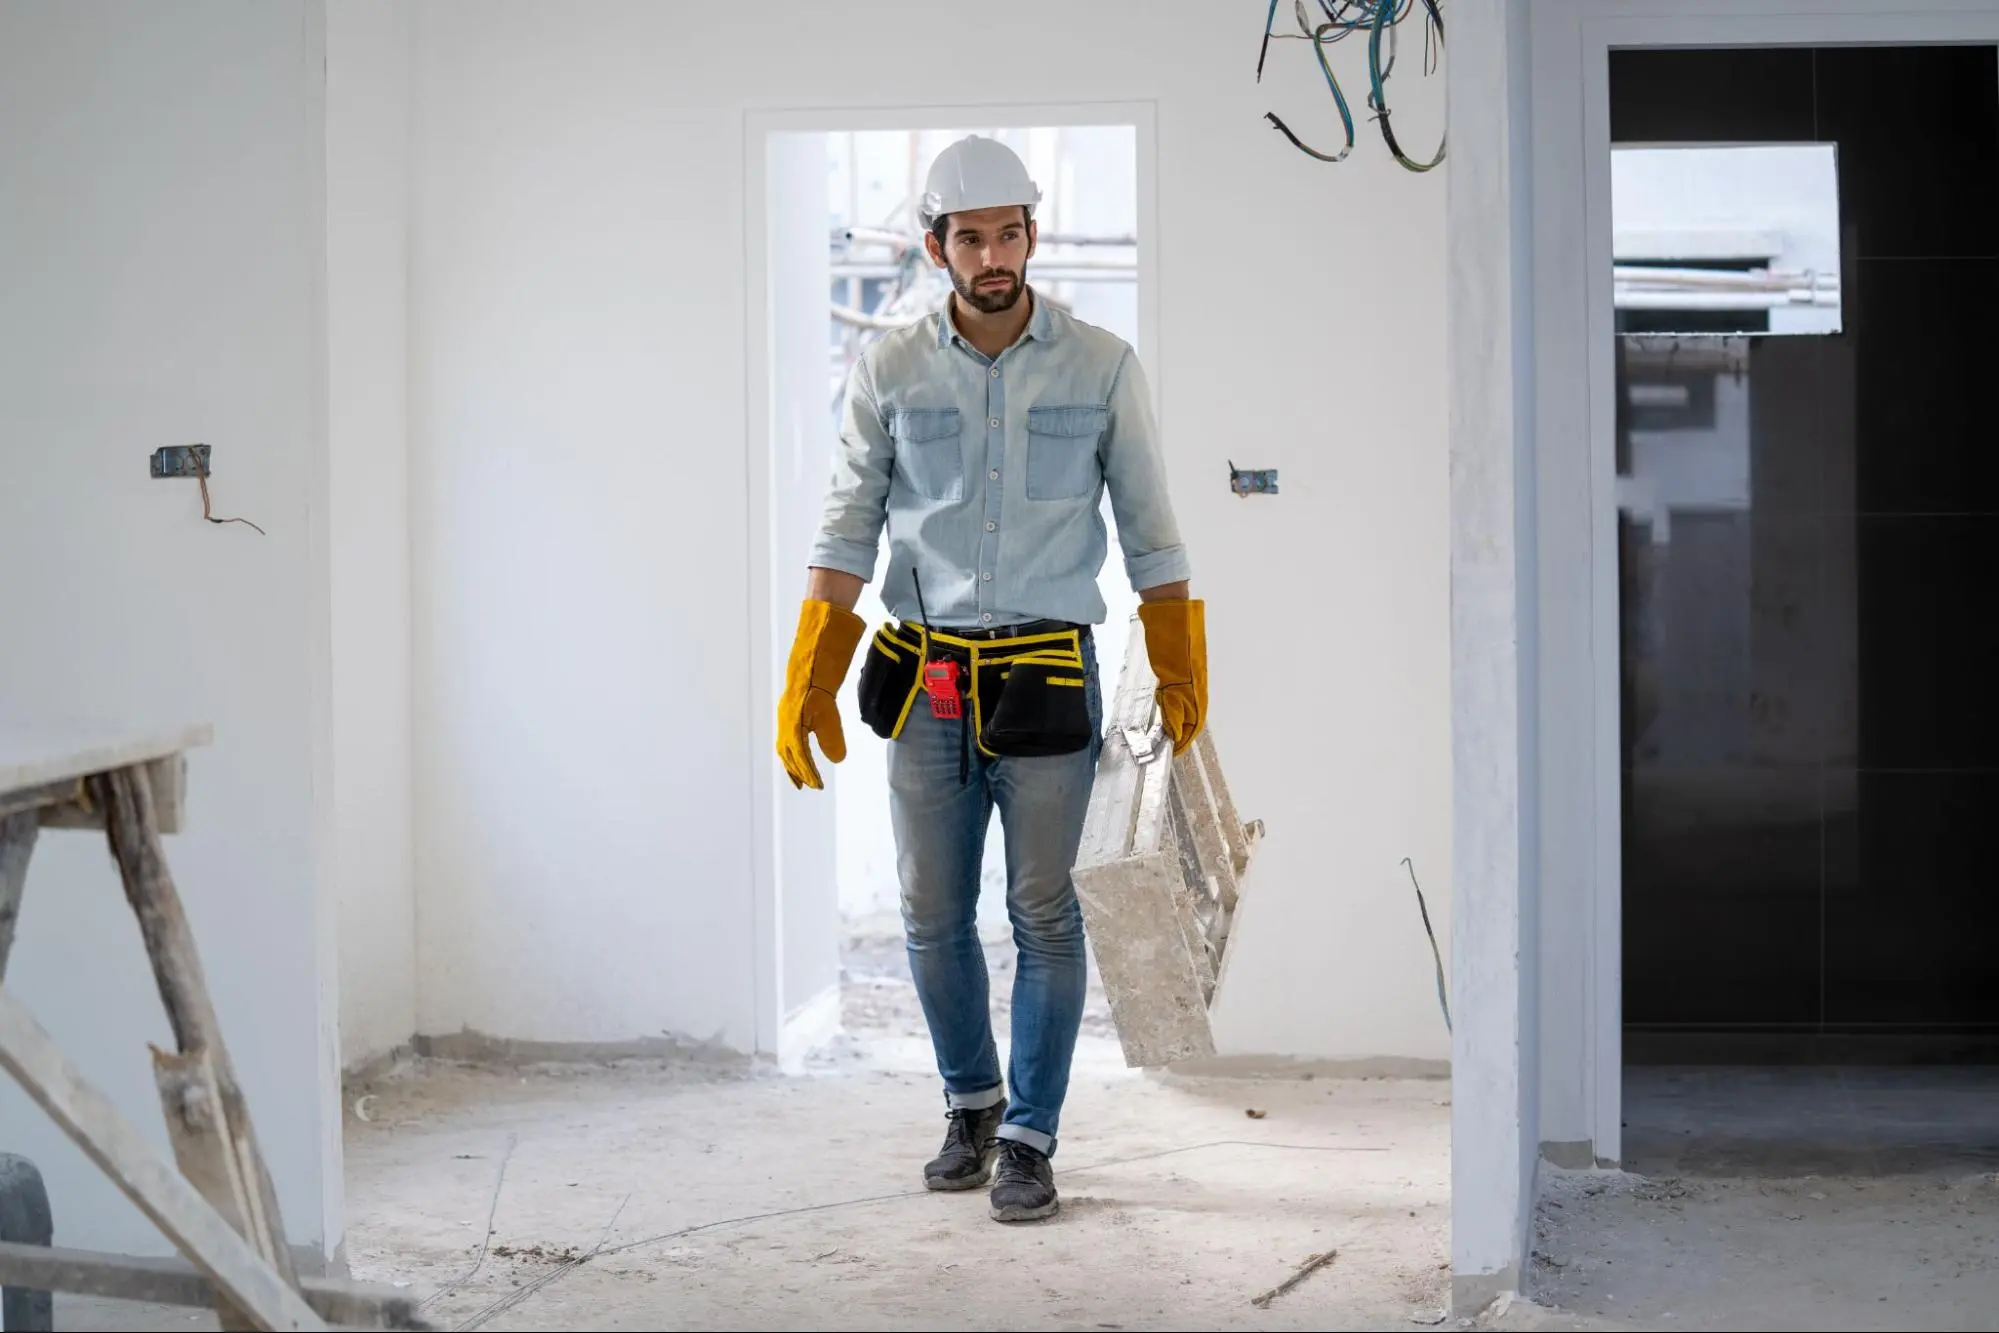
As a handyman, you must prioritize your personal safety when working on any project. This means that you need to have the right protective equipment to keep you safe from potential hazards. In this section, we will discuss the importance of choosing the right personal protective equipment (PPE) and the proper use of safety gear.
Choosing the right PPE is crucial to ensure that you are adequately protected from any potential hazards that may arise during your work. When selecting PPE, you should consider the specific hazards associated with your work environment. This helps the handyman’s safety at work
For example, if you are working with power tools, you should wear safety glasses to protect your eyes from flying debris. If you are working with chemicals, you should wear gloves and a respirator to protect your skin and lungs from harmful fumes. Additionally, you should wear a hard hat to protect your head from falling objects and earplugs to protect your ears from loud noises. It is also important to choose PPE that meets OSHA safety standards. OSHA provides guidelines for selecting and using PPE to ensure that workers are adequately protected.
Choosing the right PPE is only the first step. You must also use it properly to ensure that it provides adequate protection.
For example, when using safety glasses, make sure they fit properly and are not scratched or damaged. When using a respirator, make sure you have the right filter for the chemicals you are working with, and ensure that it fits properly. When using gloves, make sure they are made of the right material for the chemicals you are working with.
It is also important to follow all safety precautions when using PPE. For example, you should never remove your safety glasses while using power tools, and you should always wear a hard hat when working in an area where there is a risk of falling objects.
Choosing the right PPE and using it properly is essential for your safety as a handyman. By following OSHA safety standards and taking the necessary precautions, you can ensure that you are adequately protected from potential hazards.
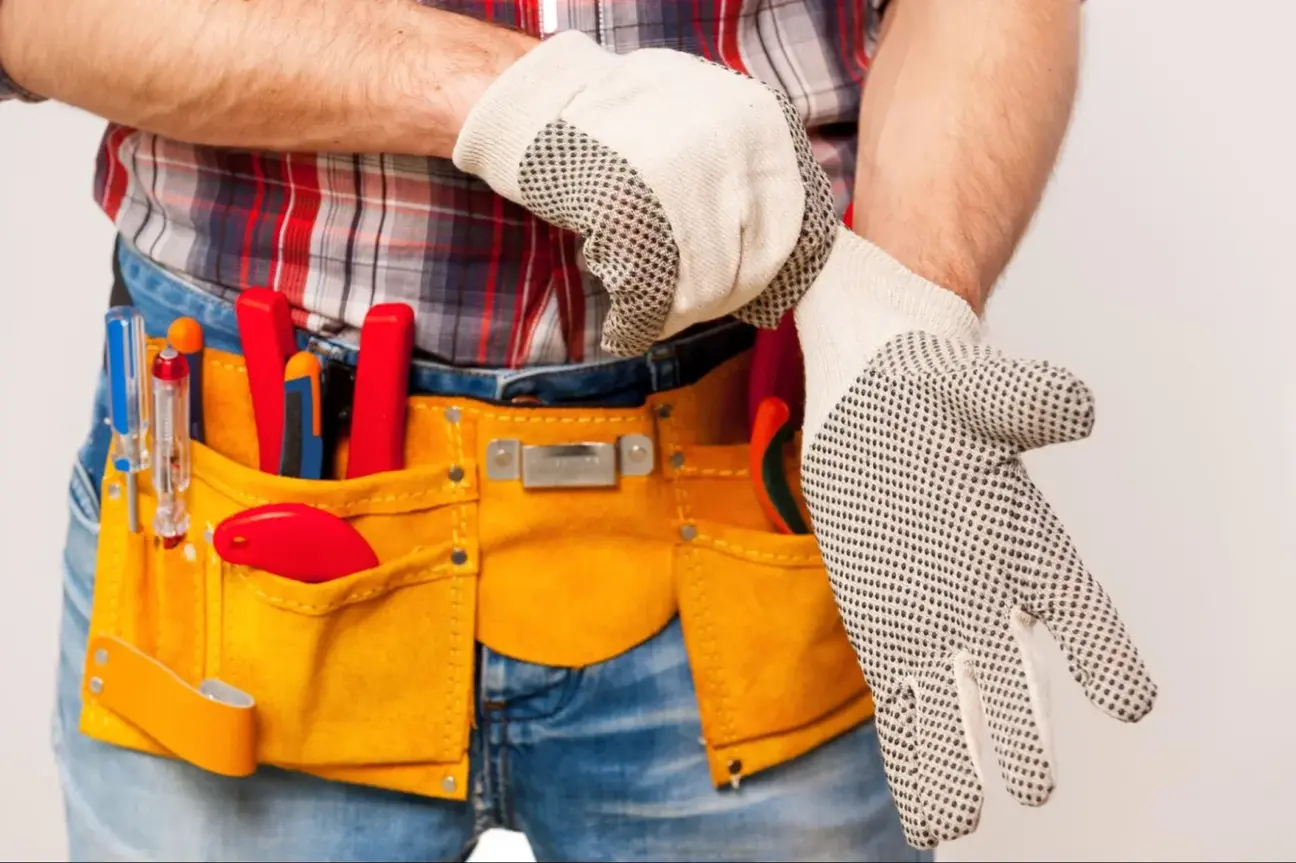
As a handyman, it’s important to know how to handle tools and materials safely to prevent accidents and injuries. In this section, we’ll cover some of the key safety tips you should follow when handling tools and materials.
Electrical hazards are a common safety concern when working with power tools. Always make sure that your tools are properly grounded and that their cords are in good condition. When using power tools, be sure to wear appropriate protective gear, such as safety glasses and gloves.
Working at heights can be dangerous, especially when using ladders. Before using a ladder, make sure that it’s in good condition and that it’s the appropriate size for the job. Always place the ladder on a stable surface and secure it to prevent it from slipping.
When working with hazardous materials, such as chemicals or asbestos, it’s important to follow proper safety protocols. Always wear appropriate protective gear, such as gloves and a respirator, and make sure that you have access to safety data sheets (SDS) for the materials you’re working with.
Remember to always be aware of safety hazards when working with tools and materials. Keep a first aid kit and fire extinguisher on hand, and follow proper lifting techniques to prevent strain and injury. By following these safety tips, you can help ensure that your home maintenance and repair projects are completed safely and without incident.
As a handyman, it is important to prioritize safety when working on any project. By following these safety tips, you can minimize the risk of accidents and injuries:
Using the right tools and equipment can help you work more efficiently and safely. Make sure all tools are in good condition and are being used correctly. Avoid using damaged or broken tools, and always wear appropriate personal protective equipment (PPE) such as gloves, eye protection, and dust masks when necessary.
Electrical hazards are a major concern for handymen. Always turn off the power supply before working on any electrical project. Use a voltage tester to ensure that no power is present before beginning work. Additionally, avoid using extension cords as a permanent solution, and make sure all cords and wires are in good condition.
Ladder accidents are a common cause of injury for handymen. Before using a ladder, inspect it for damage and make sure it is set up on a solid surface. Always face the ladder and hold onto it with both hands while climbing up and down. Make sure the ladder extends three feet beyond the access point and is tied off to the structure.
A cluttered and disorganized work area can lead to accidents and injuries. Keep your work area clean and organized, and avoid leaving tools and materials lying around. Always clean up after yourself and put tools away when you are finished using them.
By following these safety tips, you can ensure that you are working in a safe and secure environment. Remember to always prioritize safety, no matter how small the project may seem.
Kaminskiy Care and Repair is a trusted name for handyman services. Our team of professionals ensures your handyman projects are handled safely and diligently without any risk of injuries or loss. Contact us today
As a handyman, it is important to wear the appropriate personal protective equipment (PPE) to ensure your safety while on the job. Some essential PPE items include safety glasses, gloves, hard hats, and steel-toed boots. Depending on the job, you may also need to wear respiratory protection, such as a mask or respirator.
When working with electricity, it is important to take the necessary precautions to ensure your safety. Before starting any electrical work, make sure to turn off the power to the area you will be working in. Use a voltage tester to confirm that the power is off. Additionally, make sure your hands and any tools you are using are dry and not wet. Always use insulated tools and avoid using metal ladders or working near power lines.
When working with hazardous materials, it is important to take the necessary precautions to ensure your safety. Always wear appropriate PPE, such as gloves and a mask. Follow proper handling and disposal procedures for hazardous materials. Make sure to store hazardous materials in a safe and secure location, away from other materials that could cause a reaction.
To prevent common on-the-job injuries, it is important to follow proper safety procedures. Always use appropriate PPE and make sure your tools and equipment are in good condition. Take breaks as needed to avoid fatigue and stay hydrated. Use proper lifting techniques to avoid back injuries. Always be aware of your surroundings and potential hazards.
In today’s bustling world, finding tranquility within your home can be challenging. Whether it’s the noise from traffic, neighbors, or even within your household, unwanted sounds can disrupt your peace. Soundproofing your home is an effective way to create a quiet and serene environment. In this article, we’ll explore various handyman strategies for soundproofing your home, providing you with practical tips and techniques to reduce noise and enhance your living space.
When it comes to soundproofing, a strategic approach can make all the difference. Here are some handyman strategies to help you achieve a quieter home environment.
Before diving into soundproofing techniques, it’s important to understand how sound travels. Sound transmission occurs through two primary pathways:
Airborne Noise: This type of noise travels through the air and includes sounds like voices, music, and traffic.
Structure-borne Noise: This noise travels through the building’s structure and includes sounds like footsteps, vibrations from appliances, and plumbing noise.
By addressing both types of noise, you can create a more comprehensive soundproofing solution.
The first step in soundproofing is identifying the areas where noise is most problematic. Common problem areas include:
Walls: Thin walls can allow significant sound transmission between rooms.
Floors and Ceilings: Noise can easily travel between floors, especially in multi-story homes.
Windows and Doors: Gaps and thin materials in windows and doors can let in a lot of external noise.
Ducts and Vents: Sound can travel through HVAC systems, spreading noise throughout the house.
Once you’ve identified the problem areas, you can start implementing soundproofing techniques. Here are some effective strategies:
Walls are one of the most significant sources of noise transmission. Here are some handyman strategies to soundproof your walls:
Add Mass: Increasing the mass of your walls can help block sound. You can achieve this by adding additional layers of drywall or using mass-loaded vinyl (MLV).
Decoupling: This technique involves creating a separation within the wall structure to reduce sound transmission. Using resilient channels or sound isolation clips can help achieve this.
Insulation: Installing acoustic insulation within wall cavities can absorb sound and reduce transmission.
Noise between floors can be particularly bothersome. Here’s how to address it:
Carpets and Rugs: Adding thick carpets or rugs can help absorb sound and reduce noise transmission.
Underlayment: Installing soundproof underlayment beneath the living room and kitchen flooring can help dampen sound.
Acoustic Panels: Adding acoustic panels to ceilings can help absorb sound and prevent it from traveling between floors.

Windows and doors are often the weakest points in a soundproofing plan. Here are some strategies to improve their soundproofing:
Double or Triple Glazing: Installing double or triple-glazed windows can significantly reduce noise transmission.
Weatherstripping: Adding weatherstripping around window frames can seal gaps and prevent sound from entering.
Acoustic Curtains: Heavy, acoustic curtains can help block noise from outside.
Solid Core Doors: Replacing hollow-core doors with solid-core ones can help block sound.
Door Sweeps and Seals: Installing door sweeps and seals around the edges can prevent sound from leaking through gaps.
Acoustic Panels: Adding acoustic panels to doors can further enhance their soundproofing capabilities.
Soundproofing your home involves a combination of understanding sound transmission, identifying problem areas, and implementing practical strategies. By addressing walls, floors, ceilings, windows, doors, and ducts, you can significantly reduce noise and create a peaceful living space. By following these handyman strategies, you can effectively soundproof your home and enjoy a more peaceful living space.
Soundproofing can be a complex task, but partnering with a reliable service provider like Kaminskiy Care and Repair can make the process much easier. Our team of experienced handymen can assess your home’s specific needs and implement effective soundproofing solutions tailored to your requirements. Contact us today.
Low water pressure in your home can be a major inconvenience, affecting everything from showering to washing dishes. Understanding the common causes of low water pressure can help you quickly identify and fix the issue. Whether it’s a problem with the water heater, clogged pipes, or a faulty pressure regulator, knowing what to look for can save you time and money.
Sometimes, the solution could be as simple as opening a shut-off valve or unclogging a faucet aerator. On the other hand, more significant issues such as a leak in the main water line might require professional help. By taking a systematic approach, you can diagnose the problem without unnecessary guesswork.
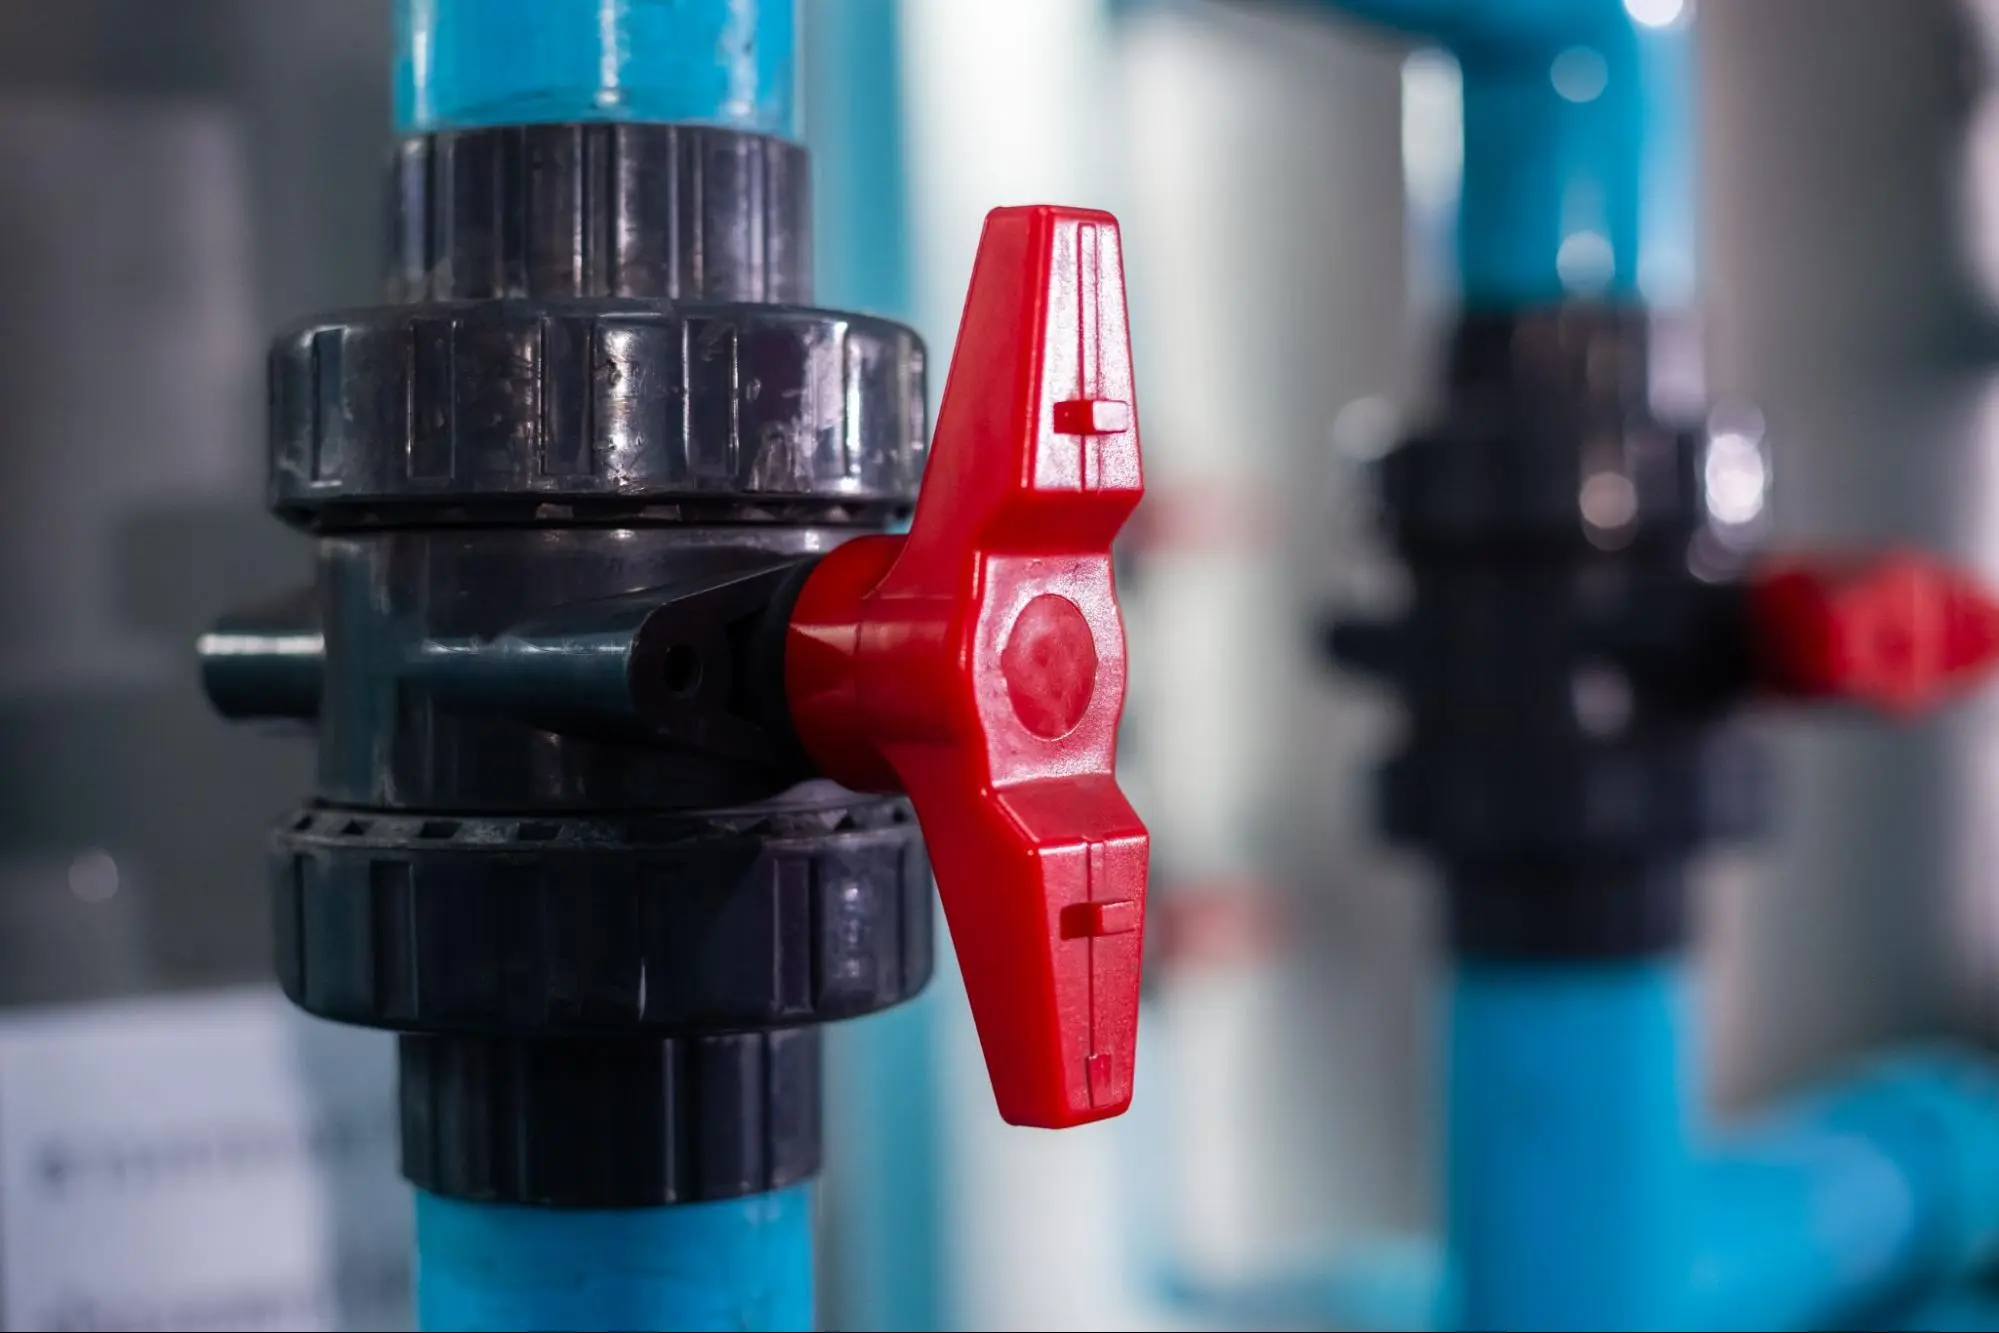
Addressing low water pressure in your home involves pinpointing common causes, evaluating your plumbing system, and monitoring water supply and demand. Each of these factors can impact your water pressure.
Low water pressure can arise from various causes. Clogged pipes, often caused by mineral buildup or corrosion, can restrict water flow.
Mineral deposits can accumulate in faucet aerators, reducing flow. Rust or old pipes may also cause problems, leading to a pressure drop. Check your fixtures, including sinks, toilets, faucets, washing machines, and dishwashers. If they’re affected, you might need professional help to replace or repair old, corroded pipes. Identifying these common causes of low water pressure can help you address pressure issues effectively.
To evaluate your plumbing system, start by using a pressure gauge to measure the water pressure. Residential water pressure should be between 45 and 55 psi.
Attach the gauge to the faucet nearest the water main, turn it on fully, and note the reading. If it’s below 40 psi, there’s a pressure problem.
Inspect your plumbing for leaks or blockages. Look for signs of corrosion or rust on old pipes that might be causing clogs. If you’re unsure or need assistance, consult a professional plumber.
High demand can lower water pressure. Using multiple appliances, like a washing machine and dishwasher, simultaneously can strain the system.
Check if your neighbors are experiencing similar issues, which might indicate a supply problem. If the issue persists when demand is low, it could point to a dedicated supply issue.
Understanding the impact of supply and demand on your system is crucial. Regularly monitor how appliances and fixtures affect water pressure, and adjust usage patterns if needed. If monitoring doesn’t resolve the issue, you may need a more detailed evaluation by a professional plumber to ensure an adequate water flow throughout your home.
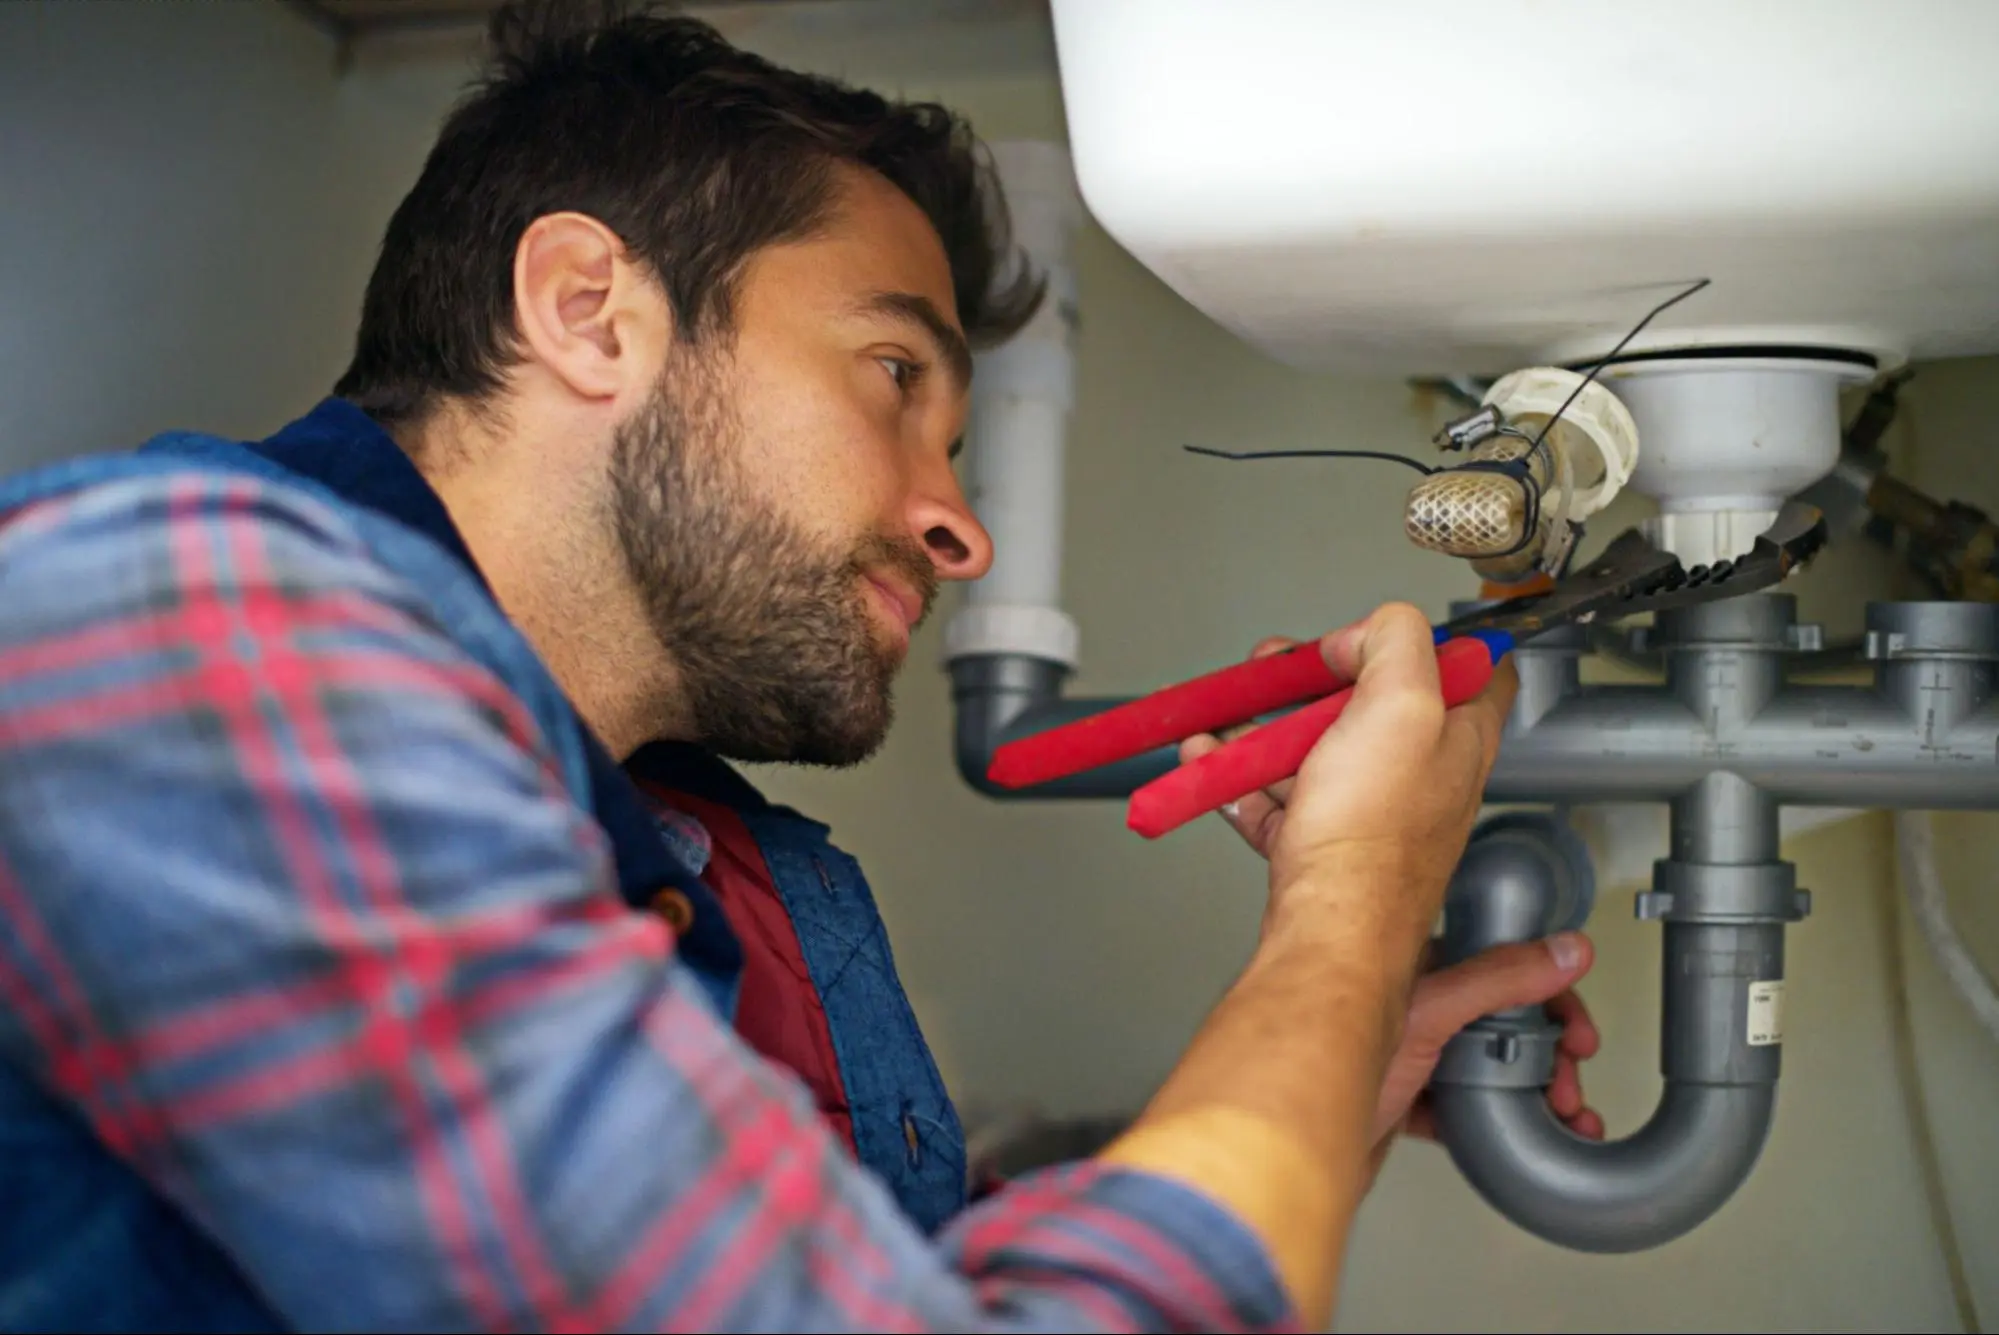
To address low water pressure, you need to check common problem areas like fixtures and appliances, inspect your plumbing, and consider adjusting or upgrading water pressure controls where necessary.
Start by looking at individual fixtures such as faucets and showerheads. A clogged aerator can significantly reduce water flow. Unscrew the aerator and soak it in a solution of white vinegar and water to clear out sediment. Also, inspect household appliances like dishwashers and washing machines for any blockages or issues.
Check for shut-off valves under sinks and toilets. Make sure these valves are fully open. In case of drips or leaks, tighten the connections to prevent water loss.
For showerheads, soaking the head in vinegar can help dissolve mineral deposits. This will improve water flow and help fix low pressure at individual fixtures.
If the problem isn’t with fixtures, the source might be corroded pipes or blockages in your plumbing. Old galvanized steel pipes tend to corrode and restrict water flow. Inspect your pipes for signs of corrosion or leaks.
Check your water meter valve and ensure it is fully open. This valve is usually located outside your home or in the basement. Another valve near your water heater controls the pressure; make sure it is also open.
For more severe issues like corroded plumbing, consult a professional plumber who can diagnose and repair or replace affected sections. They can also use tools to detect hidden leaks that might be causing water damage.
Sometimes, water pressure issues stem from the pressure settings themselves. The pressure regulator near the main water supply can be adjusted to increase water flow. Typically, this device is found where the main line enters your home, often in the basement or garage.
You may also consider installing a pressure booster if your municipal water supply is inadequate. This device helps amplify water pressure, ensuring a steady flow throughout the home. Additionally, check if a pressure-reducing valve is installed; you might need to adjust or replace it.
For homes with a private well, inspect the pressure tank and water softeners, as these can also affect water pressure. Regular maintenance of these components can prevent drops in water pressure.
By following these steps, you can identify the primary cause of low water pressure and take appropriate actions to resolve it.
When dealing with low water pressure, start by checking the main causes. Look at both hot and cold water to spot issues.
Inspect your water heater to ensure the shut-off valve is fully open. This can be a common problem if only your hot water has low pressure.
Check for clogged aerators. Unscrew them from faucets and clean any buildup with a vinegar-and-water solution. If the buildup is too stubborn, you might need a replacement.
Measure your water pressure with a gauge. Attach it to an outdoor faucet and fully turn on the water. Ideal pressure is between 40 and 60 psi. Below 40 psi indicates low water pressure.
Consider your local water quality. If you have hard water, mineral deposits could be clogging your pipes. Use water softeners or regularly clean shower heads to improve flow.
Identifying the exact cause will help you efficiently address and resolve low water pressure issues in your home. For professional help, Kaminskiy Care and Repair provide expert plumbing services ensuring the low water pressure problem is fixed correctly.Contact us today
Low water pressure often results from clogged pipes, leaking pipes, or faulty fixtures. Corroded pipes or issues with the pressure regulator can also impact pressure. Running several water fixtures at once can strain the system and lower pressure.
To troubleshoot, check all faucets and fixtures to determine if the issue is isolated or widespread. Inspect for visible leaks and ensure valves are fully open. Clean aerators and showerheads, and consider if recent construction might have altered pressure.
Improving water pressure in bathrooms may involve cleaning or replacing aerators and showerheads. If the problem persists, inspect the pipes for buildup or corrosion. Ensure the main shut-off valve is completely open.
For well systems, check the well pump to ensure it is functioning correctly. Inspect pressure tanks and adjust settings if necessary. Cleaning or replacing clogged filters can also help restore proper pressure.
A water pressure booster is necessary when low pressure affects multiple areas and simple fixes don’t work. It works by using an electric pump and pressure tank to increase water flow and pressure throughout your home. Adjusting the settings allows you to customize the pressure level.
No price games. You get a clear written quote before any work begins, backed by our workmanship warranty.