As a homeowner of an older house, the presence of asbestos can be a significant concern. Understanding how to manage asbestos safely and effectively is crucial to protecting your health and your home. While asbestos is known for its health risks, particularly when disturbed, knowing how to identify and handle it properly can prevent issues before they arise.
If you suspect your home contains asbestos, it’s important to take action with care. Sealing or encapsulating the material can often be a safer option than removing it entirely. Engaging certified professionals ensures that you follow the correct safety procedures and legal regulations, keeping both you and your family safe from potential exposure.
Being well-informed about asbestos can save you from costly mistakes and health risks down the line. By arming yourself with the right knowledge, you will be better equipped to make decisions regarding the safety of your home.

Asbestos is a material commonly found in older homes. Knowing how to identify it and understanding the health risks associated with it is critical for homeowners.
Asbestos can be present in various materials, including:
If your home was built before the 1980s, it is wise to conduct an inspection. Contact a certified asbestos inspector to test and sample materials. They have the training to identify asbestos-containing materials safely. Be cautious and avoid disturbing materials that might contain asbestos, as this can release dangerous fibers into the air.
Exposure to asbestos fibers can lead to severe health problems. The three major asbestos-related diseases include:
The Environmental Protection Agency emphasizes that there is no safe level of asbestos exposure. Even short-term exposure can pose health risks. Homeowners should be vigilant and take appropriate action if asbestos is found in their homes. Managing your exposure is key to protecting your health and well-being.
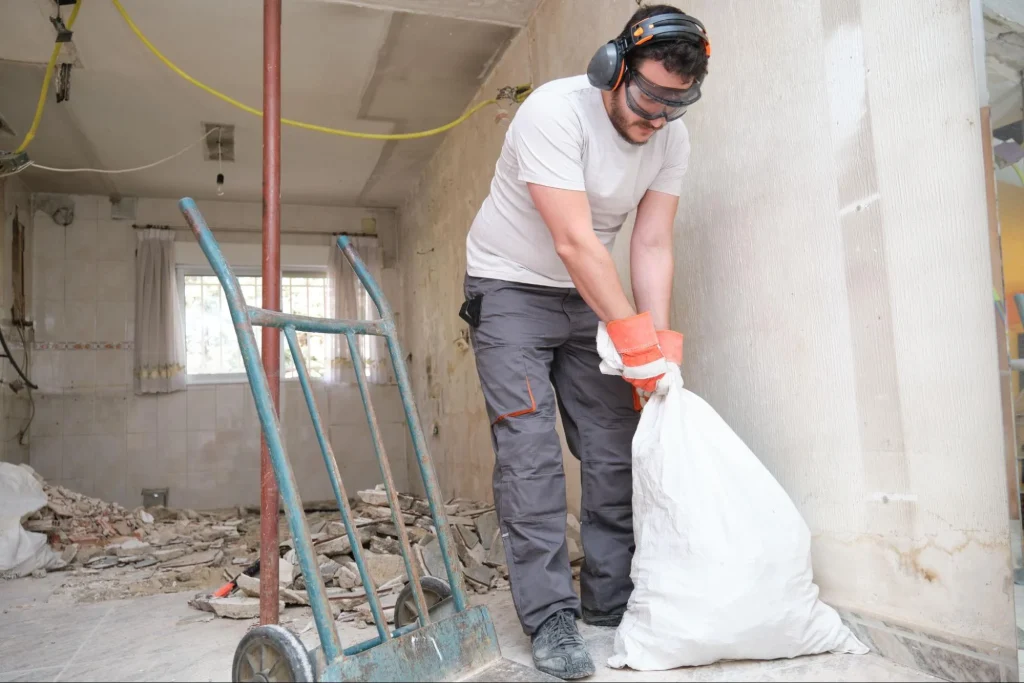
Managing asbestos in older homes requires careful planning and execution. Knowing how to properly prepare for renovation, contain or remove asbestos, and choose qualified professionals can significantly reduce health risks.
Before starting any renovation or demolition project, inspect your home for asbestos-containing materials. Homes built before 1980 are at higher risk. You may need to conduct a home inspection by a trained and accredited asbestos professional to identify potential hazards.
Key steps to follow:
When asbestos is identified, you can use two primary methods: containment and removal.
Encapsulation is effective for intact materials. This process involves sealing the asbestos with a specialized coating to prevent fiber release. It’s critical to use HEPA vacuums during cleanup to capture any airborne particles.
For complete removal, hire licensed asbestos contractors. They follow proper procedures for safe abatement.
Selecting the right asbestos professionals is crucial for safety. Look for contractors with proper accreditation and credentials. The Better Business Bureau can provide insights into contractor reputations and any conflicts of interest.
Handling asbestos in older homes requires careful attention. You should identify potential asbestos-containing materials and decide on the safest course of action.
By following these practices, you can manage asbestos safely in your home renovation projects.
Asbestos can be found in various building materials in homes built before the 1980s. Look for insulation, floor tiles, ceiling tiles, and roofing materials. If you suspect asbestos, consider hiring a professional to conduct testing and confirm its presence.
If you find asbestos, do not disturb it if it is in good condition. For removal, hire a licensed contractor experienced in asbestos abatement. They will follow strict safety guidelines to remove the material while minimizing any risk of exposure.
Asbestos exposure can lead to serious health conditions, such as asbestosis, lung cancer, and mesothelioma. These diseases develop over years of exposure, often after inhaling airborne fibers released when asbestos materials are damaged.
If you suspect asbestos but are unsure, do not attempt to remove it yourself. Consult a professional who can properly assess your home for asbestos. They can provide guidance on testing and safe handling practices.
Managing condensation and moisture in your home is essential for maintaining a healthy living environment. Effective strategies can help prevent mold growth, improve air quality, and protect your property from damage. Understanding how humidity levels fluctuate in your home and taking proactive steps can make a significant difference.
You may notice condensation forming on windows or moisture accumulating in certain areas. Identifying the sources of excess moisture is crucial. By implementing targeted solutions, you can reduce humidity levels and create a more comfortable space. With the right approach, controlling moisture and condensation can be straightforward. Taking preventive measures and addressing issues promptly will lead to long-term benefits for your home and health.
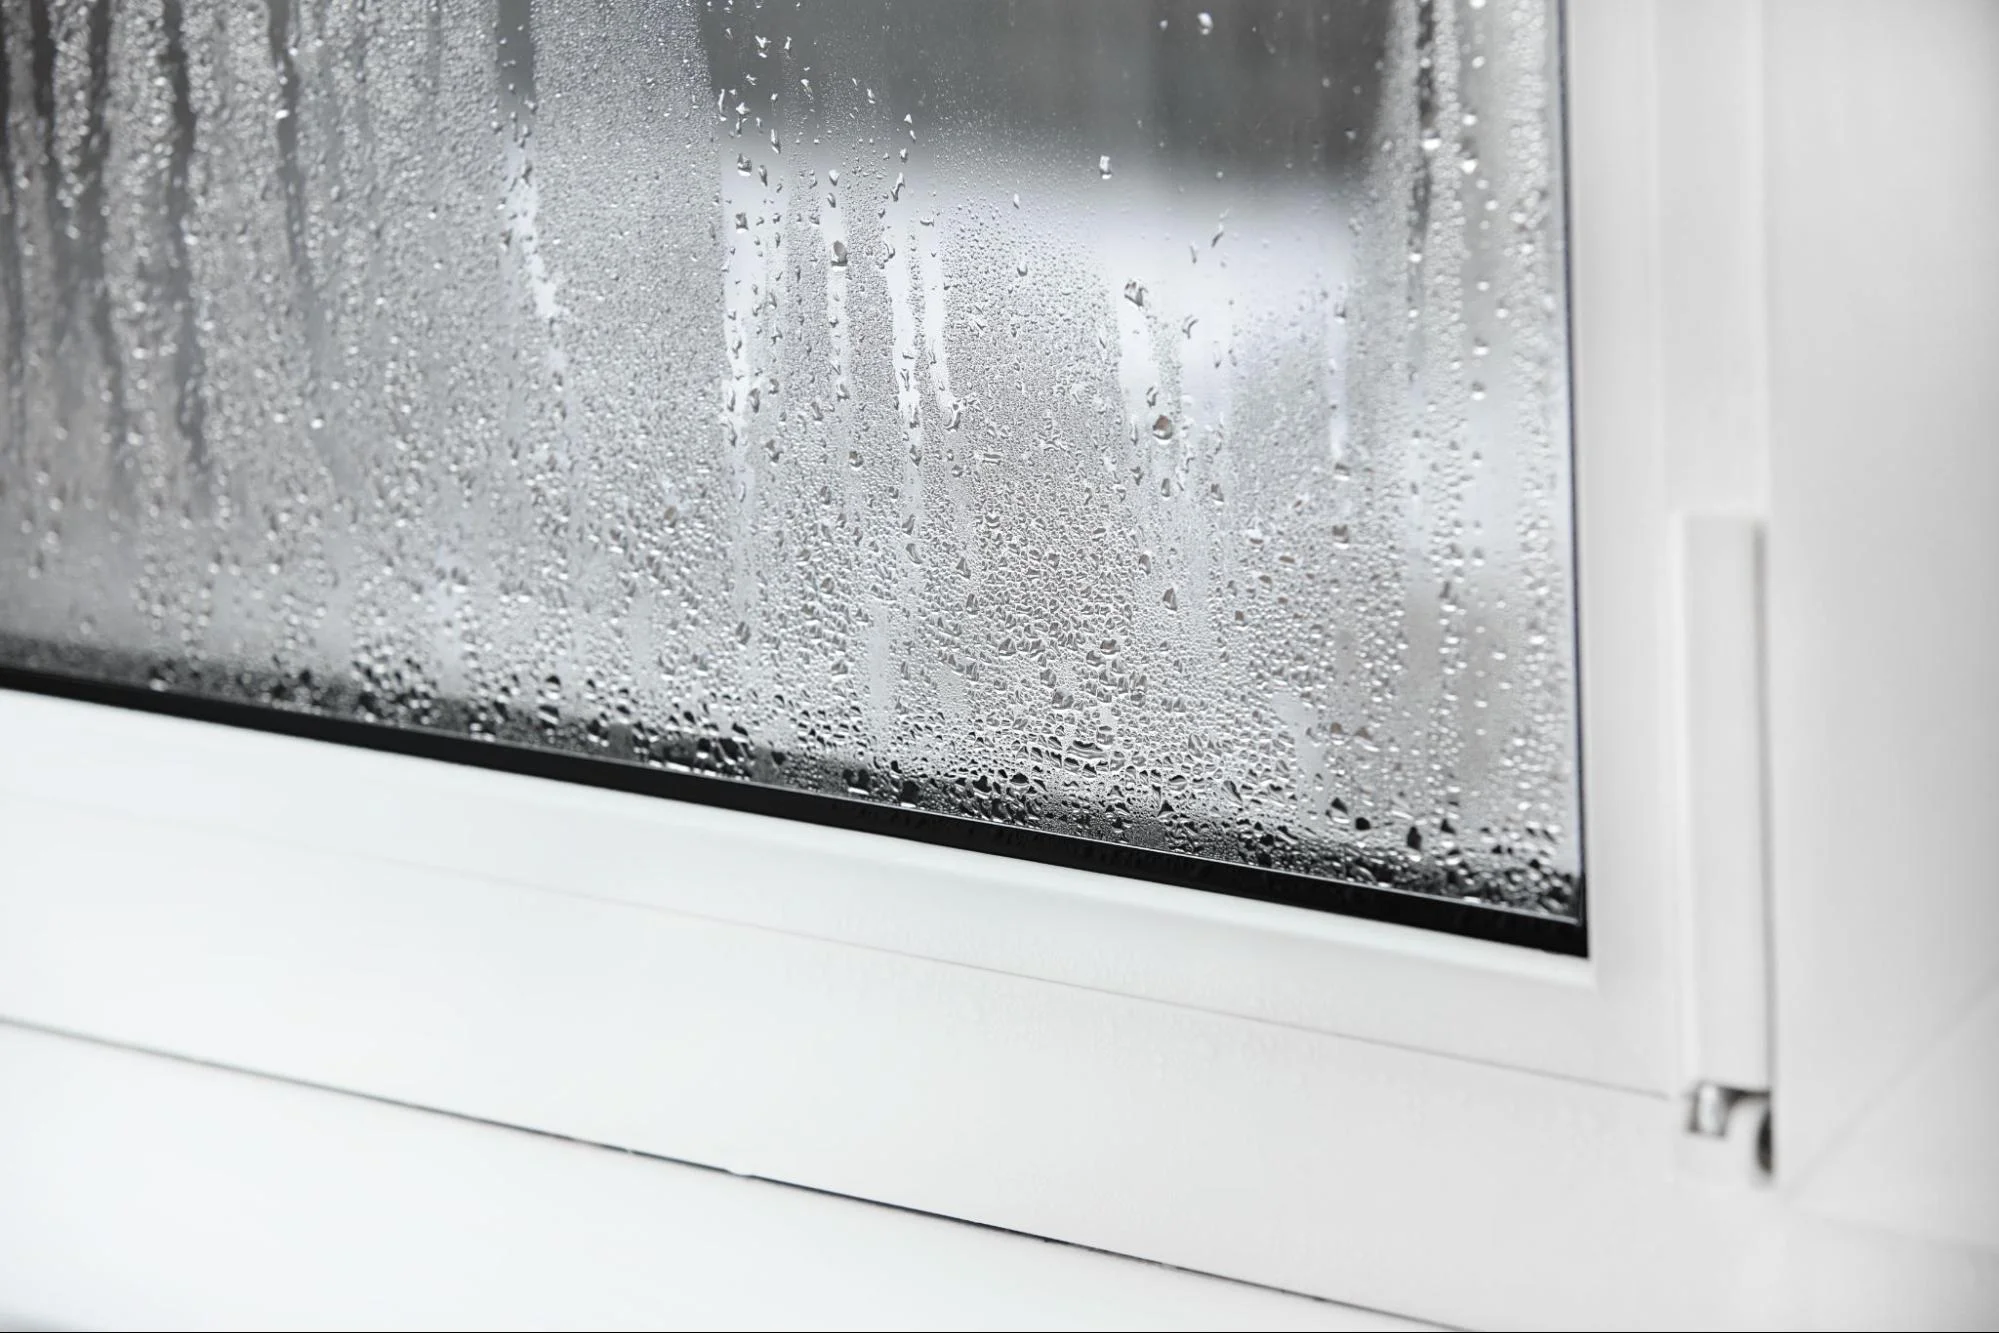
To effectively manage condensation and moisture in your home, it’s important to understand how moisture behaves indoors. This section will cover the science behind condensation, identify the key sources of moisture, and explain how to measure humidity levels effectively.
Condensation occurs when warm, moist air comes into contact with cooler surfaces. The water vapor in the air cools and transforms into tiny water droplets. This process is most common in areas with limited airflow, such as bathrooms and kitchens.
Key factors influencing condensation include:
Understanding these factors helps you take steps to minimize condensation in your home.
Moisture can come from various sources within your home. Being aware of these sources allows you to address them effectively.
Common sources include:
Identifying these sources is key to reducing overall humidity levels in your home.
Moisture can come from various sources within your home. Being aware of these sources allows you to address them effectively.
Common sources include:
Identifying these sources is key to reducing overall humidity levels in your home.
To manage home moisture effectively, you need to measure humidity levels accurately. A hygrometer is a useful tool for this purpose.
Ideal indoor humidity levels are between 30-50%. This range is generally comfortable for occupants and helps prevent mold and mildew.
When monitoring humidity, it is important to keep track of humidity levels throughout different times of the day, Open windows, or use exhaust fans when levels are high.
For rooms with persistent moisture, a dehumidifier can help maintain ideal humidity levels.
Regular measurements can guide you in making the necessary adjustments for a healthier indoor environment.

To keep your home free of excessive moisture, focus on improving ventilation, controlling indoor temperature, and utilizing dehumidifiers. Each of these steps plays a crucial role in maintaining a healthy living environment.
Proper ventilation is key to reducing moisture levels. Ensure that your home has adequate airflow throughout every room. Open windows when the weather allows to let fresh air circulate.
In crowded areas like kitchens and bathrooms, use exhaust fans, especially during cooking or bathing. These fans help remove steam and humidity from the air.
You can also consider installing vents or air bricks to allow air to flow even when windows are closed. Regularly check that vents are not blocked by furniture or other items.
Maintaining a stable indoor temperature can prevent condensation. Warm air holds more moisture than cold air, so keeping areas like your basement slightly warmer can reduce humidity.
Aim for a consistent temperature throughout your home. Use thermostats to manage heating effectively.
In winter, keep indoor temperatures between 68°F and 72°F. During summer, use fans or air conditioning to regulate heat. Check for drafts around windows and doors and seal them to avoid cold spots that may cause condensation.
Dehumidifiers are effective tools for managing moisture. These devices extract excess humidity from the air, making your home drier and more comfortable.
They are particularly useful in areas prone to dampness like basements and laundry rooms.
Choose a dehumidifier suitable for your space size. Depending on weather and humidity levels, you may need to run it frequently or adjust settings.
Be sure to empty the water reservoir regularly or consider a continuous drain option to prevent overflow. Dehumidifiers can make a significant difference in comfort and help protect your home from mold and mildew.
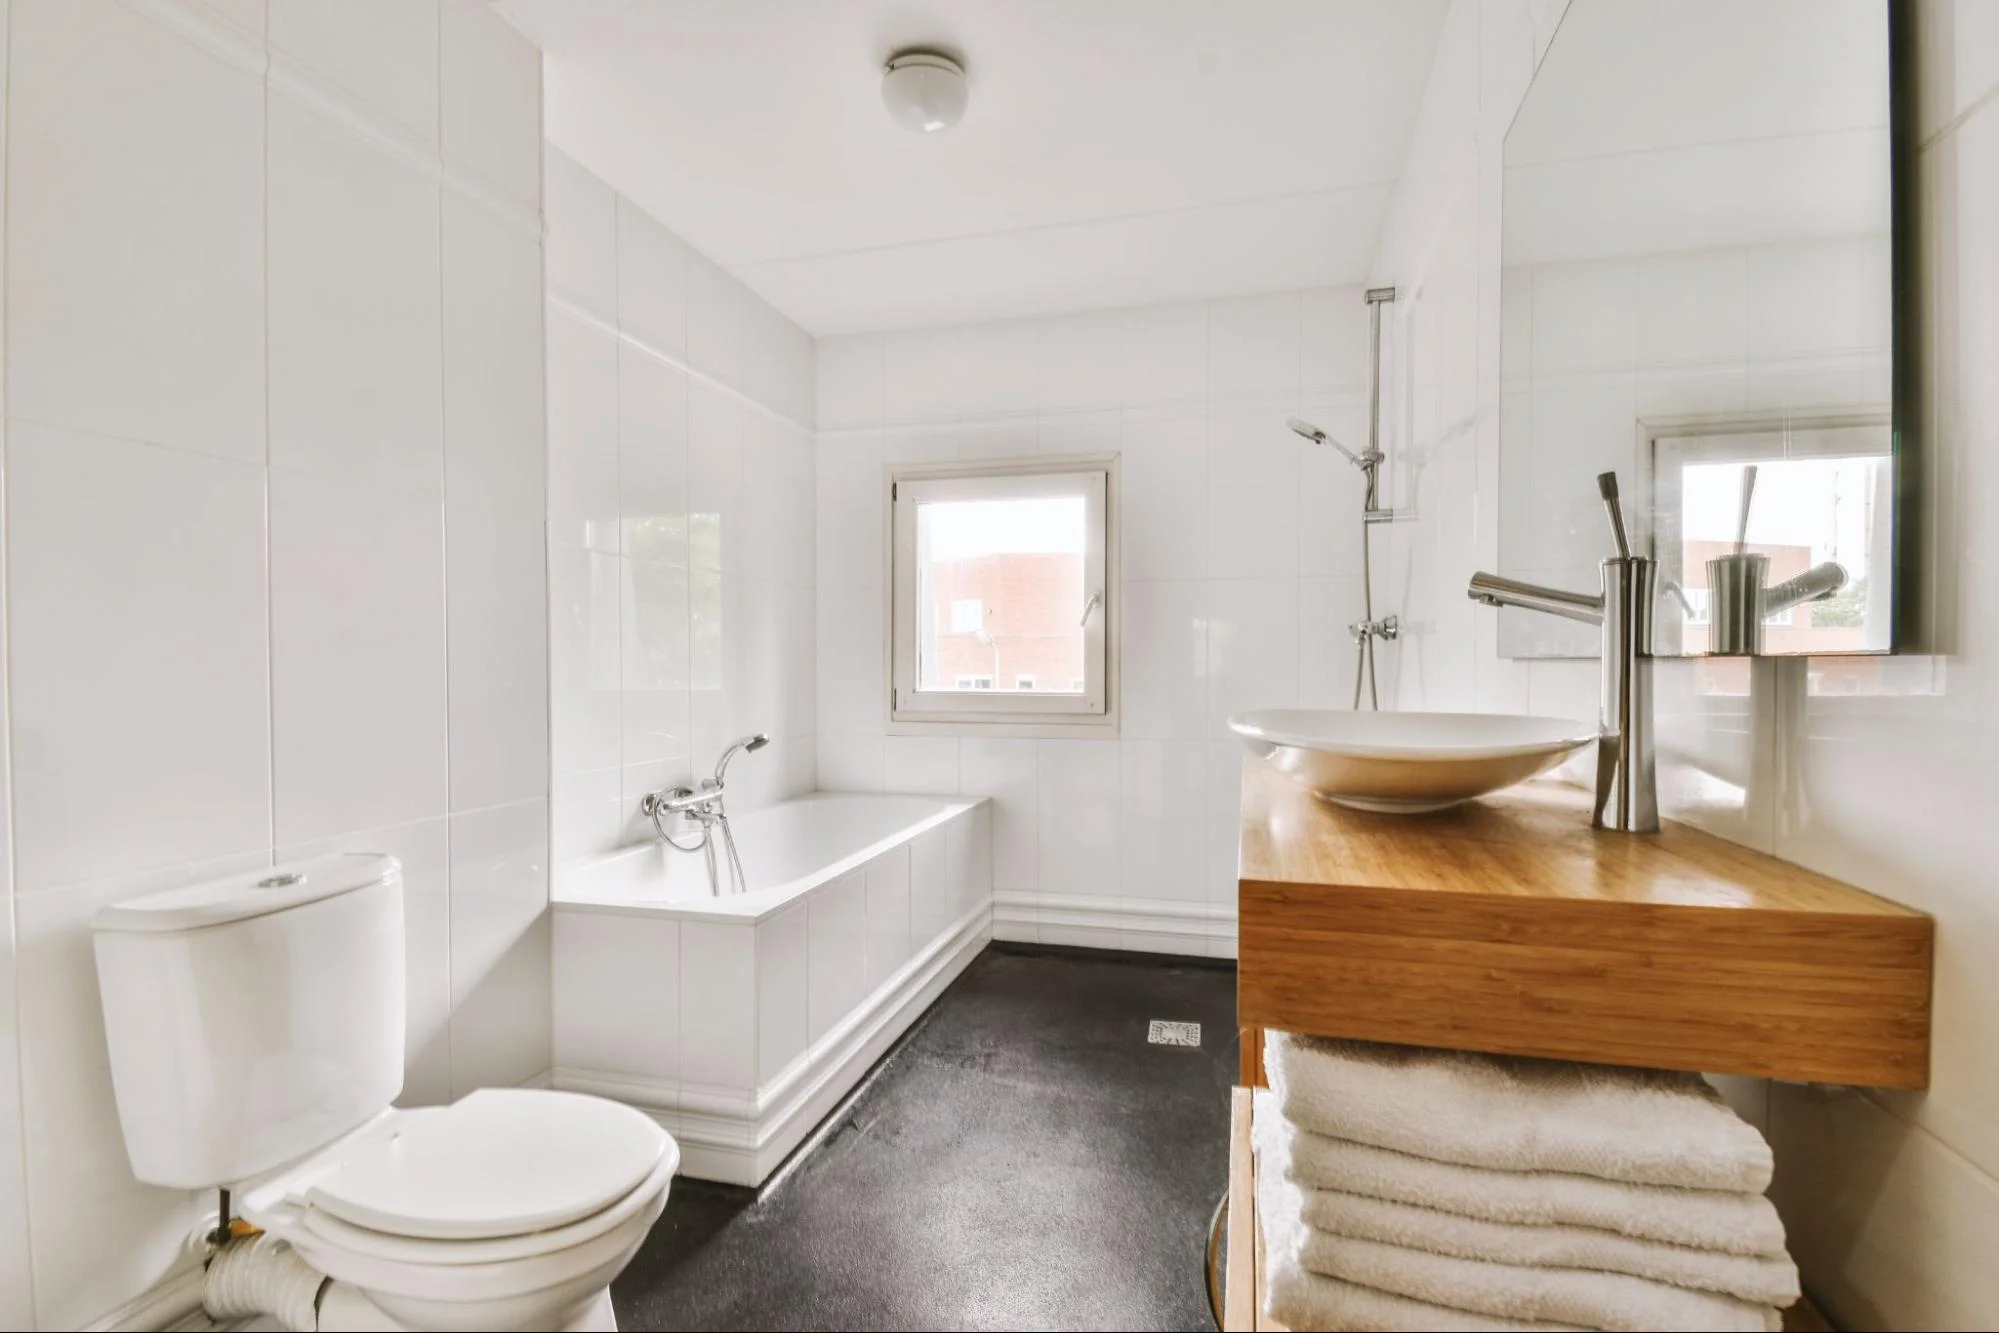
High humidity can lead to various problems in your home, such as mold growth and damage to your belongings. It’s essential to manage moisture levels in areas prone to high humidity, like bathrooms, kitchens, and basements.
Bathrooms are often the most humid areas in your home due to showers and baths. Start by using an exhaust fan during and after showers to remove excess moisture. Aim for at least a 20-30 minute run time after bathing to ensure proper ventilation.
You can also use a dehumidifier in larger bathrooms. Keep windows open when possible to allow fresh air circulation.
Another tip is to use moisture-absorbing products, such as baking soda placed in an open container. These can help absorb some humidity.
In the kitchen, cooking, and dishwashing create significant moisture. Use a range hood when cooking to draw steam outside. It’s effective for reducing humidity and preventing condensation.
Consider drying dishes in a different area instead of air drying in the sink. This simple change will keep moisture from building up.
Regularly check for leaks in the dishwasher and refrigerator. Fixing these leaks promptly can prevent water accumulation.
Using a fan can help by keeping the air moving. If humidity levels remain high, a small dehumidifier can also be effective in this space.
Basements can trap moisture and lead to mold growth if not managed properly. Start by sealing cracks in walls and around windows with waterproof materials. This reduces water seepage during rainstorms.
Consider installing a sump pump to remove excess water. This is especially useful in regions with heavy rainfall.
It’s also beneficial to improve ventilation by installing vents or windows. Using a dehumidifier specifically designed for basements can significantly reduce humidity levels.
Keeping gutters clear and redirecting downspouts away from your home’s foundation helps prevent excess moisture from entering the basement. Regular checks can ensure everything remains in good working condition.
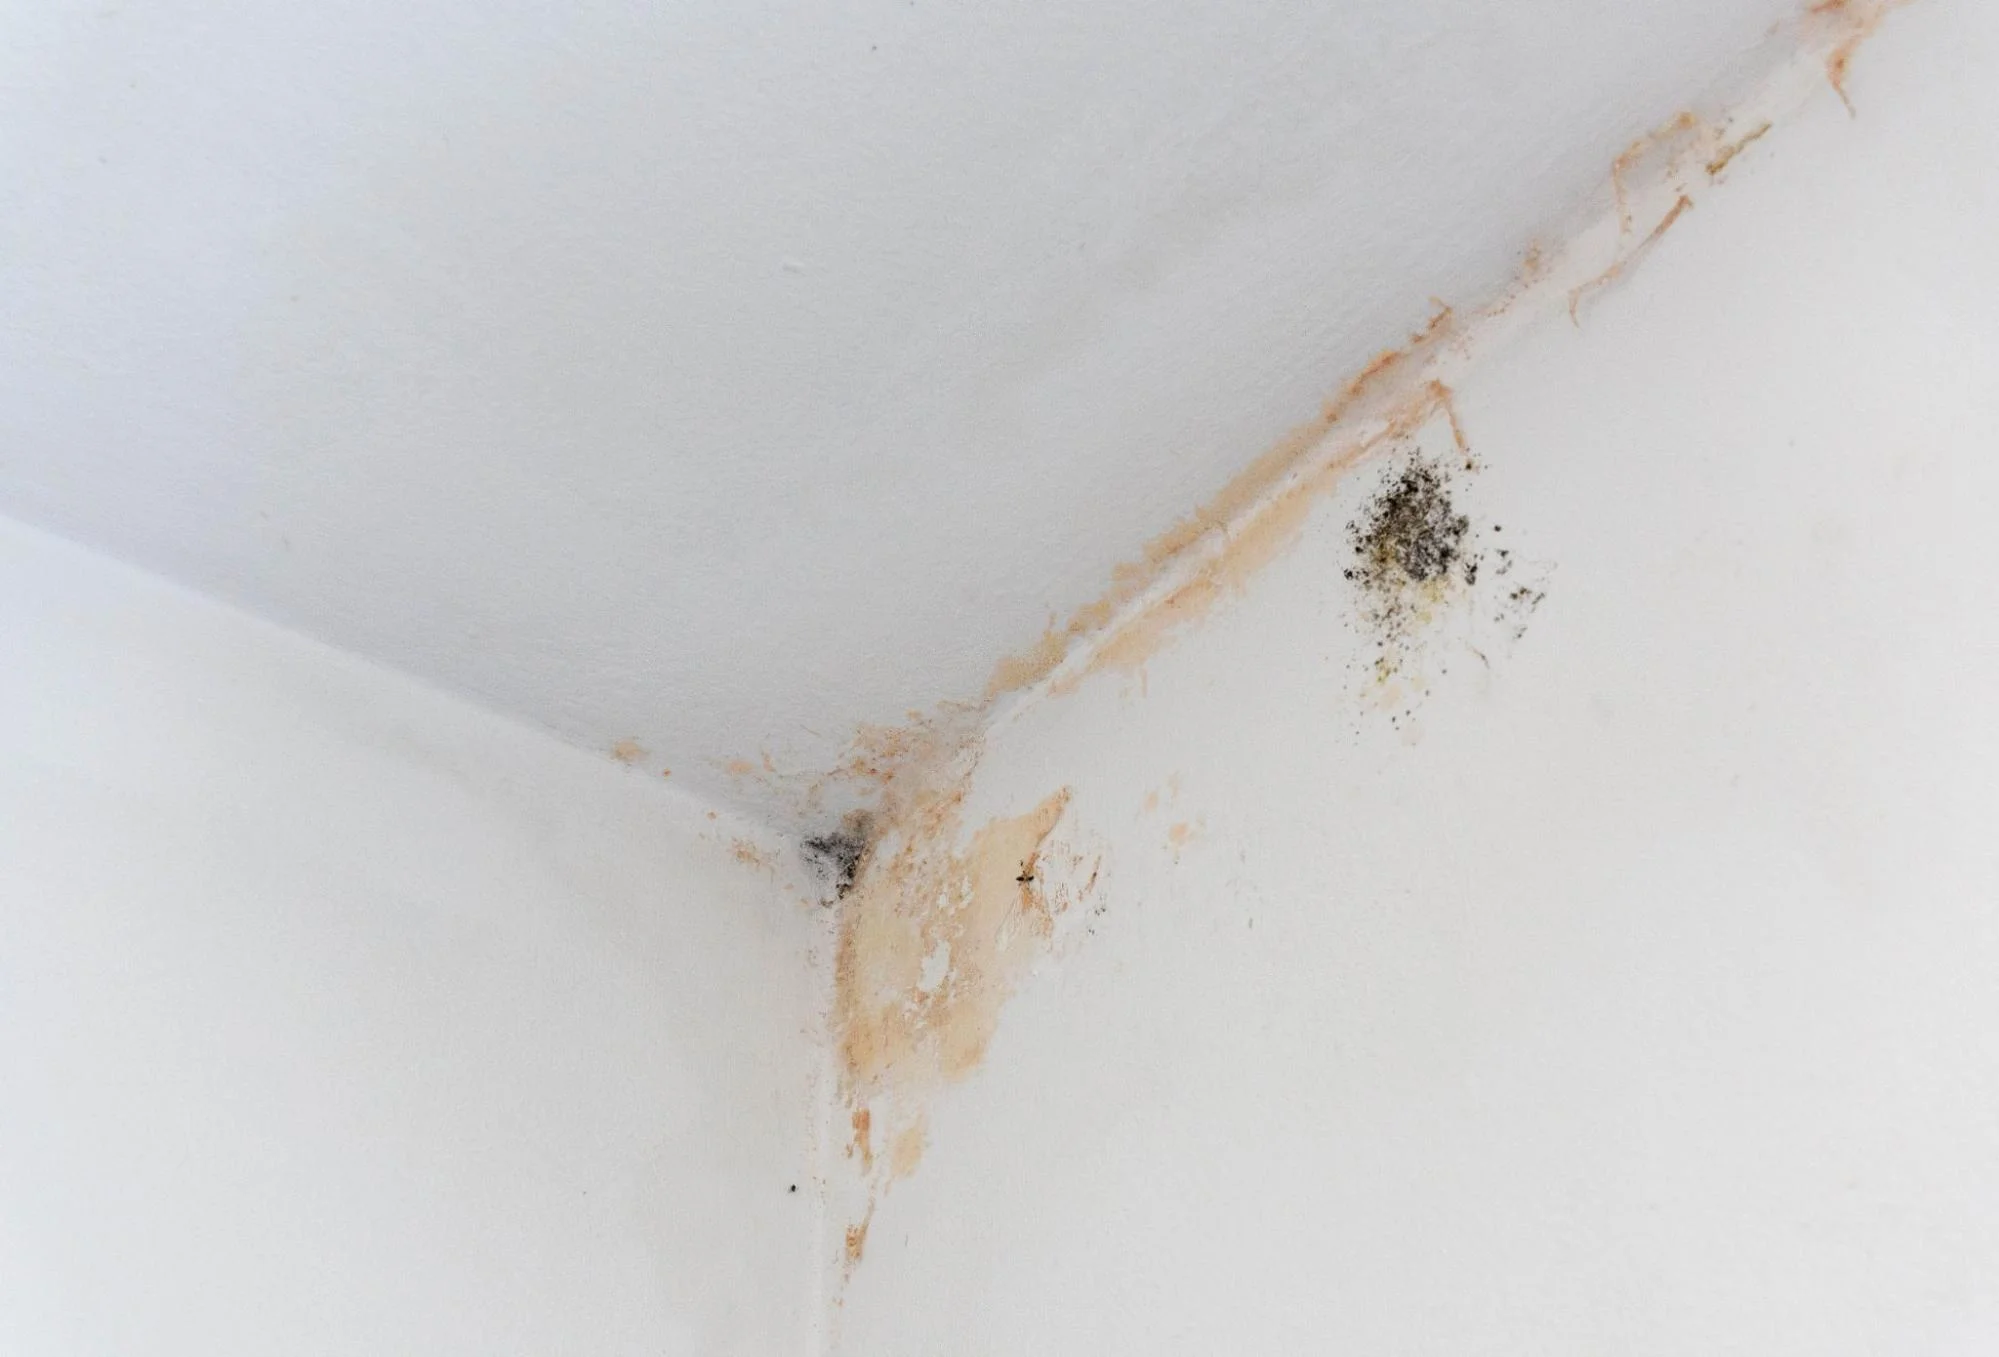
Mold can be a serious problem in your home. Knowing how to identify and address mold issues is crucial for keeping your environment safe and healthy. This section will cover the signs of mold growth, the potential health implications, and effective remediation techniques.
Detecting mold early can prevent larger problems down the line. Look for the following signs:
Keep an eye on these indicators, especially in damp areas like bathrooms and basements.
Addressing mold requires both removal and prevention steps. Here are effective techniques:
Following these steps can help you effectively manage mold issues in your home.

Managing condensation and moisture effectively requires a combination of strategies that target both the exterior and interior of your home. By addressing outdoor conditions, using smart technology, and considering professional help, you can create a more comfortable and healthy living environment.
The way you landscape your yard can greatly impact moisture levels around your home. Ensure that the ground slopes away from the foundation. This directs rainwater away, preventing it from pooling next to your walls.
Additionally, consider planting moisture-absorbing vegetation, such as native grasses or shrubs. These plants can help soak up excess water. Avoid planting trees too close to the foundation, as their roots can disrupt drainage systems.
Regularly clean gutters and downspouts to ensure they function properly. Clogged gutters can lead to drainage issues and increased moisture. Installing a rain garden can also help manage runoff and prevent excess moisture near your home.
Integrating smart home devices can help you keep track of humidity levels. Look for digital hygrometers that provide real-time data on indoor moisture levels.
In addition to monitoring, you can use smart thermostats to maintain consistent temperatures throughout your home. This reduces the risk of condensation forming on cold surfaces.
Consider smart ventilation systems that automatically adjust based on humidity readings. These systems can direct air to areas needing better airflow, helping to reduce moisture buildup.
You can link these devices to a smartphone app for easy management. This allows you to stay informed and take action quickly when humidity levels rise.
Managing condensation and moisture in your home is essential for a healthy living environment. Here are key practices to help you control humidity levels effectively:
By following these practices, you can significantly reduce condensation and maintain a healthier home environment.
To reduce moisture, you can use plants like peace lilies or Boston ferns, as they naturally absorb humidity. Keeping windows open for ventilation also helps.
Look for mold growth, musty odors, or water stains on walls and ceilings. Condensation on windows and increased humidity levels are also clear indicators.
You can use silica gel packs or activated charcoal to absorb moisture. These materials can be placed in cabinets or rooms prone to dampness.
To lower humidity, take shorter, cooler showers and cover pots while cooking. Use exhaust fans to remove moist air from your house.
Maintaining your home’s exterior paint is essential for keeping it looking fresh and protecting it from the elements. Regular maintenance can help you avoid costly repainting jobs, saving you time and money. Cleaning the exterior, inspecting for damage, and performing touch-ups when needed can significantly extend the lifespan of your paint.
Preparing your home before painting is crucial. You should clean and sand every surface so the new paint adheres properly. High-quality materials and the right tools also play a big part in achieving a long-lasting finish.
Proper maintenance doesn’t end once the paint has dried. Regular inspections will help you catch any issues early. Addressing minor damage promptly will keep your home’s exterior looking its best and enhance its curb appeal.
To achieve a professional and long-lasting paint job, you must properly prepare your home. This includes inspecting and repairing any damage, cleaning, and priming surfaces, and choosing the right paint and tools. Each step is crucial to ensuring a smooth and durable finish.
Before painting, thoroughly inspect your home’s exterior for damage. Check for moisture, rot, and cracks in wood siding, stucco, brick, and metal siding. Pay special attention to areas near windows and doors. Use a screwdriver to probe wood for softness, indicating rot.
If you find rot, remove and replace the damaged sections. For cracks and holes, fill them with caulking or an appropriate filler. Sand rough spots to create a smooth surface. Repairing damage before painting helps ensure the new paint adheres well and looks great.
Cleaning is essential to remove dirt, mildew, and old paint. Start by pressure washing the exterior, which can effectively remove grime. For areas where a pressure washer can’t reach, use a scrub brush or sponge with a mix of water, bleach, and a phosphate-free cleaner.
After cleaning, rinse the house thoroughly and let it dry completely. Apply a high-quality primer to bare wood, metal, and other repaired surfaces. Priming helps the paint adhere better and provides an even base for the color. A pump sprayer can save time when applying primer to large areas.
Selecting the right paint and tools is crucial for a successful paint job. Opt for a high-quality latex paint for most surfaces due to its durability and ease of cleaning. For metal surfaces, an oil-based paint may provide better adhesion and rust protection.
Choose the appropriate finish for your needs—eggshell, satin, semi-gloss, or gloss. Each finish has its benefits: gloss is highly durable, while satin offers a softer look. Prepare with the right tools: a combination of rollers, brushes, and a paint sprayer can handle different areas effectively. Ensure you have drop cloths to protect areas not being painted and a pump sprayer for larger surfaces.
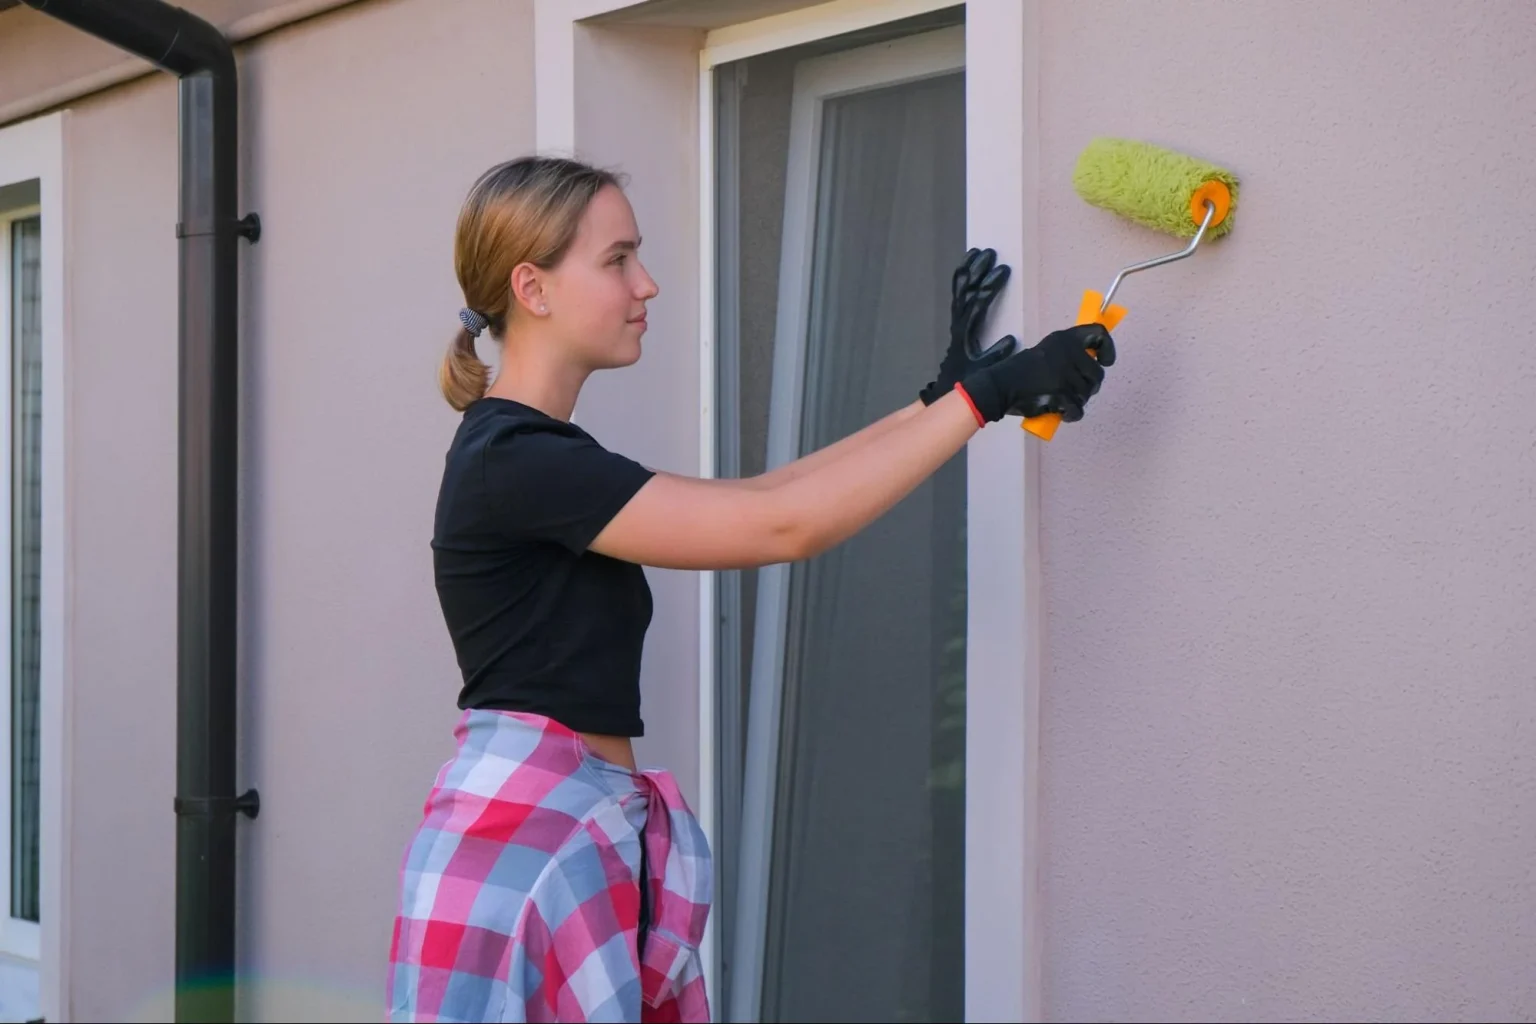
Keeping your home’s exterior paint in good shape involves routine cleaning, protecting it from the elements, performing professional inspections, and repainting when needed.
Regularly cleaning your painted surfaces removes dirt, grime, and mildew, helping to extend the paint’s lifespan. Use a garden hose to rinse off dust and debris, and a soft brush with mild detergent for tougher spots.
Trim, siding, and gutters should be cleaned as part of this routine. Inspect your paint job periodically for chips or cracks. Touch up these areas promptly to prevent further damage. It helps maintain the durability and flexibility of the paint.
Safety is important. Use appropriate gear such as gloves and goggles. Be cautious when using ladders, making sure they’re stable.
Environmental factors like UV rays, temperature changes, and weather conditions can greatly impact the lifespan of your exterior paint. To shield your home from these elements, ensure your house is shaded by strategically placed trees and shrubs. These protect from direct sunlight, which can cause paint to fade and crack.
Consider using high-quality, weather-resistant paints designed to withstand harsh conditions. Such paints offer increased durability and flexibility. Make sure to seal any gaps around windows, doors, ceilings, and siding with the right caulking materials to keep moisture out. Regularly inspect and maintain these seals to avoid water damage.
Even with the best maintenance, exterior paint will need professional attention over time. Experts recommend having a professional painter inspect your home’s exterior every few years. They can identify issues you might miss, such as hidden mold and mildew or deeper structural problems.
Repainting should be done every 5 to 10 years, depending on the paint used and environmental conditions. Professional painters will ensure the surface is properly prepared, cleaned, sanded, and primed before applying fresh paint. This thorough preparation is key to achieving a long-lasting paint job.
By combining routine maintenance with professional expertise, you can significantly extend the life of your home’s exterior paint. This approach not only keeps your home looking beautiful but also protects its structural integrity.
To ensure the longevity of your home’s exterior paint, always prepare the surface properly before painting. This includes cleaning, sanding, and priming as needed. Use high-quality paint and apply it in ideal weather conditions, typically between 50°F and 85°F with low humidity.
Start by inspecting and repairing any damaged surfaces, using epoxy filler for holes or cracks. Clean the surfaces thoroughly, then sand and prime them. Choose the right paint and apply it using the proper tools and techniques. Make sure to work in suitable weather conditions for the best results.
Inspect your exterior paint at least once a year. Look for any signs of peeling, cracking, or fading. Touch-ups might be needed every five to ten years, depending on the paint quality and exposure to the elements.
To protect exterior paint from weather damage, ensure proper drainage around your home to avoid water buildup. Trim trees and shrubs to reduce contact with painted surfaces. Use high-quality, weather-resistant paint and maintain caulking around windows and doors to prevent moisture intrusion.
If you’re looking for a simple way to refresh your home’s look, changing up your lighting can make a big impact. Lighting can set the mood of a room, highlight certain features, and even make a space look larger or smaller. In this guide, we’ll cover some key concepts and practical tips for refreshing your home’s lighting.
Before you start buying new light fixtures, it’s important to consider the different types of lighting and how they can be used to create a certain atmosphere. Ambient lighting provides overall illumination, while task lighting is used for specific activities like reading or cooking. Accent lighting can highlight artwork or architectural features. You’ll also want to consider the color temperature of your light bulbs, which can range from warm yellow to cool blue.
Once you have a good understanding of the different types of lighting, you can start thinking about how to incorporate them into your home. Some practical tips include using dimmer switches to adjust the brightness of your lights, layering different types of lighting to create depth and interest, and choosing fixtures that complement your existing decor. You can also experiment with different bulb shapes and colors to create a unique look.

Lighting is a critical component when it comes to home decor. It plays a significant role in creating visual appeal, highlighting focal points, and enhancing the overall ambiance of a space. Interior designers and decorators understand the importance of lighting design and use it as a tool to transform a room’s character. When planning a home lighting update, you should consider the space’s function, color, furniture, accessories, and wood finishes to achieve a cohesive look.
Selecting the right fixtures for each room can be overwhelming, but it’s crucial to ensure that the lighting complements the space’s overall design. Pendant lighting is an excellent option for dining rooms and kitchens as it provides focused light and serves as a decorative element. Recessed lighting, on the other hand, is ideal for general illumination in living rooms and bedrooms. When selecting fixtures, consider the room’s size, ceiling height, and the amount of natural light it receives.
When designing with light, it’s essential to balance form and function. While aesthetics are crucial, functionality is equally important. You should consider the room’s purpose and the activities that take place in it when selecting fixtures. For instance, task lighting is ideal for areas where you need focused light, such as reading nooks and workspaces. Ambient lighting, on the other hand, provides overall illumination and is ideal for creating a cozy atmosphere.
Designing with light is an essential aspect of home decor. Consider the space’s function, color, furniture, accessories, and wood finishes when planning a lighting update. Select the right fixtures for each room, balancing form and function, to achieve a cohesive look.

Updating your lighting can make a big impact if you’re looking to refresh your home’s look. Here are some practical tips to help you get started:
Adding color and texture to your lighting fixtures can create a unique and personal touch to your home’s interior. Consider adding lampshades with bold colors or patterns, or even rattan fixtures to add a natural touch.
Strategic placement of your lighting fixtures can make a big difference in the overall look and feel of your space. Wall sconces can add a modern touch and table lamps can create a cozy atmosphere. Consider decluttering your space and arranging your furniture to optimize the placement of your fixtures.
Refreshing your lighting doesn’t have to break the bank. Small changes like updating lampshades or switching out light bulbs can make a big difference. You can also invest in modern light fixtures that will last for years to come or add some green plants to create a cohesive look.
Remember, refreshing your home’s lighting should bring you joy and enhance your space. By incorporating color, texture, and strategic placement, you can create a cohesive and modern look without spending a lot of money.
Updating your home’s lighting can be an easy and effective way to refresh its look and feel. Whether you want to create a cozy, warm atmosphere or a bright and vibrant space, the right lighting can make a significant difference. In this article, we have explored various ways to refresh your home with new lighting, from choosing the right fixtures to creating unique lighting designs that enhance your living space.
When it comes to refreshing your home’s lighting, there are a few key things to keep in mind. First, consider the function of each room and how lighting can enhance its use. For example, you may want brighter, cooler lights in a kitchen or home office to help you stay alert and focused. On the other hand, you may want softer, warmer lights in a bedroom or living room to create a more relaxing atmosphere.
Next, think about the style of your home and how lighting can complement it. If you have a modern, minimalist home, you may want to choose sleek, simple fixtures with clean lines. If you have a more traditional home, you may want to opt for fixtures with more ornate details and warmer, softer lighting.
By following these tips and exploring the various lighting options available, you can refresh your home’s look and feel with ease
Finally, consider working with a professional to help you choose and install your new lighting. Kaminskiy Care and Repair provides expert Light installation services and ensures that your new lighting is installed safely and correctly.
When updating light fixtures in a bathroom, it is important to consider the size and layout of the space. Opt for fixtures that provide ample lighting, especially around the vanity area. Choose fixtures that complement the overall style of the bathroom and consider using dimmer switches to adjust the lighting for different moods.
When installing recessed lighting in a living space, consider the placement of the fixtures and the type of bulb used. Use a layout that provides even lighting throughout the space and avoid placing the fixtures too close to walls or furniture. Choose bulbs that provide the desired level of brightness and color temperature.
The latest trends in ceiling light fixtures include minimalist designs, geometric shapes, and unique materials such as wood and metal. Consider fixtures with adjustable arms or shades that can be positioned to provide optimal lighting. Choose fixtures that complement the style of the room and provide the desired level of brightness.
To update the ambiance of a room with pendant lights, consider changing the bulbs to those with a warmer or cooler color temperature. Use dimmer switches to adjust the lighting for different moods and occasions. Consider using multiple pendant lights to create a focal point or add visual interest to the space.
Emergencies can strike at any moment, and handling them efficiently is crucial for maintaining the safety and satisfaction of your tenants. Quick response to emergency repairs ensures that minor issues don’t turn into major problems. As a property manager or landlord, being prepared is key to maintaining a reliable and efficient management system.
You need a solid plan in place for every emergency. This involves creating a list of trusted vendors, having an answering service for after-hours calls, and establishing clear communication channels with your tenants. These steps can save you time and reduce stress when unexpected issues arise.
By being proactive and keeping your tenants informed, you can create a smoother process for everyone involved. This guide will walk you through the essential steps to handle emergency repairs effectively, ensuring minimal disruption and maximum tenant satisfaction.
Efficiently managing emergency repairs requires a proactive approach, detailed planning, and reliable resources. By focusing on planning, forming strong contractor networks, and using technology, you can handle emergencies effectively and minimize disruptions.
Having an emergency response plan is vital for addressing maintenance issues swiftly. Start by identifying potential emergencies like HVAC failures, plumbing issues, or structural damage. Outline steps for immediate actions to ensure safety and health.
Create a communication protocol to inform tenants and owners about the situation. Include key contact information, both internal and external, such as emergency services, insurance companies, and relevant service providers. Conduct regular training sessions for staff to ensure everyone knows their role, enhancing the effectiveness of the response.
Reliable contractors are crucial for handling repairs. Build relationships with vendors who have a good reputation for responding promptly and providing quality work. Maintain a list of reliable contractors who can handle specific issues like plumbing, electrical work, or structural repairs.
Check vendor reputation and ensure they have the necessary certifications and insurance. Regularly review and update your list of service providers to ensure they meet your property management needs. Having dependable contractors can reduce downtime and help keep properties safe and habitable.
Using technology can greatly improve your emergency response. Property management software allows for easy tracking and documentation of maintenance issues, preventive maintenance schedules, and repairs. These tools can automate maintenance requests and ensure that all tasks are completed on time.
Effective communication is key in emergencies. Use communication platforms that enable instant messaging with tenants and contractors. This open communication helps keep everyone informed and reduces response times. By integrating modern technology, you can manage repairs more efficiently and maintain high standards of service.

Quick and efficient action is crucial for emergency maintenance issues. This section focuses on specific steps to handle immediate threats and damages.
When dealing with emergencies like fire, flooding, gas leaks, water leaks, structural damage, or burst pipes, you need quick protocols. Start by establishing a 24/7 response system for tenants to report emergencies.
For fire incidents, ensure fire extinguishers are accessible and tenants know the evacuation routes. Contact emergency services immediately if the fire spreads.
Flooding and water leaks require swift action to minimize damage. Shut off the main water supply to prevent further water flow. Afterward, call a reliable plumber.
Gas leaks are dangerous. Evacuate the area and notify the gas company right away. Do not use electrical devices that might spark.
For structural damage, secure the area to prevent injury. Inspect for any immediate threats to tenant safety.
In cases of burst pipes, shut off the main water valve to stop water flow. Call a plumber immediately for repairs.
Ensure effective communication with tenants during these emergencies, keeping them informed and safe.
Emergency contacts for reliable professionals like plumbers, electricians, and locksmiths should be readily available.
In handling emergency repairs, speed and effective communication are essential.
First, ensure you have a 24/7 response system for tenants to report emergencies.
Next, establish clear communication channels with your tenants. Tenants should know how to report emergencies and what steps to follow. This can include sending an email or calling a dedicated number.
Prioritize safety. Immediate threats like gas leaks or fire hazards need prompt action. Always have a list of emergency contacts, including electricians, plumbers, and HVAC technicians.
Use a quick response protocol for assessing and fixing the issue. This might involve sending a team on-site or contacting a professional.
Maintain records of all communications and actions taken. This helps in tracking the repair process and provides a reference for future issues.
Lastly, consider an answering service for after-hours. This service can handle multiple calls, evaluate situations, and dispatch vendors efficiently.
Following these steps ensures you handle emergency repairs swiftly and efficiently, minimizing disruption and maintaining tenant safety. For professional emergency repairs, contact Kaminskiy Care and Repairs.
First, turn off any utilities connected to the problem area. For electrical issues, switch off the main power source. If there’s a water leak, shut off the main water supply. These steps help prevent further damage and keep you safe.
Always use personal protective equipment like gloves and safety goggles. Avoid working in wet conditions, especially with electrical problems. Keep children and pets away from the affected area. If uncertain, call for professional help immediately.
Check if the issue poses an immediate danger to health, safety, or property. For example, exposed live wires, gushing water, or structural instability qualify as emergencies. Minor drips or small cracks can usually wait for normal repairs.
Dealing with unexpected repair needs during a project can be a stressful and challenging experience. Whether you’re working on a home renovation or a large-scale construction project, unexpected repairs can cause delays, increase costs, and disrupt your workflow. However, with the right strategies in place, you can effectively manage these challenges and keep your project on track.
One of the first steps in dealing with unexpected repair needs is to identify and manage potential risks. By conducting a thorough risk assessment before starting your project, you can anticipate potential issues and develop contingency plans to address them. This can include identifying potential hazards, assessing the impact of unexpected repairs on your timeline and budget, and developing strategies to manage these risks.
Once you’ve identified potential risks, it’s important to adapt to changes and resolve conflicts as quickly and efficiently as possible. This may involve working with contractors, suppliers, or other stakeholders to find solutions that meet everyone’s needs. Effective communication and collaboration are key to resolving conflicts and minimizing the impact of unexpected repairs on your project. By staying flexible and adapting to changes as they arise, you can keep your project moving forward and ensure its success.
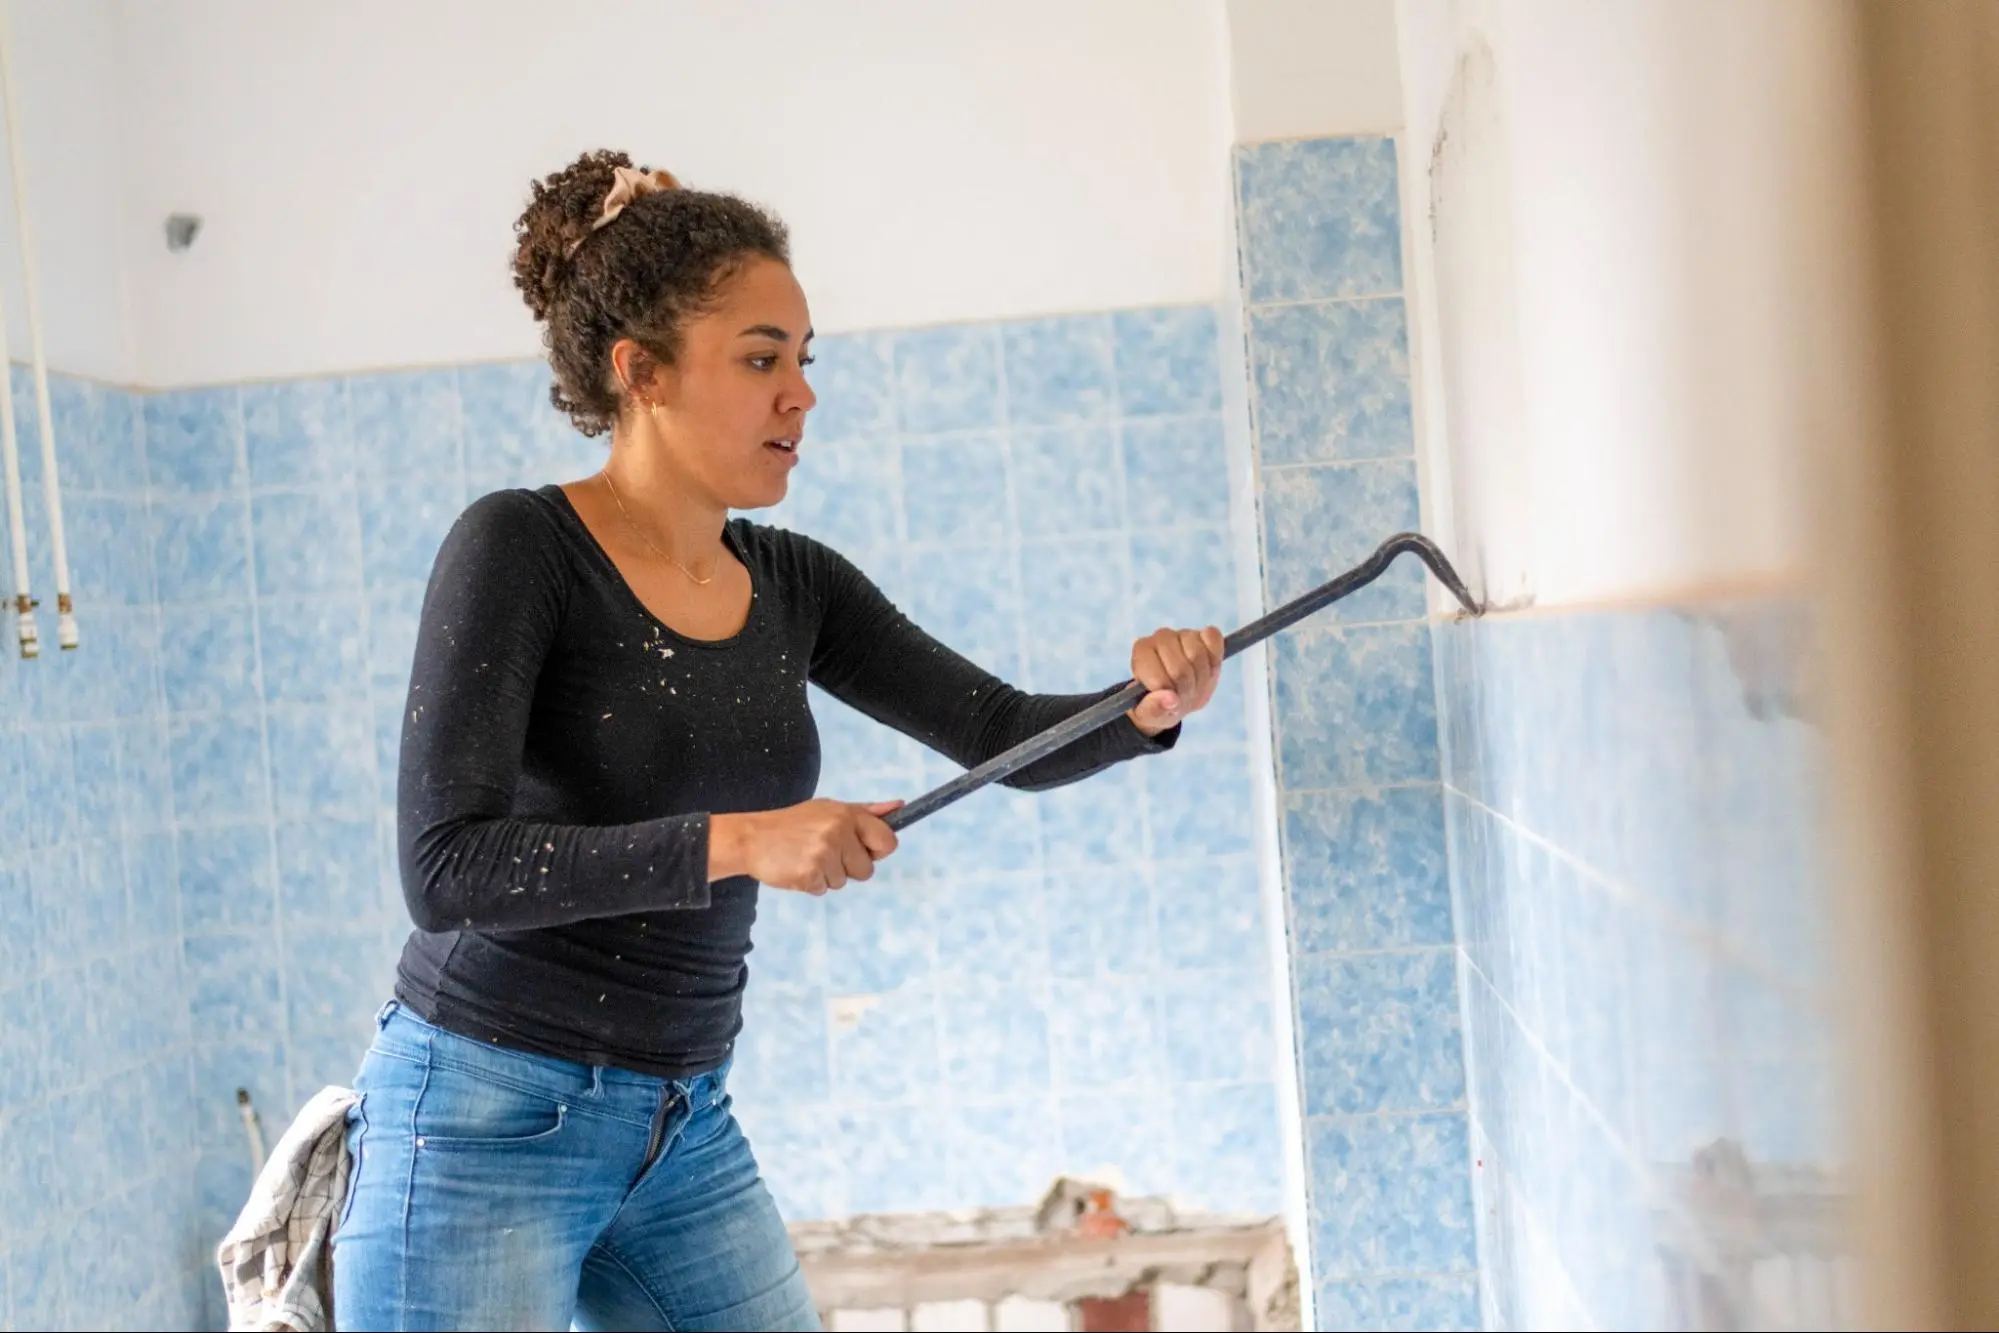
During project handling, it is important to identify and manage risks to minimize the impact of unexpected repair needs during a project. Here are some effective strategies to help you identify and manage risks:
Root cause analysis is a technique used to identify the underlying cause of a problem. By identifying the root cause of a problem, you can develop effective solutions to prevent similar problems from occurring in the future. When faced with unexpected repair needs during a project, it is important to conduct a root cause analysis to identify the underlying cause of the problem. This will help you develop effective strategies to prevent similar problems from occurring in the future.
Developing contingency plans is an effective strategy to manage risks during a project. Contingency plans are backup plans that can be put in place to deal with unexpected changes or uncertainties. When developing contingency plans, it is important to consider the potential risks and develop strategies to mitigate those risks. This will help you adapt to unexpected changes and uncertainties during the project.
Effective communication is essential to managing risks during a project. Communication helps to ensure that team members and stakeholders are aware of potential risks and can take appropriate action to mitigate those risks. As a project manager, it is important to communicate openly and transparently with team members and stakeholders. This will help to ensure that everyone is on the same page and working towards the same project goals.
Identifying and managing risks is an essential part of project management. By conducting root cause analysis, developing contingency plans, and using effective communication strategies, you can minimize the impact of unexpected repair needs during a project. As a project manager, it is important to be adaptable and transparent to effectively manage risks and achieve project goals.
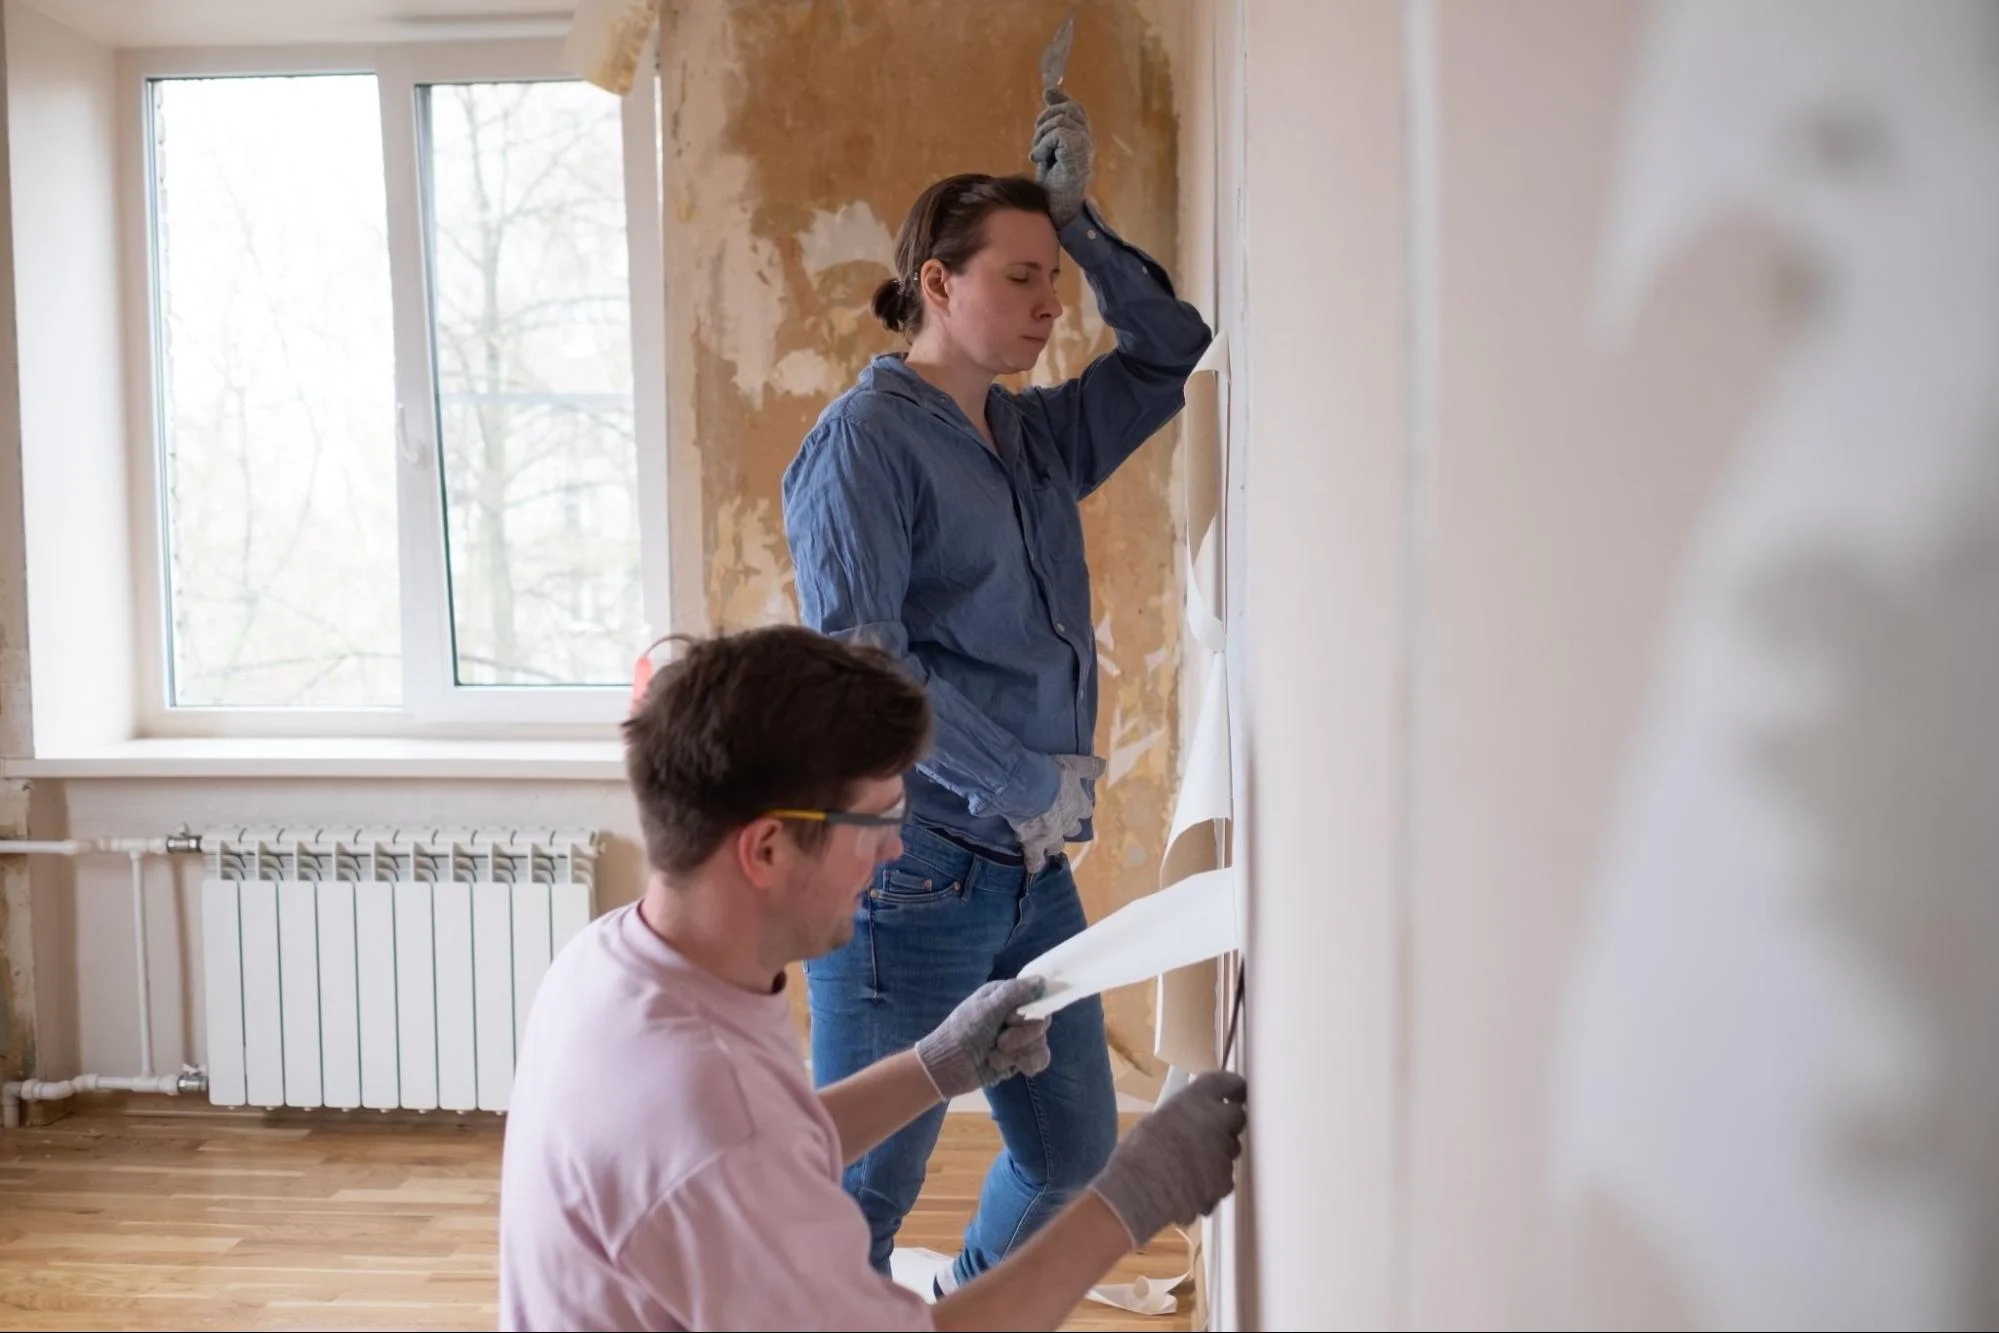
When managing a project, unexpected repair needs can arise at any time during the project. When this happens, it’s important to be able to adapt to changes and resolve conflicts to maintain project momentum. Here, we’ll discuss some strategies for implementing change management, conflict resolution techniques, and maintaining project momentum.
Change is inevitable in any project, and it’s important to have a plan in place to manage it effectively. A change management plan should include a clear process for identifying and evaluating changes, as well as a plan for communicating those changes to stakeholders. This plan should also include a timeline and budget for implementing the changes.
To implement change management effectively, it’s important to be flexible and open to new ideas. You should also be willing to make adjustments to the project plan, timeline, and budget as needed to accommodate changes.
Conflicts can arise in any project, and it’s important to have effective conflict resolution techniques in place to address them. One common technique is to encourage open communication among team members. This can help to identify and address conflicts early on, before they escalate.
Other techniques include active listening, problem-solving, and stakeholder management. Active listening involves listening to all sides of an argument and trying to understand each person’s perspective. Problem-solving involves working collaboratively with team members to find solutions to conflicts. Stakeholder management involves identifying and addressing the needs and concerns of all stakeholders.
When unexpected repair needs arise, it’s important to maintain project momentum to ensure that the project stays on track. This can be achieved by being resilient and efficient in your approach to the project.
Resilience involves being able to adapt to changes and overcome obstacles. This can be achieved by maintaining a positive attitude, staying focused on the project goals, and being willing to make adjustments to the project plan as needed.
Efficiency involves working quickly and effectively to address unexpected repair needs. This can be achieved by having a clear understanding of the project timeline and budget, and by being flexible and willing to make adjustments to the project plan as needed.
In summary, adapting to changes and resolving conflicts is an essential part of managing unexpected repair needs during a project. By implementing change management, and conflict resolution techniques, and maintaining project momentum, you can ensure that your project stays on track and achieves its goals.
In summary, unexpected repair needs can be a major setback during a project. However, by following the right steps, you can minimize the impact of these issues and keep your project on track.
First, it is important to have a contingency plan in place before starting any project. This will help you prepare for unexpected repair needs and ensure that you have the resources to handle them.
Secondly, make sure that you are regularly inspecting your project site and equipment to identify any issues early on. This will help you address problems before they become major setbacks.
Thirdly, be proactive in your communication with your team and stakeholders. Let them know about any repair needs and work together to find solutions that will keep your project moving forward.
Finally, be flexible and willing to adjust your project timeline and budget as needed to accommodate unexpected repair needs. By following these steps, you can minimize the impact of unexpected repair needs and keep your project on track. For professional help with home renovation tasks, contact Kaminskiy Care and Repair. We have the knowledge and expertise to help you identify potential issues before they become major problems.
When unexpected repairs arise during a project, it is important to take immediate action to minimize the impact on the project timeline and budget. The first step is to assess the situation and determine the severity of the repair needed. Then, consult with the project team and stakeholders to determine the best course of action. It may be necessary to adjust the project plan or timeline to accommodate the repair, or to allocate additional resources to complete the work.
Dealing with unforeseen challenges in a project requires a flexible and adaptive approach. Best practices include having a contingency plan in place, maintaining open communication with the project team and stakeholders, and regularly reviewing and assessing the project plan to identify potential risks and challenges. It is also important to be proactive in addressing issues as they arise and to work collaboratively with the project team to find effective solutions.
Managing unexpected issues that impact project budgets requires a proactive and strategic approach. Strategies include regularly reviewing and assessing the project budget to identify potential risks and challenges, maintaining open communication with the project team and stakeholders, and developing contingency plans to address unexpected expenses. It may also be necessary to adjust the project plan or timeline to accommodate changes in the budget.
Effective communication is essential for resolving unexpected obstacles in project management. It allows the project team and stakeholders to stay informed about changes and challenges, and to work collaboratively to find effective solutions. Best practices include maintaining open and transparent communication channels, regularly updating the project plan and timeline, and actively seeking feedback and input from the project team and stakeholders.
Water damage can be a nightmare for homeowners, leading to costly repairs and potential health risks. To prevent water damage, regular maintenance of your home’s gutters and downspouts is crucial. Clean them twice a year to avoid blockages that can cause water to seep into your foundation. It is also essential to trim trees and bushes to keep their roots from damaging pipes and drainage systems.
If your home has already suffered water damage, quick action is key. Dry out the affected area immediately by opening windows and doors, and using fans to circulate air. Pay special attention to any structural components that may need careful repair to ensure your home’s safety.
Understanding your insurance policy is important in cases of water damage. Some damages might be covered, saving you from significant out-of-pocket expenses. Always consult with your insurance company to understand what is included in your coverage and take steps to mitigate future risks.

To prevent water damage and catch it early, you need to focus on protecting your home from external water threats and maintaining internal systems like plumbing and appliances.
Ensure that your roof, gutters, and downspouts are in good condition to manage rainwater effectively. Regularly inspect your roof for cracks or missing shingles that could lead to damp and structural damage. Make sure gutters and downspouts are clear of debris to prevent water from pooling and damaging your home’s foundation. Check your home’s caulking around doors and windows to prevent water from seeping in during storms. Proper drainage around your home is crucial; ensure soil slopes away from your foundation to avoid water accumulation near the base. If you live in an area prone to floods or extreme weather, consider adding extra protection like waterproofing and sump pumps.
Regularly check your home’s plumbing and appliances for leaks. Inspect pipes, dishwashers, washing machines, water heaters, toilets, sinks, faucets, and showers for any signs of leaking or moisture build-up. Small leaks can often be identified by higher-than-usual water bills or the presence of musty smells.
Use humid sensors and moisture detectors in areas prone to water accumulation, such as basements and attics. These tools can alert you to issues before they cause significant damage. Regular maintenance, including tightening hose connections and replacing worn-out seals, can also prevent leaks. Conduct regular inspections to identify and address any early signs of water damage, like peeling paint or warped materials.
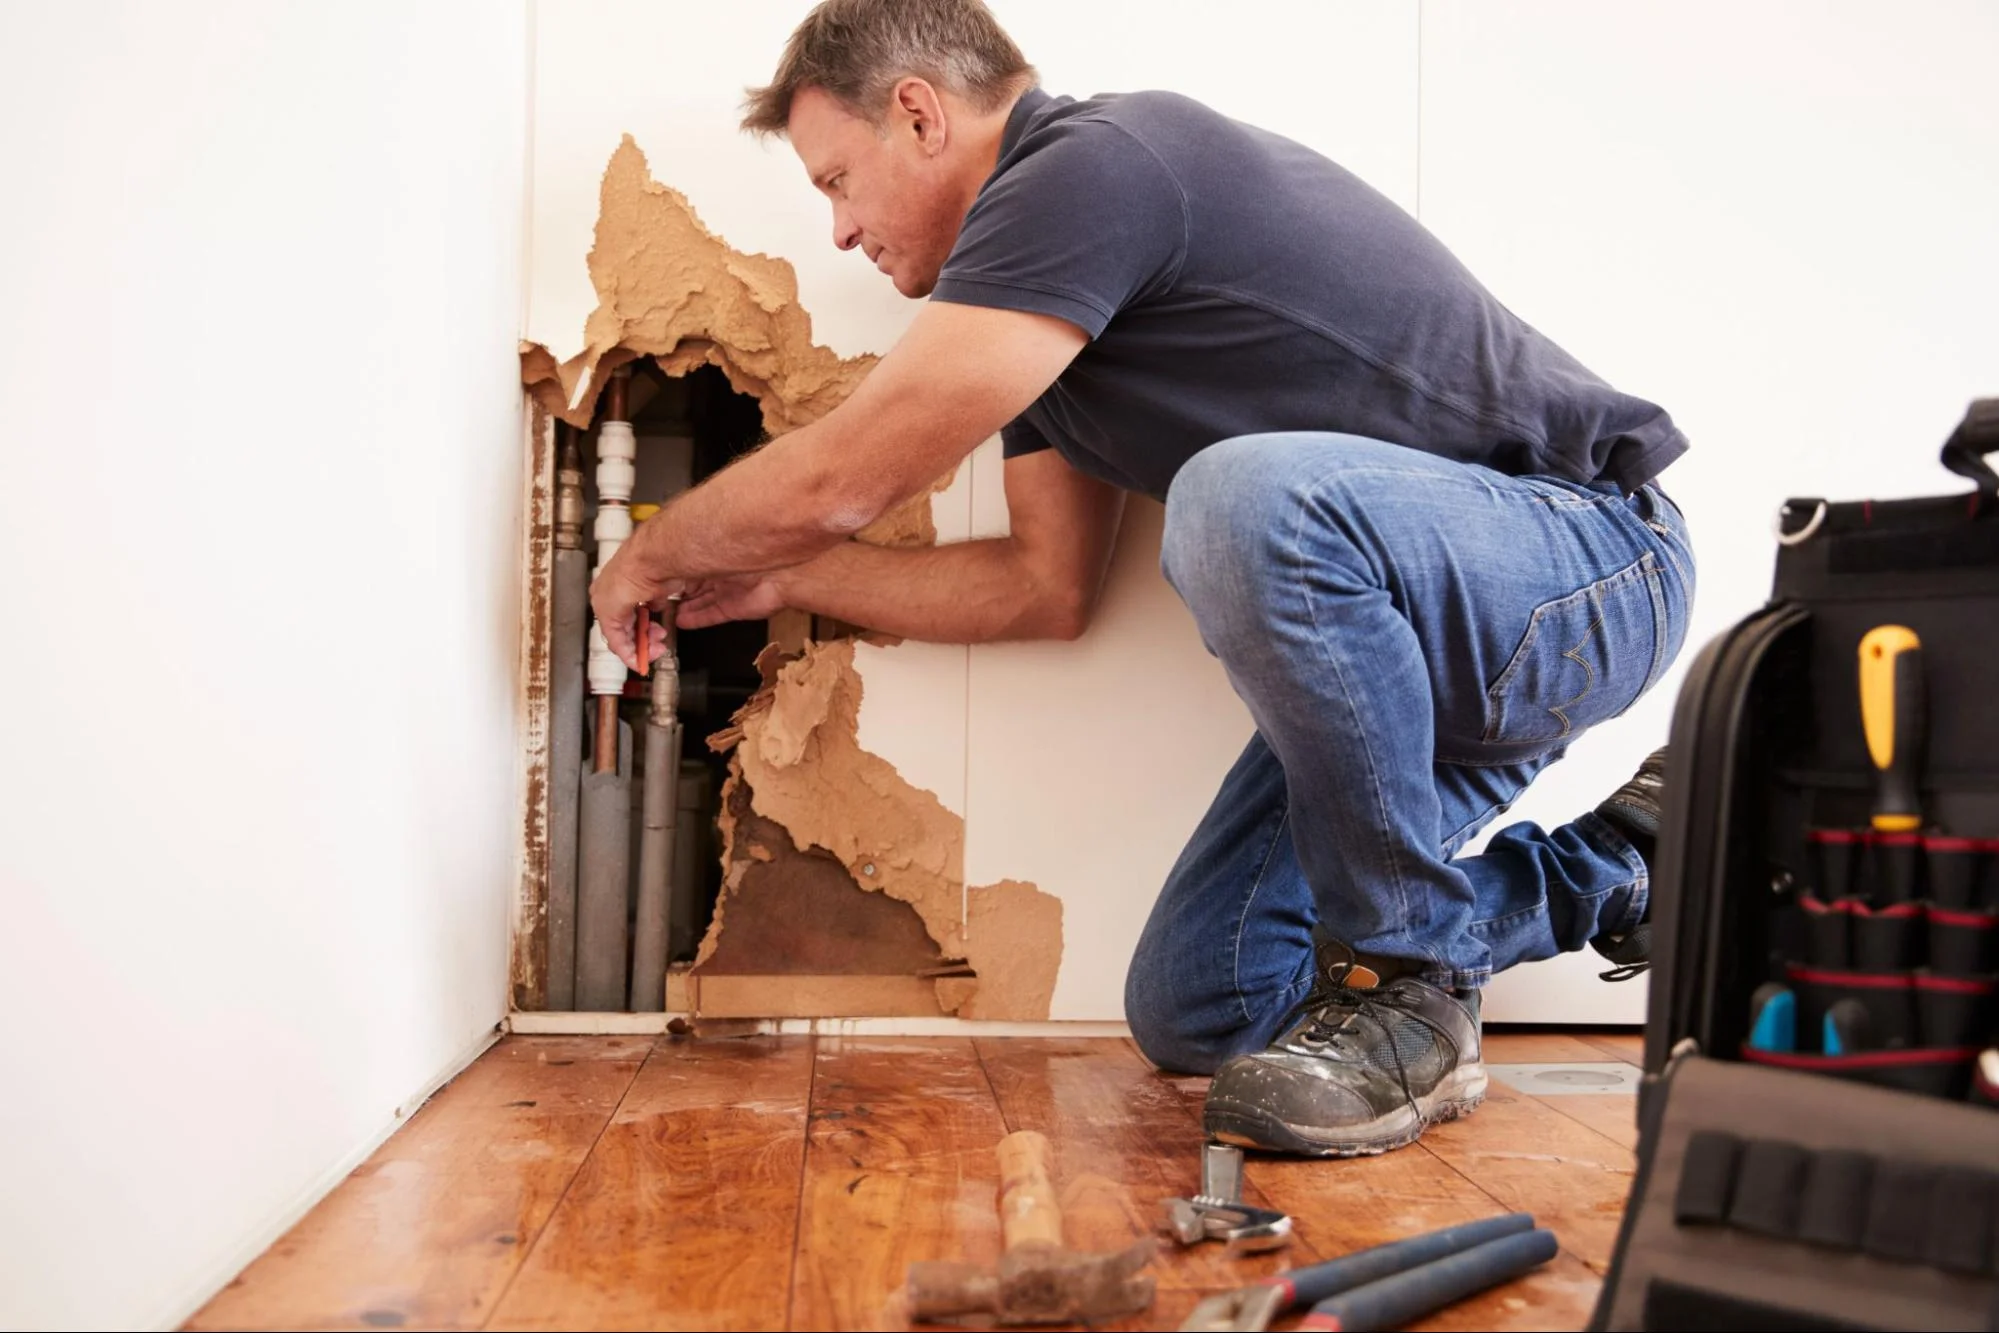
When dealing with water damage, you need to act quickly and follow specific steps to minimize the damage and begin restoration. Here’s a detailed guide on how to control the situation and what to consider during the restoration process.
The first thing to do is ensure safety. Turn off electricity to prevent shocks. Wear personal protective equipment (PPE) like gloves, masks, and boots.
Check for standing water and remove it using pumps. If the flooding is minimal, towels and mops can help. Open windows and doors to vent the area and use fans and dehumidifiers to speed up drying.
Watch out for mold growth which can occur within 24-48 hours. If you notice mold, don’t disturb it; call professionals for mold remediation. Identify the type of water involved. Gray water and black water are contaminated and need special handling. It’s vital to disinfect the area to prevent health risks.
Engaging a professional restoration service is crucial for thorough cleanup and repair. They will assess the damage and develop a plan. These experts use advanced equipment like industrial dehumidifiers, air movers, and moisture meters to ensure proper drying.
Professionals will remove damaged materials such as drywall, insulation, and flooring. They clean and sanitize the affected areas to eliminate bacteria and mold.
During this process, the team will also handle mold remediation to ensure your home is safe. Depending on the extent of damage, they may also work on structural repairs and replacements. You should file an insurance claim promptly and document all damage with photos and lists to facilitate this process.
After water removal and drying, start with the reconstruction phase. Begin by repairing or replacing damaged drywall, paint, and insulation. Choose waterproof flooring to prevent future issues.
Take extra care with basements as they are prone to water damage. If you find water stains on walls or ceilings, check for potential leaks and fix them.
Sanitize all affected furnishings and personal items. Replace porous materials like carpets and rugs that cannot be cleaned thoroughly. If your home experienced severe flooding, consider installing a sump pump to manage future water accumulation.
Overall, thorough cleanup, professional help, and preventive measures will ensure your home is restored and safeguarded against future water damage issues. For Professional assistance, contact Kaminskiy Care and Repair to fix water damage in your home.
Regularly inspect roofs, gutters, and downspouts for leaks and blockages. Clean them to ensure proper water drainage. Install backwater valves to prevent sewer backups. Ensure that the ground around your home slopes away to reduce the risk of water seeping into the foundation.
First, identify the source of the leak. Common methods to stop leakage include using waterproof sealants, repairing cracks, and applying waterproof coatings. If the damage is extensive, consider consulting a professional for more comprehensive repairs.
Start by removing any standing water. Use fans and dehumidifiers to dry out the affected area. Clean and disinfect surfaces to prevent mold growth. Inspect and repair any structural damage. For extensive damage, it may be best to hire professionals for thorough repairs.
Insulate pipes, especially in cold weather, to prevent them from freezing and bursting. Regularly inspect pipes for signs of wear and replace them as needed. Install water leak detectors that can alert you to any potential leaks before they cause significant damage.
Life can be hectic, especially for busy professionals. Keeping up with home repairs and maintenance tasks often becomes overwhelming. Hiring a professional handyman can save you time and reduce stress, allowing you to focus on more important matters.
Handyman services tackle a wide range of tasks efficiently, from minor repairs to significant home improvement projects. These professionals possess the skills to handle complex issues, ensuring your home remains in top shape without you lifting a finger.
In addition to convenience, professional handyman services ensure quality and safety, preventing small problems from becoming costly repairs. With a reliable handyman, you can trust that each task is handled with care and expertise.
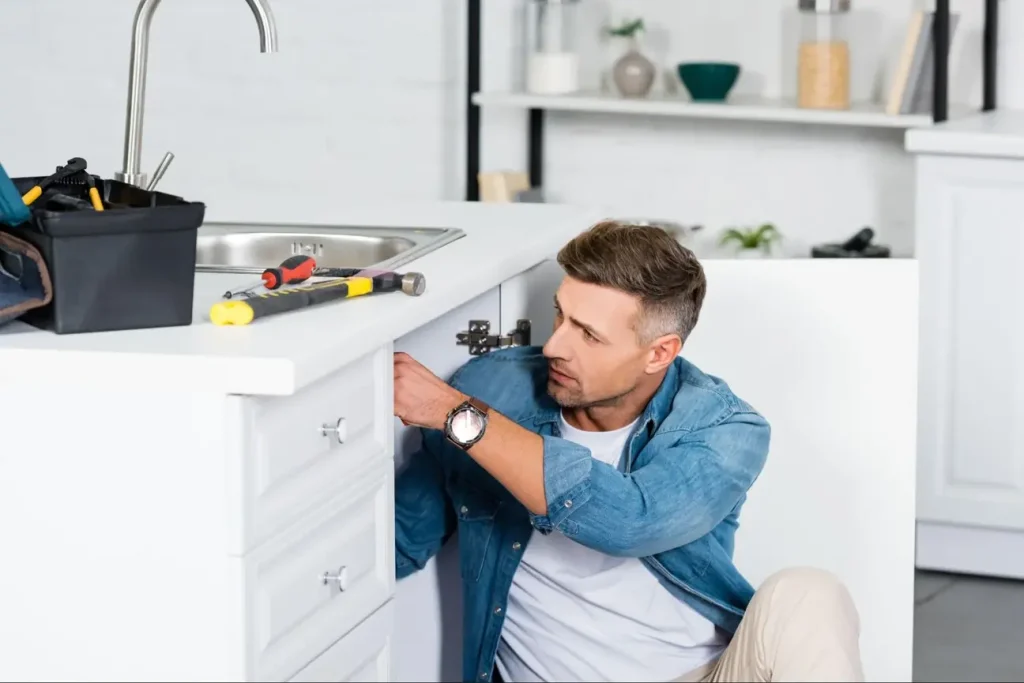
Professional handyman services are critical for busy professionals who need efficient and reliable solutions for home maintenance. By leveraging handyman expertise, you can save time and ensure that tasks are completed to high standards.
Handyman services offer a variety of skills to tackle many different tasks around your home. They can handle everything from minor repairs and painting to more complex jobs like electrical work and plumbing. This versatility means you don’t need to hire multiple specialists for various tasks. A single professional can address multiple issues, saving you the hassle of coordinating with different contractors.
This broad skill set helps in maintaining your home efficiently without having to search for specific tradespeople.
As a busy professional, your time is valuable. Handyman services provide a reliable way to handle maintenance tasks that you might not have the time or expertise to manage yourself. This not only improves the overall condition of your home but also provides peace of mind knowing that the work is done correctly and safely. Hiring a professional handyman can also be more cost-effective than addressing issues yourself. Mistakes can lead to more expensive repairs in the future. By trusting a skilled professional, you avoid these additional costs and ensure the job is done right the first time.
For business owners, maintaining a property can be time-consuming. Professional handyman services simplify this process by efficiently handling repairs and improvements, allowing you to focus on running your business. They can offer scheduled maintenance, ensuring your property remains in excellent condition without requiring your constant attention.
By streamlining home maintenance, you minimize disruptions and keep your property in top shape, which is particularly important for busy professionals juggling multiple responsibilities. Reliable handyman services can be a key component in maintaining both your home and business efficiently.
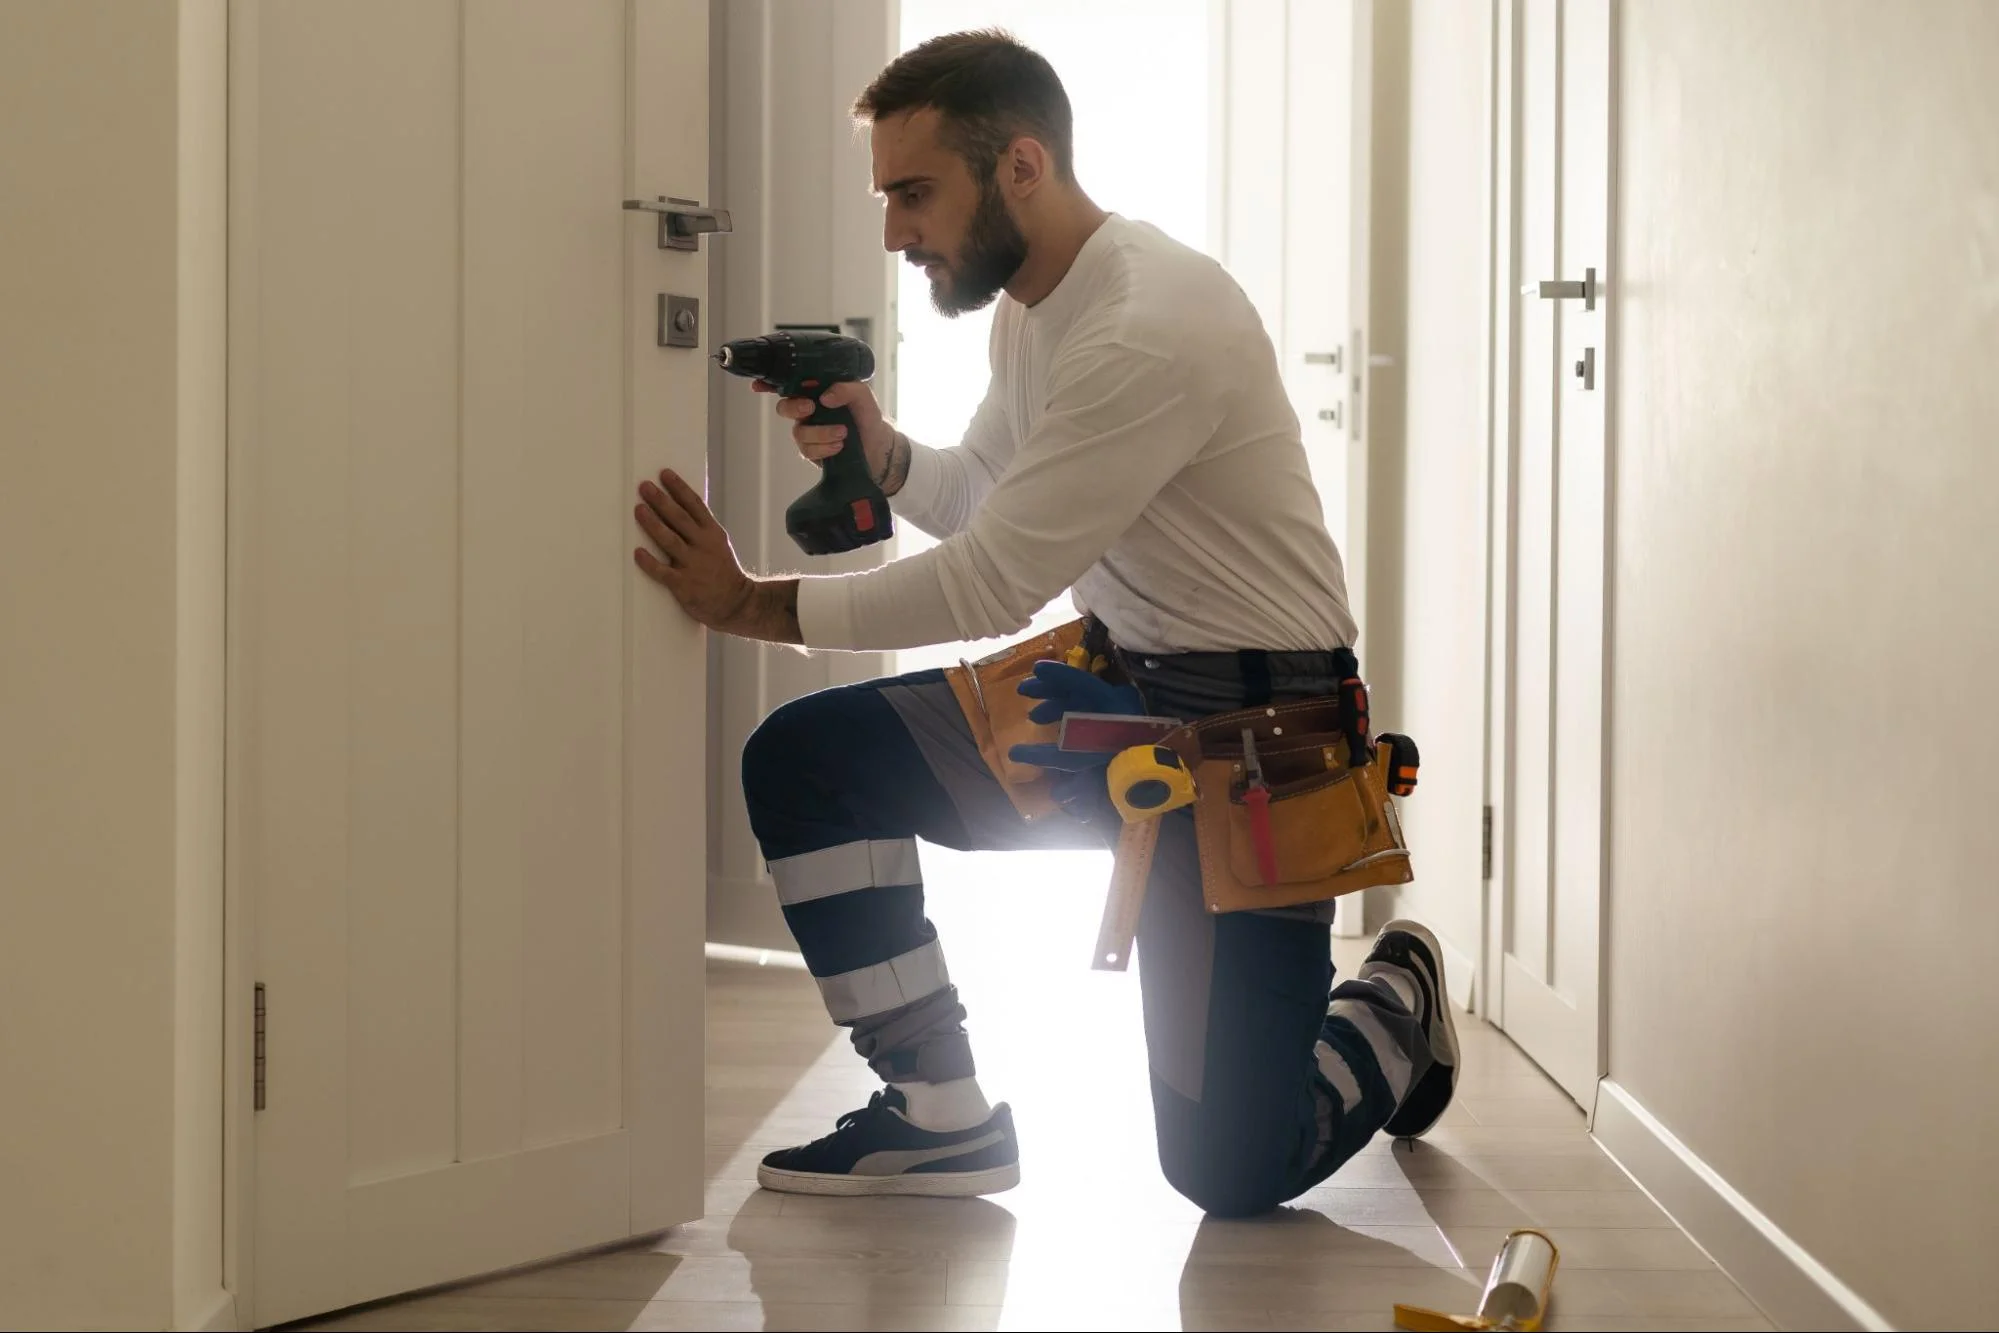
Handyman services play a crucial role in ensuring that home repairs are performed safely and maintain high standards of quality. By hiring qualified professionals, you can prevent accidents and get reliable results.
Safety is paramount when it comes to home repairs. Hiring a professional handyman who is licensed and insured ensures that the work done in your home adheres to safety protocols.
Qualified handymen are trained to handle tools and materials securely, minimizing the risk of injury. Moreover, they are well-versed in local building codes and regulations, which means they can prevent potential hazards. By choosing experienced professionals, you ensure both the safety and functionality of your home.
Routine maintenance is essential for keeping your home in good condition and can save you money in the long run. A professional handyman can identify potential problems before they escalate, offering cost-effective solutions.
Instead of waiting for issues to become severe, regular check-ups and minor repairs keep your home in top shape. Handymen offer precise and efficient maintenance tasks, often at a fraction of the cost of major repairs. This approach reduces unexpected repairs and ensures continuous quality workmanship.
Experience is a major factor in ensuring the quality and reliability of home improvements. Handymen bring a wealth of knowledge and skills, allowing them to tackle various repair services efficiently.
Skilled handymen know the best materials and methods to use, resulting in durable and reliable repairs. Their extensive experience allows them to troubleshoot and solve issues quickly, ensuring a smooth and hassle-free process. By leveraging their expertise, you can achieve high-quality home improvements without compromising on safety or functionality.
Hiring handyman services can significantly benefit busy professionals. These services save you time by handling various household tasks efficiently.
A skilled handyman from companies like Kaminskiy Care and Repair can tackle multiple repairs and maintenance tasks, ensuring your home remains in top condition.
Benefits include:
Handyman services are versatile and can handle a wide range of tasks. These include plumbing, electrical work, painting, and general repairs. This versatility means you don’t have to hire multiple specialists.
Choosing a reputable service ensures high-quality work and reliability. Handyman services provide comprehensive support, maintaining and improving your home.
These services maintain your home’s value and appearance, making it a safe and comfortable place to live. For busy professionals, handyman services are an essential resource, ensuring your home stays functional without demanding your valuable time.
Outsourcing tasks to a handyman saves you time, allowing you to focus on work or personal activities. Handymen are skilled and can efficiently handle various home repairs and maintenance tasks, which might be challenging for you to fit into your schedule.
By hiring a handyman, you can allocate more time to both your career and personal life. This helps reduce stress and enables you to enjoy your free time without worrying about unfinished home repairs or chores.
Handymen can handle a range of tasks such as fixing leaky faucets, repairing drywall, assembling furniture, and performing minor electrical work. These services address common household issues, making your living space more comfortable and functional.
When selecting a handyman service, consider their reliability, customer reviews, and the range of services offered. Additionally, check if they are licensed and insured to protect yourself from potential liabilities. Ensure they offer flexible scheduling to accommodate your busy lifestyle.
Budgeting for handyman services is a smart way to ensure your home remains in excellent condition without unexpected expenses. By planning, you can keep your home in tip-top shape while staying within your financial limits. To start, you should set aside a handyman budget each year specifically for home maintenance tasks.
Working with a skilled handyman can help you identify the most critical areas of your home that need regular check-ups. This includes plumbing, roofing, HVAC, and other essential systems. A good guideline is to save about $1 per square foot of your home to cover these necessary services.
Regular maintenance not only preserves the value of your property but also minimizes costly emergency repairs. By sticking to a well-organized home maintenance plan, you will help prevent small issues from becoming big problems. This proactive approach can save you time and money in the long run.
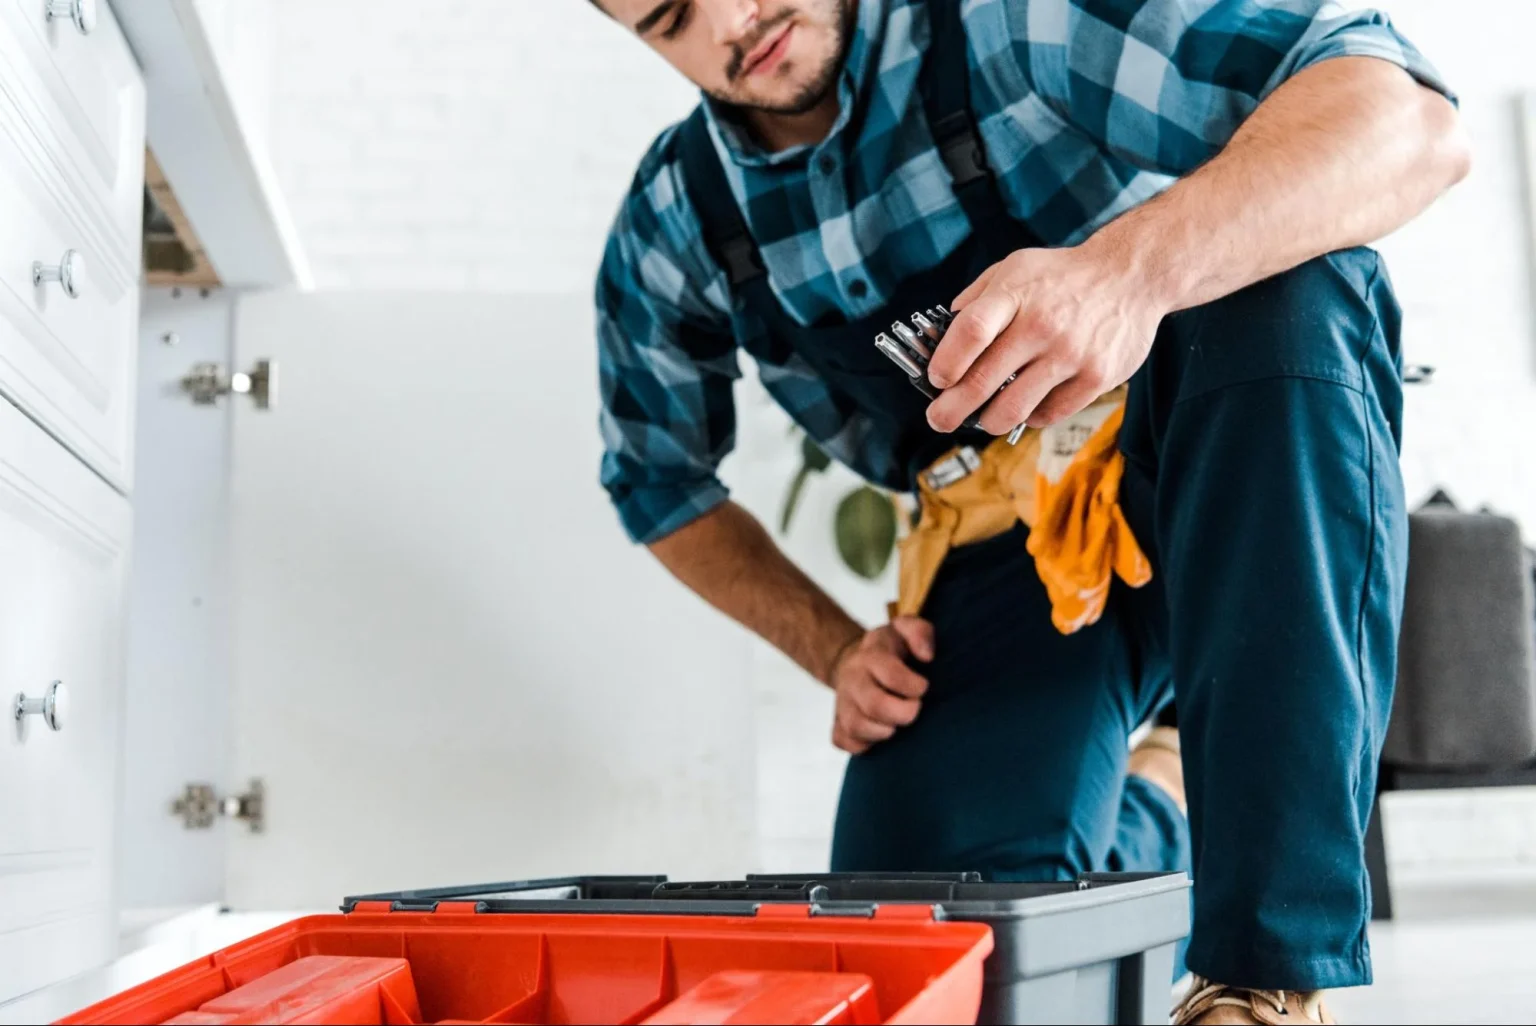
Assessing your home maintenance needs involves understanding the basics, determining necessary handyman services, evaluating repair costs, and scheduling regular inspections. This ensures your home stays in good shape throughout the year.
Start by knowing the essential areas of home maintenance. Systems and appliances like your HVAC system, plumbing, and electrical setups need regular checks. Exterior parts such as the roof, gutters, and windows also require attention. In older homes, these parts are prone to quicker wear and tear, while newer homes might need less frequent care. Lawn care, pest control, pool maintenance, and landscape maintenance are vital for outdoor upkeep.
To determine what handyman services you need, consider your home’s age, size, and condition. Evaluate if certain tasks like gutter cleaning, interior painting, or exterior painting can be done. Extreme weather conditions in your location may demand more frequent checks and repairs, such as roof repairs or plumbing fixes. Emergency repairs are often essential in areas prone to bad weather.
Understanding what you’ll spend on repairs helps in budgeting. Costs vary, with roof replacement typically being higher than other fixes. Common repairs include water heater replacement, window replacement, and HVAC system replacement. Material costs and labour costs differ based on location and the repair’s complexity. Homeowners spend between $4,000 and $22,000 yearly on upkeep, including both regular maintenance and unexpected repairs.
Scheduling regular maintenance keeps problems at a manageable level. Have a home maintenance inspection at least once a year. This includes checking the roof, gutters, HVAC system, electrical systems, and plumbing. For pool maintenance, inspect and clean filters and systems regularly. Being proactive, like setting up a lawn care schedule, helps in managing both interior maintenance and exterior maintenance needs efficiently.

When budgeting for home maintenance, it’s crucial to consider various factors such as the size and age of your home. You should also plan for unexpected costs and monitor your budget regularly to make necessary adjustments.
The size and age of your home greatly influence maintenance costs. A common rule of thumb is to budget 1% to 4% of your home’s value per year for maintenance.
Newer homes often have lower average annual maintenance costs. For example, if your home is valued at $350,000, you might budget $3,500 annually, or 1% of its value.
For older homes, maintenance costs might be higher due to frequent repairs. Additionally, larger homes with more square footage generally require more funds for upkeep. Carefully considering the size and age of your home helps in accurate financial planning.
Unexpected repairs can strain your budget, so it’s wise to set aside additional funds.
An emergency fund can cover costs like emergency plumbing or roof shingle repairs. For instance, roof repairs could range from $350 to $1,500, while plumbing emergencies might cost $120 to $300 per hour.
Create a savings plan that includes setting aside funds specifically for unexpected repairs to avoid using credit cards or loans, which could lead to high-interest payments.
Using a home warranty can also help manage unexpected expenses. This could be another layer of financial protection, especially for older appliances and systems.
Regularly reviewing your budget is essential. Track spending on professional services like handyman labour, which can have variable hourly rates.
Regular updates to your budget ensure you account for increased property taxes, rising utilities, and inflation.
Make necessary adjustments by watching for tax implications related to home improvements and maintenance costs. Keeping an eye on monthly credit card bills and other financial commitments helps maintain a balanced budget.
Using a home equity line of credit might be an option for larger projects or unexpected repairs, but it’s important to monitor interest rates and repayment terms.
By staying vigilant and proactive, you can handle home maintenance effectively while avoiding financial pitfalls.
Budgeting for handyman services is crucial for efficient home maintenance. It’s important to identify which tasks need professional help. This helps you allocate funds adequately.
Breaking down costs, time, and resources can ensure you’re prepared for unexpected issues. Proper budgeting helps prevent your home from falling into disrepair.
Regularly review and update your maintenance schedule to stay ahead of potential problems.
A home maintenance subscription usually covers regular inspections and minor repairs. This might include services like HVAC checks, plumbing inspections, and electrical safety tests. Some plans also offer discounts on major repairs. It’s essential to read the contract details to know exactly what’s included.
You can estimate your annual home repair and maintenance costs by using rules of thumb like budgeting 1% to 3% of your home’s value yearly. Another method is the square footage rule, which suggests setting aside $1 per square foot of your property per year. These estimates help you plan financially.
When setting a budget for home maintenance, consider the age, size, and condition of your home. Older homes often require more frequent repairs, while larger homes may need more maintenance work. Location can also affect costs, with some areas having higher labour and material expenses.
Scheduling regular maintenance tasks monthly can help you catch issues early and avoid expensive repairs. Routine tasks might include changing air filters, checking smoke detectors, and cleaning drains. Creating a monthly maintenance calendar keeps you organized and on top of these chores.
As a property manager, you are responsible for ensuring that your properties are properly maintained and repaired promptly. This can be a daunting task, especially if you have multiple properties to manage. One way to simplify the process is to hire a professional handyman service.
Handyman services can provide a wide variety of services, from minor repairs to major renovations. They can help you keep your properties in top condition, which can help you attract and retain tenants. In this guide, we will discuss the most valuable handyman services for property managers. We will also provide tips on how to choose the right handyman service for your needs and answer some frequently asked questions.
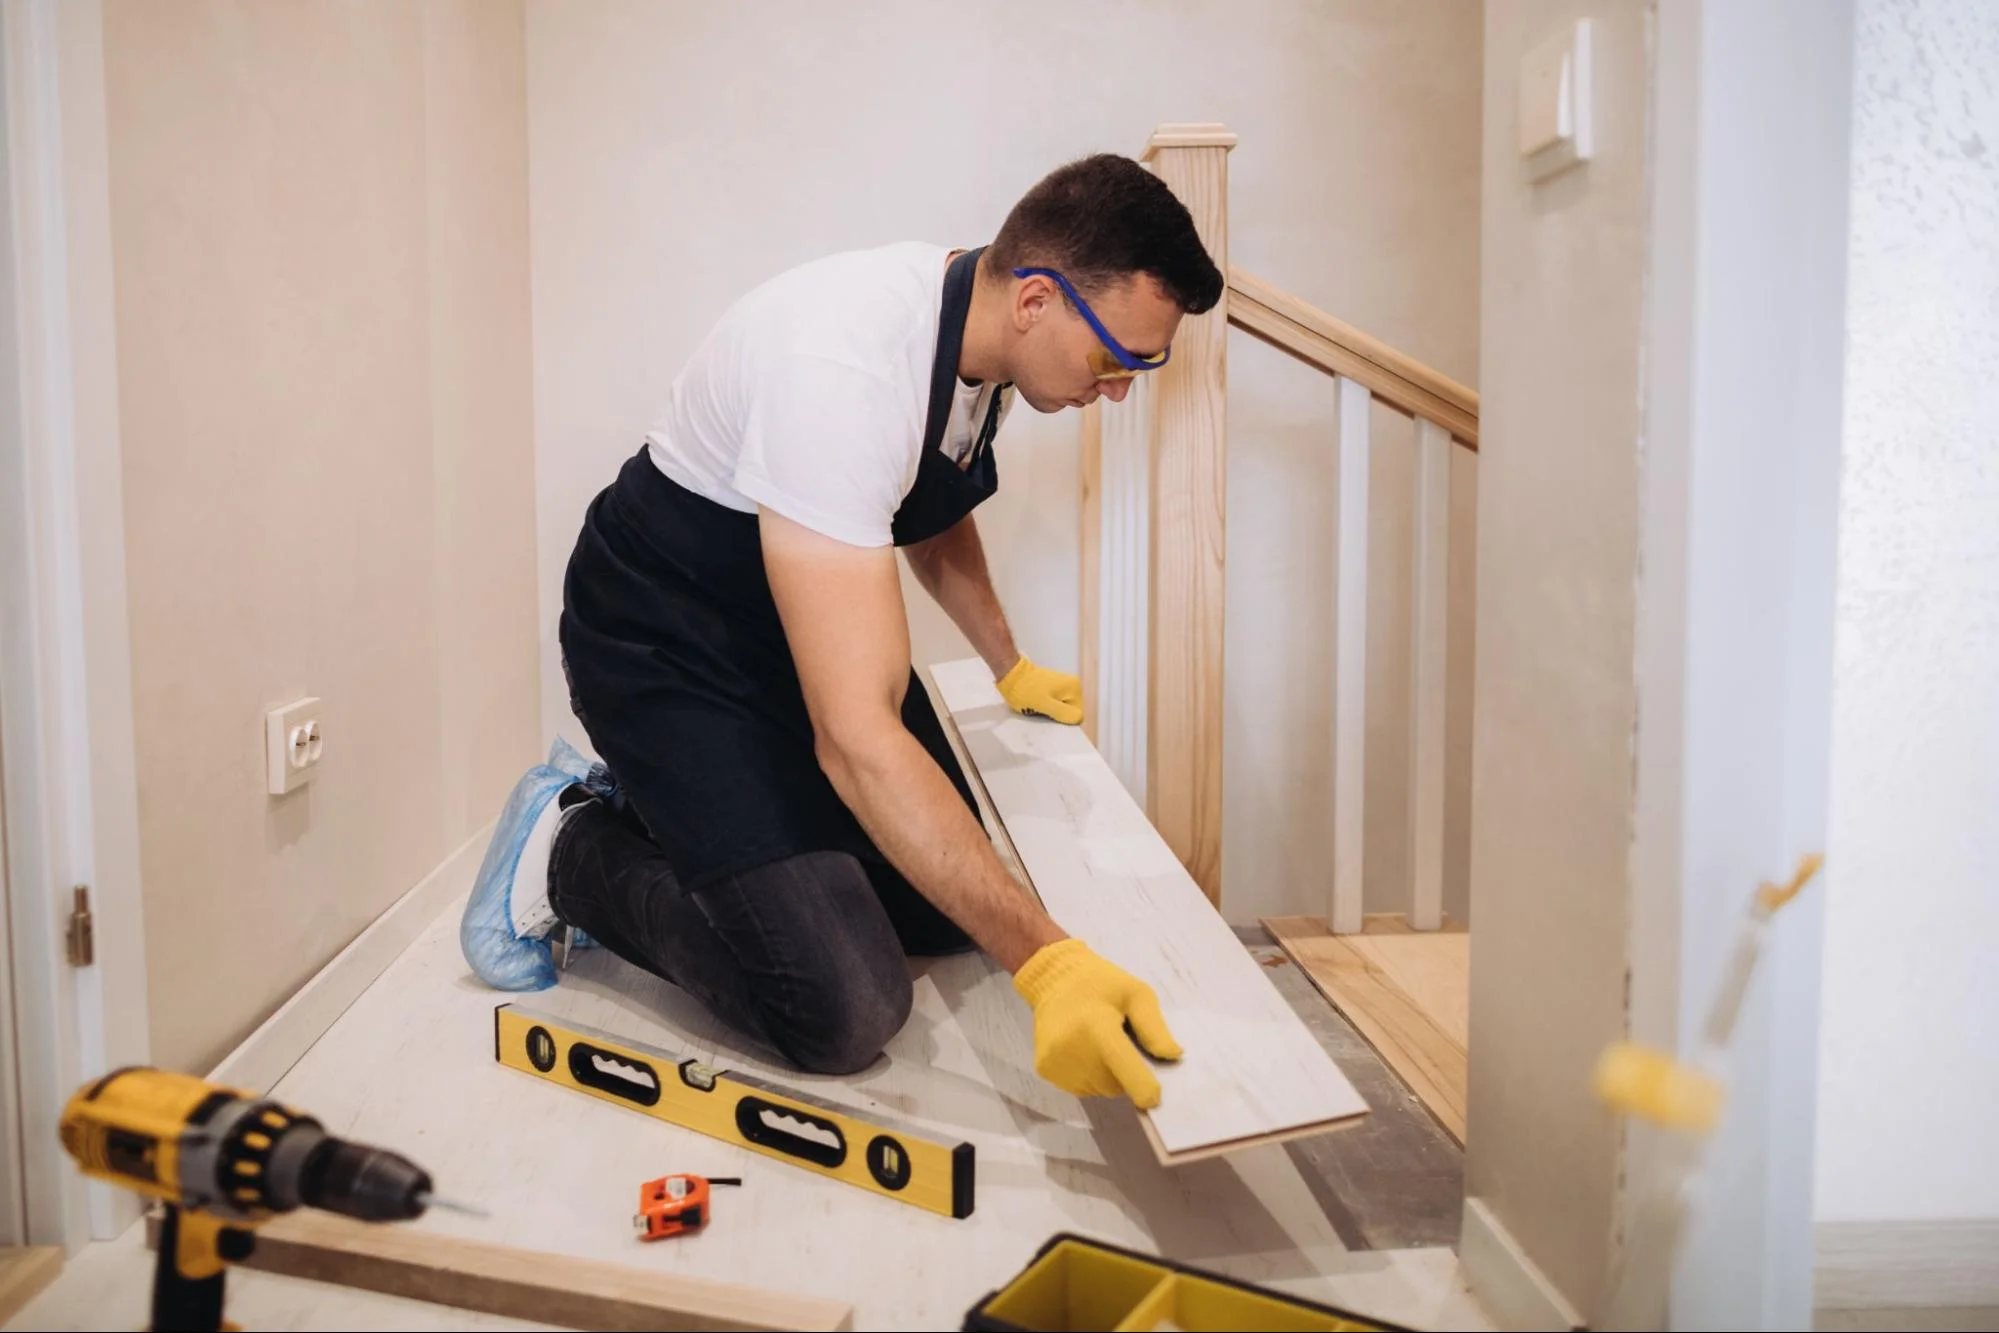
As a property manager, you know that maintaining a property can be a full-time job. That’s why it’s important to have a skilled handyman on call to handle essential maintenance and repair services, as well as upkeep and improvement strategies. Here are some of the key handyman services that are essential for effective property management.
When it comes to maintenance and repairs, there are a few key areas that a handyman should be proficient in. These include plumbing, electrical work, painting, flooring, window repairs, wall repairs, and appliance repairs. They should also be able to handle minor carpentry tasks, such as installing cabinets and shelving.
In addition to basic maintenance and repairs, a skilled handyman can also help with upkeep and improvement strategies. This can include outdoor maintenance, such as cleaning gutters and maintaining landscaping, as well as indoor upgrades, such as lighting installations and furniture assembly. By keeping your property in top condition, you can attract high-quality tenants and increase your revenue.
If you manage multiple properties, it’s important to have a reliable handyman network in place. This can help you save time and money, as you can negotiate better rates and ensure quality work across all of your properties. When choosing a handyman, be sure to do your due diligence and check their certifications and guarantees. You should also consider their availability, budget, and timeline to ensure that they can meet your needs.
Overall, hiring a skilled handyman is an essential part of property maintenance and management. By outsourcing maintenance tasks and upgrades, you can save time and money, while ensuring that your properties are in top condition.

As a property manager, you understand the importance of providing reliable and efficient handyman services to your tenants. However, managing the business side of handyman services can be challenging. In this section, we will discuss some key aspects of managing the business side of handyman services.
One of the primary concerns of property managers is budgeting and cost efficiency. When it comes to handyman services, it is important to strike a balance between quality work and cost efficiency. To achieve this, you need to carefully consider the materials and labor costs of each project. You should also consider the rent and revenue generated by the property when budgeting for handyman services.
To ensure that you provide your tenants with the best possible handyman services, it is important to build a network of trusted professionals. This means partnering with certified and licensed specialists who have a proven track record of providing quality work. You should also consider feedback from past clients and customer reviews when building your network of professionals.
In today’s digital age, technology can be a valuable tool for managing handyman services. You can use online booking systems to schedule appointments and communicate with your handyman team. You can also use software to track the availability of your technicians and ensure that you have the right specialist for each job. By leveraging technology, you can improve communication and efficiency in your handyman services.
In conclusion, managing the business side of handyman services requires careful consideration of budgeting and cost efficiency, building a network of trusted professionals, and leveraging technology for coordination. By implementing these strategies, you can provide your tenants with reliable and efficient handyman services, while also ensuring the profitability of your commercial property.
As a property manager, you know the importance of maintaining your properties to keep them in top condition and attract new tenants. One of the best ways to do this is by hiring a handyman service that can take care of all your property maintenance needs.
When it comes to finding the most valuable handyman services for property managers, there are several key factors to consider. First and foremost, you want to work with a reputable company that has a proven track record of providing high-quality services at reasonable prices.
Another important factor to consider is the range of services offered by the handyman service. Ideally, you want to work with a company that can handle everything from minor repairs and maintenance tasks to larger renovation projects. This will save you time and money in the long run, as you won’t have to hire multiple contractors for different tasks.
In addition to these factors, you should also look for a handyman service that is responsive and reliable. You want to work with a company that will be there when you need them, and that will respond promptly to any issues that arise.
Overall, by working with a reputable and reliable handyman service like Kaminskiy Care and Repair, you can rest assured that your properties are always in top condition and that you are providing your tenants with the best possible living experience. Contact us today
As a property manager, you may encounter a wide range of repair needs, from minor fixes to major renovations. Some of the most common repair services that property managers require include plumbing repairs, electrical work, HVAC maintenance, and carpentry.
Finding reliable handyman services can be a challenge, but there are several ways to go about it. One option is to ask for referrals from other property managers or real estate professionals. You can also search online for local handymen and read reviews from previous clients. Finally, you can contact a reputable property management company that offers handyman services as part of their suite of offerings.
When hiring a handyman to work with your property management company, it’s important to look for someone with a wide range of skills and experience. Ideally, your handyman should have experience with plumbing, electrical work, carpentry, and general maintenance tasks. They should also have a valid license and insurance, as well as a strong work ethic and attention to detail.
While there are no specific industry certifications for handymen, property managers may look for candidates with relevant training or certifications in specific areas, such as plumbing or electrical work. Additionally, property managers may prefer to work with handymen who have experience working with commercial properties or multi-unit residential buildings.
No price games. You get a clear written quote before any work begins, backed by our workmanship warranty.