Home repairs are an inevitable part of homeownership. Tackling home repairs on your own can be a rewarding experience. whether it’s fixing a leaky faucet, installing new fixtures, or patching up drywall, numerous projects require your attention. However, even the most seasoned DIY enthusiasts can make mistakes. These errors can turn a simple task into a frustrating ordeal, costing you time, money, and peace of mind. This guide will help you identify home repair mistakes and avoid these pitfalls, ensuring your home improvement projects go smoothly
One of the most significant home repair mistakes is diving into a project without proper planning. This oversight can lead to numerous issues, including wasted materials, extended timelines, and poor results.
Create a Detailed Plan: Outline each step of your project, including materials needed, estimated time, and potential challenges.
Research: Look up tutorials, read articles, and watch videos related to your project to understand the process thoroughly.
Prepare a Budget: Estimate the cost of materials and tools, and set aside a contingency fund for unexpected expenses.
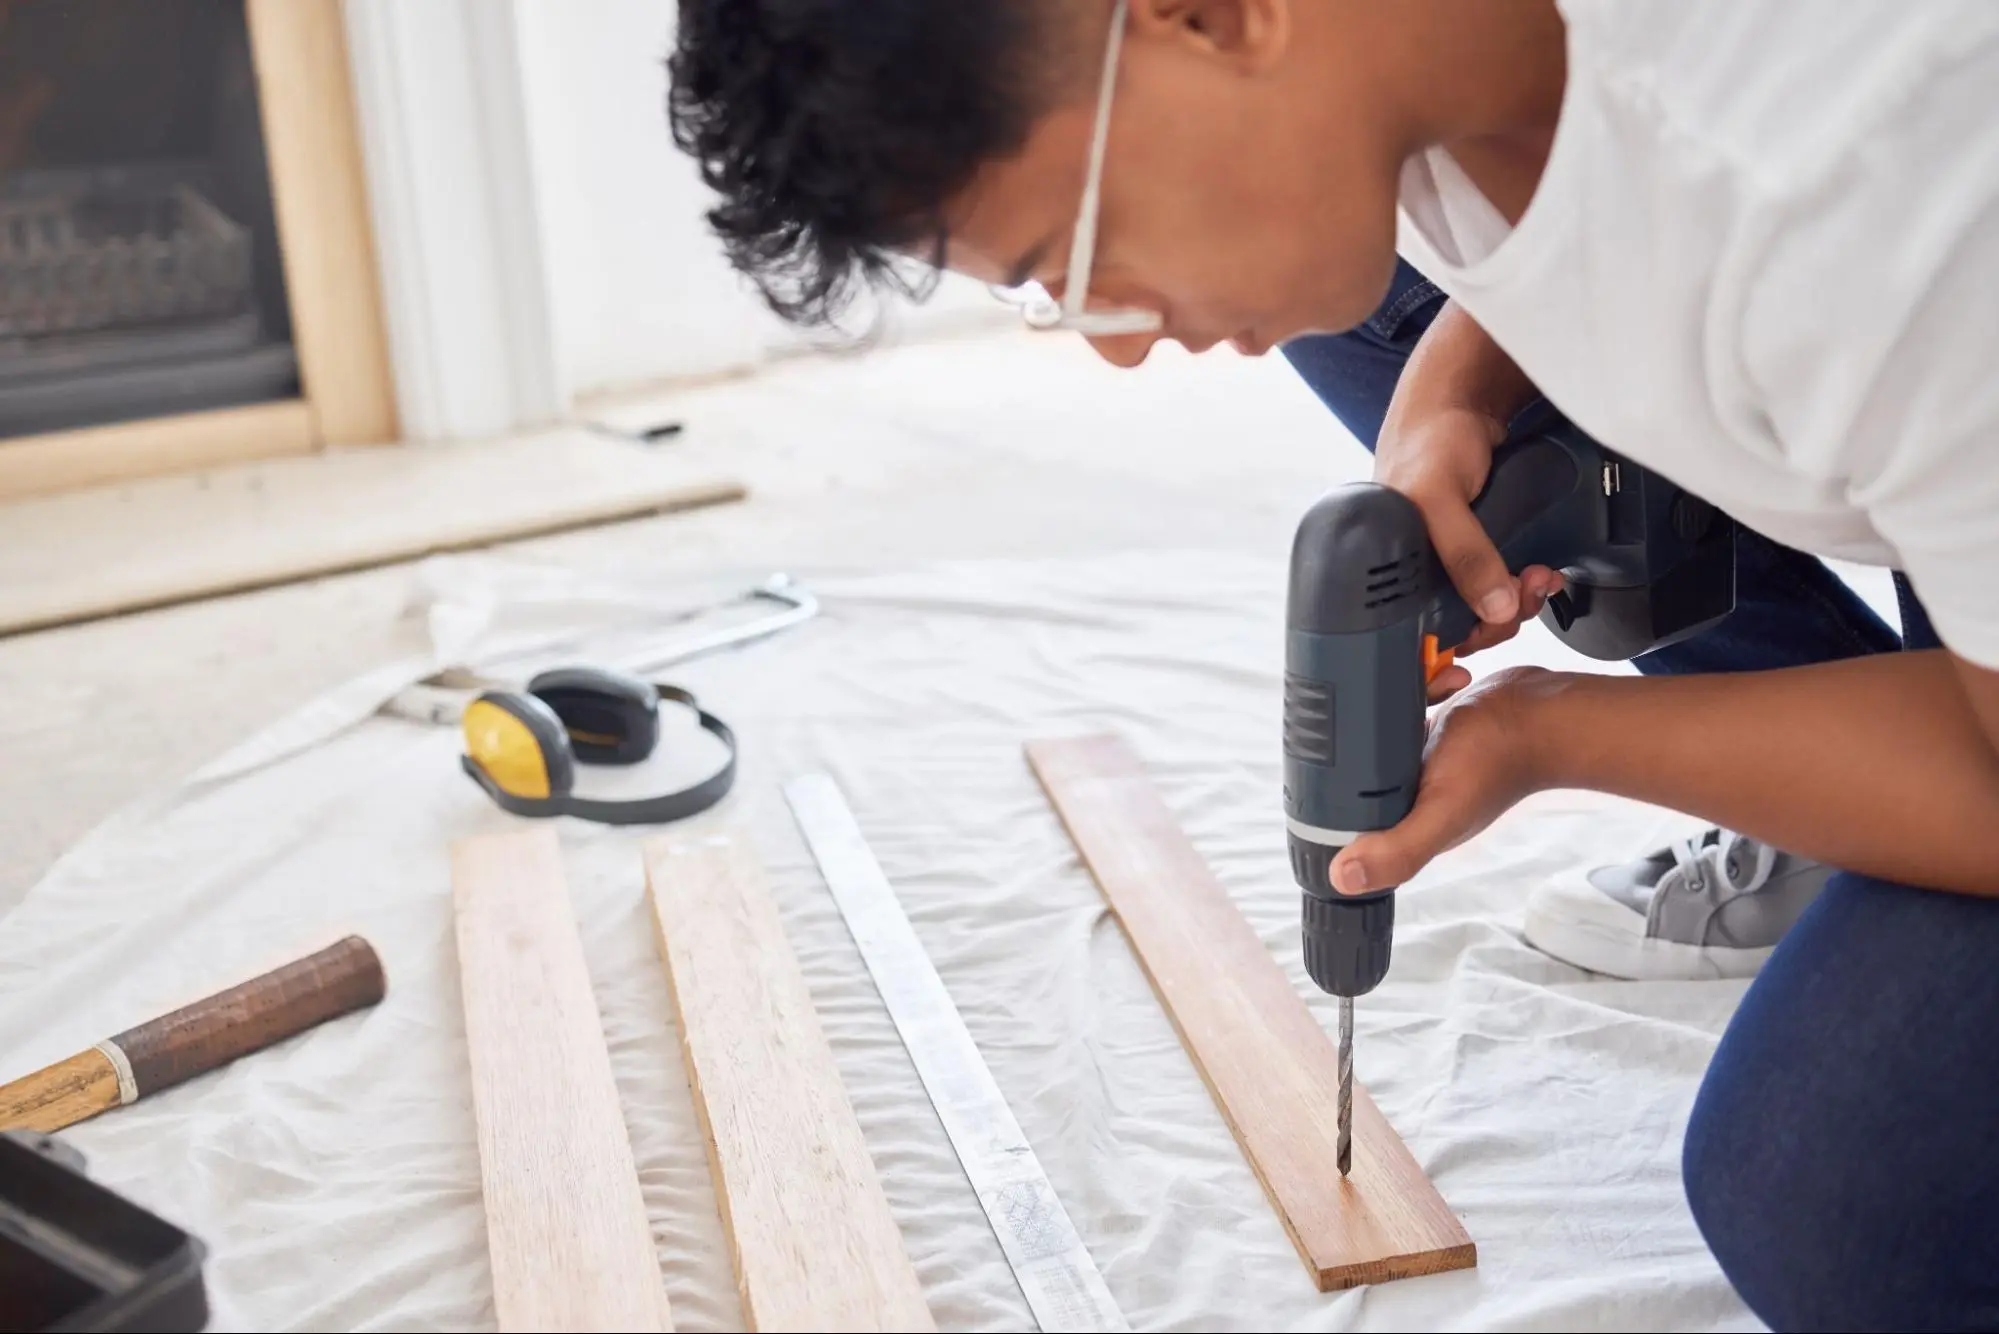
Using inappropriate or poor-quality tools is a common mistake that can hinder your progress and lead to subpar results. The right tools are essential for the efficiency and quality of your work.
Invest in Quality Tools: Purchase or rent high-quality tools that are appropriate for the task at hand. Cheap tools often break or fail to perform adequately.
Understand Tool Usage: Take the time to learn how to use each tool properly. This may involve reading manuals, watching tutorials, or seeking advice from experienced individuals.
Regular Maintenance: Keep your tools in good condition by cleaning and maintaining them regularly.
Home repairs can be hazardous if safety precautions are ignored. From electrical shocks to falls, the risks are numerous and can result in serious injuries.
Wear Safety Gear: Always wear appropriate safety gear, including gloves, goggles, and masks, to protect yourself from potential hazards.
Follow Safety Guidelines: Adhere to safety guidelines and best practices for each task. For instance, turn off the power when working on electrical repairs and ensure proper ventilation when using chemicals.
Use Tools Safely: Operate tools according to the manufacturer’s instructions and never bypass safety features.
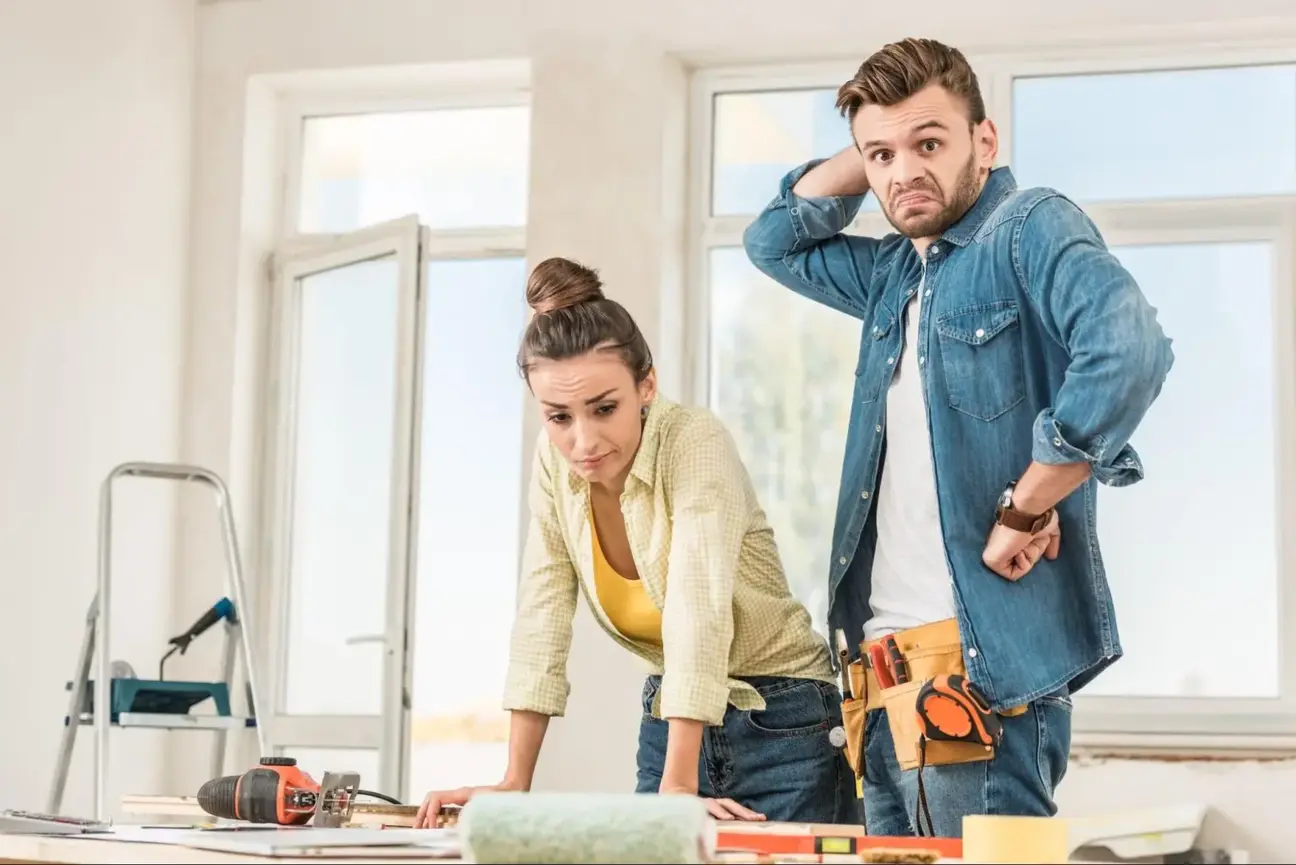
Many DIY enthusiasts underestimate the complexity of their projects, leading to frustration and incomplete work. Overconfidence can result in mistakes that are difficult to rectify.
Assess Your Skills: Be honest about your skill level and choose projects that match your abilities. Don’t hesitate to seek help or hire a professional for more complex tasks.
Break Down the Project: Divide the project into smaller, manageable tasks. This makes it easier to handle and allows you to focus on one aspect at a time.
Start Small: If you’re new to DIY repairs, start with smaller projects to build your confidence and skills before tackling larger ones.
Using substandard materials can lead to poor results and may require frequent repairs, costing you more in the long run.
Choose Quality Over Cost: While it may be tempting to save money by purchasing cheaper materials, investing in high-quality products will pay off in the long term.
Consult Experts: Seek advice from professionals or knowledgeable individuals to choose the best materials for your project.
Read Reviews: Check reviews and ratings of products before purchasing to ensure they meet quality standards.
Home repairs require careful planning, the right tools, safety precautions, and quality materials. By understanding and avoiding common mistakes such as skipping planning, using the wrong tools, ignoring safety, underestimating complexity, choosing poor-quality materials, and not following instructions, you can ensure successful and efficient home repairs.
For those times when a project is beyond your skill level or you simply want the job done right, consider partnering with Kaminskiy Care and Repair. Our experts can handle everything from minor fixes to major renovations, providing high-quality workmanship and peace of mind. Contact us today
Squeaky floors and doors can be a constant source of irritation in your home. Whether it’s the creaking sound that accompanies every step or the groaning noise of a door opening and closing, these small issues can disrupt your peace. Fortunately, fixing these common household problems doesn’t always require professional intervention. In this handyman’s guide, we’ll walk you through practical steps to eliminate squeaks from floors and doors, helping you restore quiet and tranquility to your home.
Before diving into the fixes, it’s important to understand what causes floors and doors to squeak:
Floors: Floor squeaks often occur due to loose or warped floorboards, gaps between the subfloor and joists, or nails that have worked their way loose.
Doors: Squeaky doors are usually caused by friction between the door and the frame, loose hinges, or lack of lubrication.
By identifying the root cause, you can choose the most appropriate solution for each squeak.
GathThest step to a successful repair. He is gathering the right tools and materials’s a list of what you’ll need:
For Floors the following tools are necessary:
For Doors the following tools are necessary:
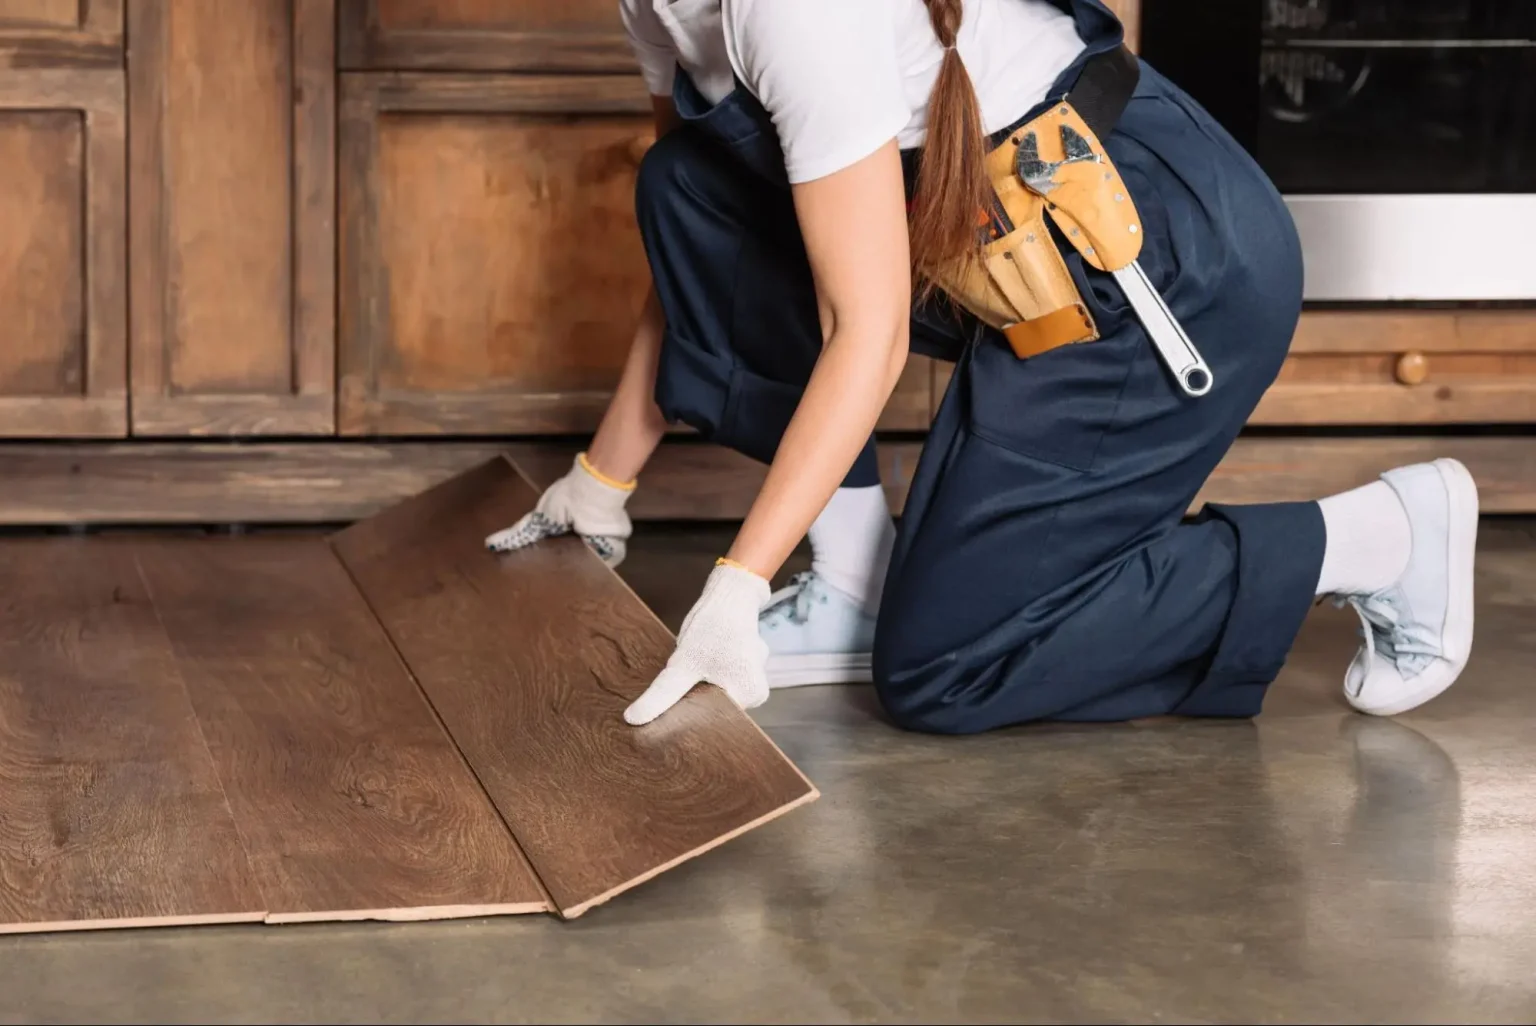
Squeaky floors can be addressed from both above and below the floorboards. Here are some strategies to silence those annoying noises.
When accessing the floor from above, consider these steps:
Locate the Squeak: Walk around to pinpoint the exact location of the squeak.
Secure Loose Boards: Drive nails or screws into the squeaky board to secure it to the subfloor. Be careful not to damage the floor’s finish.
Use Wood Shims: Insert wood shims between the joist and the subfloor to eliminate gaps causing the squeak. Apply the carpenter’s glue to the shim for a more permanent fix.
Lubricate: Sprinkle powdered graphite or spray lubricant into the seams of the floorboards to reduce friction.
If you have access to the underside of the floor (such as in a basement), you can address squeaks more effectively by first locating the source of the squeak, and then installing wooden blocks between the joists and the subfloor to stabilize loose boards.
Finally Drive screws up through the joist into the subfloor to pull the two surfaces together, eliminating movement and squeaks.
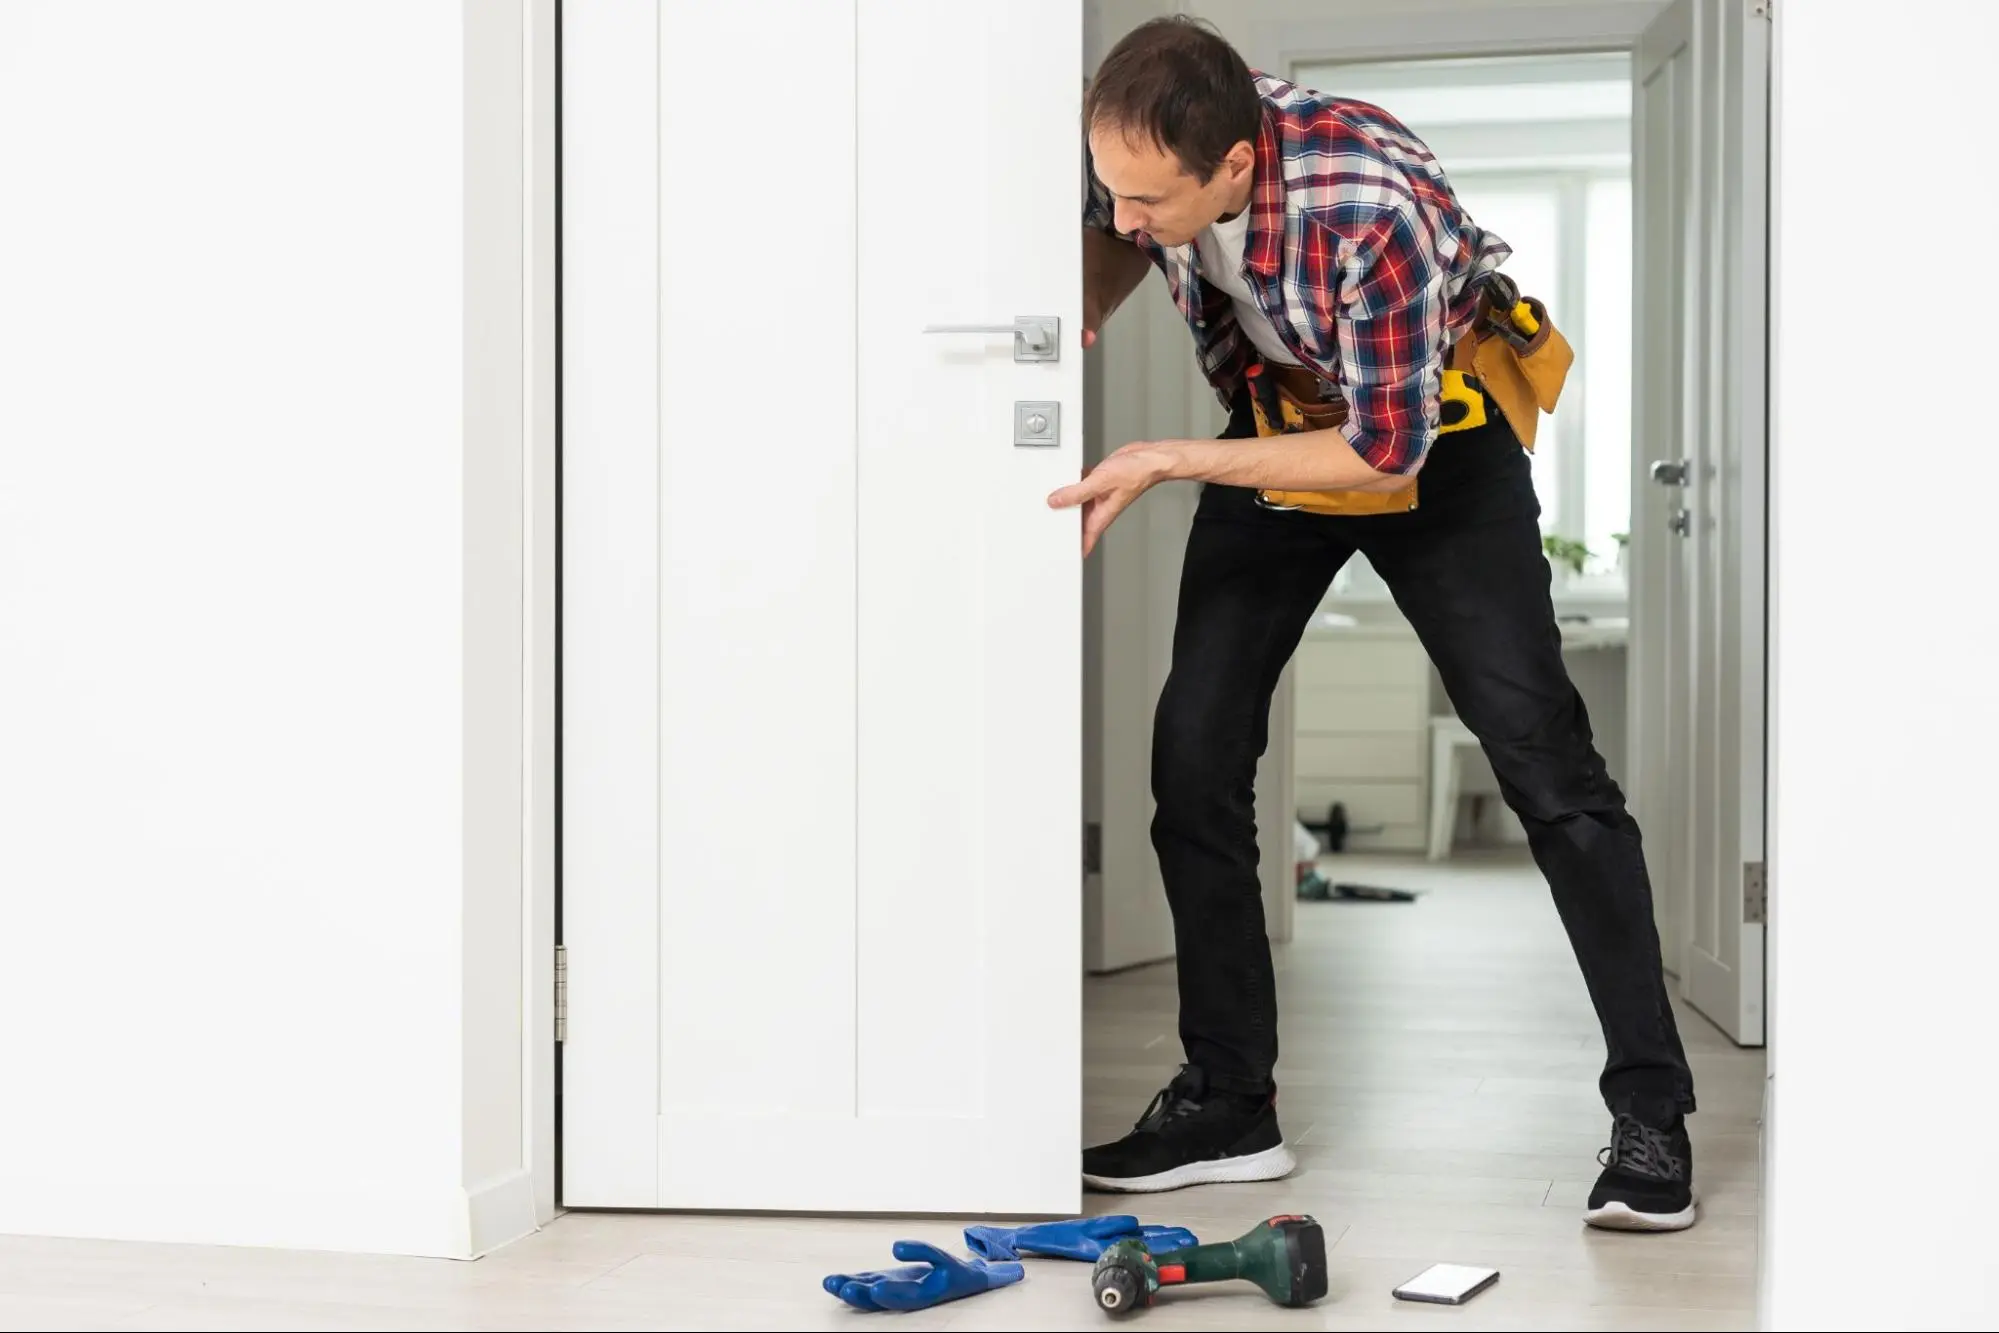
Fixing squeaky doors is usually easier than fixing squeaky floors. Here’s how to silence those creaks.
One of the most common causes of squeaky doors is dry or dirty hinges. Here’s how to fix it:
Remove the Hinge Pin: Use a screwdriver to gently tap out the hinge pin from the hinge.
Clean the Pin and Hinge: Wipe away any dirt or grime from the pin and hinge with a cloth.
Apply Lubricant: Coat the hinge pin with a suitable lubricant, such as silicone spray or petroleum jelly.
Reinsert the Pin: Place the pin back into the hinge and move the door back and forth to distribute the lubricant.
Loose or damaged hinges can also cause doors to squeak. Here’s how to address this issue:
Tighten Screws: Use a screwdriver to tighten all the screws in the hinge. If the screw holes are stripped, you may need to replace the screws with longer ones or fill the holes with wood filler before re-tightening.
Replace Hinges: If the hinges are old or damaged, consider replacing them with new ones. Make sure to choose hinges that match the size and style of the original ones.
Add a Shim: If the door is rubbing against the frame, insert a shim or piece of cardboard between the hinge and the door frame to create a better fit.
By following the above-listed steps you can save yourself the cost of replacing new doors
Fixing squeaky floors and doors involves understanding the causes, using the right tools and materials, and applying effective strategies. By addressing loose boards, gaps, and friction, you can eliminate annoying squeaks and enjoy a quieter home.
While many squeaky floor and door issues can be handled with a DIY approach, some problems may require professional assistance. Partnering with a reliable service provider like Kaminskiy Care and Repair can ensure a thorough and effective solution.
We offer expert handyman services, including floor and door repairs. Our team of professionals can assess your home’s specific needs and provide tailored solutions to eliminate squeaks and improve overall functionality. Contact us today
Choosing the right hardware is a critical step in ensuring the success of any handyman project. Whether you’re installing shelves, assembling furniture, or tackling more complex repairs, the hardware you select can significantly impact the durability and functionality of your work.
When it comes to handyman projects, the importance of selecting the correct hardware cannot be overstated. The right screws, nails, bolts, and other components not only ensure the stability and longevity of your work but also make the task easier and more efficient. With a vast array of hardware options available, it can be overwhelming to determine what you need for each specific job. This guide aims to simplify the process, offering practical advice on how to choose the best hardware for your projects.
Selecting the right hardware for your projects involves understanding the requirements of the task at hand and the properties of different hardware types. Here’s a comprehensive guide to help you make the right choices.
Before purchasing hardware, it’s essential to thoroughly understand the requirements of your project. Here are some factors to consider:
Weight and Load: Consider the weight and load-bearing capacity of the items you are working with. For heavy objects, choose hardware that can support the weight without bending or breaking.
Material Compatibility: Ensure that the hardware is compatible with the materials you are using. For example, wood screws are designed differently from metal screws. Environmental Conditions: Think about the environment where the hardware will be used. For outdoor projects, opt for hardware that is rust-resistant and can withstand weather conditions.
Different types of hardware serve various purposes. Here’s a breakdown of common hardware types and their uses:
Screws: Screws are versatile and come in many sizes and types, such as wood screws, machine screws, and sheet metal screws. They are ideal for tasks requiring strong, secure fastening.
Nails: Nails are commonly used in woodworking projects and framing. They come in different lengths and gauges and are typically less expensive than screws.
Bolts and Nuts: Bolts and nuts are used for assembling parts that need to be disassembled later. They provide a strong, secure connection and are available in various sizes.
Anchors: Anchors are used to secure screws or bolts into materials like drywall or masonry. They provide additional support and prevent the hardware from pulling out.
Hinges: Hinges are crucial for doors, cabinets, and other items that require pivoting or swinging movement. Choose hinges based on the weight and size of the item.
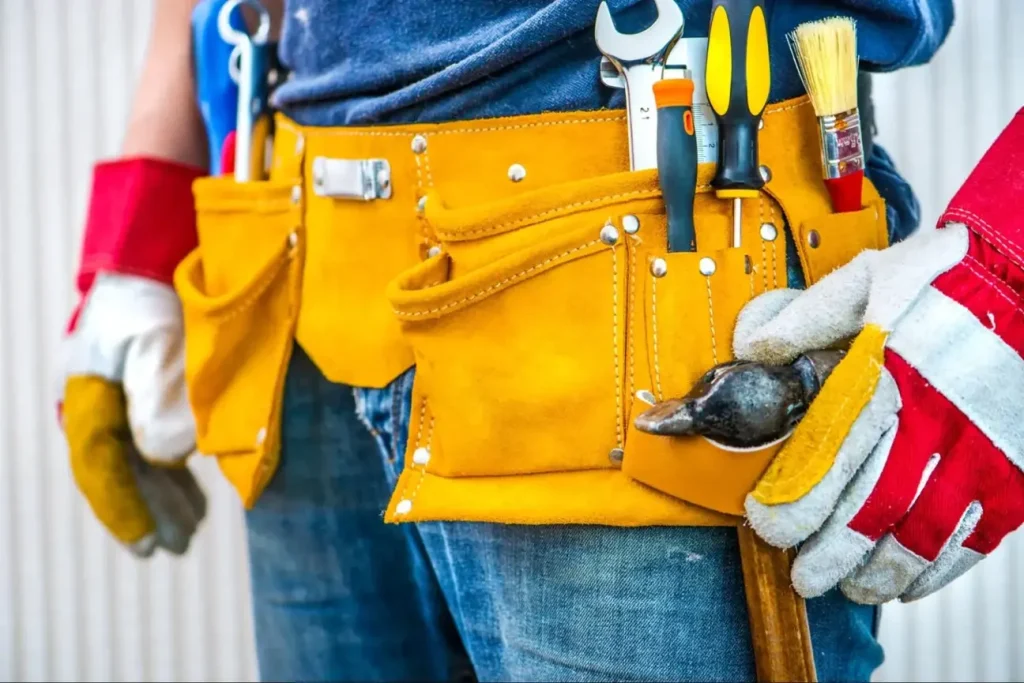
Selecting the right hardware can be challenging, but these tips will help you make the best choice for your handyman projects.
While it might be tempting to opt for cheaper hardware, investing in high-quality materials is crucial for the durability and success of your project. High-quality hardware is less likely to fail, ensuring a longer-lasting and more reliable outcome.
Always read the specifications and labels on hardware packaging. These provide essential information about the hardware’s size, material, and suitable applications. Understanding these details will help you choose the right items for your project.
Size and Length: Ensure the hardware size matches the requirements of your project. Using screws or nails that are too long or too short can compromise the integrity of your work.
Material: Check the material of the hardware. For example, stainless steel is ideal for outdoor use due to its rust-resistant properties.
Load Capacity: Verify the load capacity of the hardware, especially for projects involving heavy loads.
Avoiding common mistakes can save you time, money, and frustration. Here are some pitfalls to watch out for:
Using the wrong type of hardware can lead to project failure. For example, using wood screws for metal can result in stripped threads and weak joints. Always match the hardware to the material and purpose.
For many projects, pre-drilling holes can prevent wood from splitting and ensure a more secure fit for screws. This step is especially important for hardwoods and large screws.
Appropriate Drill Bit Size: Use a drill bit that matches the diameter of the screw shank.
Depth Control: Drill to the correct depth to avoid weakening the material.
Selecting the right tools for your handyman projects involves understanding the specific requirements of each task, choosing high-quality materials, and avoiding common mistakes. By considering factors such as weight, material compatibility, and environmental conditions, you can ensure your projects are successful and durable.
By following this guide, you can confidently choose the right hardware for your handyman projects, ensuring success and longevity in your home improvements. Whether you’re a seasoned DIYer or just starting, understanding the importance of the right hardware will help you achieve professional-quality results.
Choosing the right hardware is essential, but sometimes it’s best to leave complex or large-scale projects to the professionals. Partnering with a reliable service provider like Kaminskiy Care and Repair can ensure your projects are completed to the highest standards.
Kaminskiy Care and Repair offers expert handyman services, including guidance on selecting the right hardware. Our team of experienced professionals can handle everything from minor repairs to major renovations, providing quality workmanship and peace of mind. Contact us today
Your outdoor living space is an extension of your home, offering a place to relax, entertain, and enjoy the beauty of nature. However, transforming your outdoor space into a functional and inviting oasis can be a daunting task. This is where skilled handymen come in. They can help you tackle a variety of projects, from minor repairs to major renovations, ensuring your outdoor space meets your needs and aesthetic preferences. This guide will highlight the many ways handymen can assist in transforming your outdoor space, making it a perfect place for relaxation and entertainment.
Decks and patios are central features of many outdoor living spaces. They provide a platform for outdoor furniture, barbecues, and social gatherings.
If you’re looking to add a new deck or patio, a handyman can assist with the entire process:
Design and Planning: Work with you to design a deck or patio that fits your space and meets your needs.
Material Selection: Help you choose the best materials, whether it’s wood, composite, stone, or concrete.
Construction: Handle all aspects of construction, from laying the foundation to installing the finishing touches.
Existing decks and patios can suffer from wear and tear over time. A handyman can provide necessary repairs and maintenance:
Replacing Damaged Boards: A handyman can fix or replace broken or rotten boards to ensure safety and aesthetics.
Power Washing and Sealing: Clean and seal surfaces to protect against the elements and prolong the life of the deck or patio.
Structural Repairs: A handyman is capable of accessing any foundational issues to prevent further damage.

Landscaping plays a crucial role in the overall look and feel of your outdoor space. A well-maintained yard can boost curb appeal and provide a beautiful backdrop for your home.
Handymen can help you create and maintain various garden features:
Planting Trees and Shrubs: Assist with the selection and planting of trees, shrubs, and flowers to enhance your landscape.
Building Garden Beds: Construct raised garden beds or flower beds to add structure and visual interest.
Installing Irrigation Systems: Set up irrigation systems to ensure your plants receive adequate water without manual effort.
Outdoor structures such as pergolas, gazebos, and sheds can enhance the usability and charm of your outdoor space.
These structures provide shade and a focal point for your outdoor area:
Design Consultation: A handyman can help design a pergola or gazebo that complements your existing landscape and meets your needs.
Construction: They manage the construction process from start to finish, ensuring a sturdy and attractive final product.
Finishing Touches: They are vital in adding features like lighting, seating, or climbing plants to enhance the functionality and aesthetics.

Proper lighting can extend the usability of your outdoor space into the evening hours and enhance safety and security.
Landscape lighting highlights the beauty of your yard and provides practical illumination for pathways and entertainment areas: A handyman can perform the following tasks:
Design and Placement: Plan the placement of lights to create a balanced and inviting atmosphere.
Types of Lighting: Recommend and install various types of lighting, including solar, LED lighting, and low-voltage options.
Installation: Handle all aspects of installation, ensuring proper wiring and placement.
Handymen can play a vital role in transforming your outdoor living space. From constructing and repairing decks and patios to enhancing your landscaping, building outdoor structures, and upgrading lighting, their expertise can bring your vision to life.
Transforming your outdoor living space is a significant undertaking, but you don’t have to do it alone. Partnering with a reliable service provider like Kaminskiy Care and Repair can ensure your projects are completed to the highest standards.
Kaminskiy Care and Repair offers a wide range of handyman services tailored to your outdoor needs. Our team of skilled professionals can handle everything from building decks and patios to enhancing your landscaping and installing outdoor lighting. Contact us today
Wallpaper can add a beautiful and personalized touch to any room in your home. However, the process of removing old wallpaper and installing new wallpaper can be daunting if you’re not prepared.
Updating your home with new wallpaper can transform a space, adding color, texture, and personality. Whether you’re changing the style of a single room or updating multiple areas, knowing how to properly remove old wallpaper and install new wallpaper is crucial.
Poorly removed wallpaper can leave behind a damaged surface, and improper installation can lead to bubbles, wrinkles, and misaligned patterns. This article will walk you through the steps to ensure a seamless and efficient wallpaper removal and installation process.
To achieve the best results, it’s important to approach wallpaper removal and installation methodically. Here are some detailed tips to guide you through each stage of the process.
Before you start removing wallpaper, proper preparation is key. Here’s how to get ready for the task:
Having the right tools and materials on hand will make the removal process smoother and more efficient. You will need:
Protecting your floors and furniture from water and debris is crucial. Here’s how:
Cover the Floor: Lay down drop cloths or plastic sheeting to protect your floors from water damage and debris.
Tape Off Areas: Use painter’s tape to secure the plastic sheeting and protect baseboards, trim, and electrical outlets.
Move Furniture: Move any furniture away from the walls to create a clear working space.
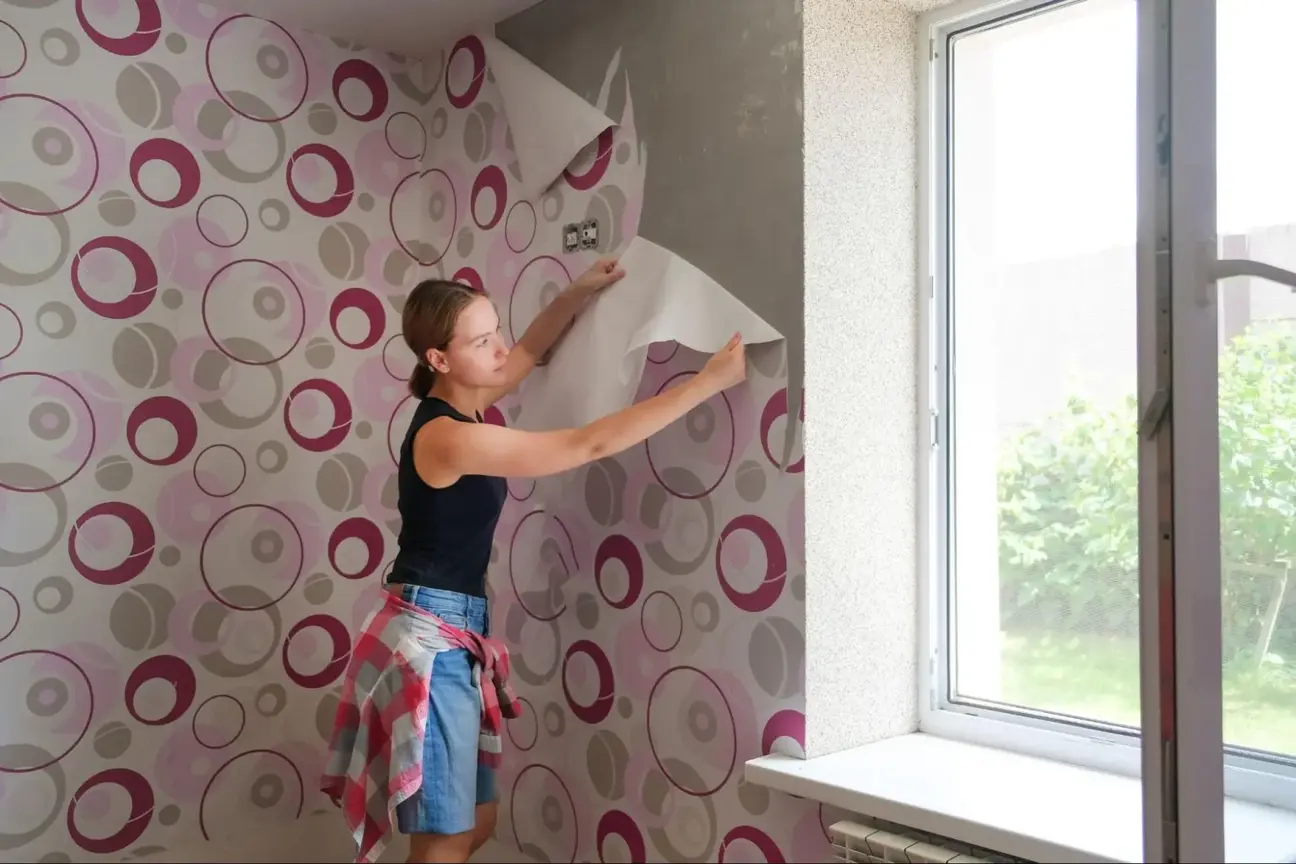
With your space prepared, it’s time to start removing the wallpaper. Follow these steps for efficient removal:
Scoring creates small perforations in the wallpaper, allowing water or removal solution to penetrate and loosen the adhesive. Use a scoring tool to lightly score the surface in a circular motion. Be careful not to damage the wall beneath.
Fill a spray bottle with warm water or a wallpaper removal solution. Lightly spray the scored wallpaper, focusing on a small section at a time. Let it soak for 10-15 minutes to loosen the adhesive.
Use a wallpaper scraper or putty knife to gently lift the wallpaper from the wall, starting at the seams or edges. Work slowly to avoid damaging the drywall. If the wallpaper is stubborn, use a steamer to further loosen the adhesive.
After removing the wallpaper, clean the walls to remove any remaining adhesive. Use a sponge or cloth with warm water and mild detergent to wipe down the surface. Allow the walls to dry completely before proceeding with the new wallpaper installation.

Installing new wallpaper can be a rewarding task if done correctly. Here’s how to achieve a professional-looking finish:
Proper wall preparation is crucial for a smooth wallpaper installation. Follow these steps:
Inspect the walls for any damage such as holes in drywalls, cracks, or uneven surfaces. Use spackle or joint compound to fill in any imperfections. Sand the repaired areas smooth once they are dry.
Applying a primer ensures better adhesion of the wallpaper and helps to create an even surface. Choose a primer designed for wallpapering and apply it evenly with a roller. Allow the primer to dry completely before hanging the wallpaper.
Accurate measurements are key to a successful wallpaper installation. Here’s how to do it:
Measure the Walls: Measure the height and width of each wall to determine the amount of wallpaper you will need. Add a few extra inches to each measurement to allow for trimming and matching patterns.
Cut the Wallpaper: Cut the wallpaper into manageable strips, leaving extra length at the top and bottom for trimming. If your wallpaper has a pattern, be sure to match the pattern across strips for a seamless look.
Now that your walls are prepped and the wallpaper is cut, it’s time to start hanging it. Follow these steps for the best results:
Apply the Adhesive: If you’re using unpasted wallpaper, apply the wallpaper adhesive to the back of the first strip using a brush or roller. Be sure to cover the entire surface evenly. For pre-pasted wallpaper, follow the manufacturer’s instructions for activating the adhesive.
Position the Wallpaper: Start at a corner or along a plumb line to ensure the first strip is straight. Position the top of the wallpaper strip at the ceiling, allowing the excess to overlap at the top and bottom. Smooth the wallpaper from the center outward to remove air bubbles and ensure proper adhesion.
Trim the Excess: Use a sharp utility knife to trim the excess wallpaper at the ceiling and baseboard. Repeat the process for each strip, carefully aligning patterns and smoothing out bubbles.
Wallpaper removal and installation require careful preparation and attention to detail. By following these steps and tips, you can ensure that your wallpaper removal and installation project is smooth and successful. Whether you’re updating a single room or your entire home, fresh wallpaper can make a significant difference in the overall look and feel of your space.
While wallpaper removal and installation can be a satisfying DIY project, sometimes it’s best to leave it to the professionals. Partnering with a reliable service provider like Kaminskiy Care and Repair ensures that your wallpapering project is handled with precision and expertise. Contact us today.
Home maintenance can often feel like a never-ending task. While some repairs and improvements require extensive time and effort, many common issues can be quickly and efficiently resolved by a skilled handyman.
Maintaining your home involves addressing a myriad of small issues that arise over time. From squeaky doors to leaky faucets, these minor problems can accumulate and become a significant nuisance. Fortunately, a professional handyman can tackle many of these tasks swiftly and effectively, often completing them in under an hour. This guide will highlight some of the most common quick fixes that can enhance the comfort and functionality of your home.
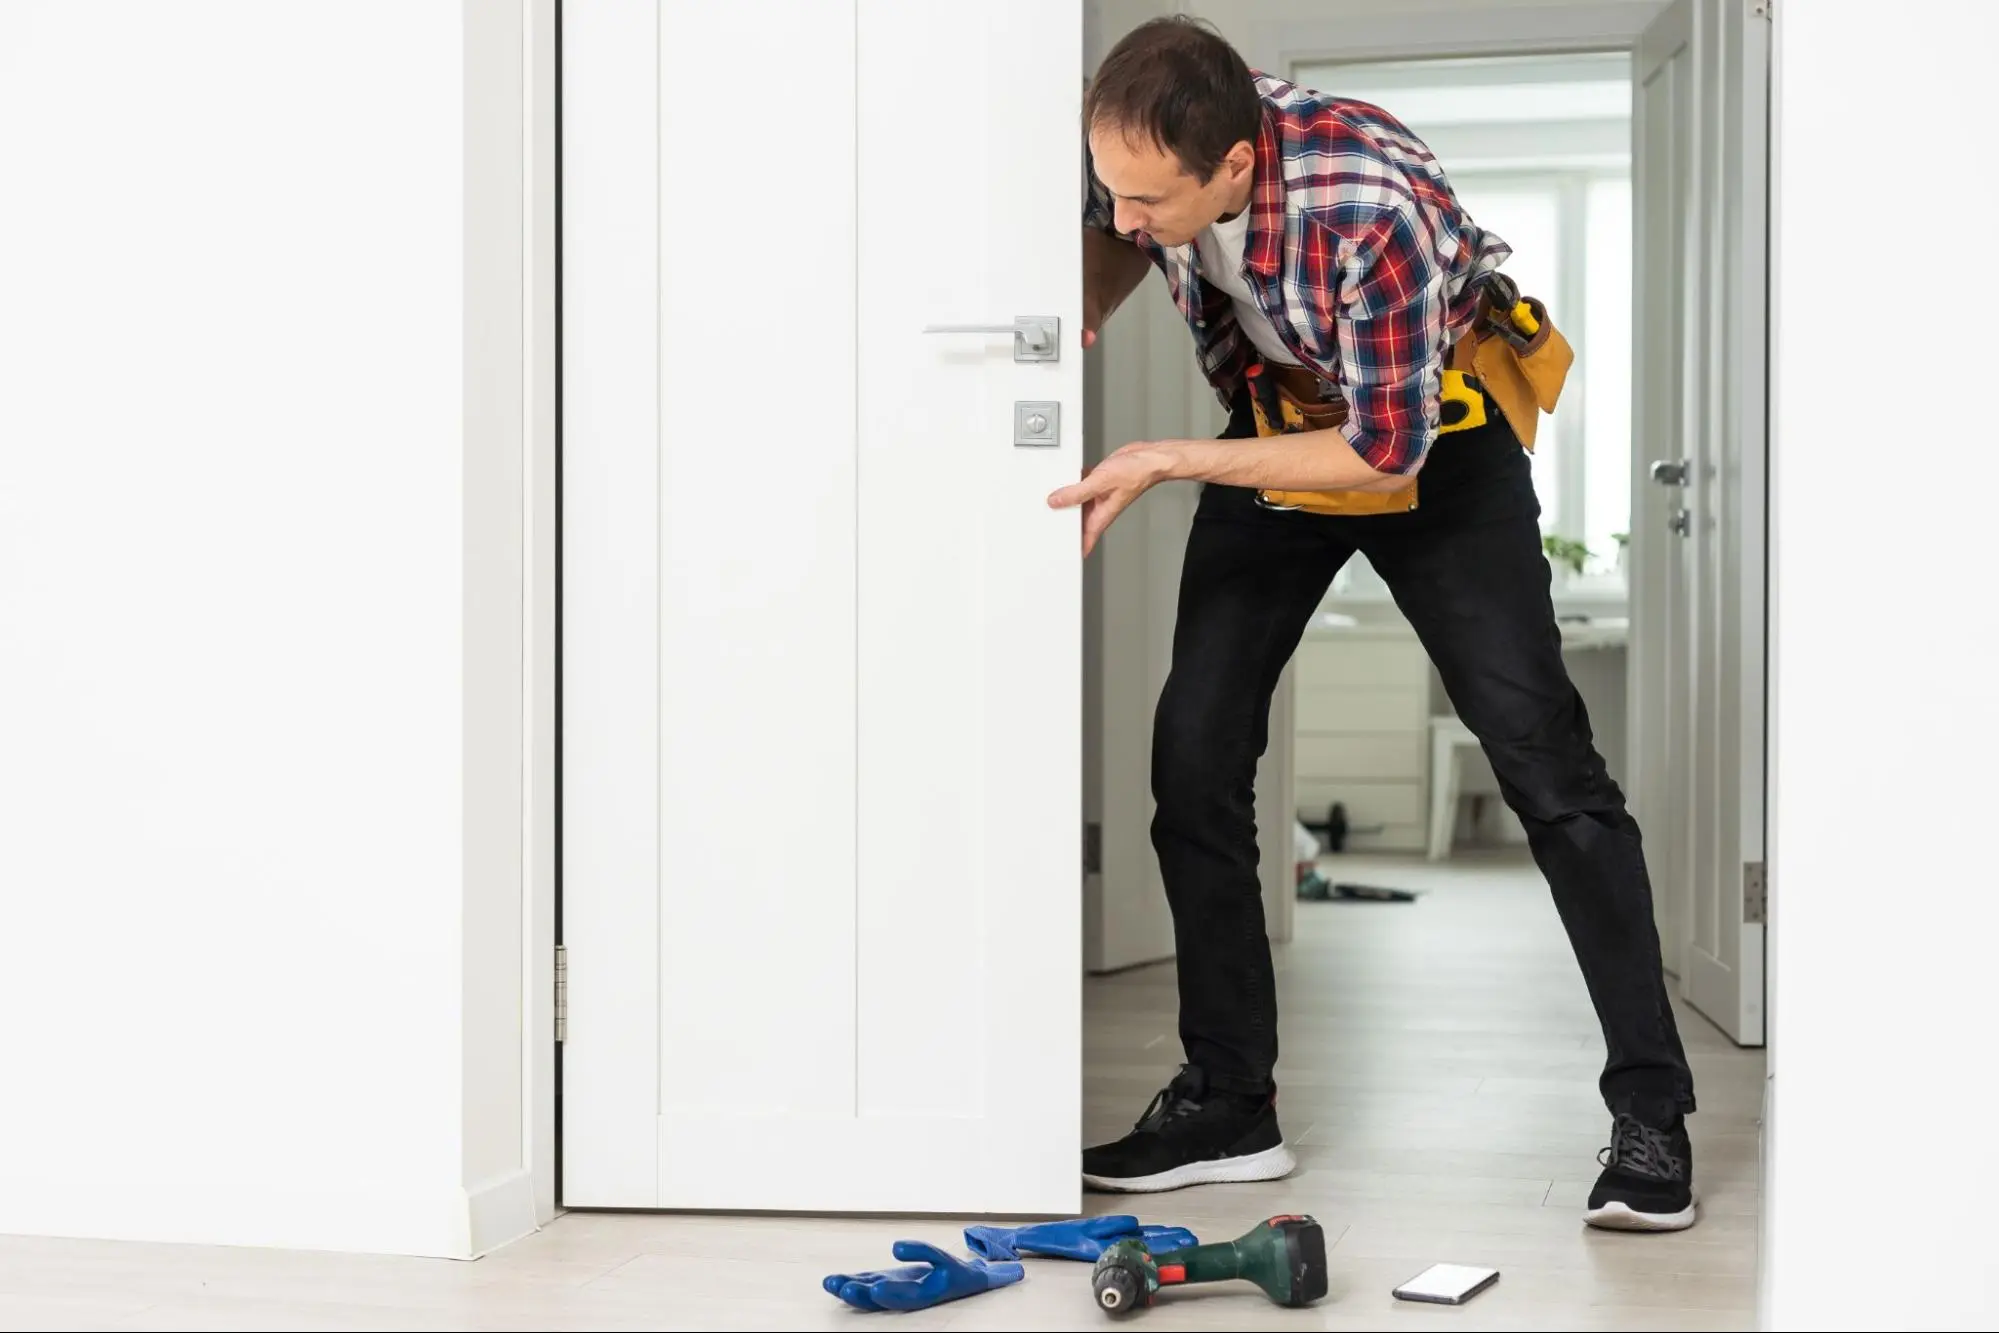
Squeaky doors and floors are not only annoying but can also indicate underlying issues. Addressing these problems promptly can prevent further damage and maintain a peaceful environment.
A handyman can quickly eliminate squeaks by lubricating door hinges and floorboards. Here’s how:
1. Hinges: Applying a suitable lubricant such as WD-40 to door hinges can stop squeaking and ensure smooth operation. The handyman will remove the hinge pins, clean them, apply the lubricant, and then reassemble the hinge.
2. Floorboards: For squeaky floors, the handyman can sprinkle powdered graphite or use a silicone spray between the floorboards. If necessary, they can also tighten loose floorboards using screws or nails.
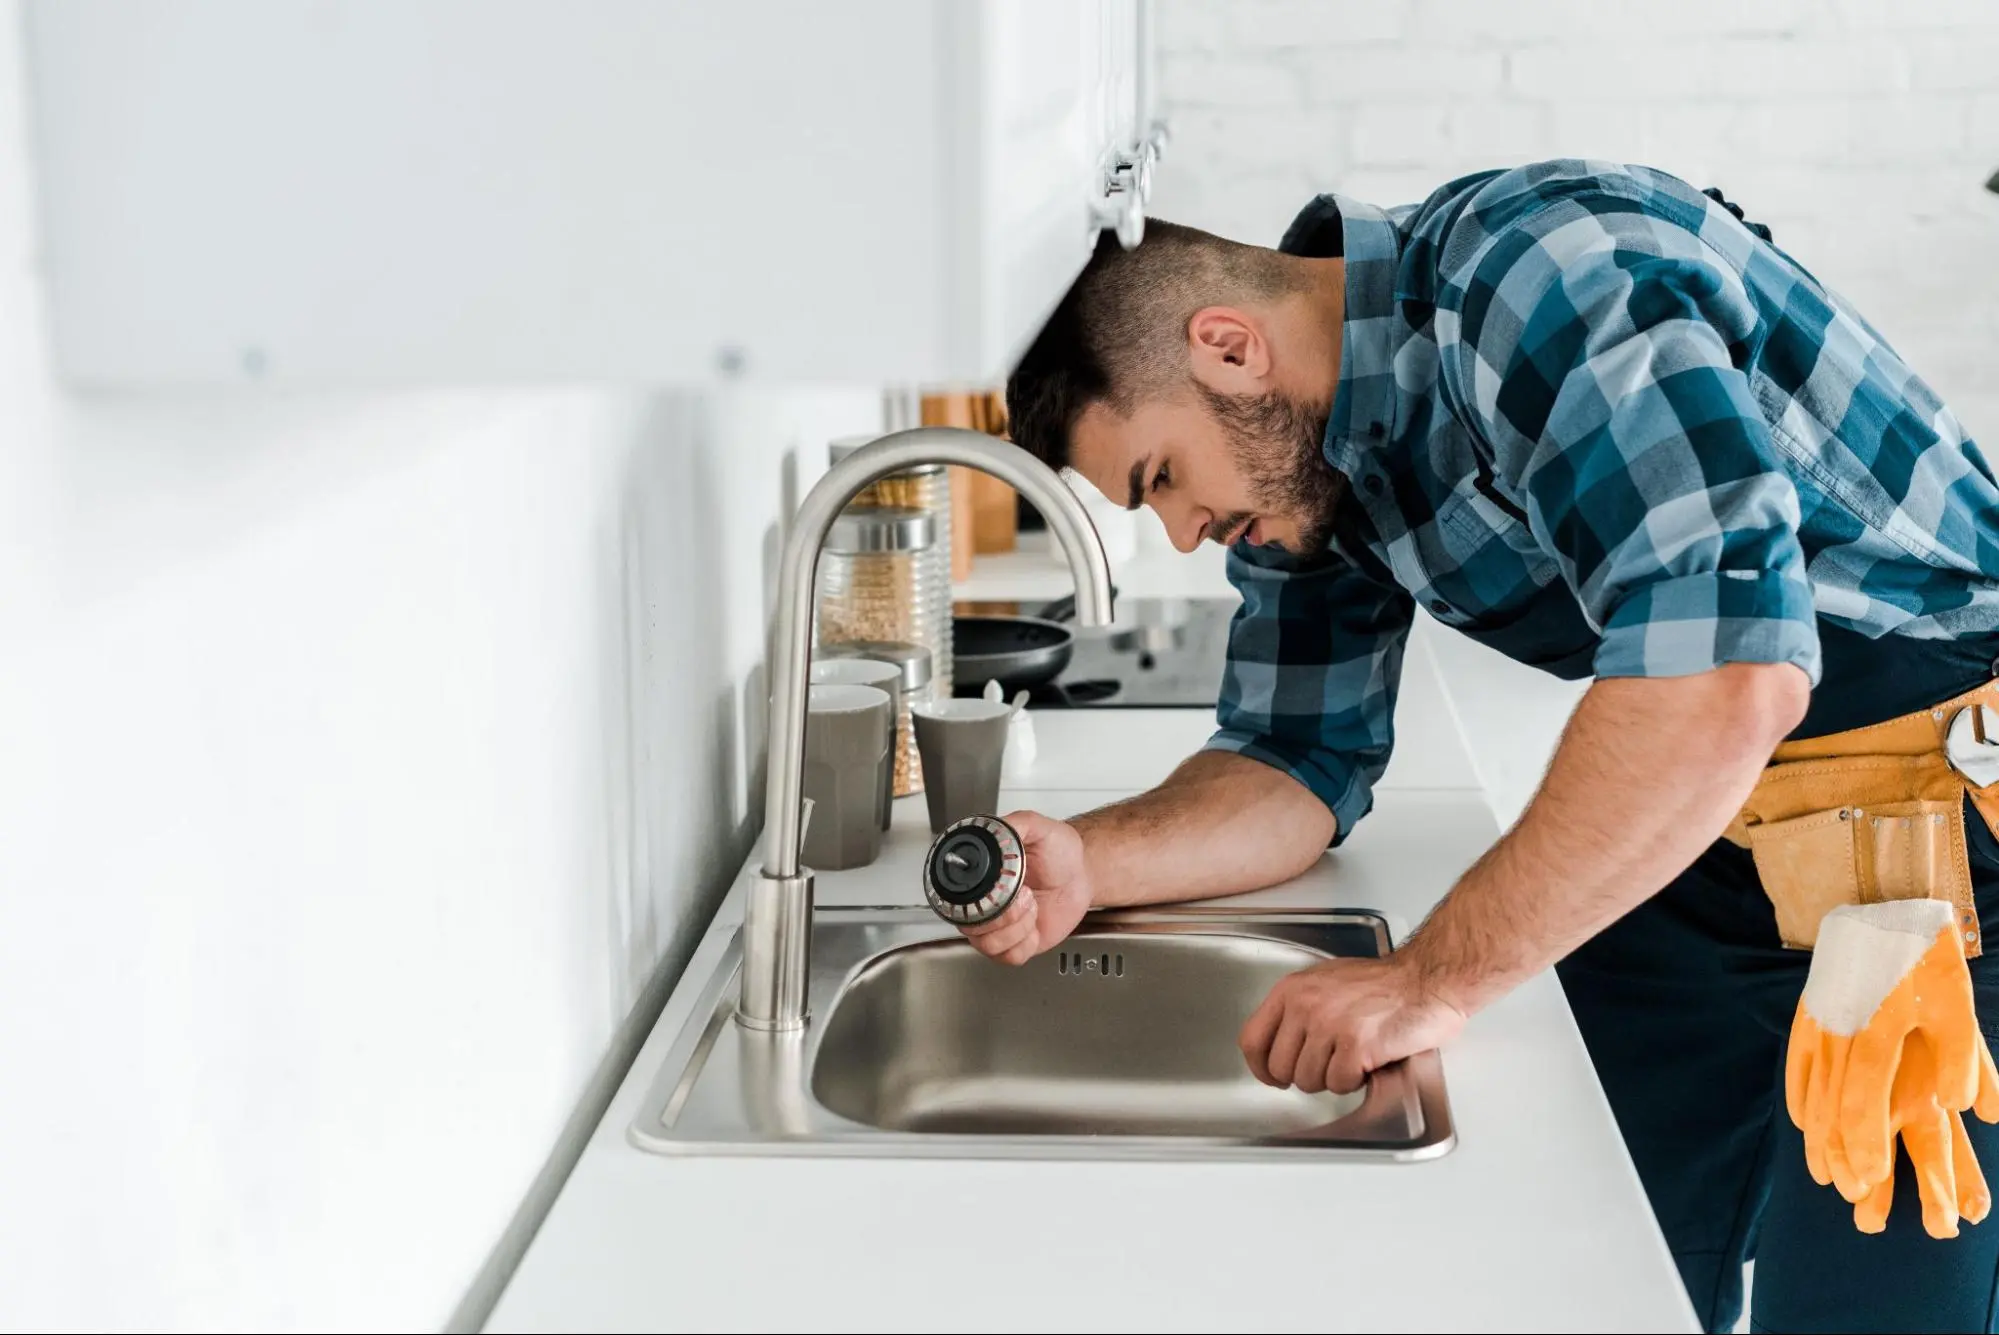
Leaky faucets are a common issue that can waste water and increase your utility bills. A skilled handyman can often fix a leaky faucet in under an hour.
The most common cause of a leaky faucet is a worn-out washer or cartridge. The handyman will take the following steps:
Turn Off Water Supply: Before starting, the water supply to the faucet will be turned off.
Disassemble the Faucet: The handyman will remove the handle and other components to access the washer or cartridge.
Replace the Washer or Cartridge: The worn-out part will be replaced with a new one.
Reassemble the Faucet: After replacing the faulty component, the faucet will be reassembled and tested to ensure the leak is fixed.
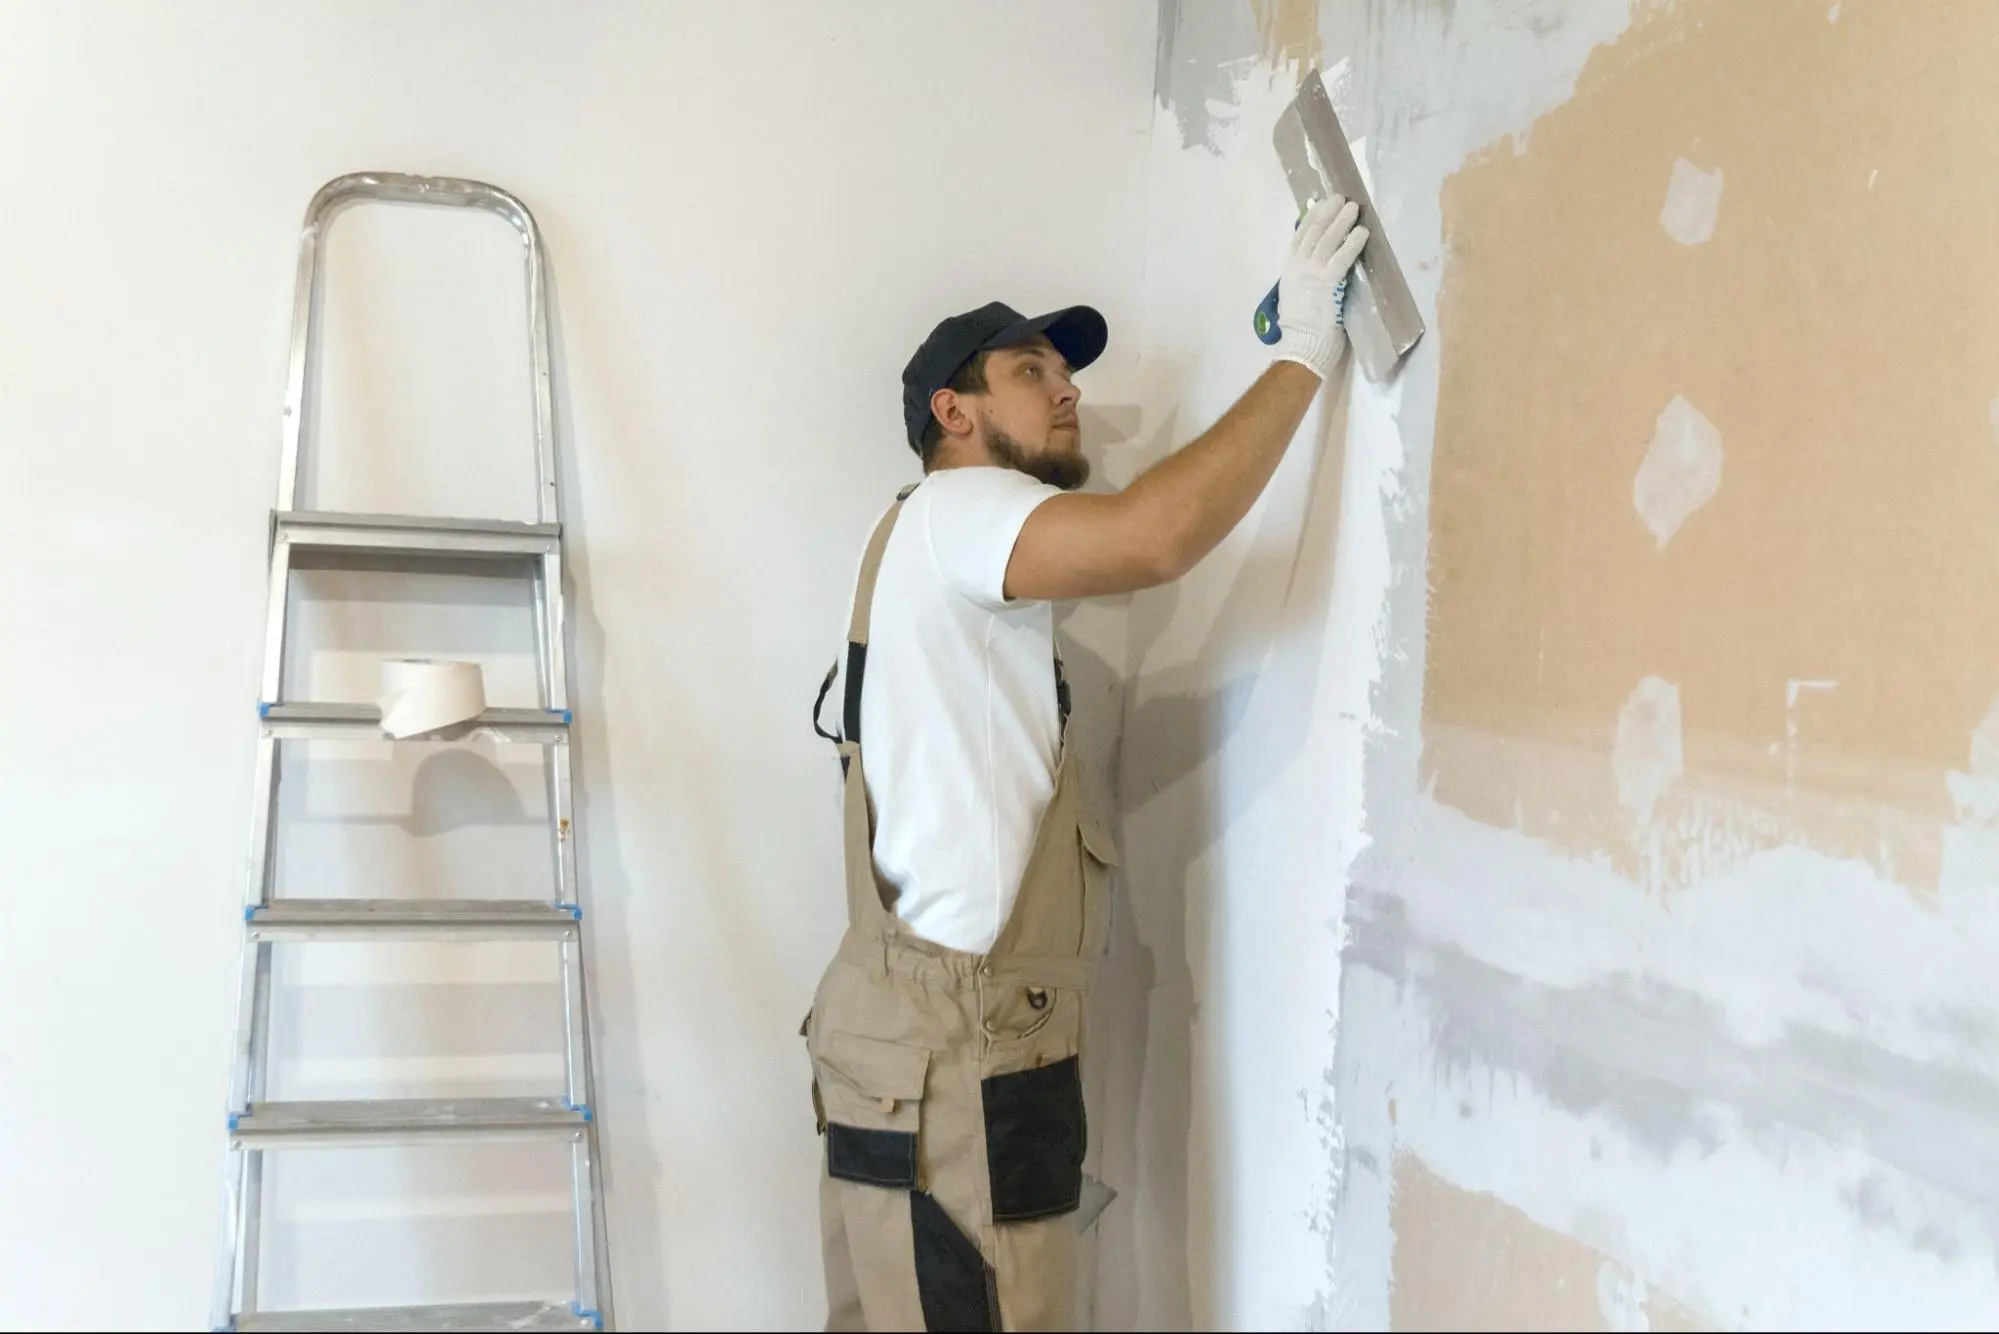
Small holes in drywall are unsightly and can detract from the overall appearance of your home. A handyman can patch holes in drywalls quickly and efficiently.
A patch kit is a simple solution for repairing small holes in drywall. The handyman will:
Prepare the Area: The area around the hole will be cleaned and smoothed.
Apply the Patch: A self-adhesive patch is placed over the hole.
Apply Joint Compound: The handyman will apply the joint compound over the patch and smooth it out.
Sand and Paint: Once the compound is dry, it will be sanded smooth and painted to match the surrounding wall.
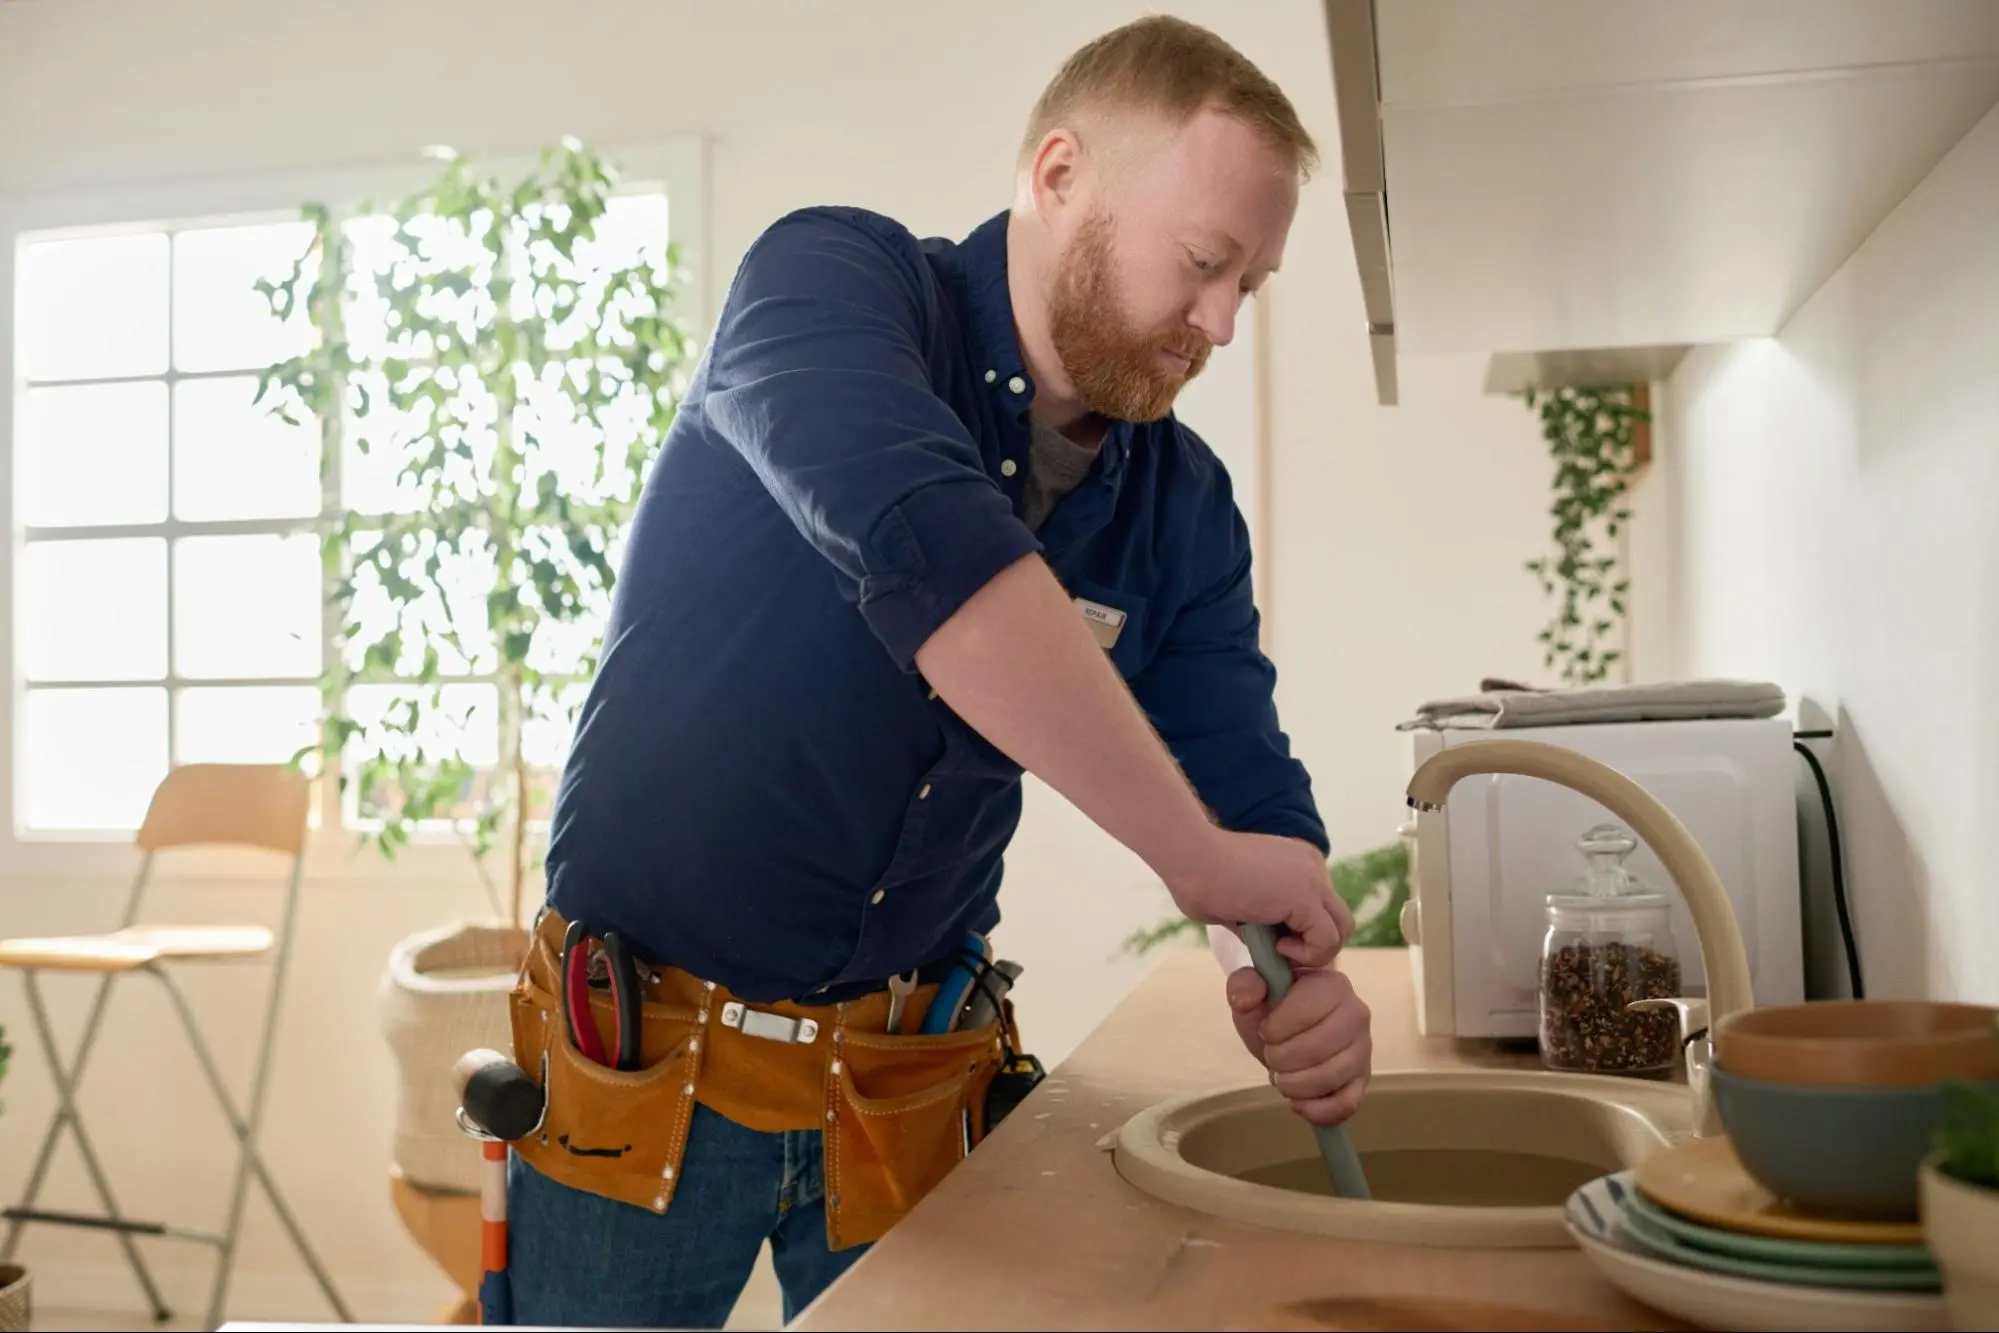
Clogged drains can be a major inconvenience, but they are usually easy to fix. A handyman can clear most clogs in under an hour.
The handyman will use the appropriate tools to unclog your drains:
Plunger: For minor clogs, a plunger can create enough suction to dislodge the blockage.
Drain Snake: For more stubborn clogs, a drain snake can reach deeper into the pipes to remove debris.

Updating or replacing light fixtures can significantly enhance the aesthetics and functionality of a room. This is a quick task for a professional handyman.
The process of installing a new light fixture involves:
Turn Off Power: Safety first, ensure the power to the fixture is turned off.
Remove Old Fixture: The old fixture is carefully removed, and the wiring is checked.
Install New Fixture: The new fixture is connected to the existing wiring, secured in place, and tested to ensure it works properly.
Many common home repairs can be completed quickly and efficiently by a professional handyman. From fixing squeaky doors and floors to repairing leaky faucets, patching drywall, unclogging drains, and installing light fixtures, these tasks can often be handled in under an hour. By addressing these issues promptly, you can maintain a comfortable and functional living environment.
By relying on a professional handyman for quick fixes, you can ensure that your home remains in excellent condition without the stress and hassle of DIY repairs. For those times when you need expert assistance, Kaminskiy Care and Repair offers comprehensive handyman services tailored to meet your needs. Whether it’s fixing a squeaky door, repairing a leaky faucet, or installing new light fixtures, our skilled professionals can complete these tasks swiftly and to a high standard. Contact us today.
Embarking on a DIY home repair project is both exciting and rewarding. It allows you to tackle problems head-on and make improvements to your living space. Knowing how to stay safe during DIY home projects is crucial to ensure you can complete them without injury. With a little preparation and the right precautions, your DIY adventures can be both productive and safe.
Understanding the potential hazards is an important step. From working with power tools to handling building materials, each task comes with its own set of safety challenges. By following essential safety tips and best practices, you can minimize risks and focus on the joy of accomplishing your projects.
Whether you’re an experienced DIYer or a beginner, remember that safety should always be your top priority. Equip yourself with the proper gear, follow guidelines, and stay informed about the tools and materials you use. Your health and well-being are worth the extra effort to ensure a safe and satisfying DIY experience.
To ensure the success of your DIY home repair project, you need to plan each step carefully. This includes understanding what the project entails, gathering the necessary tools and materials, and setting a practical budget and timeline.
Start by defining the full scope of your project. Determine if you are tackling a small repair or a more extensive renovation. Knowing the project’s boundaries helps you avoid costly mistakes.
Write down a detailed list of tasks. For example, if you’re redoing a bathroom, include tasks like removing old tiles, fixing plumbing, and installing new fixtures. Break down big tasks into smaller, manageable steps.
Assess whether you can handle all tasks yourself or if you’ll need professional help. Knowing your limits will save time and reduce frustration.
Identify all the tools and materials you will need. Some projects may require specialized tools, while others might just need basic items like hammers and screwdrivers.
Create a checklist to ensure you don’t miss anything vital. For example, if painting, you might need brushes, rollers, paint trays, and tarps. For plumbing work, you’ll need wrenches, tape, and sealant.
Evaluate whether you need to buy, rent, or borrow tools. Check local hardware stores or tool rental shops. Ensuring you have the right equipment before starting will keep your project on track.
Calculate a detailed budget that includes all materials, tools, and any potential labor costs. Remember to account for unexpected expenses.
Shop around for the best prices on materials. Bulk buying can sometimes save money. Keep track of your expenses to avoid overspending.
Establish a timeline that realistically reflects the scope of your project. Set milestones for completing specific tasks. Be flexible, as delays can happen, but sticking to a schedule helps maintain momentum.
By carefully planning the scope, tools, materials, budget, and timeline, you set a strong foundation for a successful DIY project.
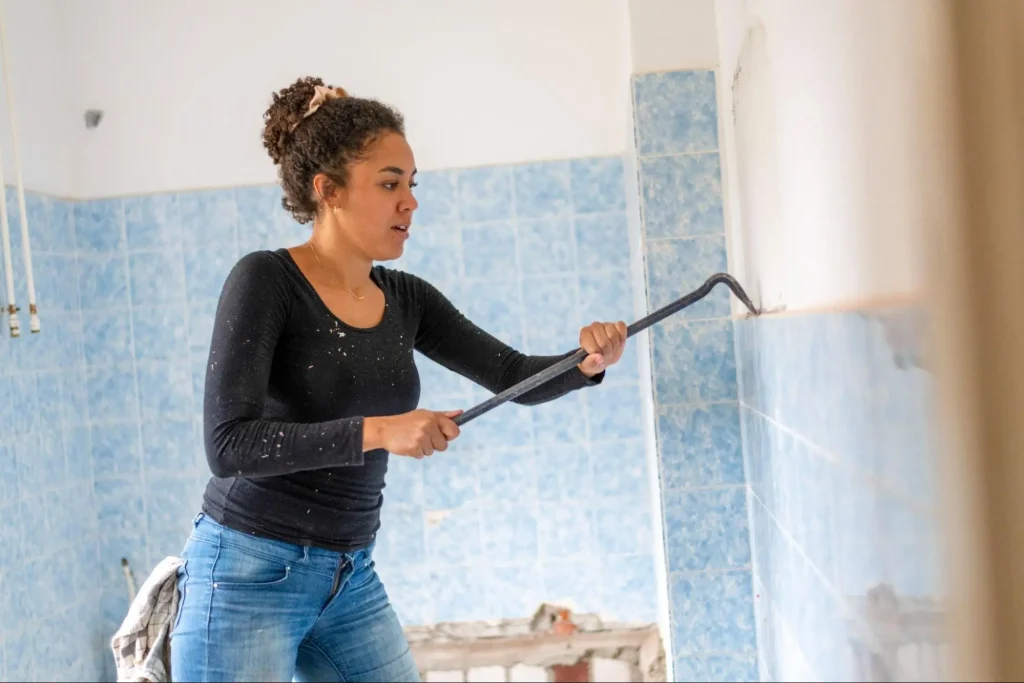
When tackling DIY projects at home, keeping safety in mind is crucial. From using the right gear to handling dangerous materials cautiously, each step can help prevent injuries and ensure a successful project.
Wearing personal protective equipment (PPE) is a must. This includes items like gloves, goggles, and masks. Gloves protect your hands from cuts and bruises.
Using protective eyewear like goggles can shield your eyes from dust and flying debris. For projects involving chemicals or heavy dust, use a respirator or mask to avoid inhaling harmful particles.
Work boots with steel toes can protect your feet from falling objects. Always keep a first aid kit nearby for any minor injuries.
Power tools like drills, circular saws, and chainsaws are powerful but can be dangerous. Before starting, read the safety guidelines for each tool. Always make sure the tool is off before making any adjustments.
Use guards and clamps to stabilize materials. This prevents the material from slipping and causing accidents.
Ensure your workspace is well-lit and free of distractions. Only use power tools with clean, dry hands to avoid electric shocks.
When working with chemicals or hazardous materials, take extra precautions. Always wear gloves and goggles to prevent splashes from reaching your skin or eyes. Work in a well-ventilated area or outdoors.
If you can’t ventilate the area, consider using a respirator. Store chemicals properly and label them clearly.
Follow specific instructions for disposal to avoid harming the environment and your health. Keep water and soap nearby to wash off any spills immediately.
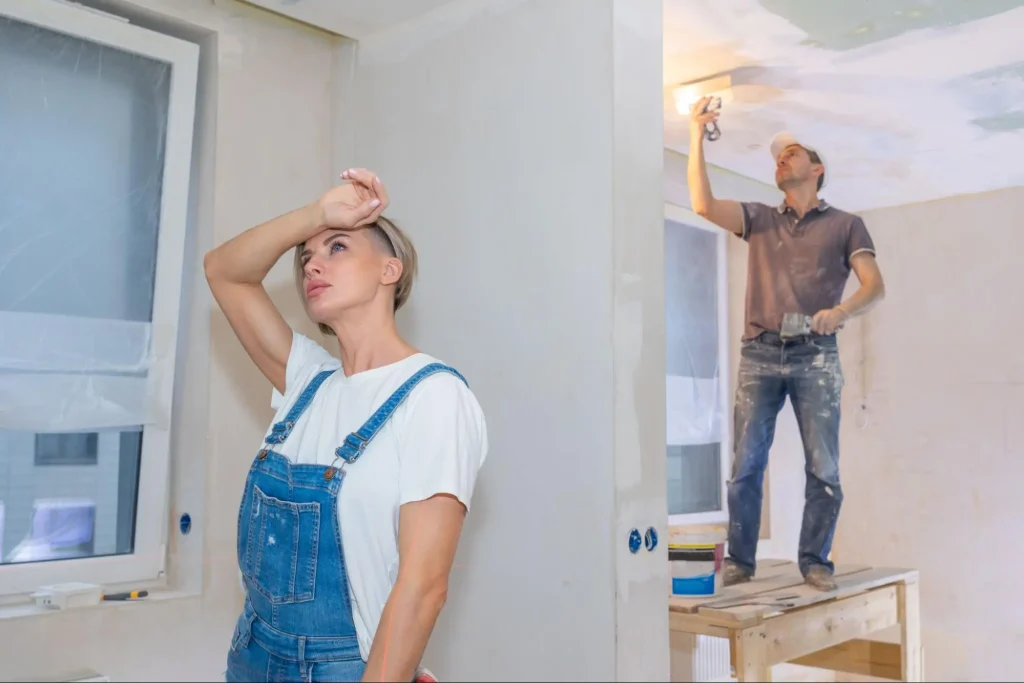
Common injuries like cuts, burns, lacerations, and broken bones can be avoided with a few precautions. Always use sharp hand tools correctly, cutting away from your body. Keep your working area clear of electrical wires, nails, and other sharp objects.
When working on ladders, ensure they are stable and placed on a flat surface. Avoid working in extreme heat to prevent heatstroke.
Take regular breaks to stay focused and alert. Trust your senses; if something feels unsafe, stop and reassess.
Creating a safe working environment involves organizing your space and preparing for emergencies. Ensure your surroundings are clear of clutter that could cause tripping. Use proper lighting to see everything clearly.
Keep a first aid kit accessible for quick response to minor injuries. Store your tools and materials properly to avoid accidents.
Check your electrical systems installations to ensure they can handle the load of your power tools without overloading. Make sure there are no frayed wires or exposed electrical parts.
Connect with friends or neighbors so someone knows you are working on a project. This way, help is available in case of an emergency.
When doing home repair projects, safety must come first. Simple measures can prevent accidents and injuries.
Always use protective gear such as gloves, safety glasses, and sturdy footwear. This minimizes exposure to harmful substances and sharp objects.
Ensure proper ventilation when painting or working with chemicals. Open windows and use fans, or consider wearing a respirator if ventilation is limited.
Use tools correctly. Follow the manufacturer’s guidelines and never rush. Stay organized to avoid tripping over your materials.
Additionally,keep your work area clean. This reduces the risk of accidents caused by clutter. Don’t leave tools lying around, and dispose of debris promptly.
For large projects, consider hiring professionals like Kaminskiy Care and Repair. We have the expertise to handle complicated tasks safely. Our team of experts are ready to handle your home projects safely without hazards. Contact us to schedule an appointment
Always wear the appropriate protective gear such as gloves, eyewear, and earplugs. Ensure you have a first aid kit nearby. Make sure the area is well-lit and free from tripping hazards. Know how to use tools correctly and keep them in good condition.
Keep your work area tidy by cleaning up debris and tools as you go. Use proper lighting to see clearly. Make sure ventilation is adequate to avoid inhaling dust or fumes. Keep children and pets away from the worksite.
Plan your project before you start, knowing each step you will take. Take breaks to avoid fatigue, which can lead to mistakes. Always follow the instructions and guidelines for any tools and materials you are using. Don’t rush your work.
Wear safety goggles to protect your eyes, especially when cutting or sanding. Use gloves to shield your hands from sharp objects and chemicals. Wear earplugs or earmuffs if you’re using loud machinery. Depending on the task, consider steel-toed boots and a hard hat.
Read the manual and follow the safety instructions. Never bypass safety features on tools. Use the right tool for the job to avoid accidents. When not in use, store tools properly to prevent tripping hazards and to keep them in good working order.
Making your home more energy-efficient is a smart way to save money and reduce your environmental impact. Simple improvements like plugging leaks, upgrading insulation, and installing low-flow fixtures can cut down on utility bills significantly. Many of these projects are easy enough to tackle on your own, helping you save even more.
Detailed projects may require some investment, but the long-term savings can be substantial. For example, investing in better windows or energy-efficient appliances can return your investment over time through lower energy costs. Is your air conditioning running all the time? Newer, efficient models can lower your electricity use, easing your monthly budget.
Whether you’re looking for small tweaks or major upgrades, focusing on energy efficiency will make your home more comfortable and wallet-friendly. From sealing drafts to swapping out old appliances, you have plenty of options to make a real difference.

To start saving money on energy bills, you first need to assess your home’s energy efficiency. This helps identify areas where energy is wasted and where you can make improvements.
A home energy assessment, also known as a home energy audit, can provide insight into your home’s energy use. You can conduct a basic assessment yourself or hire an expert from programs like ENERGY STAR’s Home Performance Assessment.
During the assessment, an energy expert will conduct a homeowner interview to understand your living patterns and any comfort issues,examine your energy bills to see where energy costs are highest and check for drafts, air leaks, and insufficient insulation.
Using the Home Energy Yardstick, you can also get a score that compares your home’s energy use to similar homes. This can help prioritize energy-saving improvements.
Making energy-efficient improvements will not only lower energy costs but will also contribute to reducing climate change effects. By understanding your home’s energy usage, you can target the right areas and achieve substantial energy savings.

Saving money on your energy bills is achievable through targeted home improvements. These projects can not only reduce your energy costs but also increase your home’s comfort and value.
Adding or upgrading insulation is crucial for maintaining a comfortable home. Insulating your attic, walls, and floors can reduce energy costs significantly. For instance, upgrading your attic insulation typically costs around $2,500 and offers a 70% return on investment.
Air sealing involves weatherization steps like caulking and sealing gaps around doors, windows, and ductwork. Proper air sealing helps prevent drafts, making your heating and cooling systems more efficient. This can save you up to $200 to $400 annually in energy costs.
Ductwork should also be inspected and sealed to ensure efficient air flow from your HVAC system. This reduces the strain on your system and further contributes to energy savings.
Switching to energy-efficient appliances is another effective way to save energy. Look for the Energy Star label when purchasing new appliances like dishwashers, refrigerators, and washing machines. These appliances use less water and electricity, reducing your utility bills.
Installing a programmable thermostat or a smart thermostat can optimize your HVAC system. These devices adjust temperatures based on your schedule, improving efficiency and saving energy.
Consider investing in a tankless water heater or an air-source heat pump. Tankless water heaters provide hot water on demand, eliminating the need for a constantly heated storage tank. An air-source heat pump can efficiently heat and cool your home, providing substantial cost savings over traditional systems.
Upgrading to energy-efficient windows and doors can significantly cut down on energy loss. Energy-efficient windows often have low-emissivity coatings that reflect heat, and they are usually double or triple-paned to provide better insulation. Replacing leaky windows and faulty doors with energy-efficient options can further ensure a comfortable home.
Installing storm windows can add an extra layer of insulation and help avoid heat loss. Skylights can be a great addition to enhance natural light and ventilation, but ensure they are energy-efficient to maximize benefits.
Properly insulated and sealed doors can also prevent air leaks and contribute to lower energy costs. Look for doors with weather-stripping and tight-fitting frames to enhance energy efficiency.
Energy-efficient home improvements can help you save money and make your home more comfortable. Simple upgrades, like adding insulation or sealing leaks, can lower your energy bills.Insulation helps maintain a consistent temperature, reducing heating and cooling costs.
Low-Flow Fixtures help reduce water usage. For example, low-flow showerheads can cut your water consumption by up to 50%. You can also benefit from larger upgrades like solar panel installations. Although the initial cost is high, you could save tens of thousands of dollars in the long run thanks to federal tax credits and reduced energy bills. Remember, making your home more energy-efficient not only saves you money but also makes your home more comfortable and environmentally friendly.
If you’re handy, you can save even more by doing some upgrades yourself. However for professional home improvement services, Kaminskiy Care and Repair has the expertise to handle both minor and major home improvement tasks keeping your home energy-efficient. Contact us today to schedule an appointment.
Upgrading insulation, sealing air leaks, and installing energy-efficient windows are some of the most impactful improvements. These changes help reduce heating and cooling costs.
Energy-efficient homes generally have lower utility bills. They use less energy for heating, cooling, and electrical appliances, which means significant savings over time compared to traditional homes.
Installing a programmable thermostat, adding solar panels, and upgrading to LED lighting are high-impact changes. Additionally, investing in energy-efficient water heaters and HVAC systems can greatly reduce energy consumption.
Maintaining the structural integrity of your home is essential to ensuring its longevity and safety. By regularly inspecting and maintaining your home’s structure, you can prevent minor issues from escalating into costly repairs. Simple actions, such as checking for foundation cracks and water damage, can go a long way in preserving the strength of your home.
To keep your home in top shape, consider scheduling professional inspections. These experts can spot hidden issues that an untrained eye might miss. They will assess key areas like the roof, foundation, and walls to ensure everything is in good condition.
Routine upkeep, combined with timely repairs, can significantly improve your property’s structural health. Fixing issues like sagging roofs or settling foundations promptly can help you avoid major problems down the line. Investing in preventative measures today can save you time, money, and stress in the future.
Understanding structural integrity helps you maintain your home and avoid costly repairs. Key elements like the foundation and walls play crucial roles, and recognizing early signs of problems can prevent larger issues.
The foundation is essential for your home’s stability. It supports the entire structure and transfers the building’s load to the ground. A solid foundation prevents uneven settling and structural damage.
Types of foundations include slab, crawl space, and basement. Each type has its own strengths. Regardless of type, you must ensure it remains in good condition. Regular checks for wall cracks and shifts can prevent major issues.
Water is a common threat. Poor drainage can erode foundation stability. Ensure gutters direct water away from the house. Soil characteristics around your home also matter. Certain soils expand and contract, which can stress the foundation.
Being aware of structural issues is crucial for maintaining your home. Look for cracks in walls and floors, which may indicate shifting or settling foundations. Pay attention to doors and windows that stick or don’t close properly.
Other signs include bowing walls or uneven floors. These could point to severe structural stress. Cracks can appear near the corners of windows and doors. Small, hairline cracks may not be alarming, but larger or expanding ones warrant professional inspection.
Also, check for any visible gaps between walls and ceilings or floors. This may indicate that parts of the structure are moving separately. Regularly inspecting your home for these signs helps you address problems early, keeping repairs manageable and your home safe.
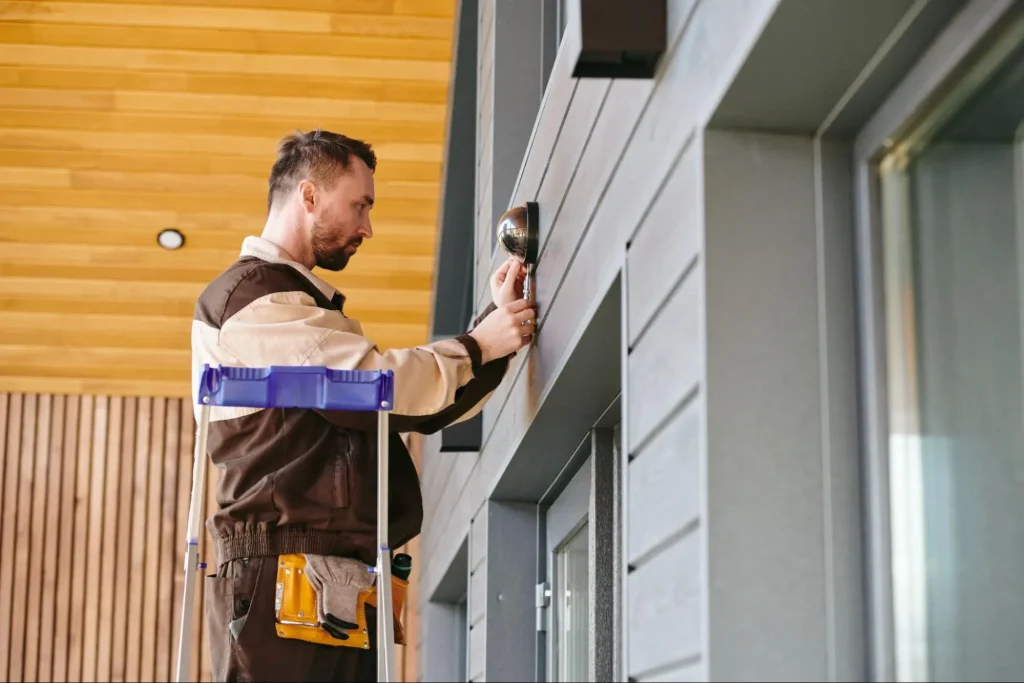
Regular inspections and maintenance are essential for the safety and longevity of your home. By scheduling professional inspections and keeping up with DIY checks, you can catch potential problems early. Maintaining both the exterior and interior of your home can prevent costly repairs later.
Hiring a professional for regular home inspections can significantly improve your home’s structural integrity. Professionals have the training to spot issues that may be missed by an untrained eye. For example, scheduling a structural integrity inspection is crucial to identify any underlying problems with your home’s foundation, walls, or roof. If you live in an area prone to natural disasters, such as floods or earthquakes, you should get inspections more frequently.
An annual inspection by a qualified structural engineer can help ensure that all components of your home are safe and sound. They will provide a detailed report, including photos and recommended actions, which helps you make informed decisions about necessary repairs or maintenance.
While professional inspections are important, you can also perform your own checks in between professional visits. Start by examining your home for visible cracks in walls, ceilings, and foundations. Look for any signs of moisture or mold, particularly in the basement and attic. Check windows and doors for proper alignment, as misalignment can indicate foundation problems.
Keep an eye out for sagging floors or uneven surfaces, as these could be warning signs of structural issues. Inspect your roof and attic regularly for any missing shingles or signs of leaks. Simple tools like a flashlight and a moisture meter can help you carry out these inspections effectively. Staying vigilant can catch small problems before they become big issues, potentially saving you a lot of money and hassle.
Maintenance extends beyond just inspections. Keep your home’s exterior in good shape by regularly cleaning gutters to prevent water damage. Fix any cracks in the foundation or walls immediately to avoid further deterioration. Painting or sealing your home’s exterior can also provide protection against the elements.
Inside your home, regular maintenance includes checking plumbing for leaks, ensuring the HVAC system is functioning correctly, and replacing old electrical wiring to prevent fire hazards. Pay close attention to the attic and basement, as these areas are often overlooked but can harbor significant issues if not maintained properly. Proper insulation and ventilation in the attic can prevent moisture buildup and damage.
Regular inspections and maintenance are key to keeping your home safe and sound. Stay proactive and address any issues as soon as they arise to maintain your home’s structural integrity for years to come.
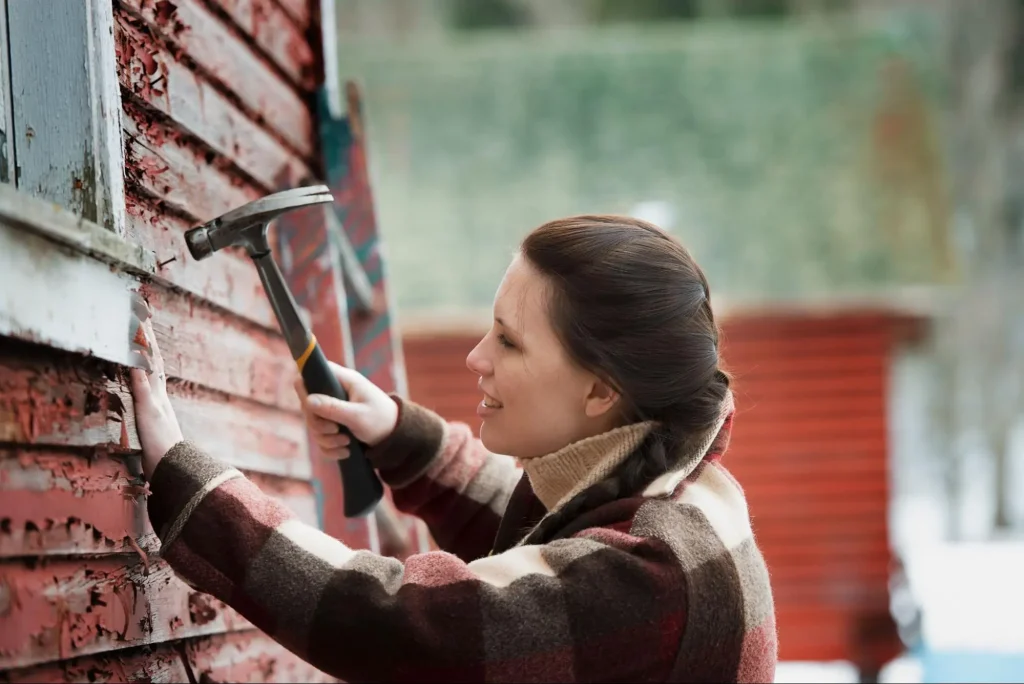
Keeping your home’s structure in good condition requires targeted repairs and renovations. Focus on addressing foundation issues, upkeeping doors and windows, and maintaining the roof and chimney. Here are some key steps to ensure each area is properly maintained.
Foundation issues can lead to severe damage if not addressed promptly. Look for cracks in the foundation or foundation walls. These may indicate settlement or other structural issues.
Steps to fix foundation problems:
Repairing foundation problems early can prevent more costly repairs in the future and ensure your home remains safe and secure.
Doors and windows are crucial for the stability and insulation of your home. Ensure they are functioning correctly to prevent drafts and potential structural issues.
Proper upkeep of doors and windows will help maintain your home’s structural integrity and improve energy efficiency.
A well-maintained roof and chimney are essential for protecting your home from the elements. Neglecting these areas can lead to significant structural problems.
Roof Maintenance:
Chimney Care:
Maintaining the roof and chimney will protect your home from water damage and other structural issues. Regular inspections and timely repairs in these areas are crucial for the overall health of your home.
Maintaining your home’s structure involves addressing water problems, choosing the right materials, and preparing for natural events. These tasks help prevent damage and ensure your home remains safe and secure.
Water can greatly damage your home if not managed properly. Waterproofing your foundation walls is crucial. This stops water from seeping in and causing damage. Fix any cracks found during the waterproofing process.
Proper drainage is also key. Ensure your home has good drainage systems to direct water away from the foundation. Rain gutters and downspouts should be clean and in good condition.
Soil grading around your home should slope away from the foundation. This helps prevent flooding and water pooling. Proper ventilation in basements and crawl spaces reduces moisture buildup, preventing mold and wood rot.
Choosing the right materials for your home can greatly impact its longevity. For structural components, use high-quality lumber, steel, or concrete. These materials resist damage from elements and pests.
Structural upgrades can enhance your home’s integrity. Reinforcing beams or adding support posts can distribute weight more evenly. Upgrading to stronger materials during renovations can prevent future problems.
Regular inspections by professionals can identify weak points. Addressing these early with the right materials and fixes can prevent costly repairs down the line. Consider using moisture-resistant materials in areas prone to water exposure, such as basements and bathrooms.
Preparing your home for natural disasters is essential. Earthquake-resistant designs and materials can prevent severe damage. This includes flexible building materials that absorb shocks and anchoring systems that keep the structure connected during tremors.
For areas prone to flooding, raising the foundation or constructing barriers can protect against water damage. Install sump pumps in basements to remove water quickly.
Ensure your home has proper ventilation to reduce humidity and prevent mold growth, especially after natural events. Reinforce roofs and walls to withstand high winds and heavy rains. Pests can also damage your home’s structure, so pest-proofing measures are important for long-term upkeep.
Maintaining the integrity of your home’s structure is crucial for safety and longevity. Regular inspections can help spot potential issues early.
By following these guidelines, you can maintain a safe and sound home for years. Remember, preventative measures save time and money. Always prioritize the structural integrity of your home.For professional home maintenance and remodelling service,Kaminskiy Care and Repair has the expertise and credibility to maintain your home in top shape. Contact us today
Perform regular inspections of your home, including the foundation, roof, and walls. Address any issues promptly, such as leaks or cracks. Keep gutters clean and ensure proper drainage around your home to prevent water damage.
Inspections of the foundation, roof, and structural components like beams and joists are essential. Look for cracks, sagging, or any signs of water intrusion. A professional inspection every few years can identify problems early on.
Look for cracks in walls, floors, or the foundation. Sagging rooflines and uneven floors are also signs of trouble. Water stains on ceilings and walls suggest leaks, which can lead to rot and other structural issues.
For older homes, regular maintenance is crucial. Inspect and repair any damage to the roof, siding, and foundation. Update plumbing and electrical systems to prevent leaks and fires. Reinforce structural elements as needed and maintain proper ventilation to prevent moisture buildup.
Scheduling a handyman visit for your home projects can be a smart way to save time and effort. When you know what to expect during a handyman visit, it makes the whole process smoother. Expect clear communication regarding costs and timelines from your handyman. They should inform you about any upfront payments needed and provide a timeline for the completion of your project. Make sure to inquire about any potential additional costs that may arise.
Before the handyman arrives, clear the work area and keep children and pets away to avoid accidents or distractions. During the visit, the handyman will carry out tasks such as gutter cleaning, painting, or small repairs efficiently, ensuring that your home improvements go as planned. This preparation helps the handyman work swiftly and safely, giving you peace of mind.
A handyman’s task varies from installing flooring to repairing decks. They act as knowledgeable helpers, able to handle the small but essential jobs you may not have the tools or expertise to complete. By knowing what to expect and how to prepare, you can ensure a successful and stress-free handyman visit.
Before a handyman arrives, it’s important to understand the scope of their services, set clear expectations, and prepare your home for a handyman visit. This ensures that the handyman can complete tasks efficiently and to your satisfaction.
The first step is to know what services a handyman can provide. They can handle various tasks like furniture assembly, fence repair, and grill installation. Some common handyman services include plumbing, electrical work, and home maintenance. It’s essential to identify exactly what you need help with.
If you require specialized work such as carpentry or baby-proofing, ensure that the handyman has the necessary experience. This ensures that the work is done correctly and safely. Additionally, verify that they have insurance and proper licensing to protect against any potential damages or accidents.
Clear communication is key to a successful handyman visit. Discuss your needs and expectations upfront. Make a list of all the tasks you need help with and share this with your handyman.
Ask questions about the estimated time for each task and discuss any specific materials that will be needed. It’s also helpful to get a written estimate that includes the cost and duration of each task. This helps avoid misunderstandings and ensures that there are no surprises when the bill comes.
Confirm if the handyman offers any guarantees or warranties on their work. This gives you peace of mind knowing that if something goes wrong, it will be corrected at no extra cost.
Before the handyman arrives, prepare your space to ensure a smooth experience. Clear the work area of any clutter to give them plenty of room to work. If you have pets, secure them in a safe space to avoid distractions and ensure safety for everyone.
Gather any necessary materials that the handyman might need, such as screws, paint, or replacement parts. This saves time and ensures that the handyman can get straight to work. Also, make sure that there is a clear path from the entrance to the work area to avoid any delays.
Finally, be available to answer any questions the handyman might have upon arrival. This allows for clear communication and helps ensure that the tasks are completed to your satisfaction. Preparing effectively sets the stage for a smooth and efficient handyman visit.
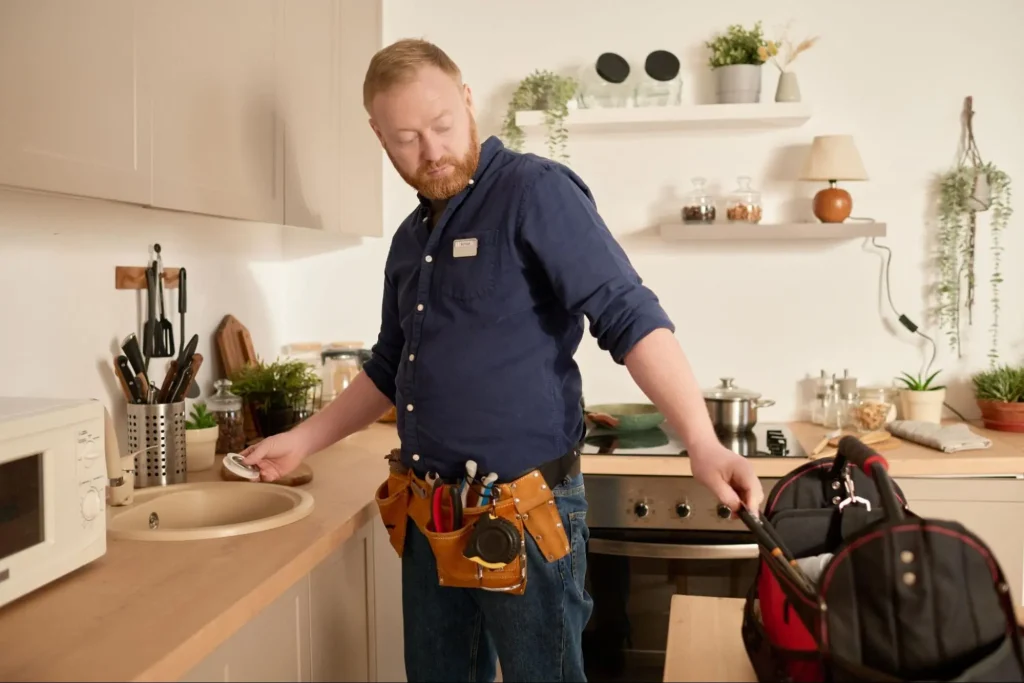
When the handyman arrives, expect a professional and efficient experience. They will assess the tasks, communicate clearly, and ensure quality workmanship from start to finish.
The handyman should arrive on time and introduce themselves. They will show their ID and confirm the tasks you need help with. Be ready to guide them to the areas requiring work, such as repair, installation, painting, or carpentry tasks.
They will assess the job, identify the tools and materials needed, and discuss any potential challenges. This step ensures that the handyman is prepared to deliver efficient service and helps set clear expectations for the work.
Clear communication is essential during a handyman visit. The handyman will explain their plan, including the steps they will take and the expected timeframe. They should keep you informed throughout the process, especially if they encounter any unexpected issues.
During the execution phase, the focus will be on quality workmanship and efficiency. This might involve tasks like furniture assembly, home repairs, or installing new fixtures. You should feel comfortable asking questions or requesting updates as the job progresses.
Before the handyman finishes, they will review the completed tasks with you. It’s important to inspect the work to ensure it meets your standards and address any concerns immediately.
The handyman should also clean up any debris or mess created during the job. Finally, they will ask for your feedback to ensure your satisfaction and make sure the experience is honest and stress-free. A reliable handyman values your input and aims to leave you with a positive impression of their service.
When you schedule a handyman visit, you can expect several key things.
First, clear and prompt communication is essential. A good handyman, like those from Kaminski Care and Repair, will answer your questions and give you updates on your project.
During the visit, the handyman should display a variety of skills. They can handle tasks such as cleaning or repairing gutters, painting, lawn care, and even fixing fences or decks.
Professionalism is crucial. A handyman with the right licenses and insurance shows their commitment to safety and quality. This protects both you and the handyman from unexpected issues.
In summary, when you have a handyman visit, expect good communication, a variety of skills, professionalism, safety measures, and helpful schedules. Following these tips will make your handyman visit productive and stress-free.
Kaminski Care and Repair provides reputable handyman services that offer warranties and expertise to tackle your home project. Contact us today to schedule an appointment
Before the handyman arrives, clear the workspace by removing any furniture, decor, or other obstacles. Make sure children and pets are kept away from the area to prevent accidents or distractions. Have a list of tasks ready to discuss with the handyman.
A handyman can handle a variety of tasks such as fixing leaky faucets, painting, assembling furniture, and repairing drywall. They can also take care of more complex jobs like installing light fixtures or addressing minor plumbing issues.
Handyman services might be priced hourly or per job. It’s important to ask for an estimate up front and understand what the service includes. Some handymen may also charge a minimum fee for small jobs or a travel fee if you’re located far from their base of operations.
No price games. You get a clear written quote before any work begins, backed by our workmanship warranty.