Replacing the weather stripping on your garage door is vital to improving your home’s energy efficiency and comfort. Installing new weather stripping prevents drafts, keeps out pests, and maintains a consistent temperature in your garage. This simple project not only enhances the overall performance of your garage door but also preserves the condition of your belongings inside.
As you consider this task, you’ll want to assess your garage door’s needs and select the correct type of weather stripping. With various options available, choosing materials that will provide an effective seal against the elements is essential. Once you gather the right tools and materials, removing the old weather stripping and installing the new one can be done quickly and easily.
By following a straightforward step-by-step approach, you can ensure that your garage door is well-protected and energy-efficient for years to come.
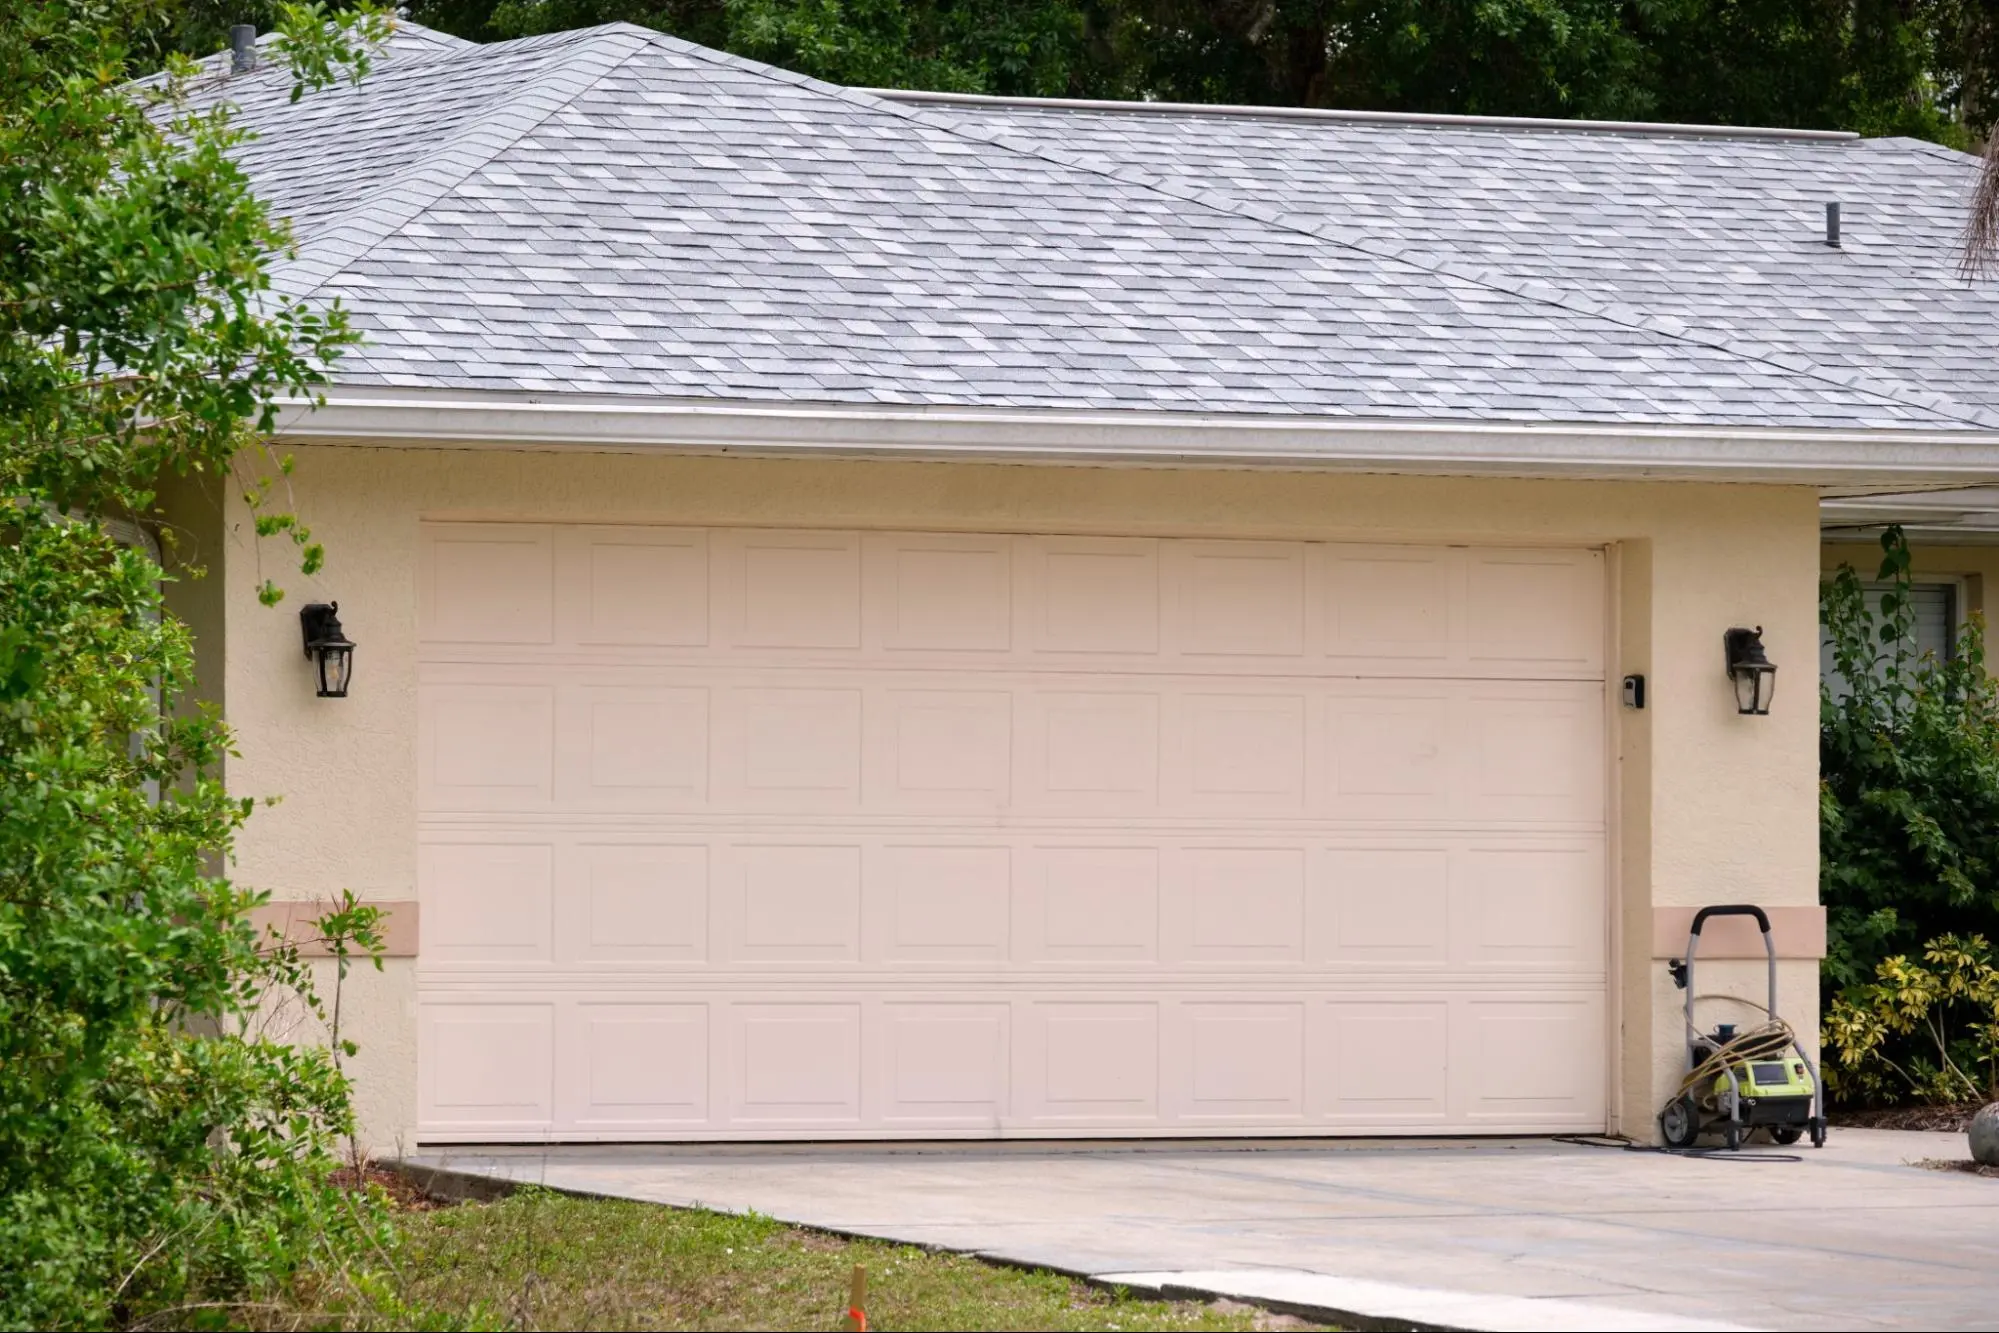
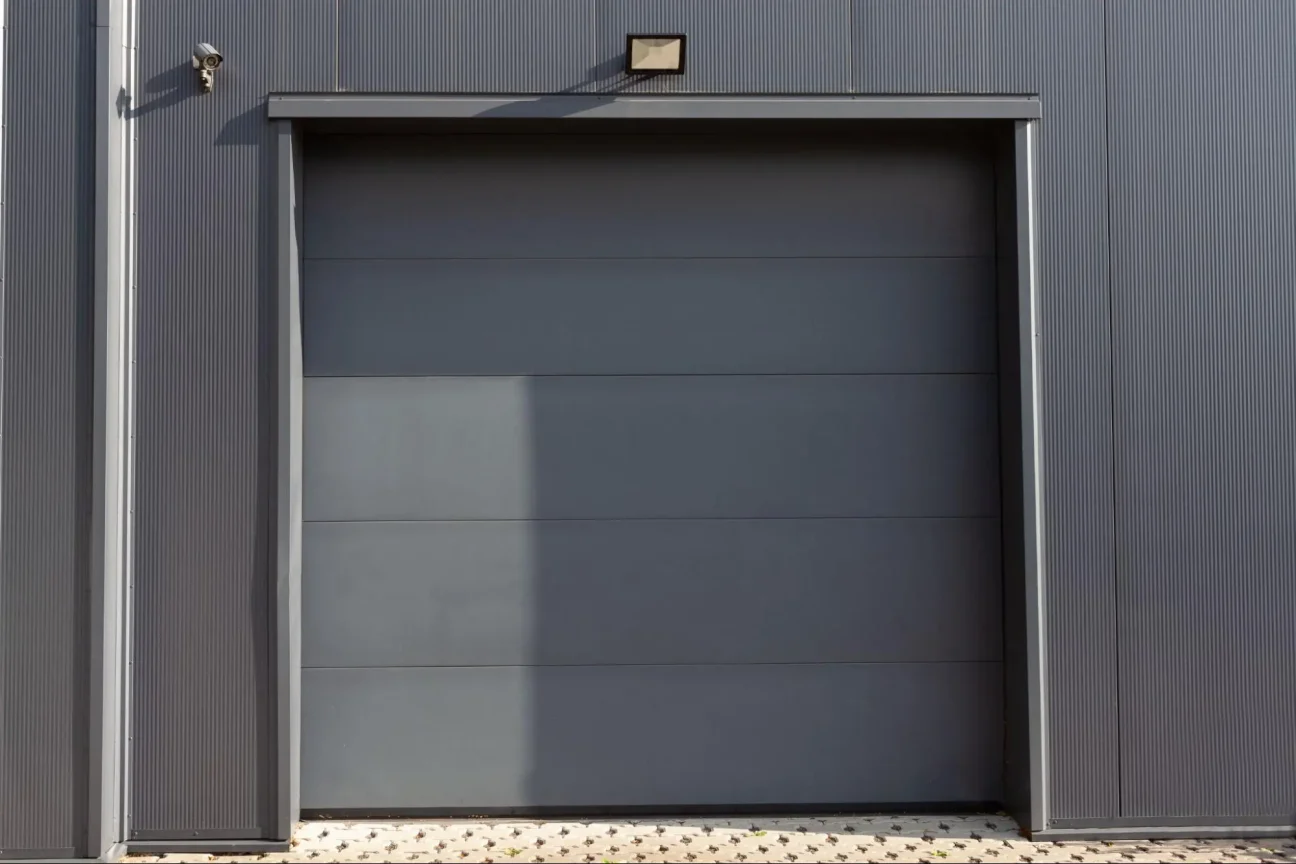
Before you start replacing the weather stripping, it is essential to assess your garage door’s needs. This involves checking for damage and wear and measuring your garage door correctly. A thorough inspection will help you choose the materials for an effective seal.
Begin by carefully examining your garage door frame. Look for visible signs of damage, such as cracks, chips, or warped sections. Pay attention to areas where the weather stripping attaches.
Examine the old weather stripping for wear and tear. It will not provide a proper seal if it is cracked, brittle, or has gaps. Gently remove any old material to see the condition of the surface underneath. This inspection helps you decide if any repairs are necessary before installing new weather stripping.
Note any problematic areas. These may need additional attention to ensure a tight fit for the new weather stripping. You want to create a clean and smooth surface to help the new material adhere better.
Accurate measurements are crucial for ensuring that your new weather stripping fits correctly. Use a measuring tape to determine the length of the edges of your garage door frame. Start from the bottom and measure along the sides, noting the height and width.
Take the time to measure the top of the door, too. Ensure that you account for any irregularities in the shape of the door frame. Getting precise measurements for both the vertical and horizontal sections is essential.
After measuring, write down your dimensions. This information will guide you in choosing the appropriate length of weather stripping needed. Using the correct measurements helps avoid waste and ensures a snug fit for better protection against the elements.

Choosing the right weather stripping for your garage door is crucial for maintaining energy efficiency and protecting your garage from the elements. You need to consider the materials and specific types designed for different areas.
The material of the weather stripping affects its durability and effectiveness. Common materials include:
Consider the climate in your area when selecting materials. A rubber bottom seal is highly effective for colder climates as it remains flexible and provides a tight fit even in freezing temperatures. Ensure the weather stripping you choose will last and resist cracking under stress.
Different areas of your garage door may require specific types of weather stripping. Common types include:
Consider using a combination of these types for complete protection. For example, a bottom seal paired with a nail-on v-strip can effectively guard against drafts and pests. Measure accurately to ensure a snug fit for your selected weather stripping.
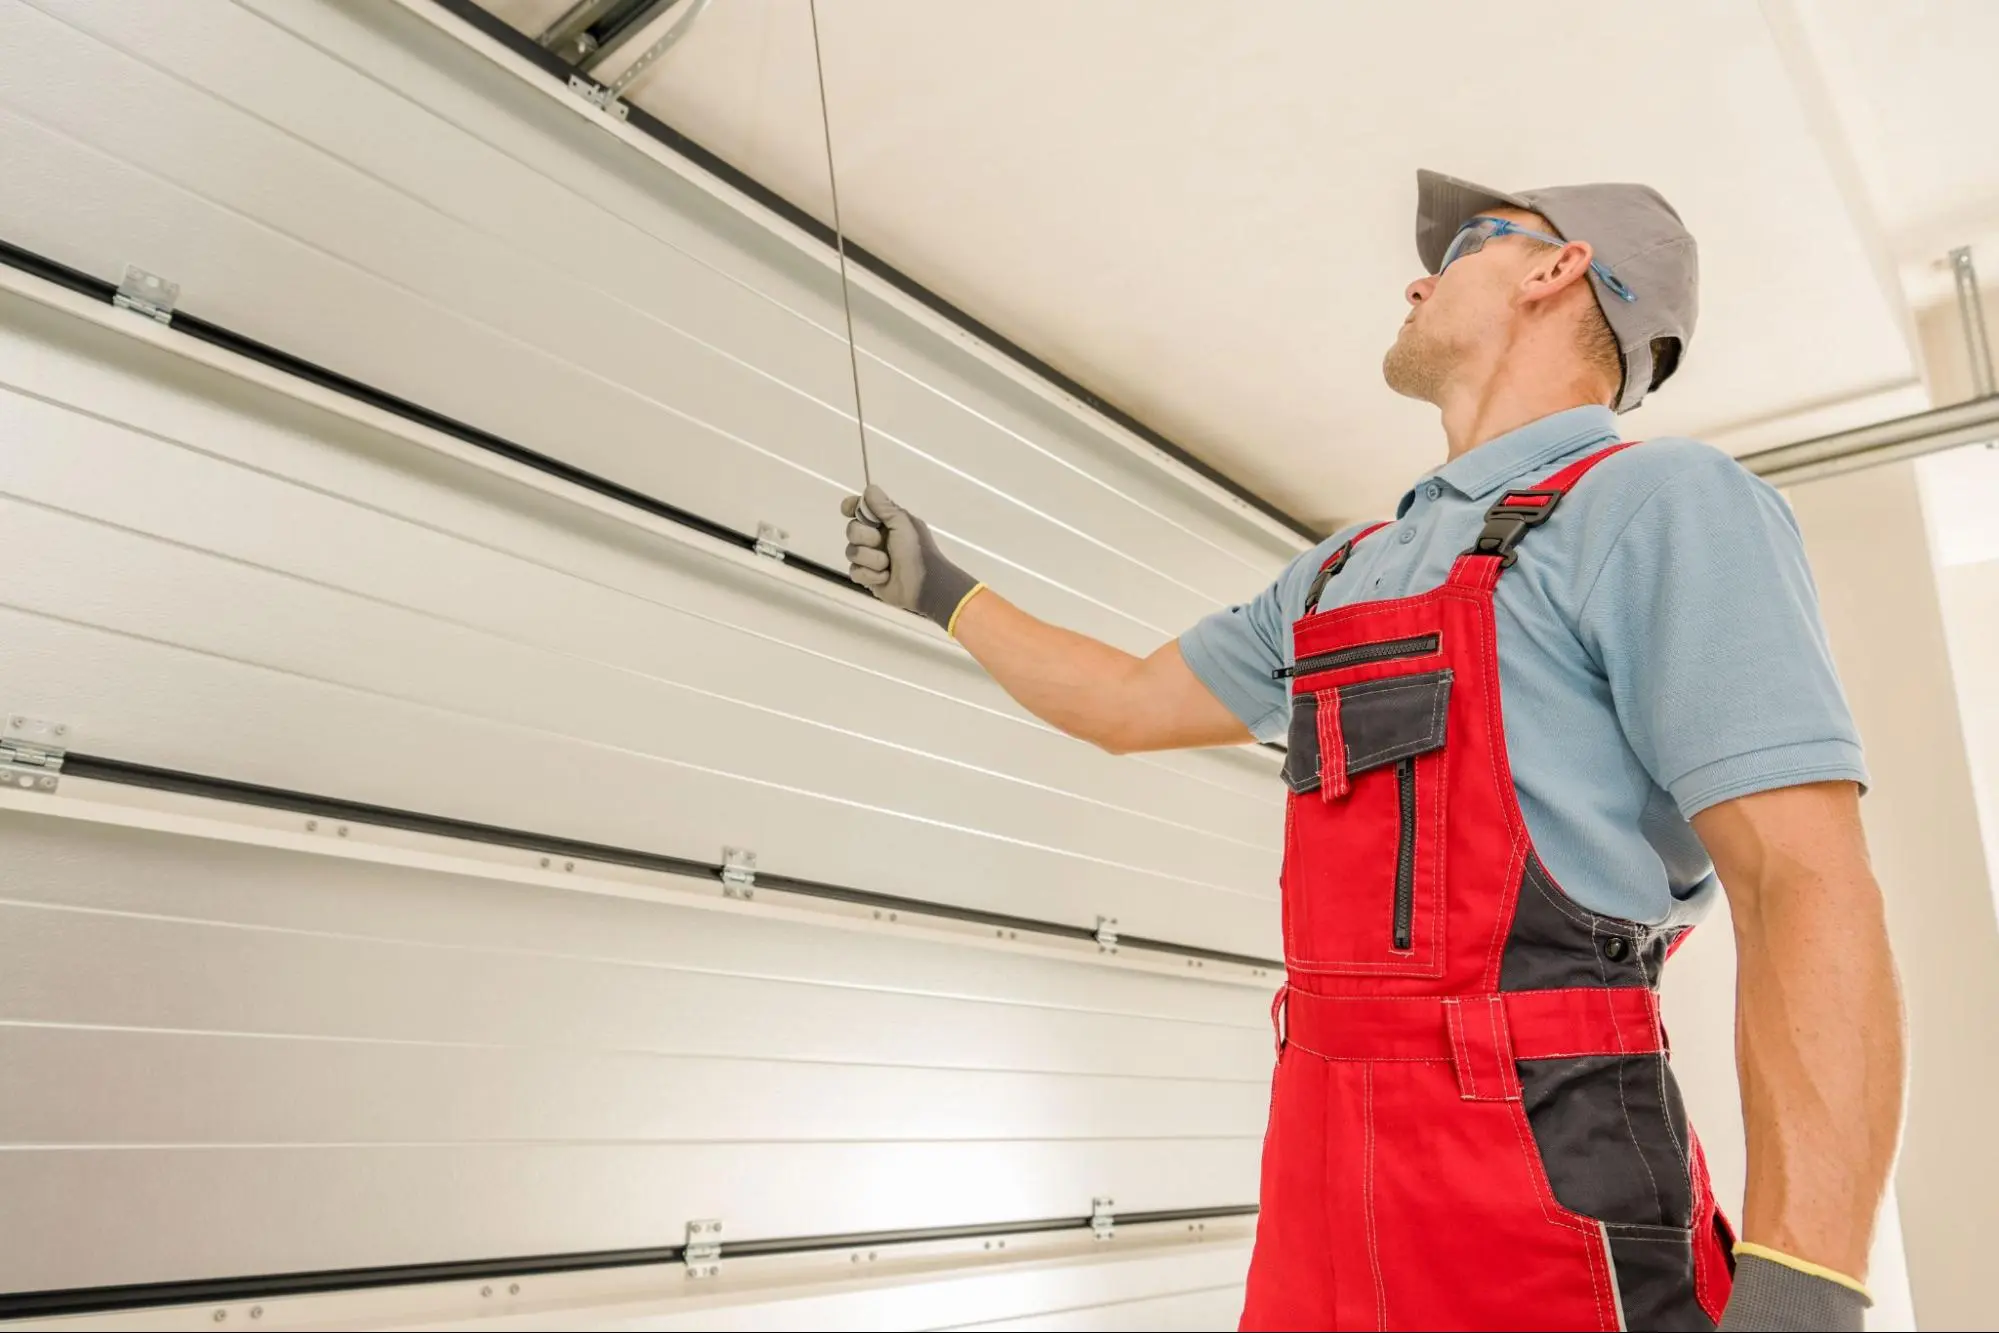
Before you begin, it is crucial to take safety precautions and gather the right tools for the job. Remove the weather stripping carefully to avoid damaging your garage door.
Before starting, wear safety glasses to protect your eyes from debris. Gloves are also wise to keep your hands safe and clean.
For this task, you will need a few essential tools:
Having these tools ready allows for a smooth removal process and helps ensure that you won’t cause damage while working on your garage door.
Following these steps carefully will help you perform a damage-free removal, allowing for an adequate replacement later.
Following a clear process is essential when installing new weather stripping. Proper preparation, precise cutting, and ensuring alignment will help create a strong seal that keeps out drafts and moisture.
Start by cleaning the garage door frame. Remove any old weather stripping and debris. Use a scraper if necessary to ensure a smooth surface. This will help the new material adhere better.
Next, measure the perimeter of the door and the width of the top, sides, and bottom. Write down these figures. This will guide you when cutting your new strips. If you’re using adhesive weather stripping, ensure the surface is dry.
Afterward, decide on the type of weather stripping you’ll use. Options include adhesive strips, nails, or screws. Choose what’s best for your situation.
Once you have your measurements, gather your tools. You will need a utility knife for cutting, a measuring tape, and possibly nails or screws for attachment.
Cut your weather stripping to the measured lengths. Make sure to have clean, straight cuts. This ensures a good fit.
Begin attaching the strips to the garage door frame. Peel off the backing and press it firmly against the frame if you use adhesive material. For nailed or screwed options, position the strip so that it fits snugly, then secure it in place. Use nails or screws every few inches to make sure your weather stripping stays in place.
After attaching the weather stripping, check its alignment. Close the garage door and inspect how the strips line up with the door edges.
You want a snug fit without gaps. Adjust if needed to ensure full contact. If the bottom of the door needs additional elevation, consider adding a door sweep for better sealing.
You can use caulk at the corners or any gaps for added protection. That creates a tighter seal. Make sure everything is straight and secure. A well-aligned weather stripping system will keep your garage insulated and dry.
Replacing the weather stripping on your garage door is straightforward. It helps keep your garage insulated and protects against pests and moisture.
Completing this task can enhance your garage’s comfort and help save on energy bills. Regular maintenance ensures your garage door works well and keeps your space protected.
Clean the surfaces first to install weather stripping on the sides and top. Measure the needed lengths and cut the weather stripping to size. Peel off the adhesive backing and press the weather stripping firmly against the door frame. Make sure it seals nicely when the door is closed.
Vinyl and rubber are the best seals for garage door bottoms. They are durable and resistant to wear. Nail-on V-strips and T-shaped seals also provide a good seal against drafts, water, and pests.
To change a single-channel seal, remove the old seal from the channel. Clean the channel thoroughly so the new seal adheres well. Insert the new seal into the channel and press down firmly. Trim any excess seal material for a perfect fit.
You should replace the rubber strip if you notice cracks or wear or if it no longer seals properly. If you feel drafts or see water seepage beneath the door, it’s time for a new strip. Regular inspections can help you determine the right time for replacement.