Are you ready to say goodbye to the outdated popcorn ceilings in your home? Often referred to as acoustic ceilings, these textured surfaces were once in vogue but are now often seen as a relic of the past, collecting dust and diminishing the modern appeal of interiors. If you’re set on refreshing your space and adding a touch of sleek sophistication, removing popcorn ceilings can be a rewarding DIY project. In this comprehensive guide, we will walk you through the process of safely removing popcorn ceilings, transforming your home’s aesthetic, and potentially increasing its value.
Before diving into the removal process, it’s crucial to understand what popcorn ceilings are and why they may need special attention. Popcorn ceilings are a type of textured finish that was popular from the 1950s to the 1980s, primarily for their ability to hide imperfections and provide some degree of soundproofing. However, they can harbor allergens and, more importantly, some may contain asbestos, especially if they were installed before the 1980s.
Before you begin, it’s imperative to test for asbestos. If your home was built before the 1980s, your popcorn ceilings contain this hazardous material. Asbestos exposure can lead to serious health issues, so if your test comes back positive, it’s best to hire a professional to handle the removal.
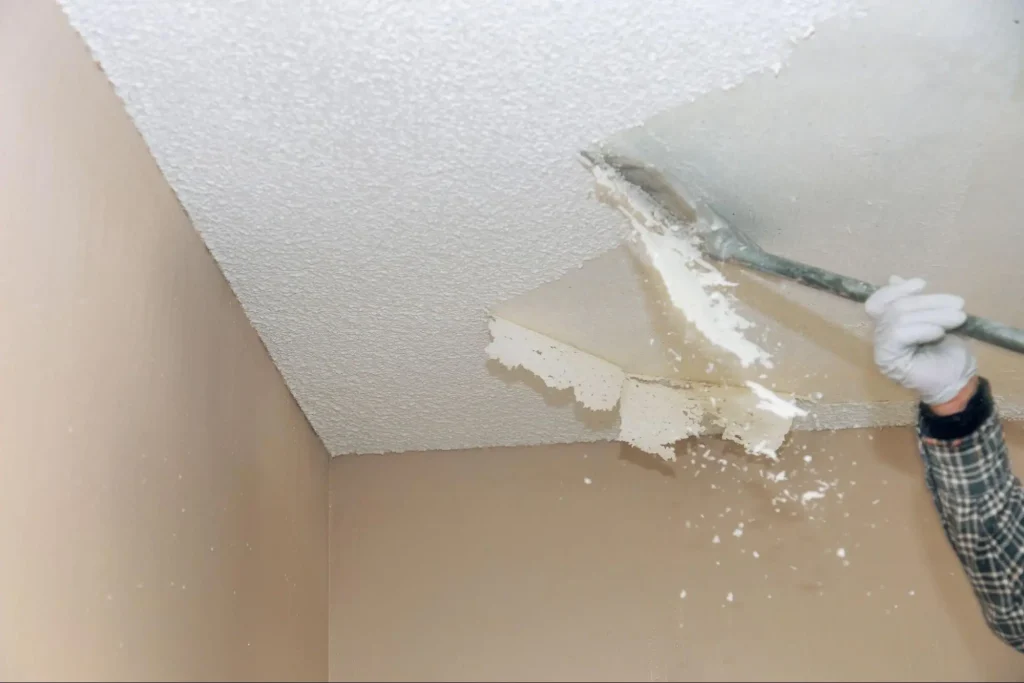
Once you’ve determined that your ceiling is free of asbestos, you’re ready to start the process. Begin by removing all furniture from the room or covering it with drop cloths or plastic sheeting. Don’t forget to protect your floors as well. Turn off the HVAC system to prevent dust from circulating, and cover any vents with plastic. Safety gear is a must—wear a dust mask, safety goggles, and gloves to protect yourself from the debris.
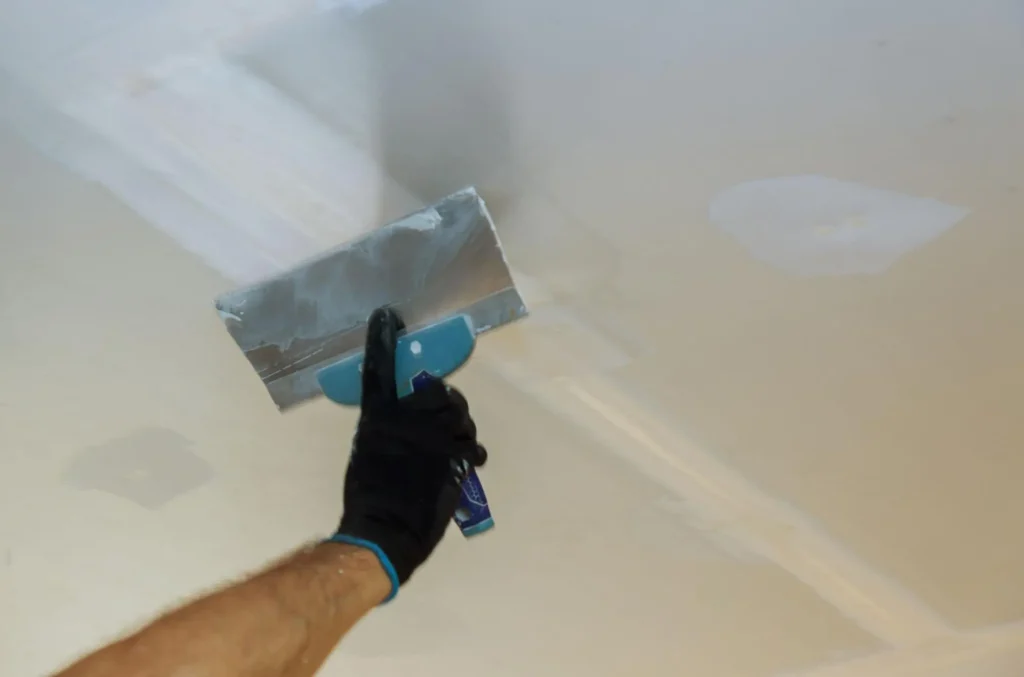
Once all the texture is removed, you’ll likely need to touch up the ceiling. Use joint compound to fill in any gouges or smooth out rough spots. Sand the ceiling lightly with fine-grit sandpaper for a smooth finish. Remember to wear a dust mask during this step to prevent inhalation of the fine particles.

After the joint compound has dried and the ceiling is sanded smooth, it’s time to prime and paint. Apply a stain-blocking primer to ensure a uniform appearance and allow it to dry completely. Then, apply your chosen paint color with a roller designed for smooth surfaces. For a professional-looking finish, apply at least two coats of paint, allowing adequate drying time in between.
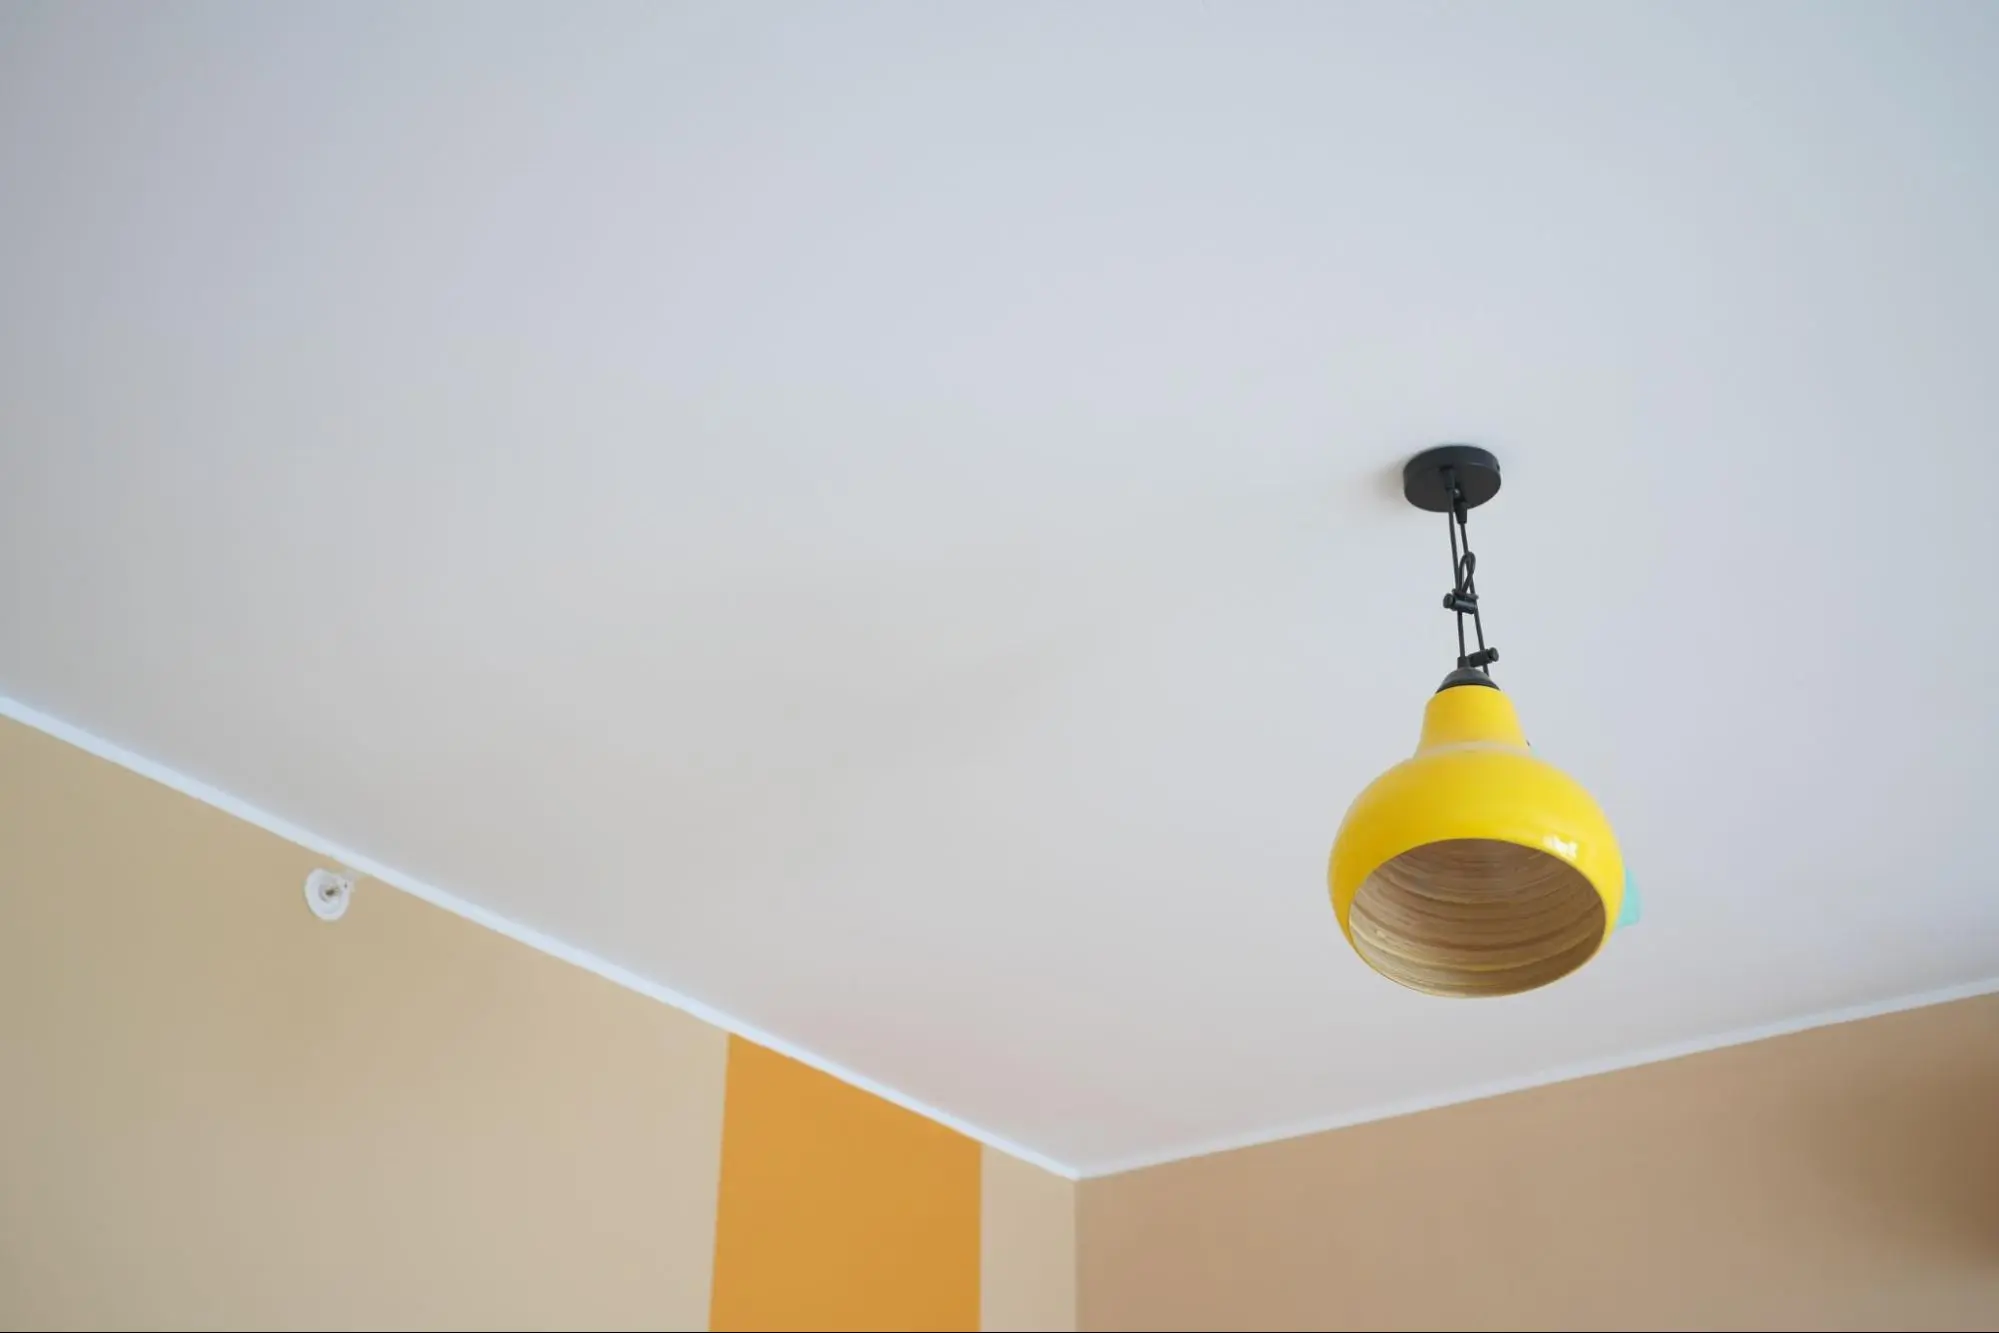
Removing popcorn ceilings can be labor-intensive, but the results are well worth the effort. With a smooth, modern ceiling, your home will feel brighter, more open, and up-to-date. Remember to prioritize safety, take your time, and follow each step carefully for the best outcome.
If you’re not comfortable tackling this project on your own, or if you encounter any issues along the way, don’t hesitate to call in the experts. Kaminskiy Care and Repair is here to help with all your home renovation needs. Our team of professionals can efficiently and safely transform your ceilings, ensuring a beautiful finish. Contact us today to schedule your consultation and take the first step toward revitalizing your home’s interior.
Ready to upgrade your home with confidence? Reach out to Kaminskiy Care and Repair for professional assistance and experience the joy of a renewed living space!