A sagging or sticking fence gate can be more than just an eyesore; it can make using your yard frustrating. Knowing how to fix a fence gate can save you time and money. By addressing the problem yourself, you avoid the costs of hiring a professional and learn valuable DIY skills. Whether it’s tightening loose hinges or replacing the entire gate, you’ll have it working smoothly again in no time.
Begin by evaluating the gate and its components, such as the hinges and latches, to determine what needs fixing. Sometimes, simply adjusting a few screws can make a difference. If the damage is more extensive, removing the gate and starting fresh might be necessary. Armed with the right tools and materials, you’ll be well-prepared to tackle any fence gate problems you encounter.
Before you can fix your fence gate, it’s important to carefully inspect it. This will help you know what’s wrong and what tools you need.
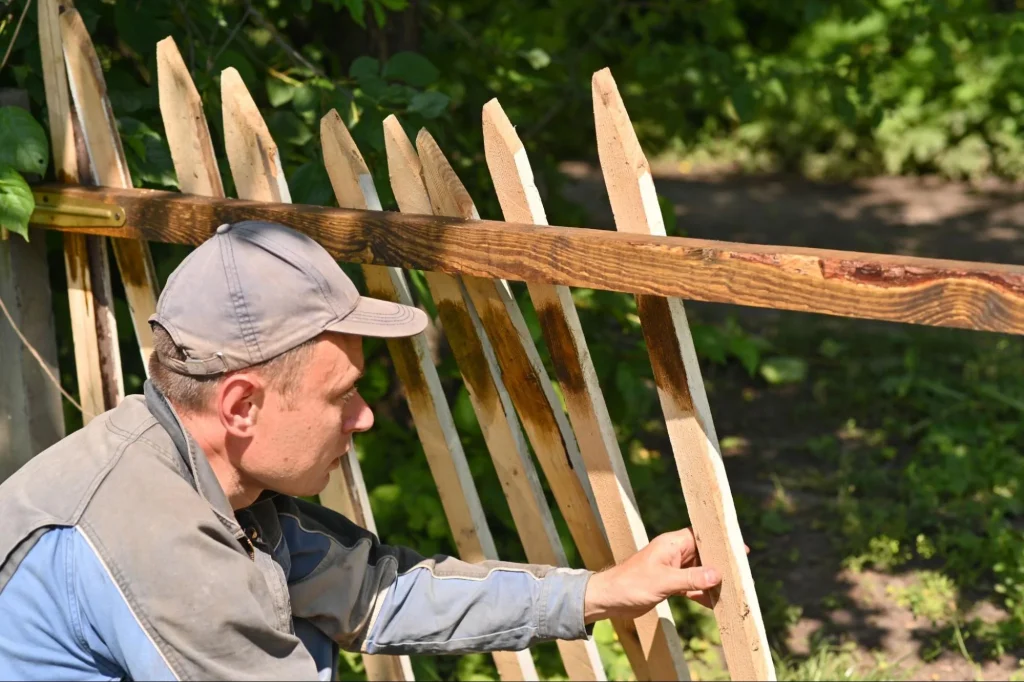
First, look at the gate’s alignment. Does it hang unevenly or scrape the ground? These are signs that might be sagging or misaligned. Examine the hinges and latches closely. Check for rust, wear, or missing screws.
Next, inspect the gate frame and panels for cracks, splinters, or breaks. These can weaken the gate structure. Also, take a look at the posts supporting the gate. If they are wobbly or leaning, this might be the root of your problem.
Check the gate’s hardware as well. Loose bolts or screws can cause the gate to malfunction. Inspect where the gate attaches to the fence post. Make sure all connections are secure and intact.
After identifying issues, you will need to gather the right materials. For a sagging gate, you might need a turnbuckle kit or a gate repair kit. These can help pull the gate back into place. You’ll also need basic tools like a level, screwdriver, and wrench.
If the hinges are damaged, purchase new ones. Opt for heavy-duty hinges if your gate is large or heavy. For loose or missing hardware, get the appropriate screws or bolts.
For frame and panel repairs, you’ll need wood fillers, replacement boards, and a hammer. If the posts are unstable, concrete mix and post levelers can help reinforce them.
To repair a fence gate, you need essential tools and quality materials. These items ensure safety and efficiency in the repair process.
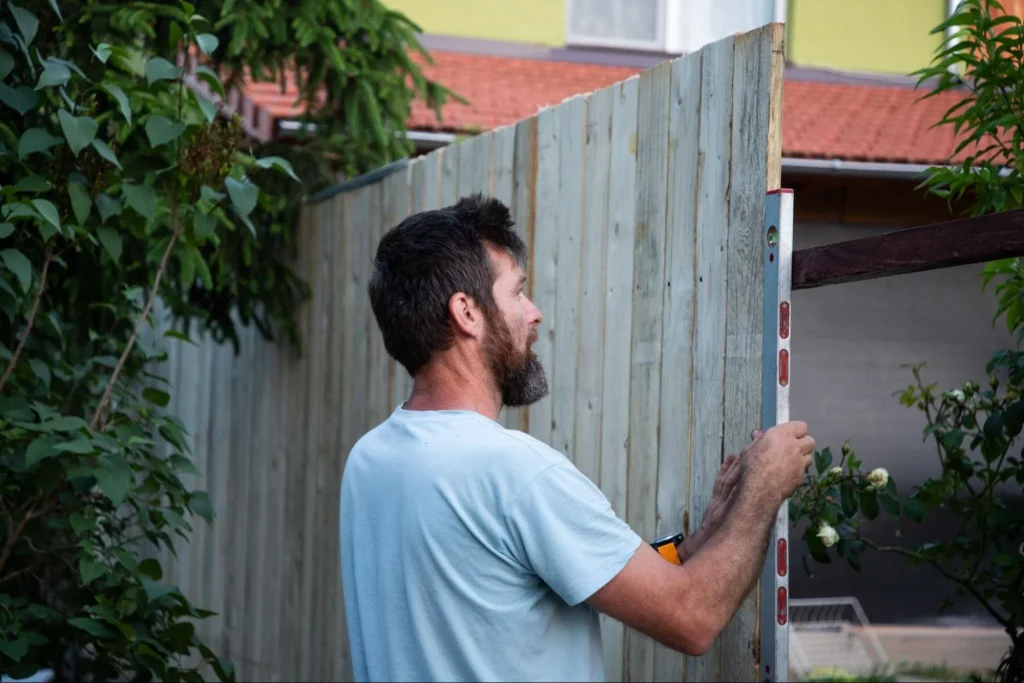
Selecting the right tools is crucial. You’ll need a screwdriver, level, and drill. A screwdriver will help you tighten and remove screws. Use a level to make sure your gate is even. A drill can make the job quicker, especially for creating pilot holes.
Other useful tools include pliers, wrenches, and measuring tape. Pliers can grip screws tightly. A wrench is handy for dealing with bolts. Measuring tape ensures you get precise dimensions when aligning the gate.
Don’t forget safety equipment like gloves and safety glasses. They protect your hands and eyes from sharp objects and debris.
High-quality replacement parts are essential. Choose rust-resistant screws and hinges. They last longer and handle weather conditions better.
For hinges, pick ones with strong load-bearing capacity. This prevents your gate from sagging over time. Look for galvanized or stainless steel materials to avoid rust.
Latches and bolts should also be sturdy. They secure your gate effectively. Ensure the dimensions match your existing gate and fence post.
Check for wood pieces if your gate frame needs repair. Select treated or hardwood to increase durability. Quality materials make your repair job longer-lasting and more reliable.

Before installing a new gate, you need to safely dismantle the old one and properly dispose of the materials. This process involves removing the gate from its hinges and dealing with any old or damaged parts.
First, support the gate in its current position to prevent it from falling. Place a 2×4 or similar board underneath to hold it at the needed height. Ensure the gate is stable before proceeding.
Next, use a screwdriver or drill to remove the screws from the hinges. Work from the bottom hinge to the top to keep the gate steady. You might need to have another person help hold the gate for safety, especially if it’s heavy or large.
After removing the screws, carefully lift the gate off the hinges. If the gate is sagging or difficult to remove, it could be due to warped wood or rusted hinges. In this case, you may need a crowbar or extra leverage to pry it free.
Finally, inspect the fence post and hinges. If the post is wobbly or damaged, you’ll need to address that before installing the new gate.
Once the gate is removed, decide how to dispose of the materials. If the wood is in good condition, consider repurposing it for another project. For example, you might use it for small garden fences or plant trellises.
Metal hinges and screws should be recycled. Remove rust and other debris before taking them to a recycling center. Check whether your local facility accepts small metal parts or if you need to drop them off at a specialty center.
Proper disposal of old materials ensures a clean workspace and complies with local regulations. It also allows you to start fresh with high-quality components for your new gate.

Making sure your new gate functions well involves setting up sturdy posts and hinges and then properly aligning and attaching the gate to ensure smooth operation and durability.
The first step is to secure the posts. Place the posts in holes about 2 feet deep to provide a solid base. Ensure the posts are vertical using a level. Fill around the posts with concrete or packed dirt, then let it set.
Next, install the hinges on the gate. Position the hinges about 8-12 inches from the top and bottom. This placement helps distribute the weight evenly.
Bolt or screw the hinges firmly to the posts. This will secure the gate in place. Use heavy-duty hardware to ensure longevity.
Start by holding the gate up to the posts. Check that it lines up with the fence and is at the right height. Adjust the mounting blocks if necessary.
Once aligned, mark where the hinges will be attached to the gate. Drill pilot holes for the hinge screws, then screw them in tightly.
Finally, test the gate to ensure it swings freely and closes securely. Make any adjustments needed for smooth operation. If the gate isn’t level, tweak the hinges until it is correct.
By following these steps, you’ll have a sturdy, well-aligned gate that enhances the security and look of your fence.
To repair a sagging wooden gate, first assess the condition of the gate and the fence post. Tighten any loose hinges using a screwdriver. If the hinges are stripped, replace them with new ones. For significant sagging, install a turnbuckle kit to realign the gate.
Loosen the screws on the hinges just enough to adjust the gate. Close the gate to see if it aligns correctly. Tighten the screws once the gate is in the correct position. If the hinges are damaged, replace them with new, appropriately sized hinges.
First, check for any obstructions in the gate’s path. Sand down any rough edges or swollen wood that may cause the gate to stick. Lubricate the hinges to ensure smooth movement. If the latch is misaligned, adjust it to ensure the gate closes properly.
Consider the cost of materials such as wood, metal, or vinyl. Factor in the cost of new hinges, latches, and any additional hardware. Labor costs should also be included if you’re hiring a professional. Always account for any potential repairs to the fence post or surrounding area.