A leaky roof can cause severe damage if not repaired quickly. This guide teaches simple steps to repair a leaking roof, making it achievable for any beginner. Knowing how to fix common roof leaks can save you time and money, especially during the rainy season, when leaks are most likely to occur.
Identifying the source of the leak is the first step to ensure an effective repair. You’ll discover effective methods and easy-to-find tools to help you patch those annoying leaks. This guide will build your confidence in tackling roof repairs, helping you maintain the integrity of your home.
Taking action now can prevent costly repairs down the road caused by severe weather events. Understanding how to execute a repair correctly will protect your home and keep you dry no matter the weather outside.
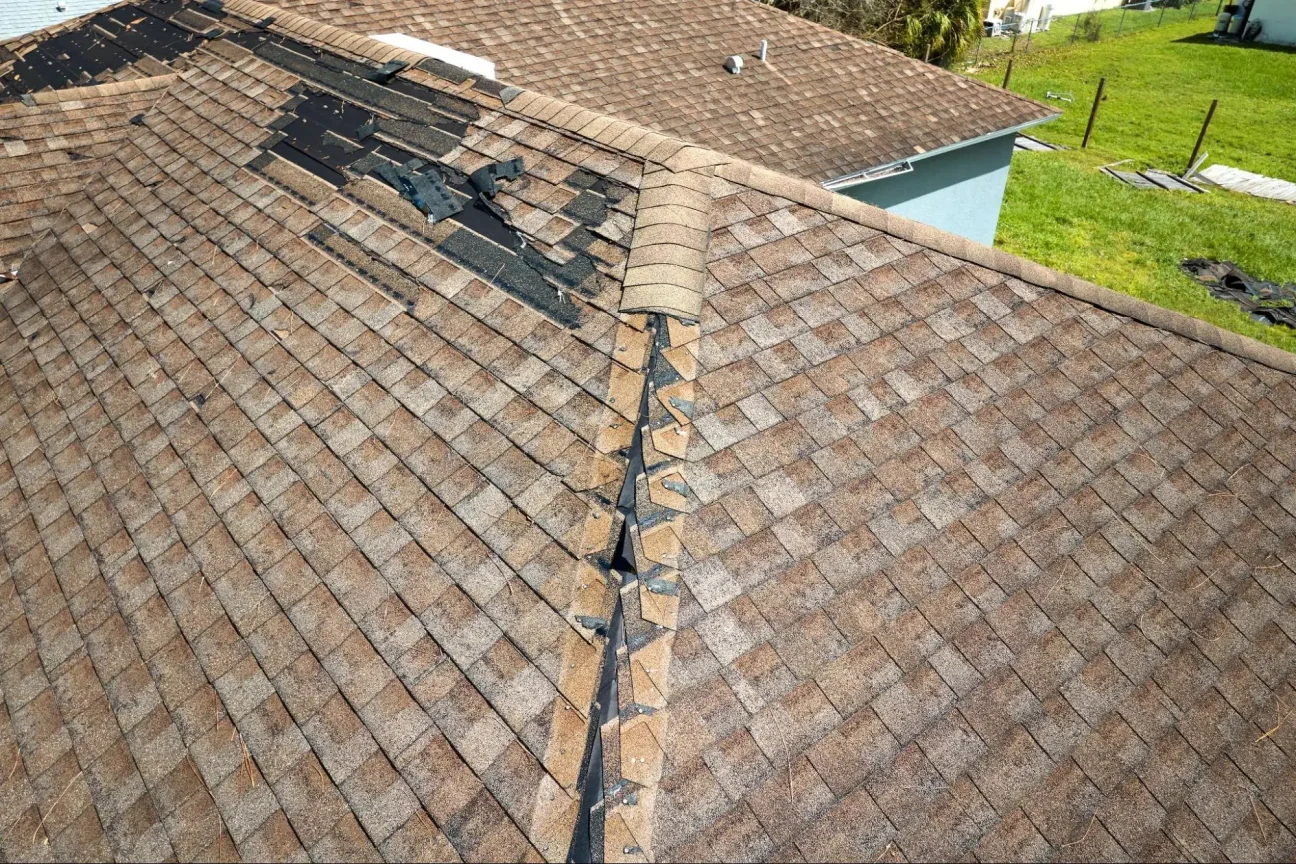
Finding where the roof leak is coming from can be challenging. You need to check both indoors and outdoors to pinpoint the exact location. Pay attention to signs like water stains, mold, and dampness.
Start your search in areas close to where the leak appears. Look for water stains on ceilings or walls, indicating a problem above. Mold growth, especially in the attic or near walls, is another crucial sign of water seepage.
Check the attic for any visible damp spots. Inspect vents and flashing around chimneys and other openings, as these are common leak entry points. If you notice any damaged shingles listed in your inspection, consider that they might allow water to get through. A thorough indoor check can save time and money later on.
Next, head outside to examine the roof and gutters. Look for damaged or missing shingles that could expose your roof to leaks. Inspect the flashing around vents and dormers for cracks or gaps, which can lead to water entry.
Clogged gutters can also cause water to back up and seep into your home. Ensure that water flows freely off the roof and into the gutters.
Pay special attention to the areas around chimneys and roof vents. These spots are vulnerable to leaks due to their integration with the roof surface. Taking the time for a careful outdoor examination helps ensure you address the root cause of any leaking roof.
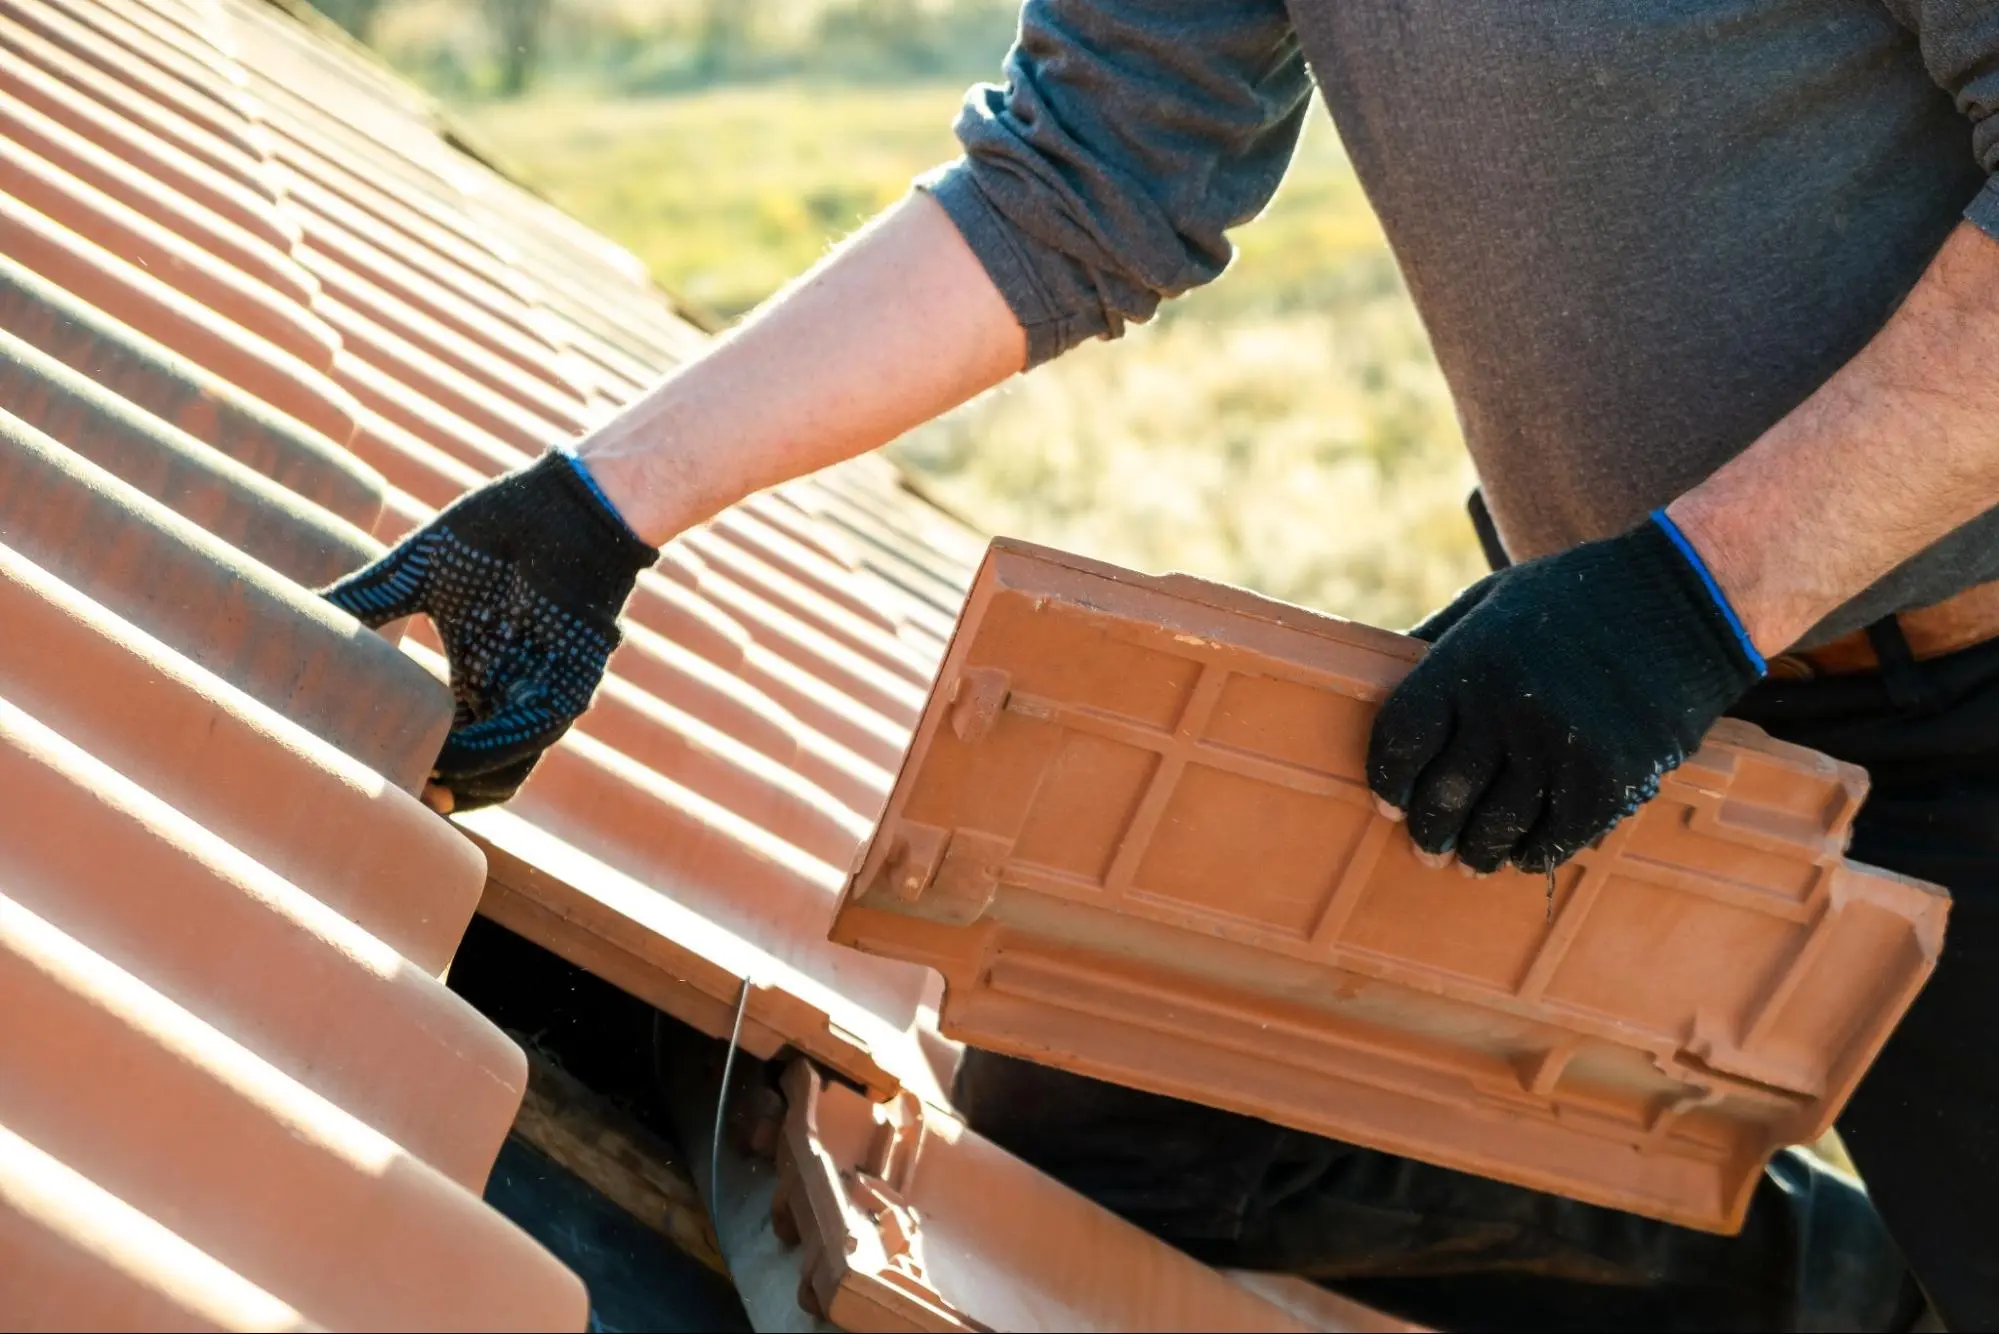
Successfully executing a roof leak repair requires careful preparation and the proper techniques. You must gather essential tools and materials, understand effective repair methods, and take post-repair actions to thoroughly address the problem.
Start by collecting the necessary tools and materials. This will help you work quickly and effectively. Essential tools may include:
Keep a bucket for debris and water, a paintbrush for applying sealant, and a pry bar for removing damaged shingles. Ensure you also have roofing tape and patches for minor repairs. Having everything ready will save time and prevent unwanted delays.
With your tools in hand, identify the source of the leak. Check for common issues like damaged shingles, cracked flashing, or holes.
Using effective techniques can prevent future leaks and extend the life of your roof.
After you complete the repairs, take essential steps to ensure longevity and safety.
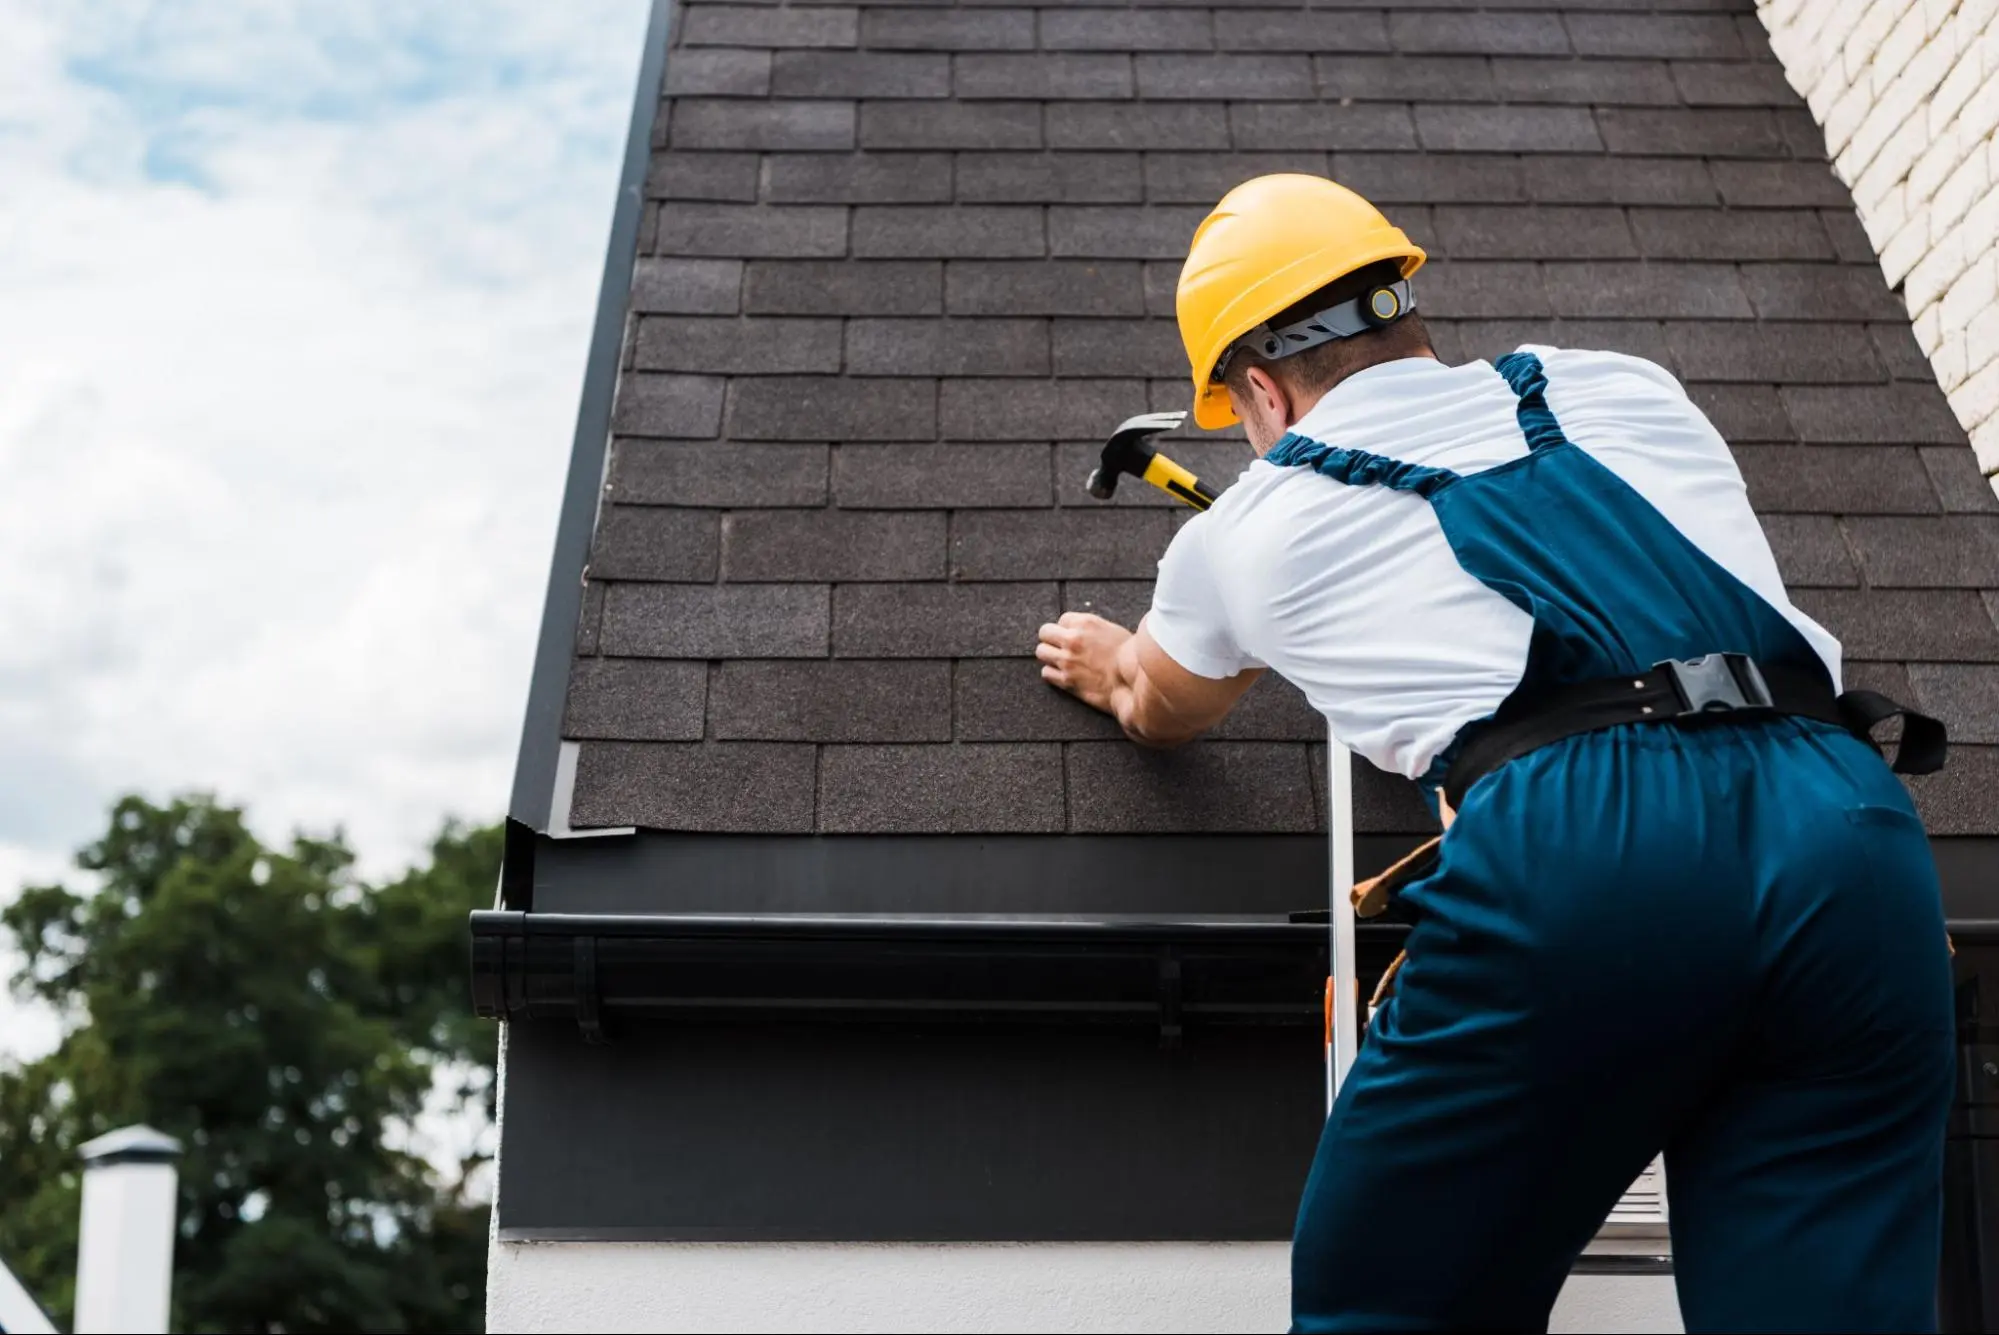
It’s important to take a methodical approach when addressing a roof leak. Start by inspecting your roof to identify the source of the leak. Look for signs like damaged shingles or failing flashing.
Perform regular checks on your roof, especially after storms. Early detection can save you from costly repairs later. Assess your roof at least twice a year.
These steps will help you maintain a secure roof and ensure the repairs hold up over time.
To address a leak inside your home, start by locating the source in the attic. Look for water stains, damp insulation, or any visible holes. Once identified, you can apply a temporary patch using roofing tape or plastic sheeting to prevent further water entry.
For roof leak repairs, a high-quality roofing sealant works well. Look for products specifically designed for your roofing material, such as asphalt, metal, or rubber. Silicone and polyurethane sealants are also effective because they remain flexible and withstand weather changes.
Yes, a temporary solution includes using a tarp to cover the leak. Secure the tarp with weights or nails to prevent it from blowing away. That can help minimize water intrusion until you can conduct a complete repair.
While making repairs, dry out any affected areas inside your home to prevent mold. Use fans and dehumidifiers to remove moisture. Promptly replace any damaged insulation or drywall to maintain a healthy indoor environment.
Perform regular checks on your roof, especially after storms. Early detection can save you from costly repairs later. Assess your roof at least twice a year. Safety precautions are crucial. Always wear proper safety gear and consider the weather conditions before climbing onto your roof. By following these guidelines, you can effectively manage minor leaks. Tackling roof repairs yourself may save money and give you a sense of accomplishment.