
Caulking is essential to maintaining your home, providing seals against water, air, and pests. Whether sealing a window, fixing a bathroom fixture, or working on exterior siding, choosing the right caulk is crucial for long-lasting results. This guide will walk you through selecting and applying the appropriate caulk for various home projects, ensuring a professional finish every time.
Choosing the right caulk begins with understanding the available types and their best uses.
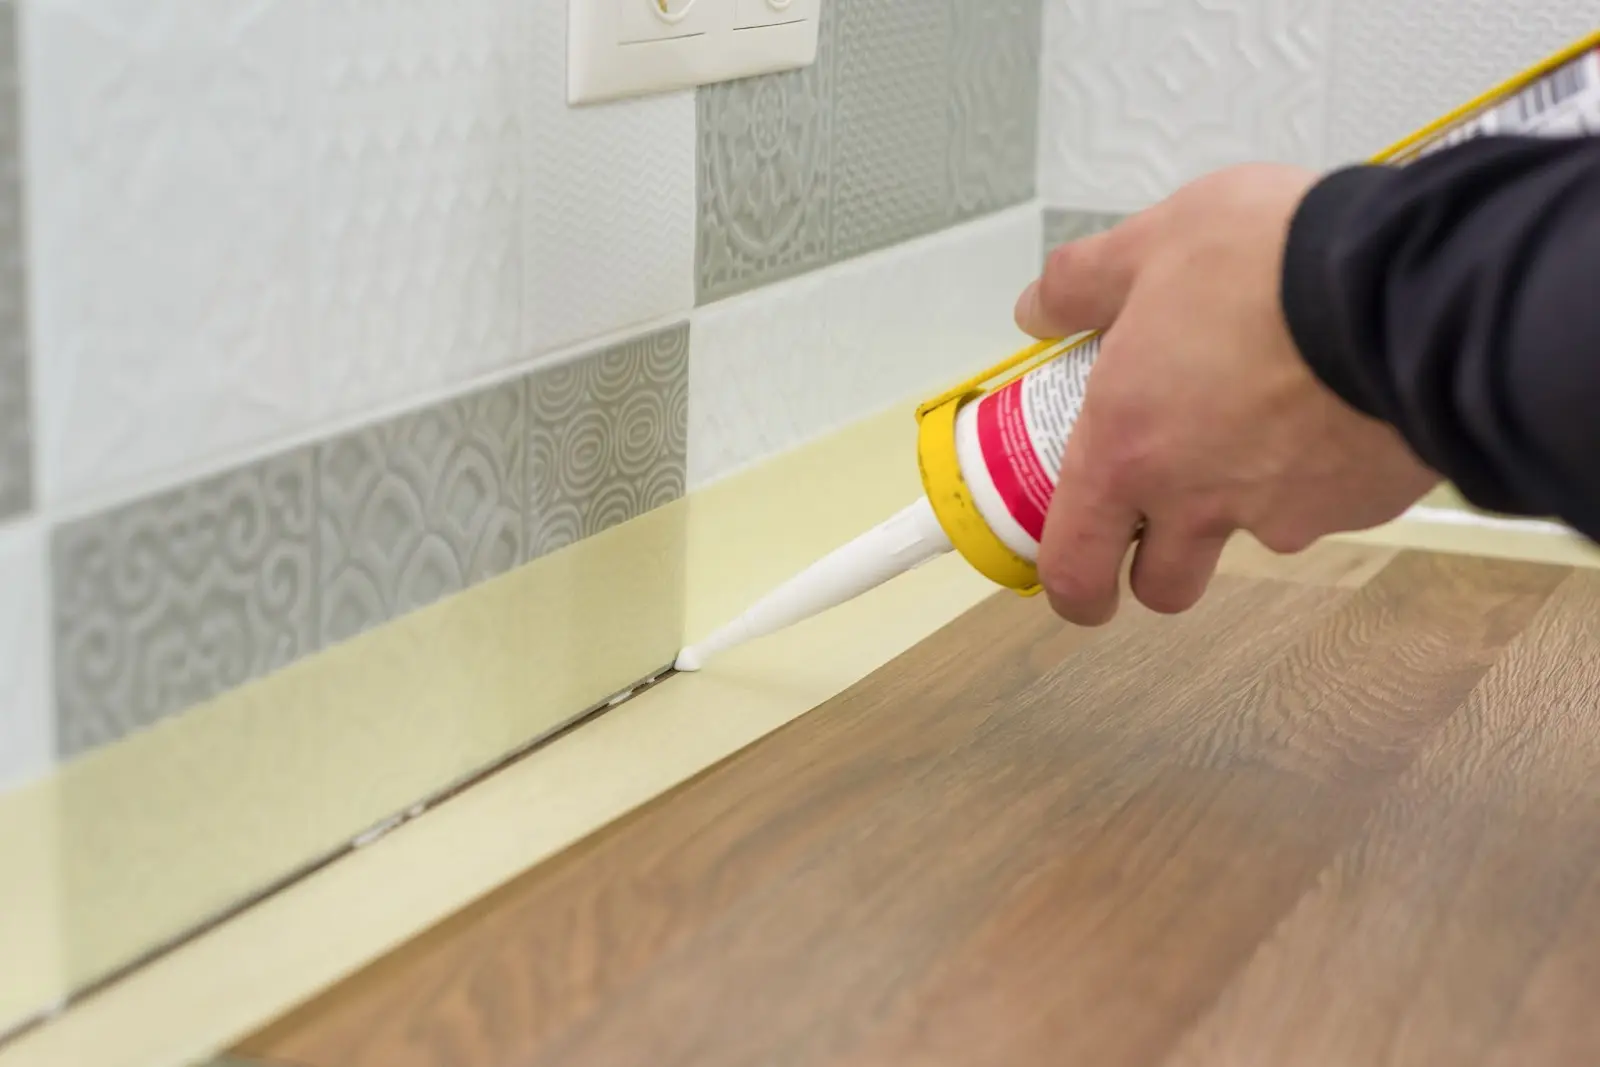
Acrylic latex caulk is best for Interior projects, such as baseboards and trim. Its main features are that it is easy to apply, paintable, and cleans up with water. However, it is not suitable for high-moisture areas.
Silicon is best for wet areas like bathrooms and kitchens. Its main features are that it is waterproof, flexible, and long-lasting. However, one disadvantage of silicon caulk is the difficulty of painting over and cleaning up.
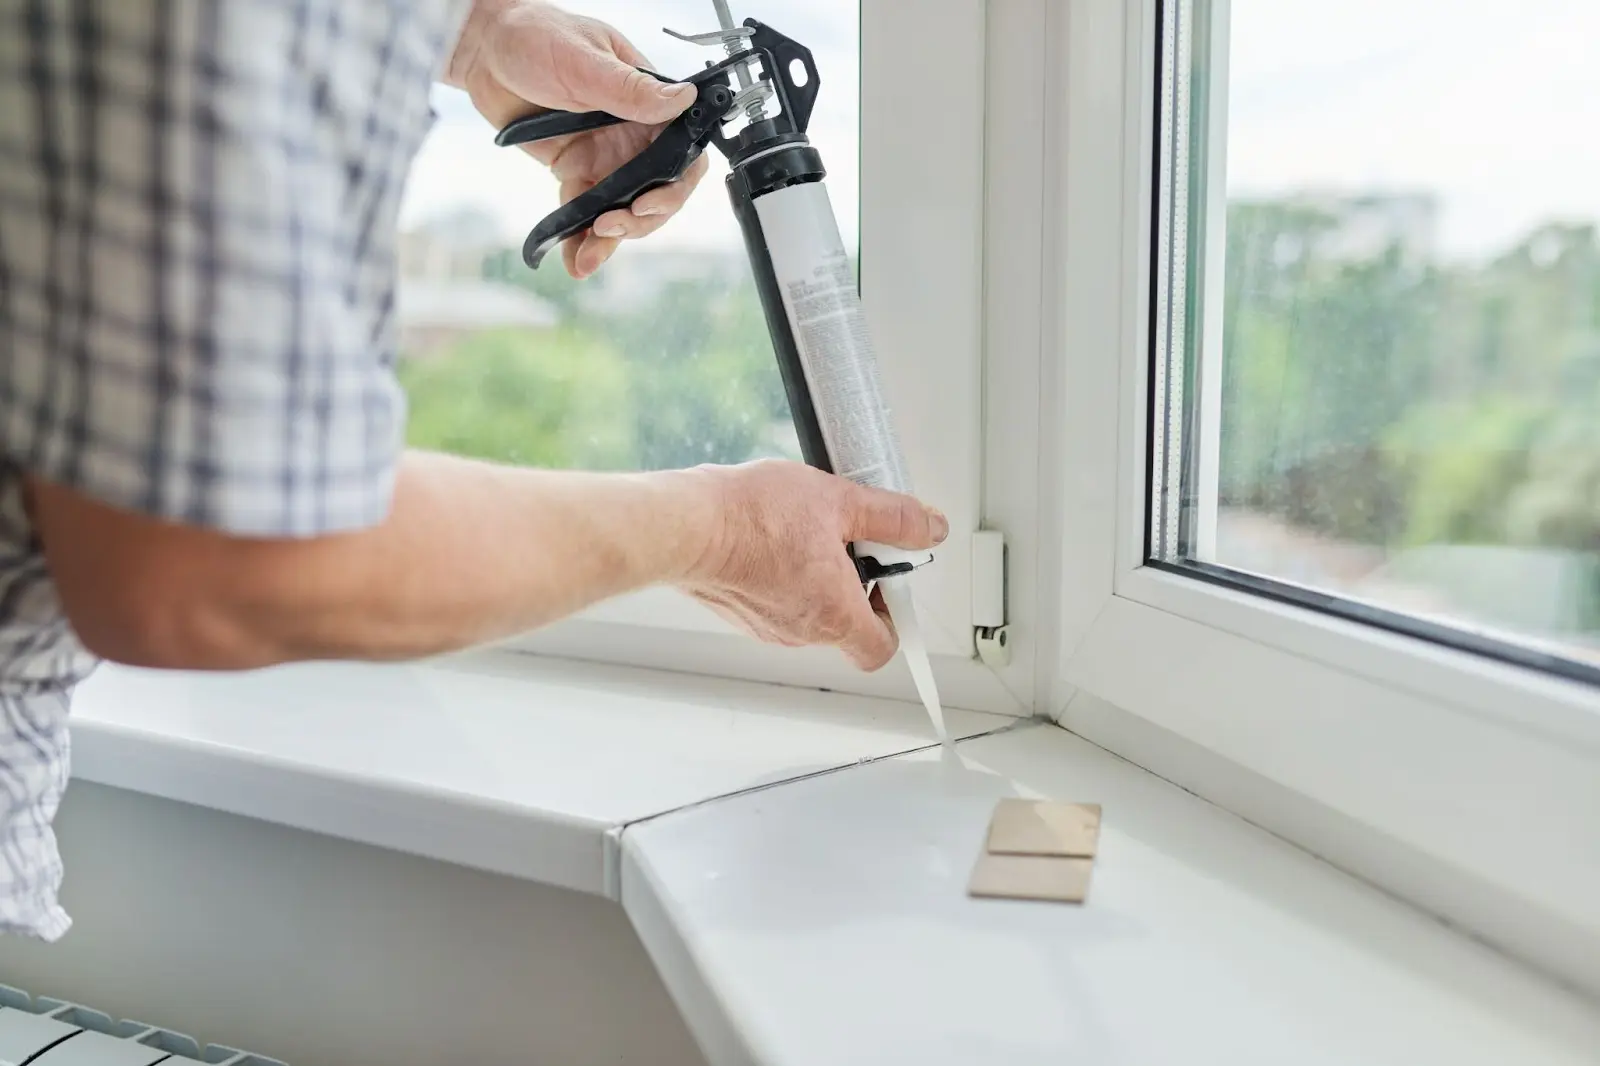
Polyurethane caulk is best for exterior projects, such as sealing around windows and doors.
Its main features are that it is highly durable, paintable, and adheres well to most surfaces.
However, its main disadvantages are solvents for cleanup and a longer curing time.
Hybrid Caulk is ideal for versatile applications, combining the properties of silicone and acrylic.
Its major advantages include: paintable, easy to apply, and water-resistant. Its drawback is that it is more expensive than other types.
Consider the following factors when choosing caulk for your project:
Proper surface preparation is key to ensuring good adhesion and a smooth finish. Here are a few steps:
Before applying caulk, clean the surface thoroughly to remove dirt, dust, and old caulk. Use a scraper or utility knife to remove any existing caulk, and clean the area with soap and water or a suitable cleaner. Allow it to dry completely.
Knowing the correct technique for applying caulk can significantly improve the quality and durability of the seal.
Cut the caulk tube nozzle at a 45-degree angle to match the width of the gap you’re sealing. A smaller opening is better for narrow gaps, while a larger opening is suited for wider gaps.
Insert the caulk tube into the caulk gun and press the trigger to start the flow of the caulk. Test the flow on a piece of cardboard to ensure it comes out smoothly.
Position the nozzle at the start of the gap, and apply steady pressure on the trigger as you move the gun along the seam. Keep the gun at a consistent angle and speed to ensure an even bead of caulk.
Use a caulk smoothing tool or a finger dipped in water to smooth the bead of the caulk. That helps push the caulk into the gap and creates a clean, professional finish.
Carefully remove the painter’s tape while the caulk is still wet. That will prevent the caulk from pulling away from the seam and ensure clean edges.
Work in small sections to ensure the caulk doesn’t dry before you smooth it. If using silicone caulk, consider using rubbing alcohol to smooth the bead. For large gaps, use a backer rod to fill the space before applying caulk.
Regular maintenance can extend the life of your caulking job and prevent potential issues.
Selecting the right caulk involves understanding the specific needs of your project and ensuring proper surface preparation by following the correct application techniques. You can achieve a clean, durable finish by following the correct application techniques.
Regular maintenance of caulked areas is essential to prevent future issues. With these tips, you can confidently tackle caulking tasks around your home, ensuring lasting results and improved home maintenance.
For professional assistance with your caulking projects, Kaminskiy Care and Repair provides reliable and expert services. Contact us today!