Installing kitchen cabinets can seem like a daunting task, but it’s an essential part of any kitchen renovation. With the right planning and preparation, you can achieve a professional-looking installation on your own. Knowing what types of cabinets are available and how to fit them into your space can make all the difference in your project’s outcome.
The installation process involves several key steps, from understanding the layout to making necessary adjustments for a perfect fit. You will learn to customize your cabinets to suit your style and needs, ensuring your kitchen not only looks good but functions well too. By following a straightforward approach, you can simplify the process and avoid common mistakes.
With the right tips and techniques, you can transform your kitchen efficiently. Embracing this DIY project will give you a sense of accomplishment and enhance the value of your home.

Preparation is key to a successful kitchen cabinet installation. Start with accurate measurements and select the right cabinets that fit your style and space. Gathering the necessary tools will make the actual installation process smoother.
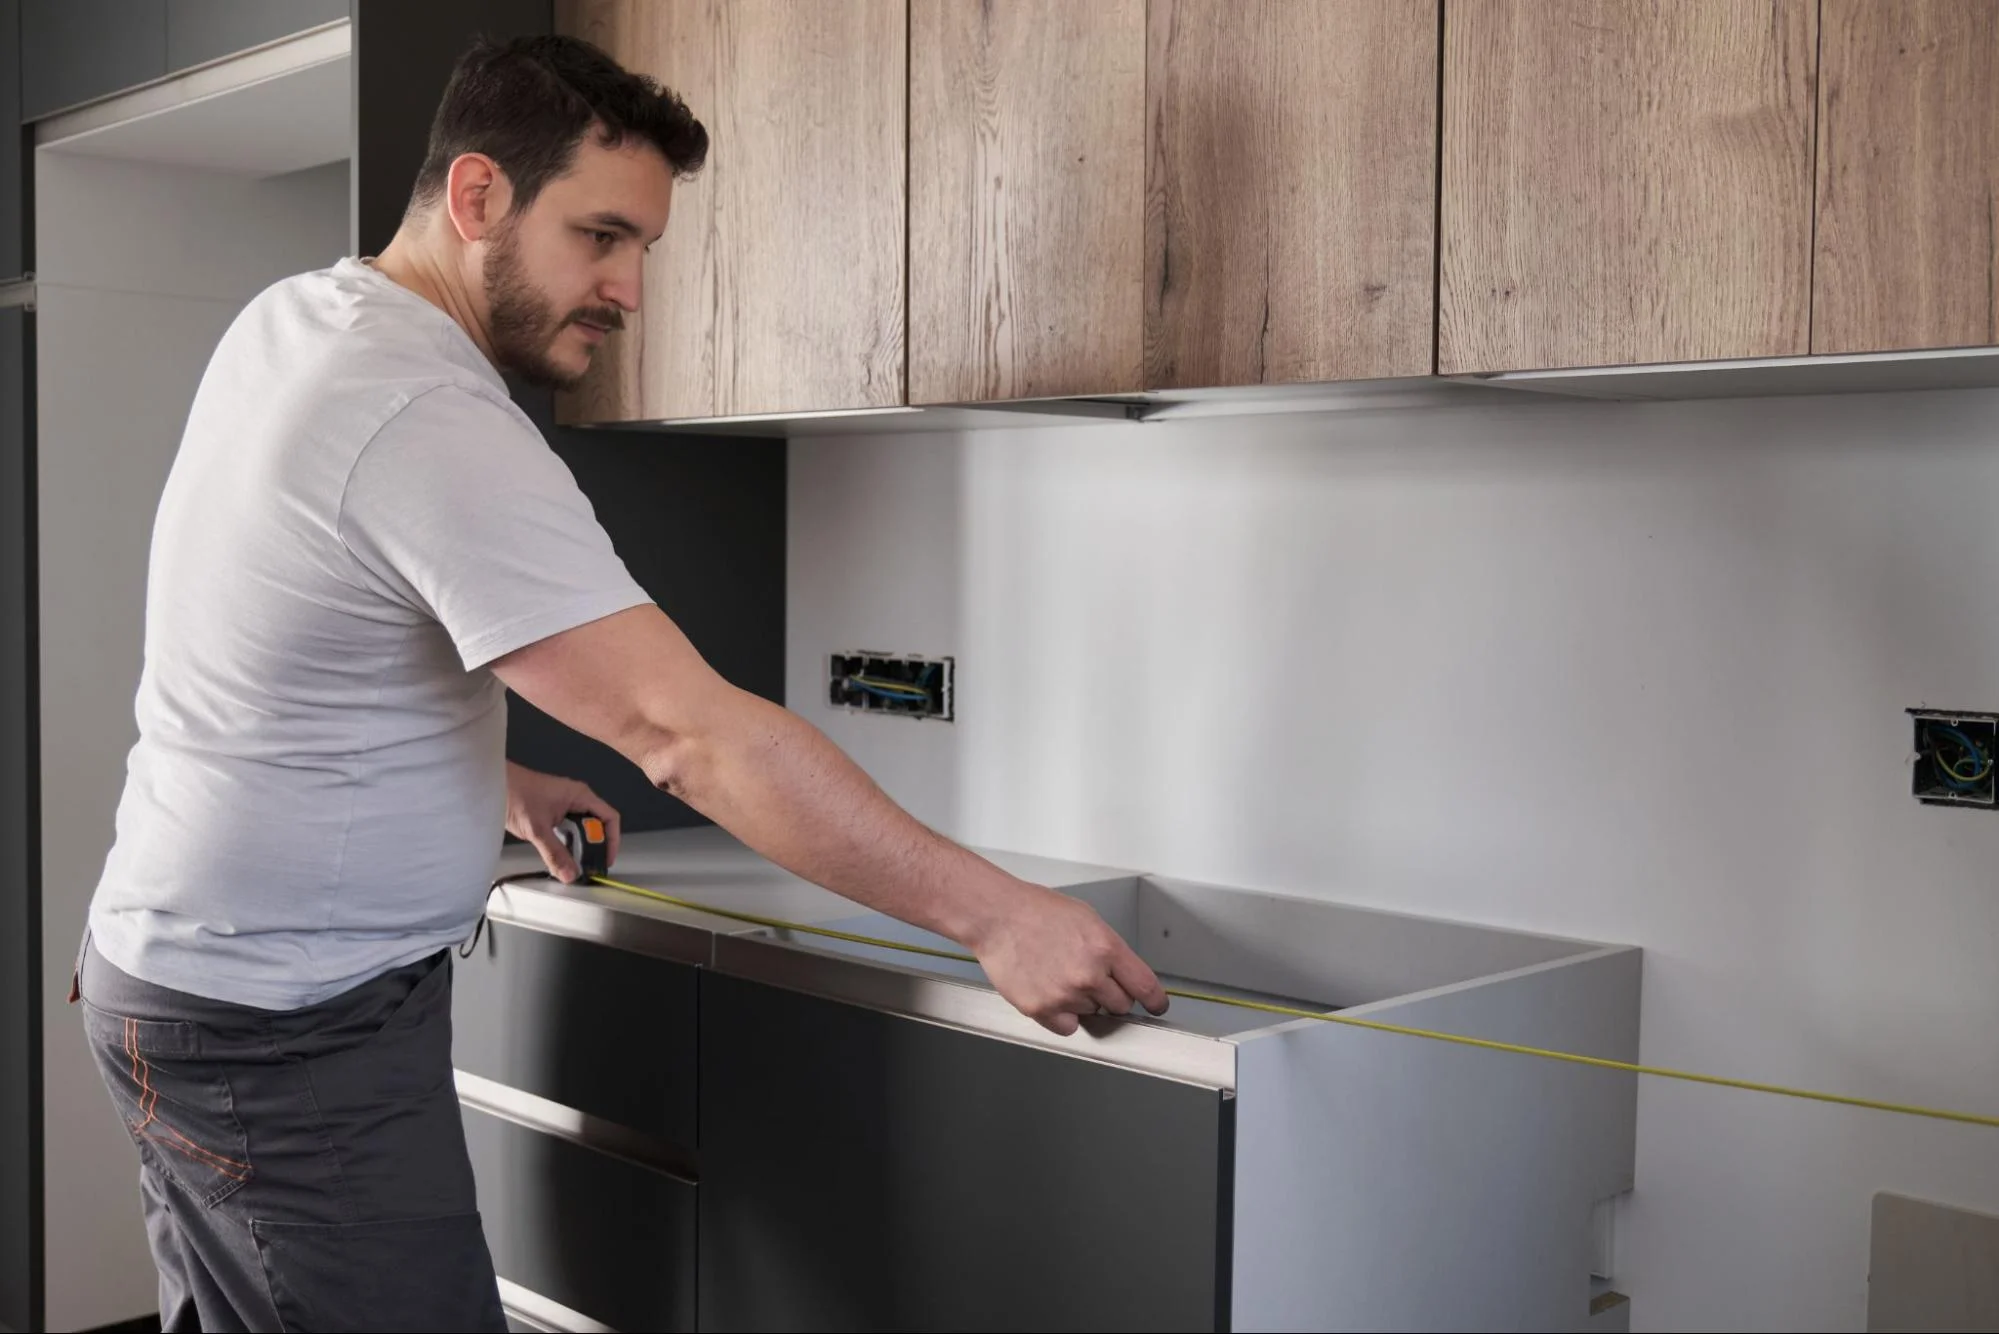
Measuring your kitchen accurately is crucial. Begin by using a tape measure to check the width, height, and depth of each wall where you will install cabinets.
Create a detailed sketch of your kitchen layout. Include locations of doors, windows, and appliances.
Make note of any obstacles like pipes or electrical outlets. It’s best to measure twice to ensure accuracy. Erroneous measurements can lead to costly mistakes.
Also, keep in mind that walls can be uneven. Make sure you measure at several points to account for any discrepancies.
Choosing the right cabinets involves factoring in material, style, and color. Start by deciding on the cabinet type—stock, semi-custom, or custom.
Stock cabinets are ready-made and can be picked up quickly. Semi-custom cabinets offer more options in terms of sizes and finishes, while custom cabinets are fully tailored to your space but may require more time.
Also, think about the design. Consider traditional, modern, or rustic styles based on your kitchen theme.
Color and finish should also align with your overall kitchen style. A cohesive look enhances the room’s appeal.
The choice of materials affects the durability and maintenance of your carport.
Wood Carports offers a classic look. They are versatile and can be painted or stained. However, they require regular maintenance to prevent rot, especially in wet climates.
Metal Carports are known for their strength and longevity. They can withstand harsh weather conditions better than wood. Metal surfaces often need less upkeep but can be prone to rust if not finished correctly.
Consider local weather conditions when choosing materials. For instance, if you live in an area with heavy snowfall, a sturdy metal design might be best.
Having the right tools will make installation easier. Assemble a list of essential items such as:
Don’t forget safety gear like goggles and gloves.
Before starting, ensure all tools are in working order. If you lack any tools, consider borrowing or renting instead of buying. This preparation sets you up for a smooth installation process.
Choosing the right type of kitchen cabinet is essential for both function and style. Each cabinet type serves a specific purpose and has unique features that can enhance your kitchen.
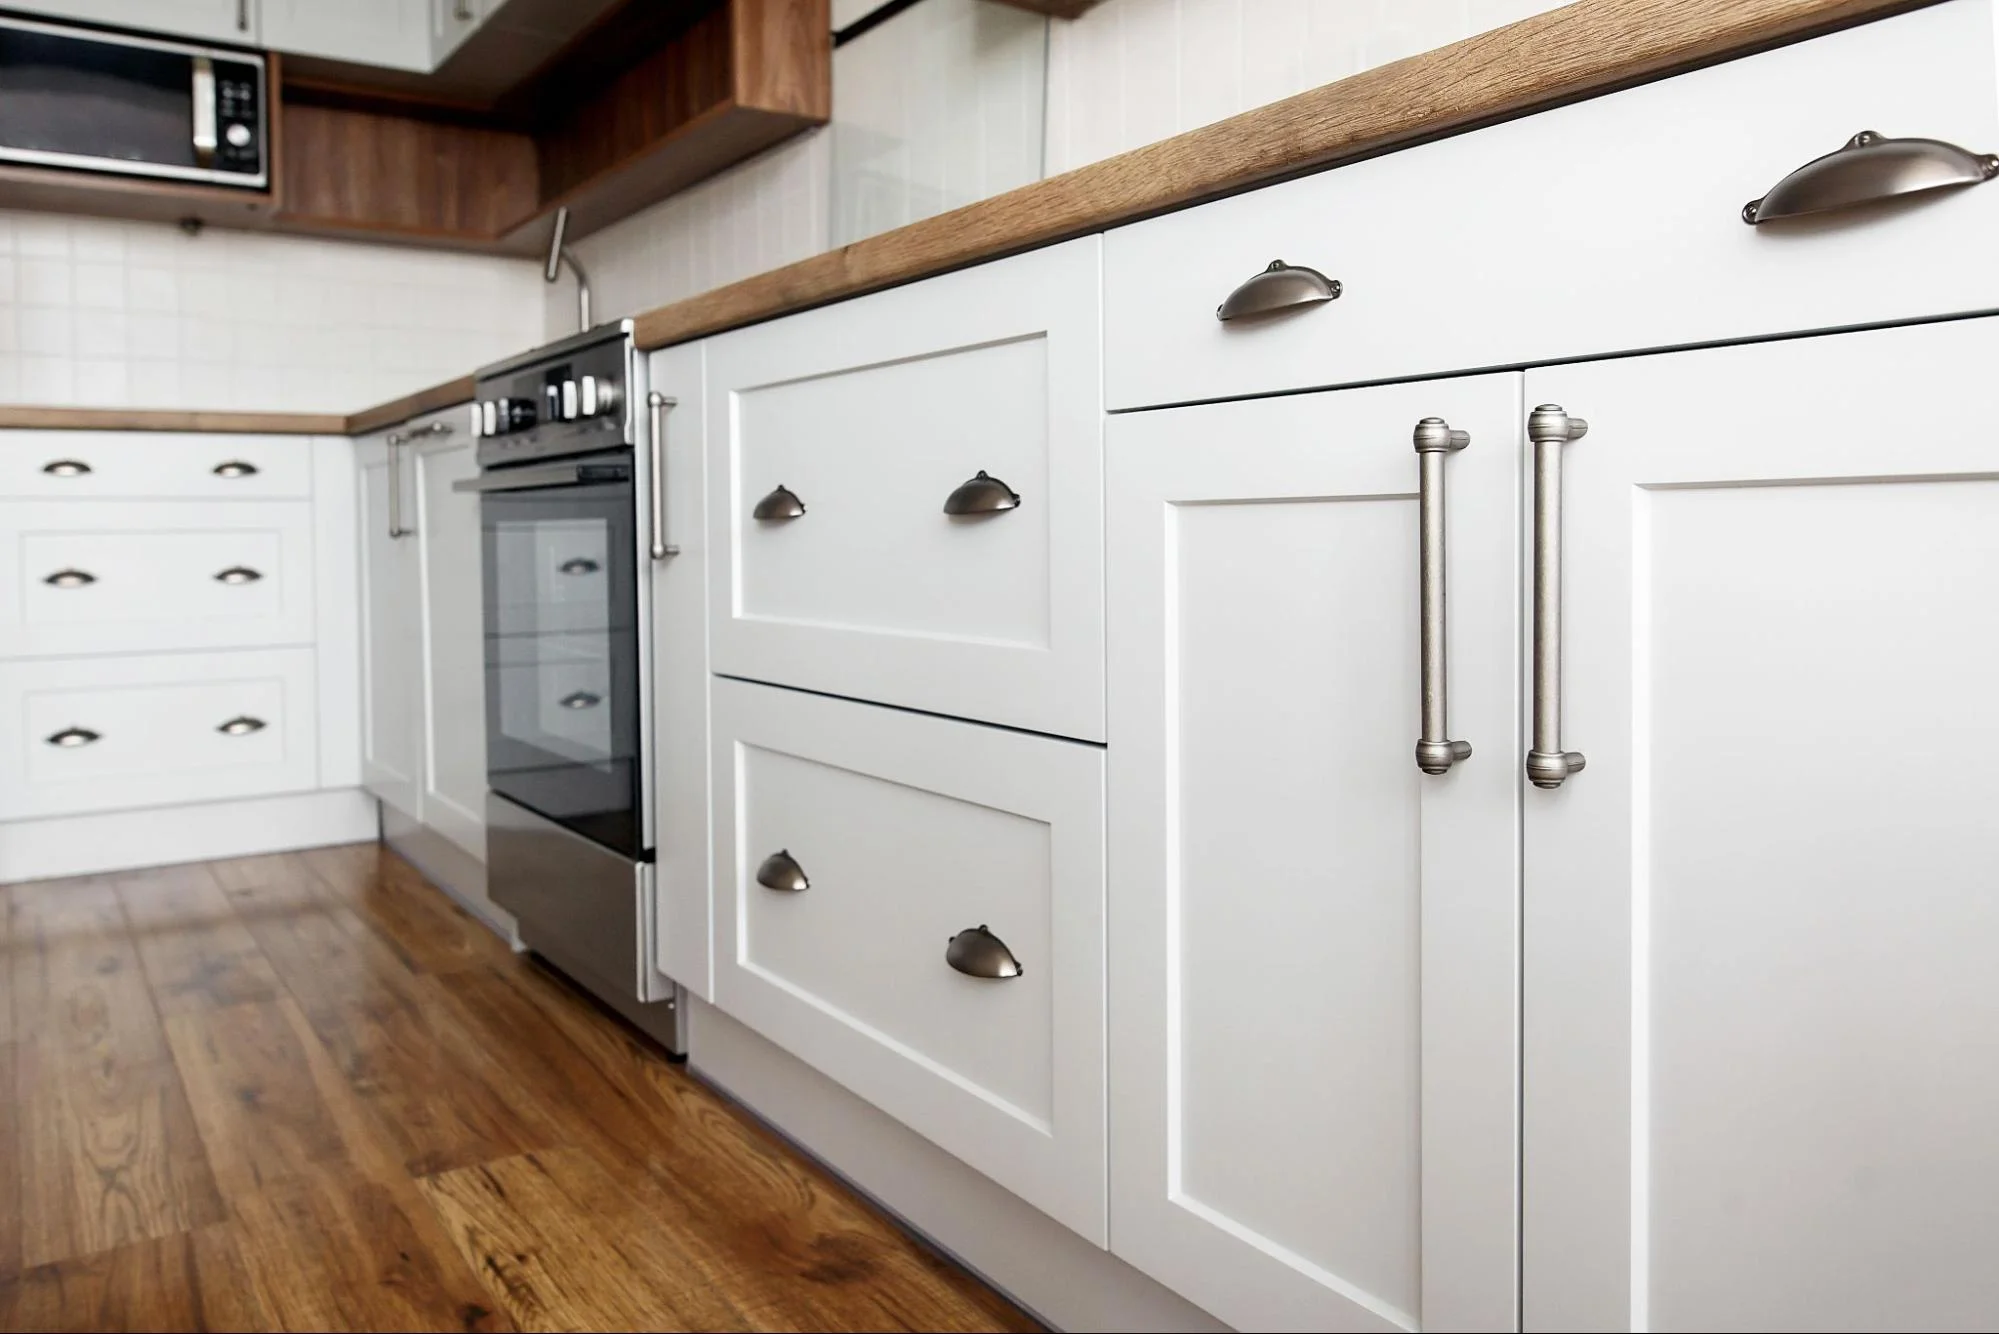
Base cabinets sit directly on the floor and provide the foundation for your kitchen design. They are typically 34.5 inches tall, allowing for countertop installation. These cabinets offer ample storage space for pots, pans, and kitchen tools.
When selecting base cabinets, consider the material. Common options include solid wood, plywood, and MDF. Solid wood offers durability and a classic look, while MDF is often more affordable and resistant to moisture.
You can also choose between various styles, such as shaker, flat-panel, or traditional. Additionally, base cabinets can include built-in features like drawers, shelves, or pull-out trays to improve accessibility.
Wall cabinets are mounted above the counter, maximizing vertical space. They typically range in height from 30 to 42 inches. These cabinets are perfect for storing dishes, spices, and other kitchen essentials.
When selecting wall cabinets, consider the door style and finish, as they can dramatically affect your kitchen’s appearance. Popular choices include glass-front doors for a modern look or raised-panel doors for a more traditional style.
You should also think about the depth of the cabinets. Standard wall cabinets are usually 12 inches deep, but you can find deeper options for increased storage. Hanging wall cabinets at the right height ensures easy access while maintaining a clean look.
Tall cabinets are often used for pantry storage or to house appliances like ovens and microwaves. They range in height from 84 inches and can add significant storage space to your kitchen.
When designing with tall cabinets, you can choose between full-height or appliance garages. Full-height cabinets provide abundant space for food items or kitchen supplies. Appliance garages can help conceal appliances, creating a more organized appearance.
Consider the width of tall cabinets as well. Common widths are 18, 24, or 30 inches. The choice of material and style should match your overall kitchen design. Integrating these cabinets with other storage options will enhance both functionality and aesthetics.

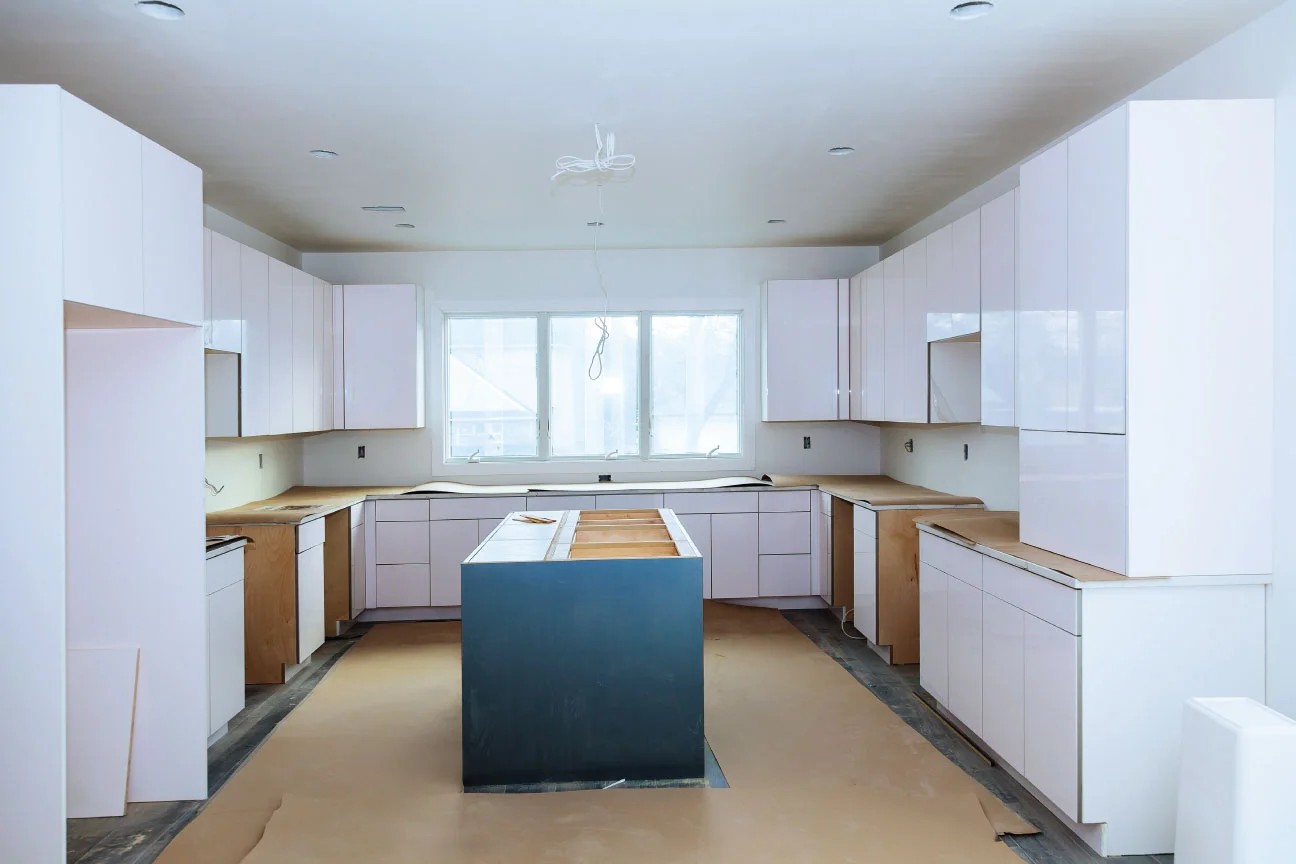
Getting your kitchen cabinets installed correctly is crucial for both function and appearance. This section covers essential steps to ensure a smooth installation process. You will learn about setting up your layout, securing cabinets to the walls, and how to align and join the units properly.
Begin by measuring your kitchen space accurately. Use a tape measure to obtain the dimensions of each wall and note any obstructions like windows or outlets.
Once you have your measurements, create a detailed sketch. Include locations for base and wall cabinets. Consider the workflow in your kitchen. Ensure that elements like the sink, stove, and fridge are easy to access.
After you finalize your layout, mark the wall with a level pencil line where the top of the cabinets will be. This line will act as a guide for proper installation and alignment.
Ensure the cabinets are firmly attached to the wall for safety and stability. Start by locating the wall studs. Use a stud finder for best results, as they provide the strongest hold for cabinets.
Position the cabinet against the wall along the marked line. Use screws to attach the cabinet to the wall studs. It’s advisable to use two or more screws per cabinet, depending on its size.
For added security, consider shimming behind the cabinet if it’s not level. This will prevent any movement and keep your cabinets aligned.
Once all your cabinets are secured, focus on alignment. Check each unit with a level to ensure they are all even. If one is slightly off, adjust with shims as needed.
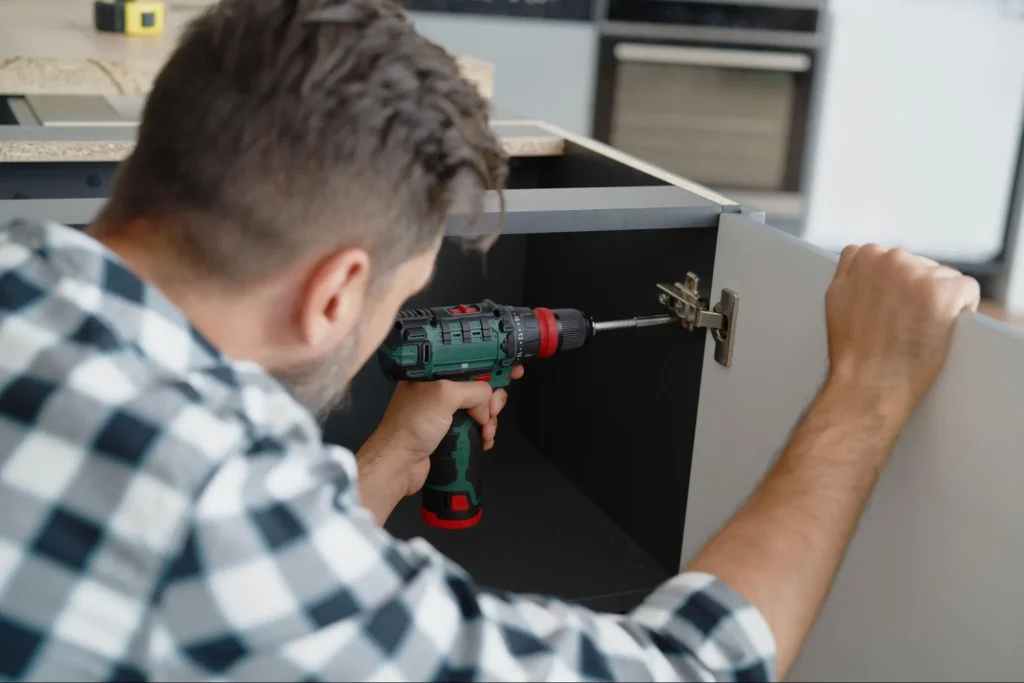
Next, it’s time to join the cabinets together. Use cabinet screws to connect adjacent cabinets. Drill through the side panels, taking care to avoid any visible damage.
Finally, ensure that all joints are flush, and the face frames align smoothly. This attention to detail will make a significant difference in the final look of your kitchen.

Customizing your kitchen cabinets can enhance both the functionality and aesthetics of your space. Making the right adjustments to trims and hardware can help you achieve a polished look while ensuring everything operates smoothly.
Adding trim and moldings to your cabinets can transform their appearance. Consider crown molding for the top of your cabinets. This detail gives a professional finish.
Selecting the right hardware is crucial for both style and function. This includes knobs, handles, and hinges that complement your cabinet design.
By focusing on these aspects, you can ensure your kitchen cabinets are not only stylish but also functional.

After installing your kitchen cabinets, it’s time to focus on the finishing touches that enhance both functionality and appearance. This involves applying caulking and sealants to ensure a clean look and prevent moisture damage. Finally, a thorough cleaning and inspection will help make sure everything is in order.
Applying caulking and sealants is an essential step in kitchen cabinet installation. Start by choosing a high-quality caulk that matches your cabinets. A silicone-based caulk works well for its durability and flexibility.
Use a caulking gun to apply the sealant along the edges where the cabinets meet walls or countertops. Ensure you smooth it out with your finger or a caulking tool for a neat finish. After applying, allow it to cure according to the manufacturer’s instructions. This will help prevent water damage and improve the overall appearance of your cabinetry.
Once the caulking is done, conduct a final clean and inspection of the cabinets. Use a damp cloth to wipe down all surfaces, removing dust and debris from the installation. Pay special attention to edges and corners where dirt can accumulate.
Take this opportunity to check the alignment of the cabinets. Open and close doors and drawers to ensure they function smoothly. Look for any gaps or unevenness that may need addressing. This step guarantees that everything is perfect and ready for everyday use.
Installing kitchen cabinets requires careful planning and attention to detail. Start by measuring your space accurately to choose the right size cabinets. Consider the layout of your kitchen to optimize storage and workflow. If you need professional assistance, consider Kaminskiy Care and Repair for a perfect cabinet installation.
Before you start, remove old cabinets and clear the workspace. Measure the kitchen layout accurately to ensure new cabinets fit well. It’s also vital to check the wall studs’ locations for anchoring.
Begin by locating the wall studs. Use a stud finder to mark their positions. Then, attach a ledger board to support the cabinets while you secure them. Make sure each cabinet is level before finalizing the installation.
Start with the wall cabinets first. This allows you to work comfortably without the base cabinets in the way. After securing the wall cabinets, proceed to the base cabinets, ensuring they are aligned correctly with the wall units.
Once cabinets are installed, ensure they are level and secure. Measure the countertop space and cut the countertop material if needed. Then, place the countertop on top of the cabinets, securing it with screws or adhesive as required.
Take your time to measure accurately and double-check each step. Following a detailed guide can help you stay on track. Additionally, seeking advice or watching tutorials can boost your confidence and ensure a successful installation.