Wallpaper can add a beautiful and personalized touch to any room in your home. However, the process of removing old wallpaper and installing new wallpaper can be daunting if you’re not prepared.
Updating your home with new wallpaper can transform a space, adding color, texture, and personality. Whether you’re changing the style of a single room or updating multiple areas, knowing how to properly remove old wallpaper and install new wallpaper is crucial.
Poorly removed wallpaper can leave behind a damaged surface, and improper installation can lead to bubbles, wrinkles, and misaligned patterns. This article will walk you through the steps to ensure a seamless and efficient wallpaper removal and installation process.
To achieve the best results, it’s important to approach wallpaper removal and installation methodically. Here are some detailed tips to guide you through each stage of the process.
Before you start removing wallpaper, proper preparation is key. Here’s how to get ready for the task:
Having the right tools and materials on hand will make the removal process smoother and more efficient. You will need:
Protecting your floors and furniture from water and debris is crucial. Here’s how:
Cover the Floor: Lay down drop cloths or plastic sheeting to protect your floors from water damage and debris.
Tape Off Areas: Use painter’s tape to secure the plastic sheeting and protect baseboards, trim, and electrical outlets.
Move Furniture: Move any furniture away from the walls to create a clear working space.
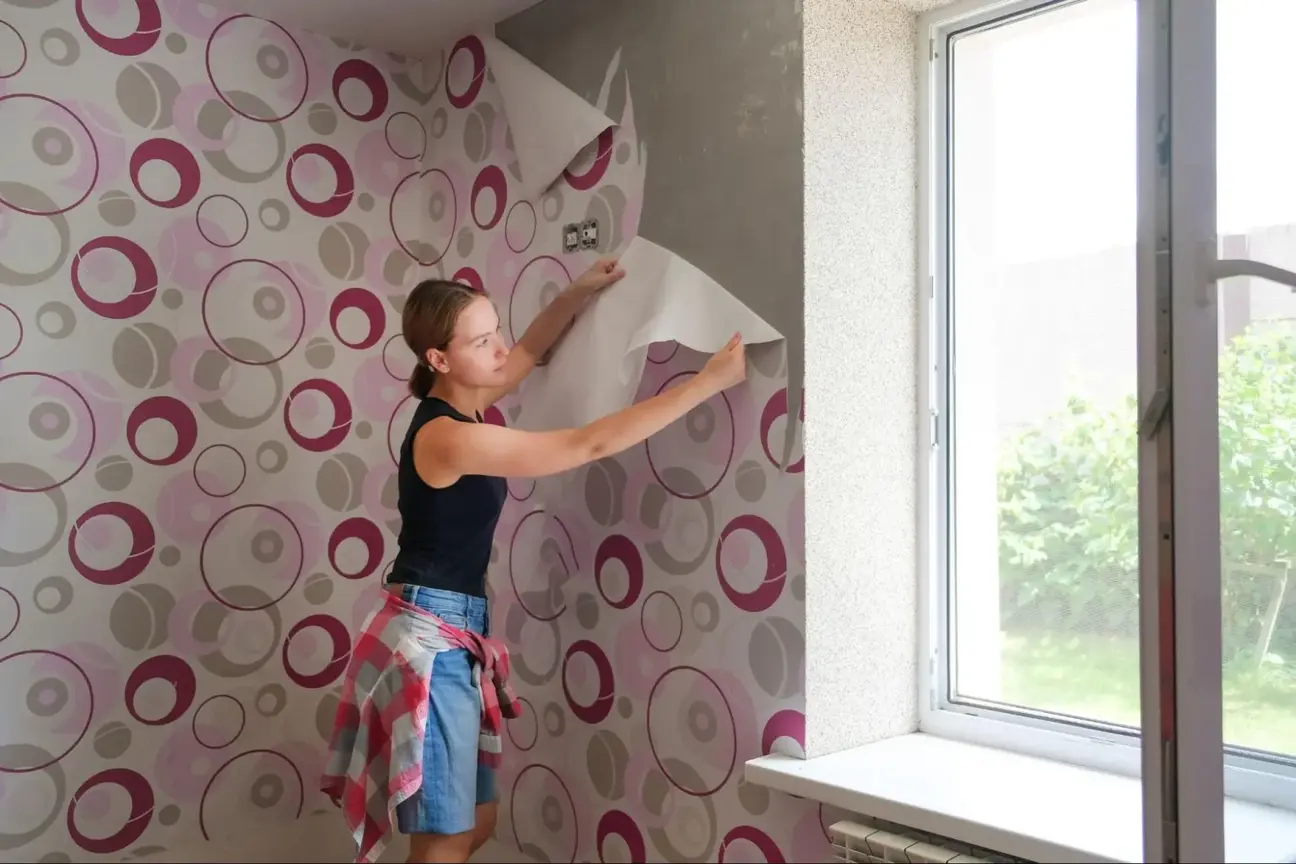
With your space prepared, it’s time to start removing the wallpaper. Follow these steps for efficient removal:
Scoring creates small perforations in the wallpaper, allowing water or removal solution to penetrate and loosen the adhesive. Use a scoring tool to lightly score the surface in a circular motion. Be careful not to damage the wall beneath.
Fill a spray bottle with warm water or a wallpaper removal solution. Lightly spray the scored wallpaper, focusing on a small section at a time. Let it soak for 10-15 minutes to loosen the adhesive.
Use a wallpaper scraper or putty knife to gently lift the wallpaper from the wall, starting at the seams or edges. Work slowly to avoid damaging the drywall. If the wallpaper is stubborn, use a steamer to further loosen the adhesive.
After removing the wallpaper, clean the walls to remove any remaining adhesive. Use a sponge or cloth with warm water and mild detergent to wipe down the surface. Allow the walls to dry completely before proceeding with the new wallpaper installation.
Installing new wallpaper can be a rewarding task if done correctly. Here’s how to achieve a professional-looking finish:
Proper wall preparation is crucial for a smooth wallpaper installation. Follow these steps:
Inspect the walls for any damage such as holes in drywalls, cracks, or uneven surfaces. Use spackle or joint compound to fill in any imperfections. Sand the repaired areas smooth once they are dry.
Applying a primer ensures better adhesion of the wallpaper and helps to create an even surface. Choose a primer designed for wallpapering and apply it evenly with a roller. Allow the primer to dry completely before hanging the wallpaper.
Accurate measurements are key to a successful wallpaper installation. Here’s how to do it:
Measure the Walls: Measure the height and width of each wall to determine the amount of wallpaper you will need. Add a few extra inches to each measurement to allow for trimming and matching patterns.
Cut the Wallpaper: Cut the wallpaper into manageable strips, leaving extra length at the top and bottom for trimming. If your wallpaper has a pattern, be sure to match the pattern across strips for a seamless look.
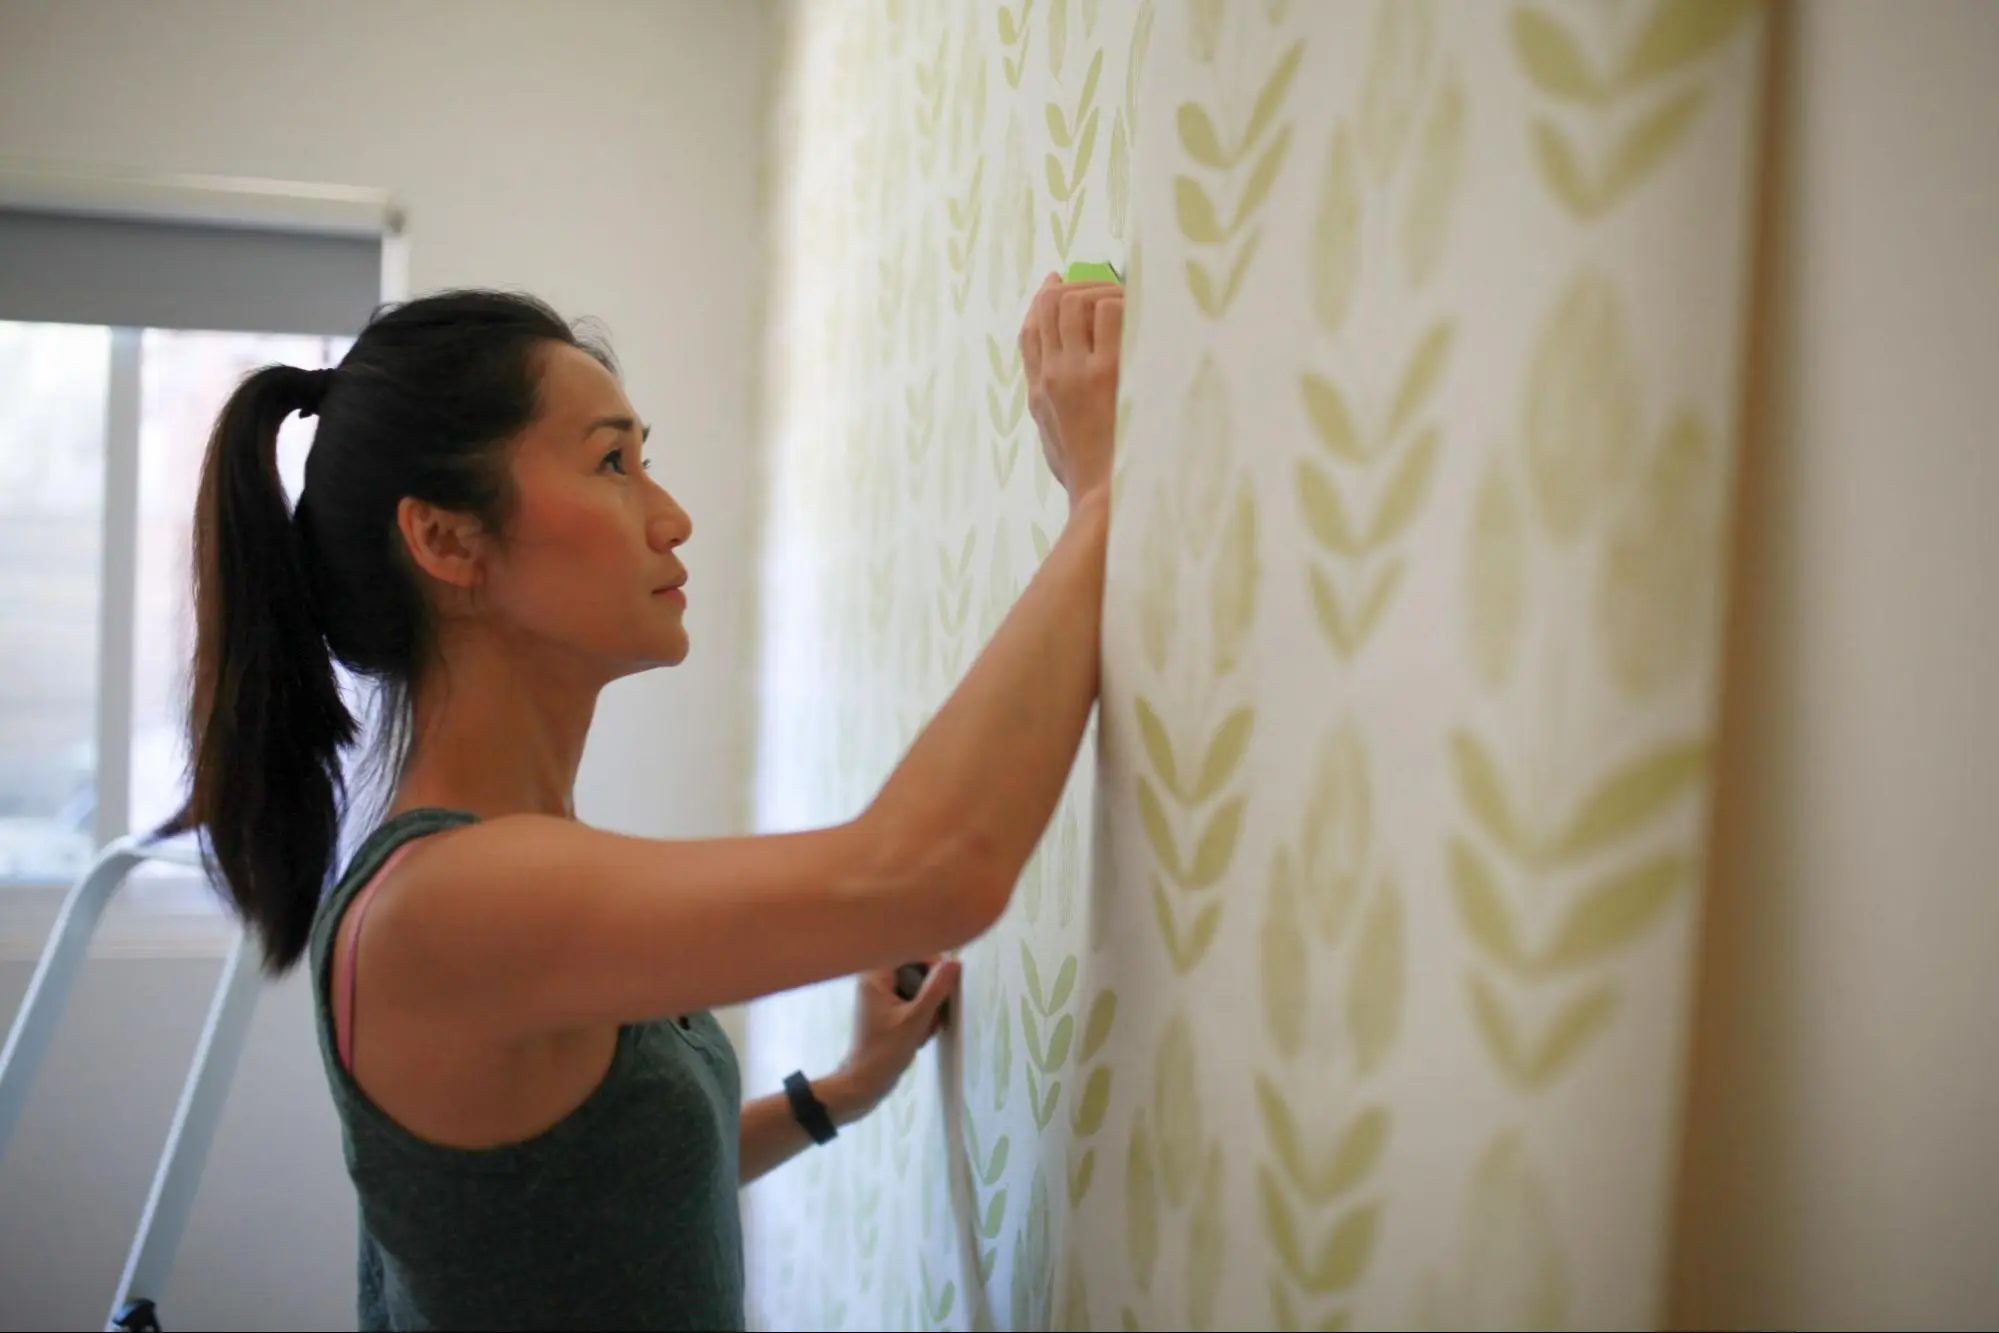
Now that your walls are prepped and the wallpaper is cut, it’s time to start hanging it. Follow these steps for the best results:
Apply the Adhesive: If you’re using unpasted wallpaper, apply the wallpaper adhesive to the back of the first strip using a brush or roller. Be sure to cover the entire surface evenly. For pre-pasted wallpaper, follow the manufacturer’s instructions for activating the adhesive.
Position the Wallpaper: Start at a corner or along a plumb line to ensure the first strip is straight. Position the top of the wallpaper strip at the ceiling, allowing the excess to overlap at the top and bottom. Smooth the wallpaper from the center outward to remove air bubbles and ensure proper adhesion.
Trim the Excess: Use a sharp utility knife to trim the excess wallpaper at the ceiling and baseboard. Repeat the process for each strip, carefully aligning patterns and smoothing out bubbles.
Wallpaper removal and installation require careful preparation and attention to detail. By following these steps and tips, you can ensure that your wallpaper removal and installation project is smooth and successful. Whether you’re updating a single room or your entire home, fresh wallpaper can make a significant difference in the overall look and feel of your space.
While wallpaper removal and installation can be a satisfying DIY project, sometimes it’s best to leave it to the professionals. Partnering with a reliable service provider like Kaminskiy Care and Repair ensures that your wallpapering project is handled with precision and expertise. Contact us today.