The bathroom, often a sanctuary within a home, is more than just a functional space. It’s a place of relaxation, rejuvenation, and personal care. However, dated designs, inefficient layouts, and wear and tear can diminish its comfort and functionality.
A professional bathroom remodel can transform this essential space into a luxurious retreat. It also adds significant value to your home. In this guide, we will explore the transformative power of professional bathroom remodeling services.
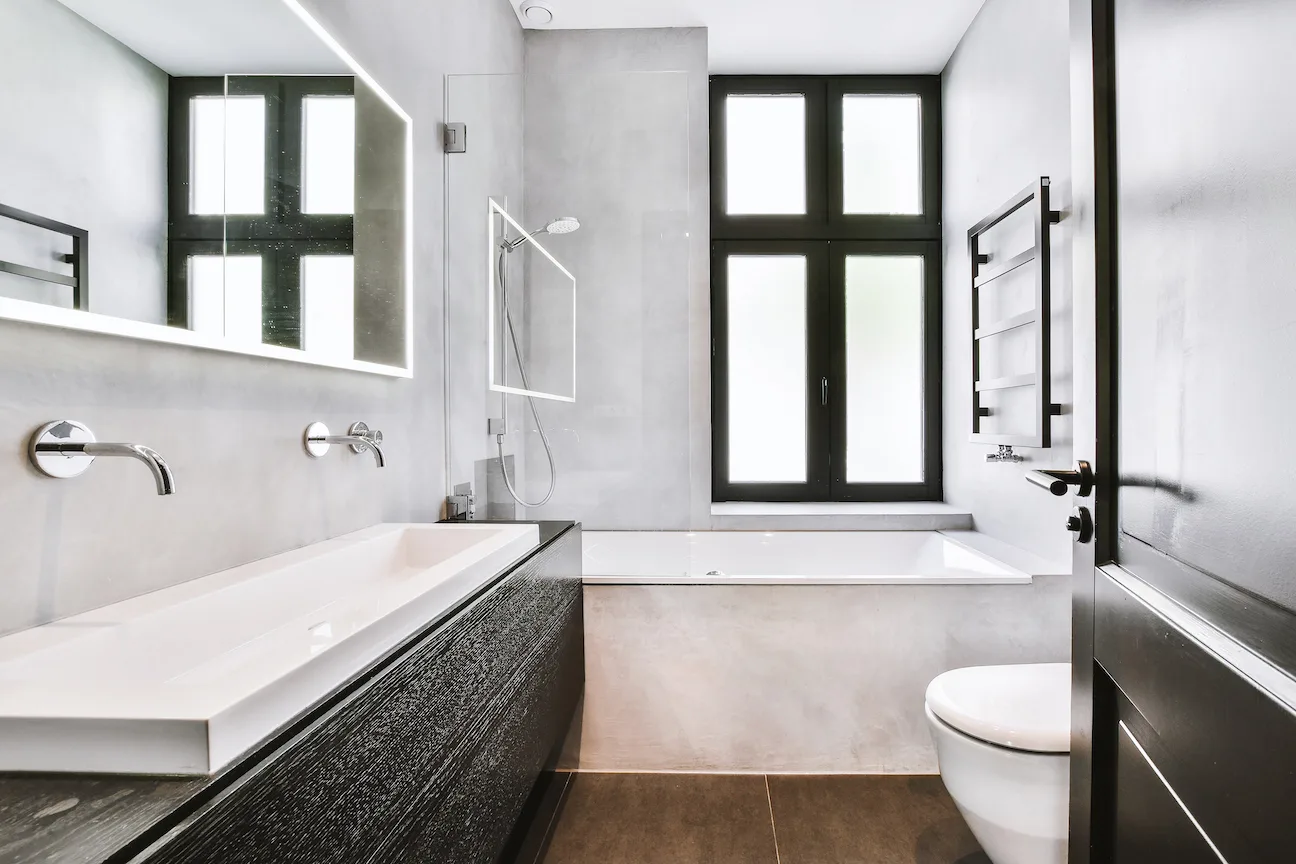
Poor Lighting: Insufficient lighting can be a problem in the bathroom. Improve your space by introducing new and improved lighting solutions if your current illumination is dim or unflattering.
This will enhance energy efficiency because outdated bathrooms tend to consume excessive energy. However, contemporary appliances and fittings are designed with higher levels of environmental friendliness. They also have energy-efficient features. This could reduce your utility costs.
Special Needs: In cases of special needs, safety modifications may become necessary. For example, installing walk-in tubs or grab bars. This can happen due to changing family dynamics, like the aging of family members.
Investing in a bathroom remodel can turn an ordinary functional space into a sanctuary of efficiency and relaxation. This makes it a valuable addition to your home.
A bathroom remodel can breathe new life into your home, but knowing when it’s time for this change is crucial. The decision should be based on both functionality and aesthetics. Here are some key indicators that it’s time to remodel your bathroom:
To effectively budget for a bathroom remodel, consider the following. First, set a clear budget, determine a comfortable spending limit, and anticipate unexpected costs.
It is also important to include an additional 10-15% of your budget for unforeseen expenses, choose where to splurge, and lastly decide which elements are worth investing in, such as a high-quality faucet or tiles.
Renovating an existing bathroom requires a thoughtful approach. This approach aims to strike a balance between functionality and aesthetics. Essentially, follow these steps as a guide:
Hiring a contractor for a bathroom remodel can be a daunting task, but with the right approach, you can ensure a smooth and successful renovation.
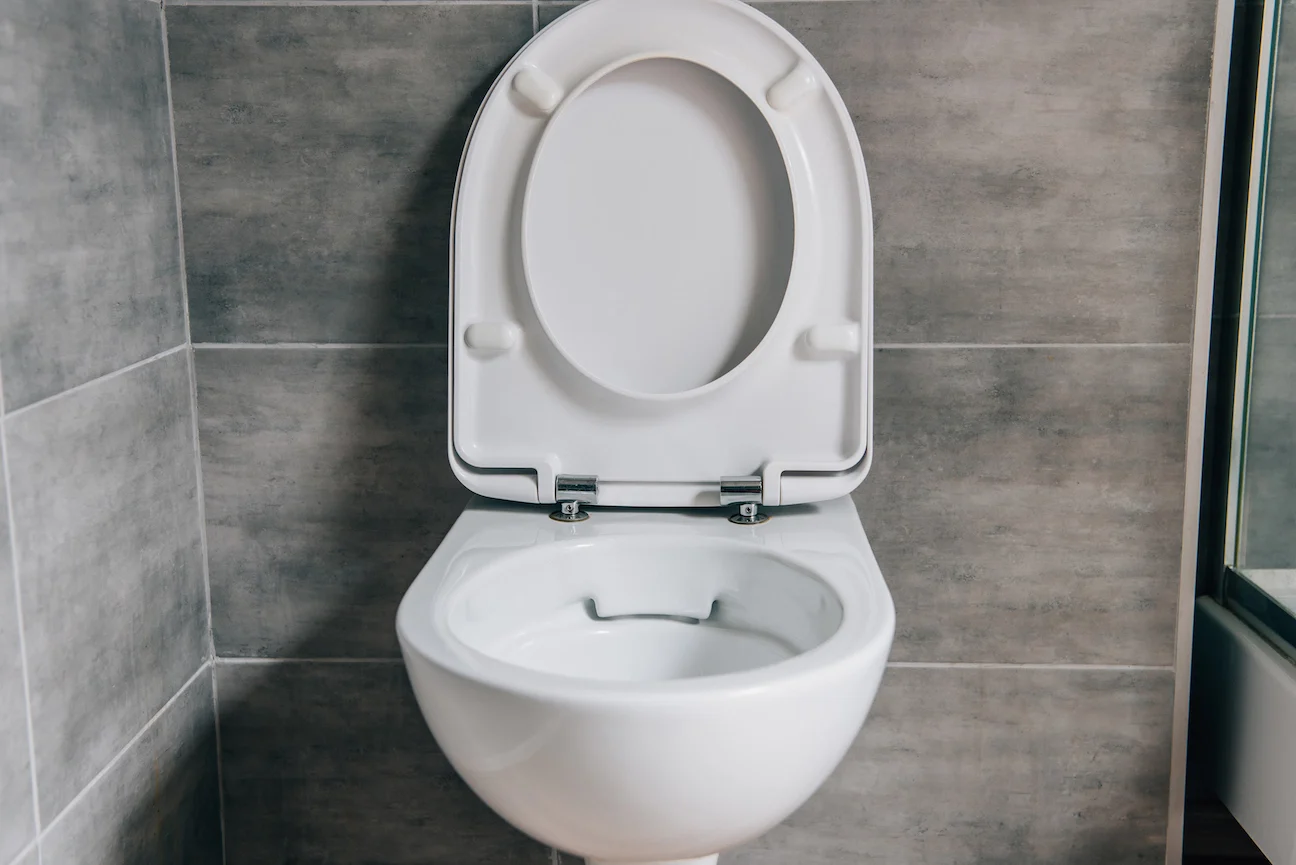
A bathroom remodel, whether a minor update or a major transformation, can significantly enhance the comfort and value of your home. Understanding the costs involved, hiring the right contractor, and effectively planning the renovation is key to achieving your dream bathroom.
With careful consideration and the right expertise, your bathroom remodel can become a rewarding investment in your home’s functionality and aesthetic appeal.
At Kaminskiy Care and Repair, we understand that the bathroom is more than just a functional space, but a personal retreat where you start and end your day. That’s why we are dedicated to transforming your bathroom into a haven of comfort and style. Our commitment remains steadfast in revamping this space into an oasis of sophistication and comfort.
Let us transform your bathroom into a haven of relaxation and elegance. Are you ready to take the first step towards renovating your bathroom?
Contact us now, and together let’s design your dream sanctuary!
The kitchen is often regarded as the heart of the home. It is a hub for meal prep, family gatherings, and cherished memories. However, as time passes, even the most beloved kitchens can become outdated. They can also fail to meet a household’s changing needs. This is where the concept of kitchen remodeling comes into play.
A thoughtful kitchen remodel revitalizes the space. It also improves its function. This makes it a wise investment for homeowners. This article provides an overview of the basics of kitchen remodeling. It includes the reasons to consider it and the costs. It also offers creative ideas to spark your project and the benefits of hiring professionals. Additionally, it offers guidance on selecting the right contractor for your home.
Enhanced Functionality & Efficiency: Considering a kitchen remodel has many benefits. One of the main ones is improved functionality and efficiency. As time goes by, your family’s needs may change. They will need a layout that can fit these new needs. Through remodeling, you can add more storage. You can also upgrade appliances or change the layout to make a more user-friendly space.
Increased Home Value: A well-executed kitchen remodel can significantly increase your home’s value. Potential buyers often prioritize the kitchen when evaluating a property, and an updated kitchen can be a major selling point. Even if you have no immediate plans to sell, a modern and visually appealing kitchen can enhance your overall living experience.
Energy Savings: During a kitchen remodel, replace old appliances with efficient models. This can save a lot on utility bills. Energy-efficient appliances use less power. They also work better, ultimately giving homeowners a win-win situation.
The cost of renovating a kitchen can vary a lot. It depends on the project’s size, the quality of materials, and the location. Typically, homeowners can spend between $12,000 and $50,000 on a moderate kitchen renovation.
Still, small renovations may only need a budget as low as $10,000. But upscale projects can cost over $60,000. Setting a budget and clearly outlining the project’s scope with your contractor can cut costs.

Hiring a kitchen remodeling service offers many advantages. They go beyond just giving your kitchen a new look. These services combine their skills and efficiency, and also utilize personalized design to transform the heart of your home.
They make your kitchen functional and visually appealing. Here are several reasons to choose a professional kitchen remodeling service. Doing so is a smart option.
Hiring the perfect kitchen remodeling contractor is essential if you want to achieve the kitchen of your dreams.
Here’s a simplified guide to help you make an informed decision.
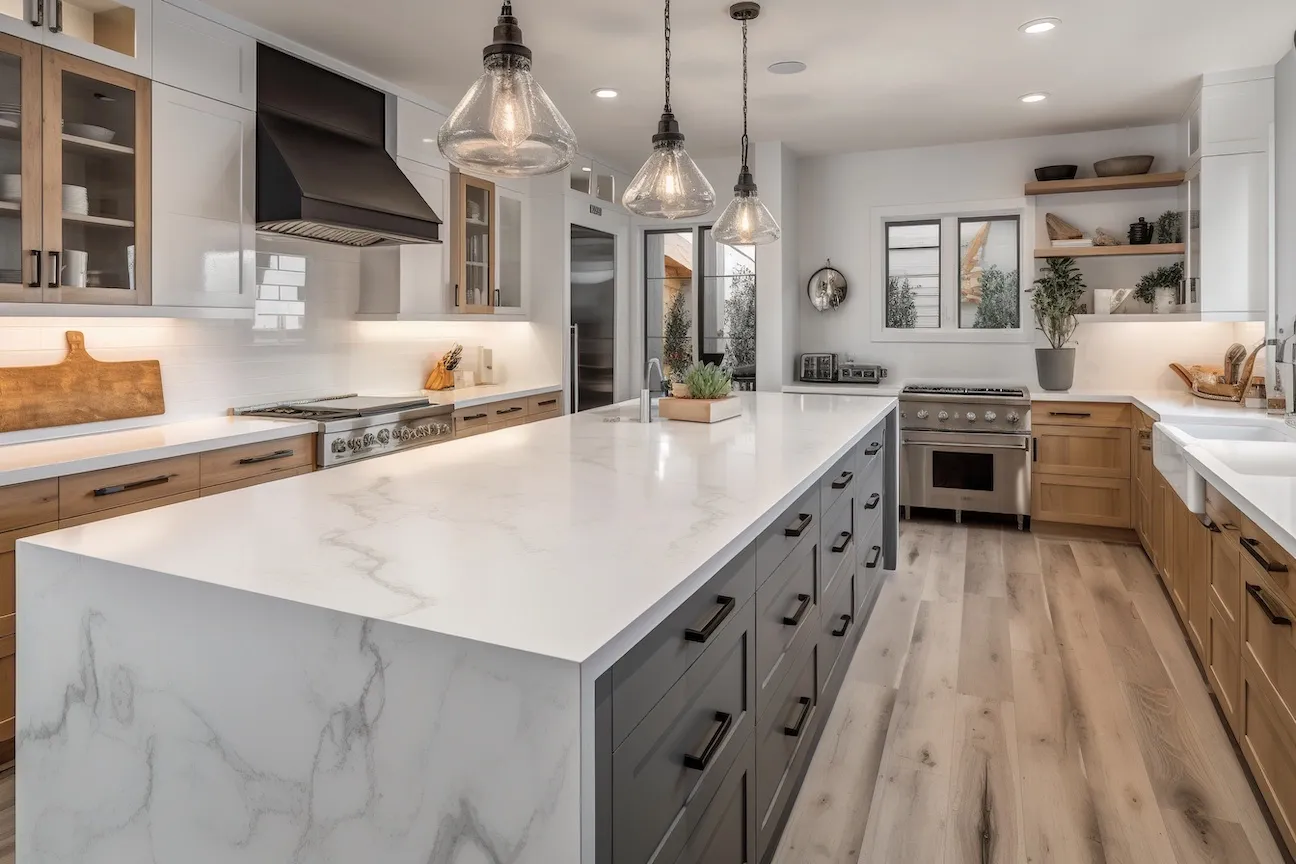
Kaminskiy Kitchen Remodeling Service is here to help you revamp your kitchen into a space that reflects your style and meets your functional needs. We understand that transforming your kitchen is an exciting journey, and we are dedicated to making it a reality.
Whether you envision a modern, sleek kitchen or a cozy, traditional space, our team of experts is equipped to bring your dream kitchen to life.
Here is how we can help:
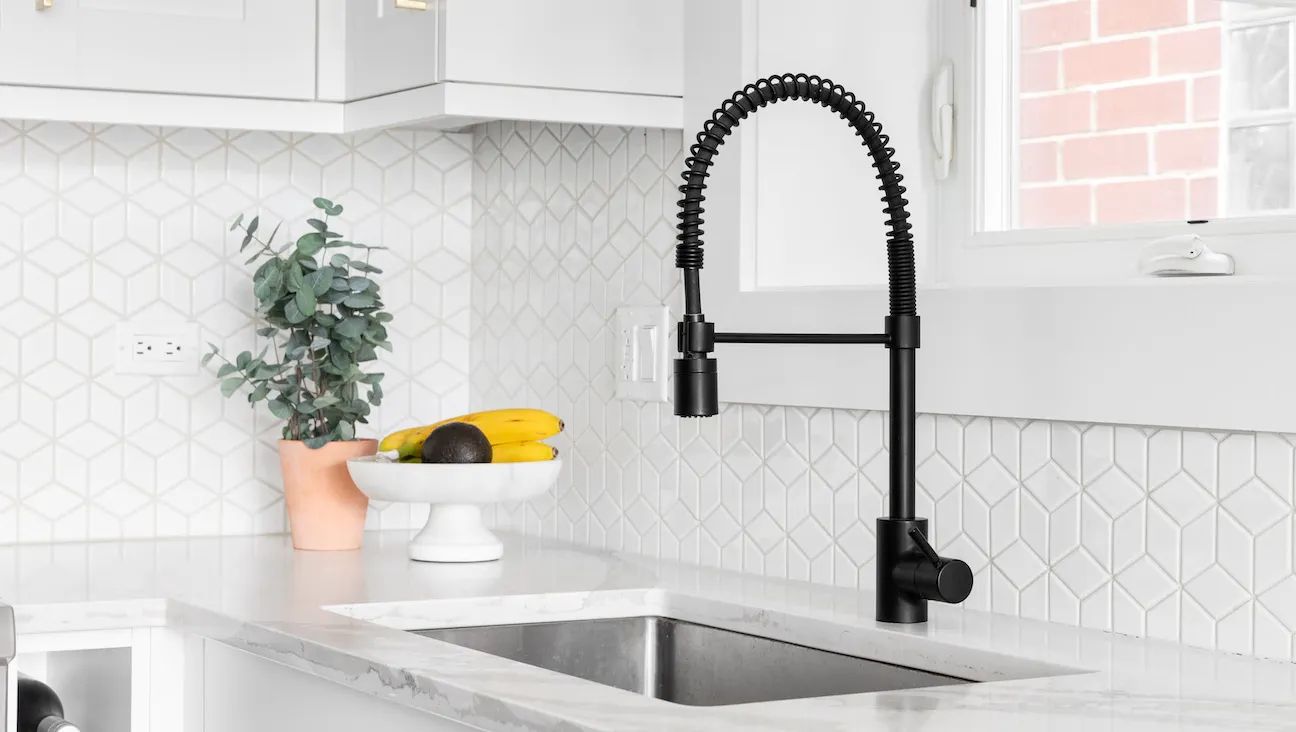
At Kaminskiy Care and Repair, we understand that your kitchen is the heart of your home. Our team is dedicated to delivering personalized service and exceptional craftsmanship, bringing your vision to life. Ready to revamp your kitchen?
Contact us today to schedule a consultation and take the first step toward your dream kitchen.
Toilets can be tricky. When they break down, it’s a real hassle. But don’t worry – many toilet issues are easy to fix on your own. With some basic know-how, you can save money and avoid calling a plumber.
Most toilet problems can be solved by checking the flapper, adjusting the fill valve, or unclogging the drain. These simple fixes often do the trick. For example, a running toilet can often be fixed by replacing the flapper at the bottom of the tank.
If your toilet is making strange noises, it might just need some lubricant on the seat hinges. For a toilet that won’t flush properly, you may need to adjust the water level in the tank. With a little patience and the right tools, you can tackle most toilet troubles yourself.
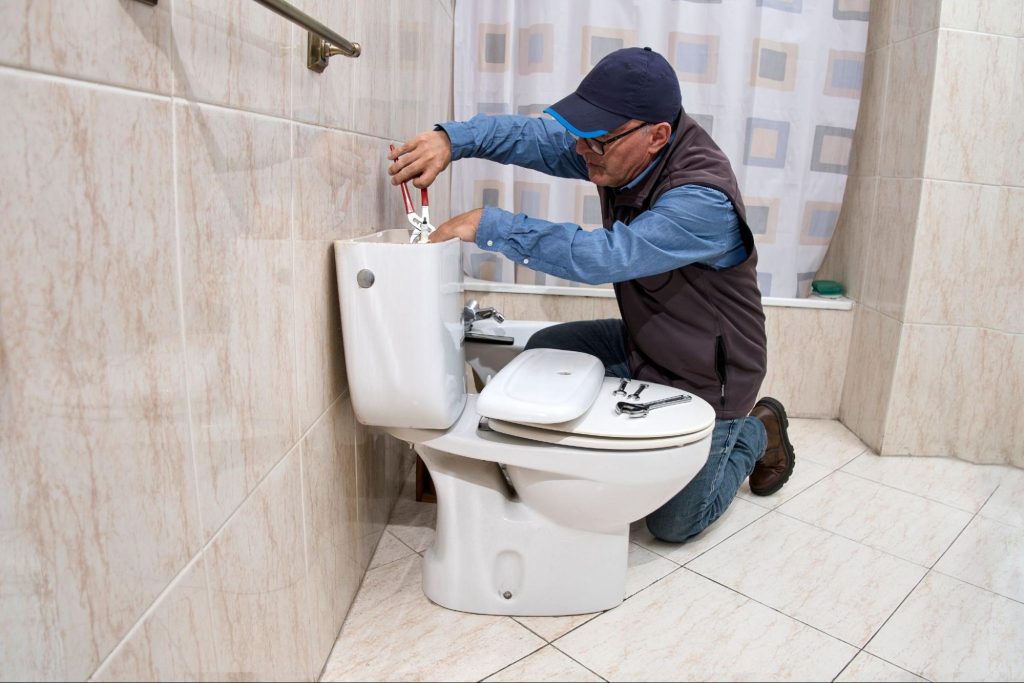
Toilets can develop various issues that affect their performance. Knowing how to spot and fix these problems can save you time and money.
A running toilet wastes water and increases your bill. To check for this issue, add a few drops of food coloring to the tank. If the color appears in the bowl without flushing, you have a leak.
The flapper is often the culprit. Inspect it for damage or debris. Clean or replace it if needed.
Check the chain connecting the flush lever to the flapper. If it’s too loose or tight, adjust it.
Examine the fill valve for proper function. If it’s not shutting off correctly, you may need to replace it.
For a clogged toilet, start with a plunger. Place it over the bowl’s opening and push down gently, then pull up sharply. Repeat until the water drains.
If plunging doesn’t work, try a toilet auger. Insert it into the bowl and turn the handle to break up the clog.
For slow-flushing toilets, check the rim jets under the toilet bowl rim. Clean them with a brush and vinegar to remove mineral buildup.
Ensure the water level in the tank is correct. Adjust the float if needed.
To find tank leaks, wipe it dry and wait for wet spots to appear. Tighten any loose bolts or nuts.
For bowl leaks, check the wax ring seal between the toilet and the floor. If it’s damaged, you’ll need to replace it.
Look for cracks in the tank or bowl. If you find any, it’s time for a new toilet.
Check the supply line connection. Tighten it if loose, or replace it if damaged.
The flapper often needs replacement. Turn off the water, flush to empty the tank, and unhook the old flapper. Install the new one and reattach the chain.
To replace the fill valve, turn off the water and flush. Unscrew the supply line and remove the old valve. Install the new one and reconnect everything.
For a new flush valve, you’ll need to remove the tank. This job might be best left to a pro.
When replacing parts, bring your toilet’s make and model to the store to ensure a proper fit.
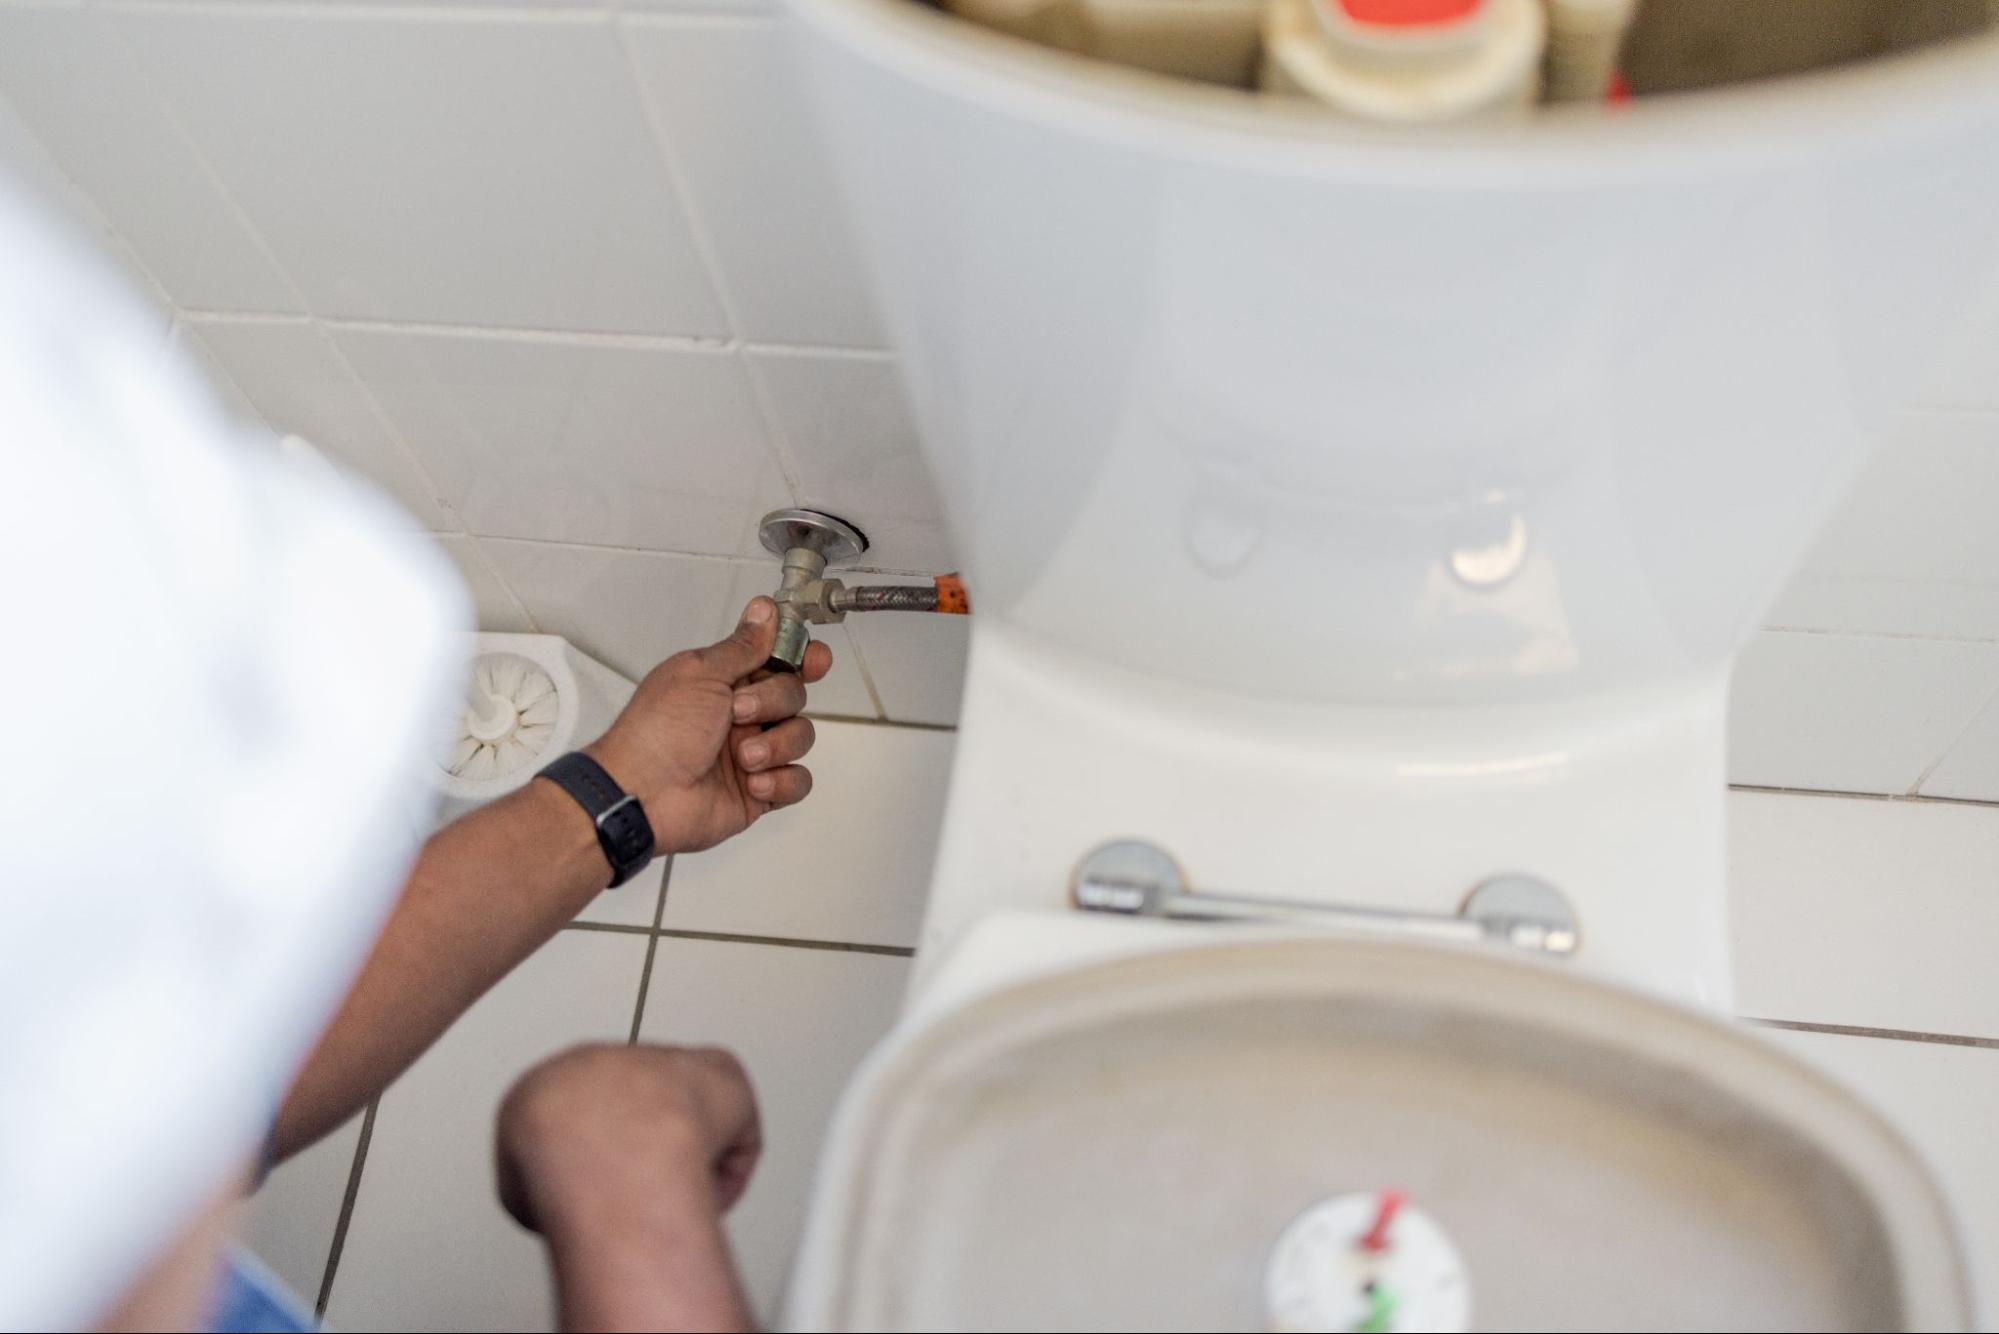
Tackling complex toilet issues requires specialized knowledge and tools. These techniques go beyond basic fixes to address stubborn problems and improve overall toilet performance.
For running toilets that won’t stop, check the flapper valve for proper sealing. Replace it if worn or damaged. Adjust the chain length to ensure the flapper closes fully after each flush.
If your toilet is clogged frequently, use a toilet auger to clear deep blockages. Insert it carefully into the bowl and crank the handle to break up stubborn clogs.
For weak flushes, inspect the rim jets under the toilet bowl rim. Clean them with a wire hanger to remove mineral buildup. This improves water flow and flushing power.
Call a plumber if you notice water pooling around the base of your toilet. This may indicate a broken wax ring seal, which requires lifting the toilet to replace it.
Seek professional help for issues with your toilet’s water supply line or if you suspect problems with your septic system. These repairs often need specialized tools and expertise.
If you’ve tried multiple DIY fixes without success, a plumber can diagnose hidden issues and provide lasting solutions.
Consider upgrading to a low-flow toilet to save water and reduce your bills. Modern models use less than 1.6 gallons per flush while maintaining good performance.
When replacing your toilet, measure the rough-in distance from the wall to the center of the drain pipe. Choose a new toilet that matches this measurement.
Install a new wax ring seal during replacement. Apply it to the toilet flange, not the toilet base, for a proper seal. Tighten the bolts evenly to prevent leaks.
For areas prone to condensation, look into insulated toilet tanks. These reduce “sweating” on humid days, protecting your bathroom floor from water damage.
Remember to regularly clean and inspect your toilet to prevent problems before they start. With proper care, your toilet should provide years of trouble-free service.
If you’re not comfortable doing repairs yourself, consider calling a professional plumber. Kaminskiy Care and Repair specializes in toilet maintenance and can quickly resolve more complex issues. Contact us today
First, check the flapper valve at the bottom of the tank. If it’s not sealing properly, water will keep flowing. Next, examine the chain connecting the flush lever to the flapper. Adjust it if it’s too tight or loose.
Inspect the fill valve for any signs of wear or damage. If these steps don’t fix the issue, you may need to replace the fill valve or flapper.
Start by using a plunger to clear any blockages. If that doesn’t work, try a toilet auger to remove deeper clogs.
Check the water level in the tank. If it’s too low, adjust the float to increase the water level. Make sure the chain isn’t too long, preventing the flapper from opening fully.
Listen for constant running water or hissing sounds. Watch for water leaking around the base of the toilet.
Pay attention to weak flushes or if the bowl doesn’t refill properly after flushing. Strange noises during or after flushing can also indicate problems.
Check the water level in the tank. If it’s too low, adjust the float. Ensure the flush lever is connected properly to the flapper chain.
Clear any blockages in the rim jets under the toilet bowl rim. If these steps don’t work, you may need to replace the flush valve or call a plumber.
When it comes to assembling furniture, a little preparation can save a lot of frustration. Whether working with flat-pack furniture or more complex pieces, a systematic approach is key. Start by laying out all the pieces and tools you’ll need. This simple step can prevent missing screws and parts, making the process smoother.
Carefully following instructions is critical for successful furniture assembly. Each piece of furniture has instructions to ensure all parts fit together correctly. Skipping or misreading a step can lead to a weak structure or even damage.
Understanding how each piece fits into your interior design can also help. Well-assembled furniture not only functions better but also enhances the look of your home. Paying attention to detail during assembly will produce more durable and attractive furniture.
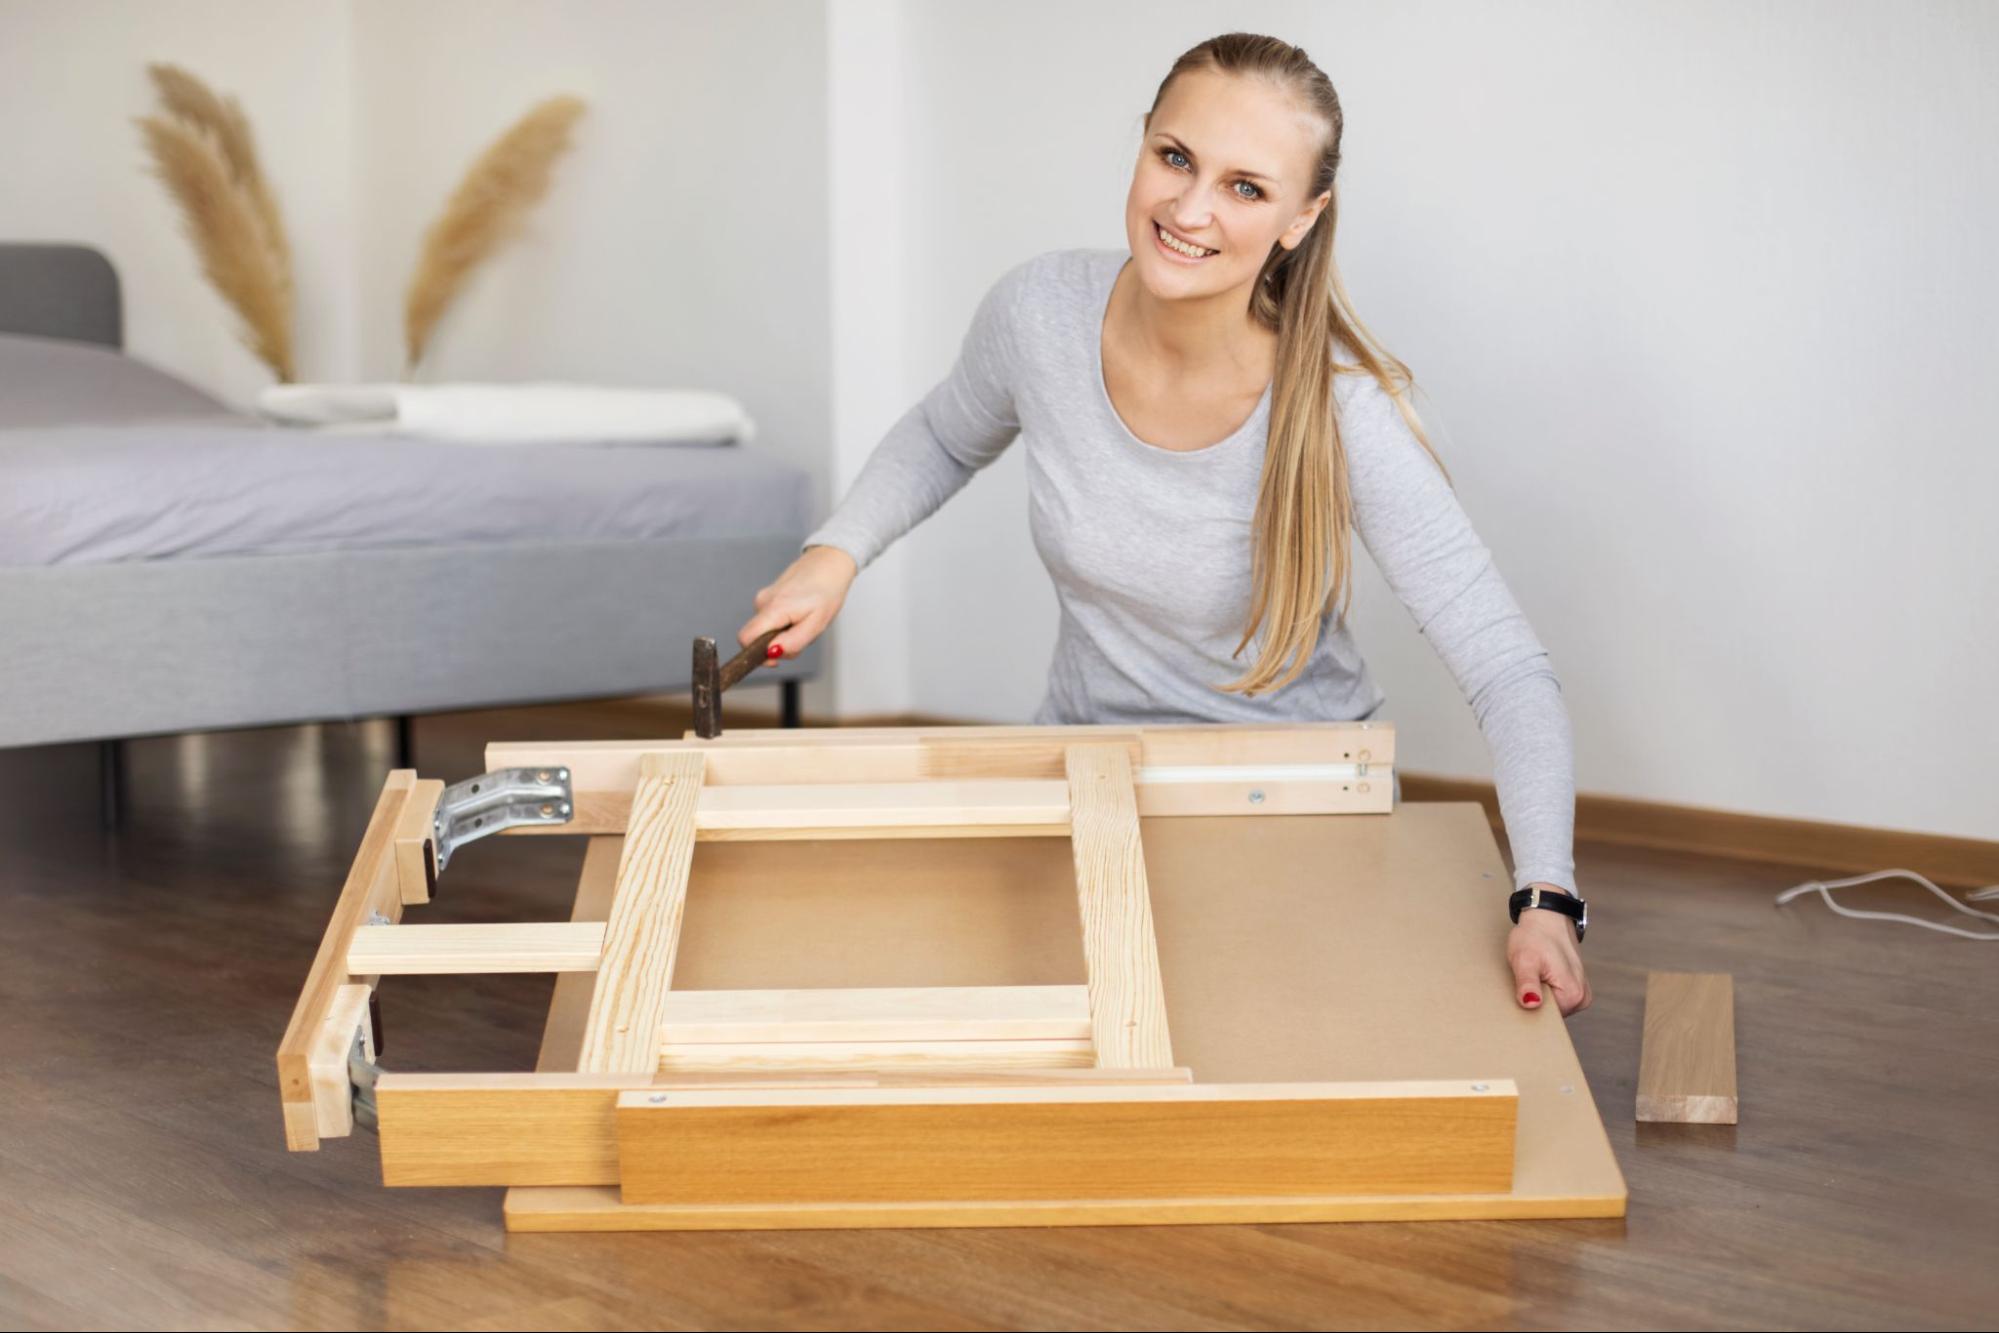
Setting up your workspace, gathering the necessary tools, thoroughly understanding the instructions, and inventorying the components are crucial to ensuring a smooth furniture assembly project. These preparatory steps will help avoid common pitfalls and ensure a successful assembly.
Choose a clean, flat area with plenty of space to work. A well-lit environment will help you see small components. Lay down a protective covering such as cardboard or an old blanket to prevent scratching the furniture. Keep pets and children away from the work area to avoid distractions and accidents. Prepare a small table or tray to keep your tools and hardware within easy reach.
Before you start, collect all required tools. Standard tools include screwdrivers, an adjustable wrench, a rubber mallet, an Allen key, and a hammer. Make sure you have the correct sizes for each tool. Check if your kit includes specific hardware like screws, nuts, and bolts. If not, contact customer service for any missing pieces. Using the right tools will make the job easier and prevent damage to the furniture.
Carefully read through the assembly instructions before beginning. Many guides feature a step-by-step approach with diagrams. Pay attention to warnings and tips from the manufacturer. Misinterpreting steps or skipping parts can lead to mistakes. If you struggle with any part of the manual, seek help from online videos or forums. Some manufacturers also offer supportive customer service to guide you through tricky steps.
Take out all furniture components and spread them out in your workspace. Organize them by type, size, and step in the instructions. Use small containers or bags for screws, nuts, and bolts to prevent loss. Count all components to ensure you have the correct quantities. That is your chance to check for any missing or damaged parts before you start assembling. Proper organization will save you time and frustration.
With these steps, your preparation will be thorough, ensuring a smoother and more efficient furniture assembly process.

Follow these steps to ensure your furniture assembly is done correctly. This process includes starting the assembly, providing stability and leveling, applying finishing touches and final adjustments, and considering environmental aspects during cleanup.
Begin by organizing all parts and tools needed for the assembly. Lay out each item and thoroughly read the instructions to understand the step-by-step approach. Identify smaller parts like screws and bolts, and place them in containers to avoid losing them.
Clear a large, flat surface to work on. That helps prevent parts from getting misplaced and ensures you have enough room to maneuver. Make sure the space is well-lit so you can see small details. Use packaging materials like cardboard to protect the floor from scratches.
Ensure the stability of your furniture by carefully tightening all screws and bolts during each step of the assembly process. Loose screws can result in wobbly furniture, which can be unsafe. Use a level to properly align all parts, especially for items like drawers or shelves.
If you are working on a soft surface like carpet, consider moving to a harder and more stable area. Uneven surfaces can make the assembly more complicated and affect the stability of your furniture. During this step, periodically check that all components are tight and secure.
Once the main structure is assembled, focus on any finishing touches and final adjustments. Make sure drawers slide smoothly and doors open and close correctly. Adjust hinges and handles as needed to ensure functionality.
Inspect the furniture for any scratches or imperfections. Tighten any loose components one last time before declaring the piece finished. Pay attention to the aesthetics and ensure that everything looks aligned and clean. This step is crucial for both the functionality and appearance of your furniture.
After finishing the assembly, gather all leftover parts and tools. Dispose of or recycle packaging materials like cardboard and plastic responsibly. Organize any remaining screws or bolts into labeled containers for future use.
Consider the environmental impact while cleaning up. Recycle materials wherever possible and dispose of non-recyclable parts properly. This not only helps keep your space tidy but also contributes to environmental conservation. A thorough cleanup ensures that the area is ready for its next use.
Following these steps, you can efficiently execute the entire furniture assembly process, ensuring stability, functionality, and environmental consciousness.
If you need professional help, Kaminskiy Care and Repair can offer assistance. Our services ensure a smooth and efficient furniture assembly process. Contact us today.
Start by clearing the space where you will assemble the furniture. Ensure you have enough room to lay out all components and tools. A hard, flat surface prevents parts from warping or damaging during assembly.
A well-equipped toolkit is crucial. Essential tools include screwdrivers (Flathead and Phillips), an adjustable wrench, and a hammer.
Avoid assembling furniture in the wrong space and not seeking help when needed. Building your project near its final location can prevent issues such as difficulty moving the furniture.
To ensure stability, tighten screws and bolts securely. Use washers to distribute pressure evenly and prevent loosening over time. Double-check that all parts are correctly aligned before finalizing the assembly.
Do your tiles look worn out and old? Regrouting can make them look brand new without the cost of replacement. Whether for a kitchen backsplash or a bathroom floor, this guide will walk you through everything you need to know to bring your tiles back to life.
You’ll learn how to prepare your workspace, remove the old grout, apply new grout like a pro, and have the confidence to tackle any tile regrouting project.
There is no need to feel intimidated. With the right tools and a bit of patience, you can transform your space and make it feel fresh and clean again. Plus, doing it yourself can save you money.
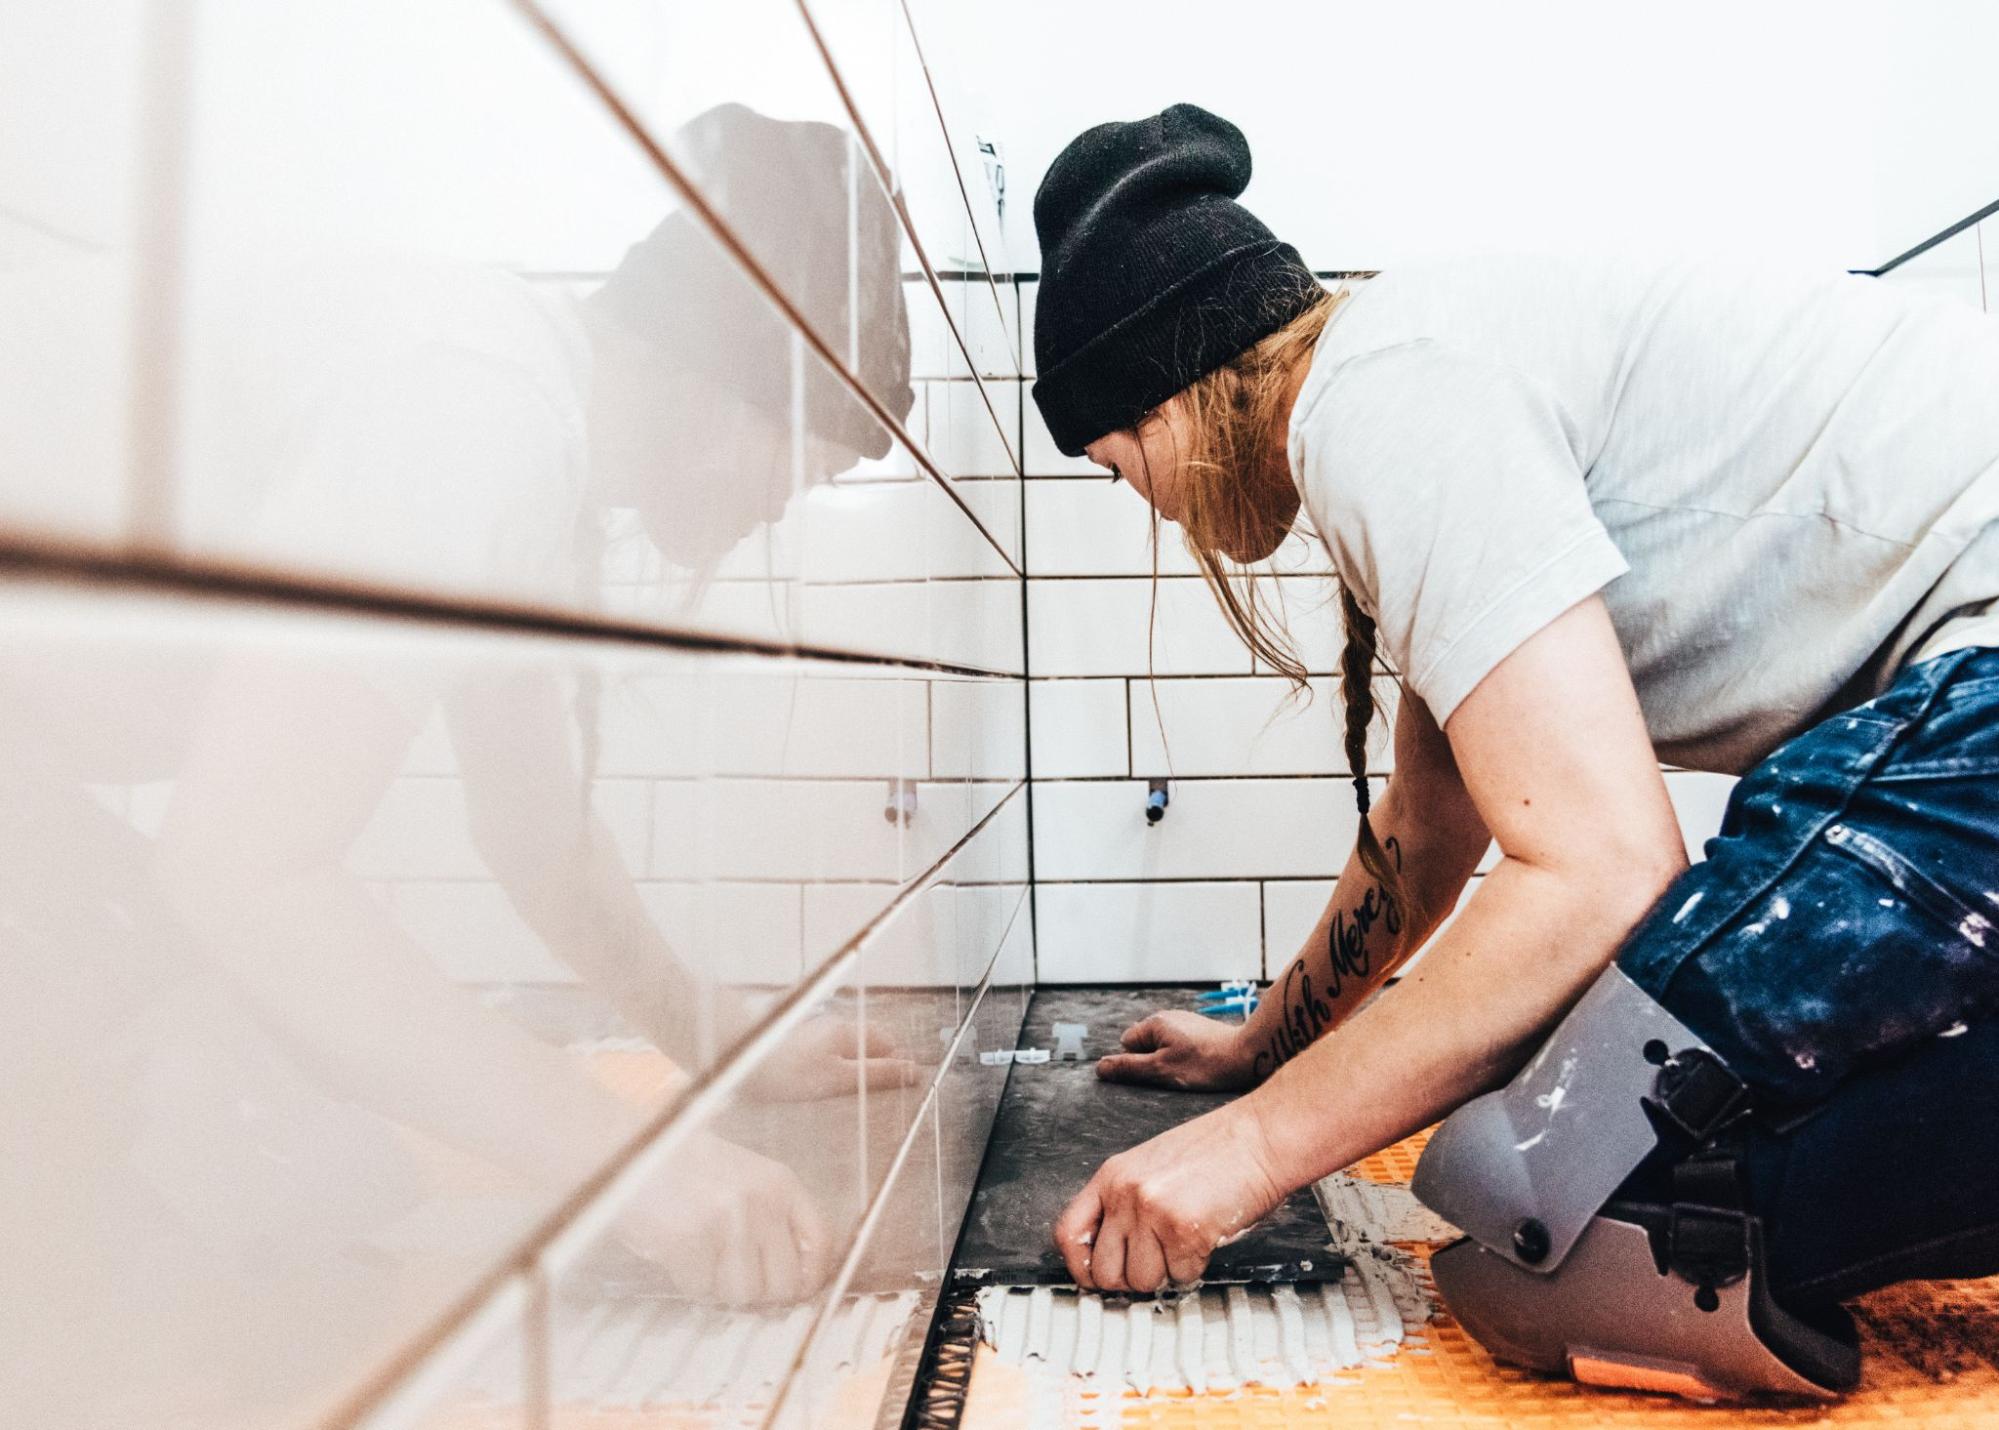
Ensure your workspace is ready before beginning your regrouting project. This includes checking the current state of your tiles and grout, gathering all the necessary tools, and protecting the surrounding areas to avoid damage or mess.
First, inspect your tiles and grout. Look for cracks, missing pieces, or mold. If the grout is falling apart or the tiles are loose, you must address these issues before rerouting. Identify any problem areas where tiles may need to be replaced. Use a grout saw or utility knife to test if the existing grout easily comes out. If it does, it’s time to remove it carefully.
Before you start, make sure you have all the tools and materials. You will need a grout saw or a multitool with a grout removal blade, a grout float, a bucket, a sponge, and the new grout.
The Tools and Materials Checklist includes a grout saw, Grout float, Grout Bucket, Sponge, Protective gloves, and safety glasses. Having these tools ready will streamline the regrouting process and save you time.
To keep your workspace clean and prevent damage, cover nearby surfaces with drop cloths or plastic sheets. Mask off the edges of the areas you will work on with painter’s tape. That will help keep grout from spilling onto areas you want to protect. If you’re working in a bathroom, remove any items that could get in the way, like toiletries or decorations.
By taking these steps, you can ensure a smooth and efficient regrouting process.
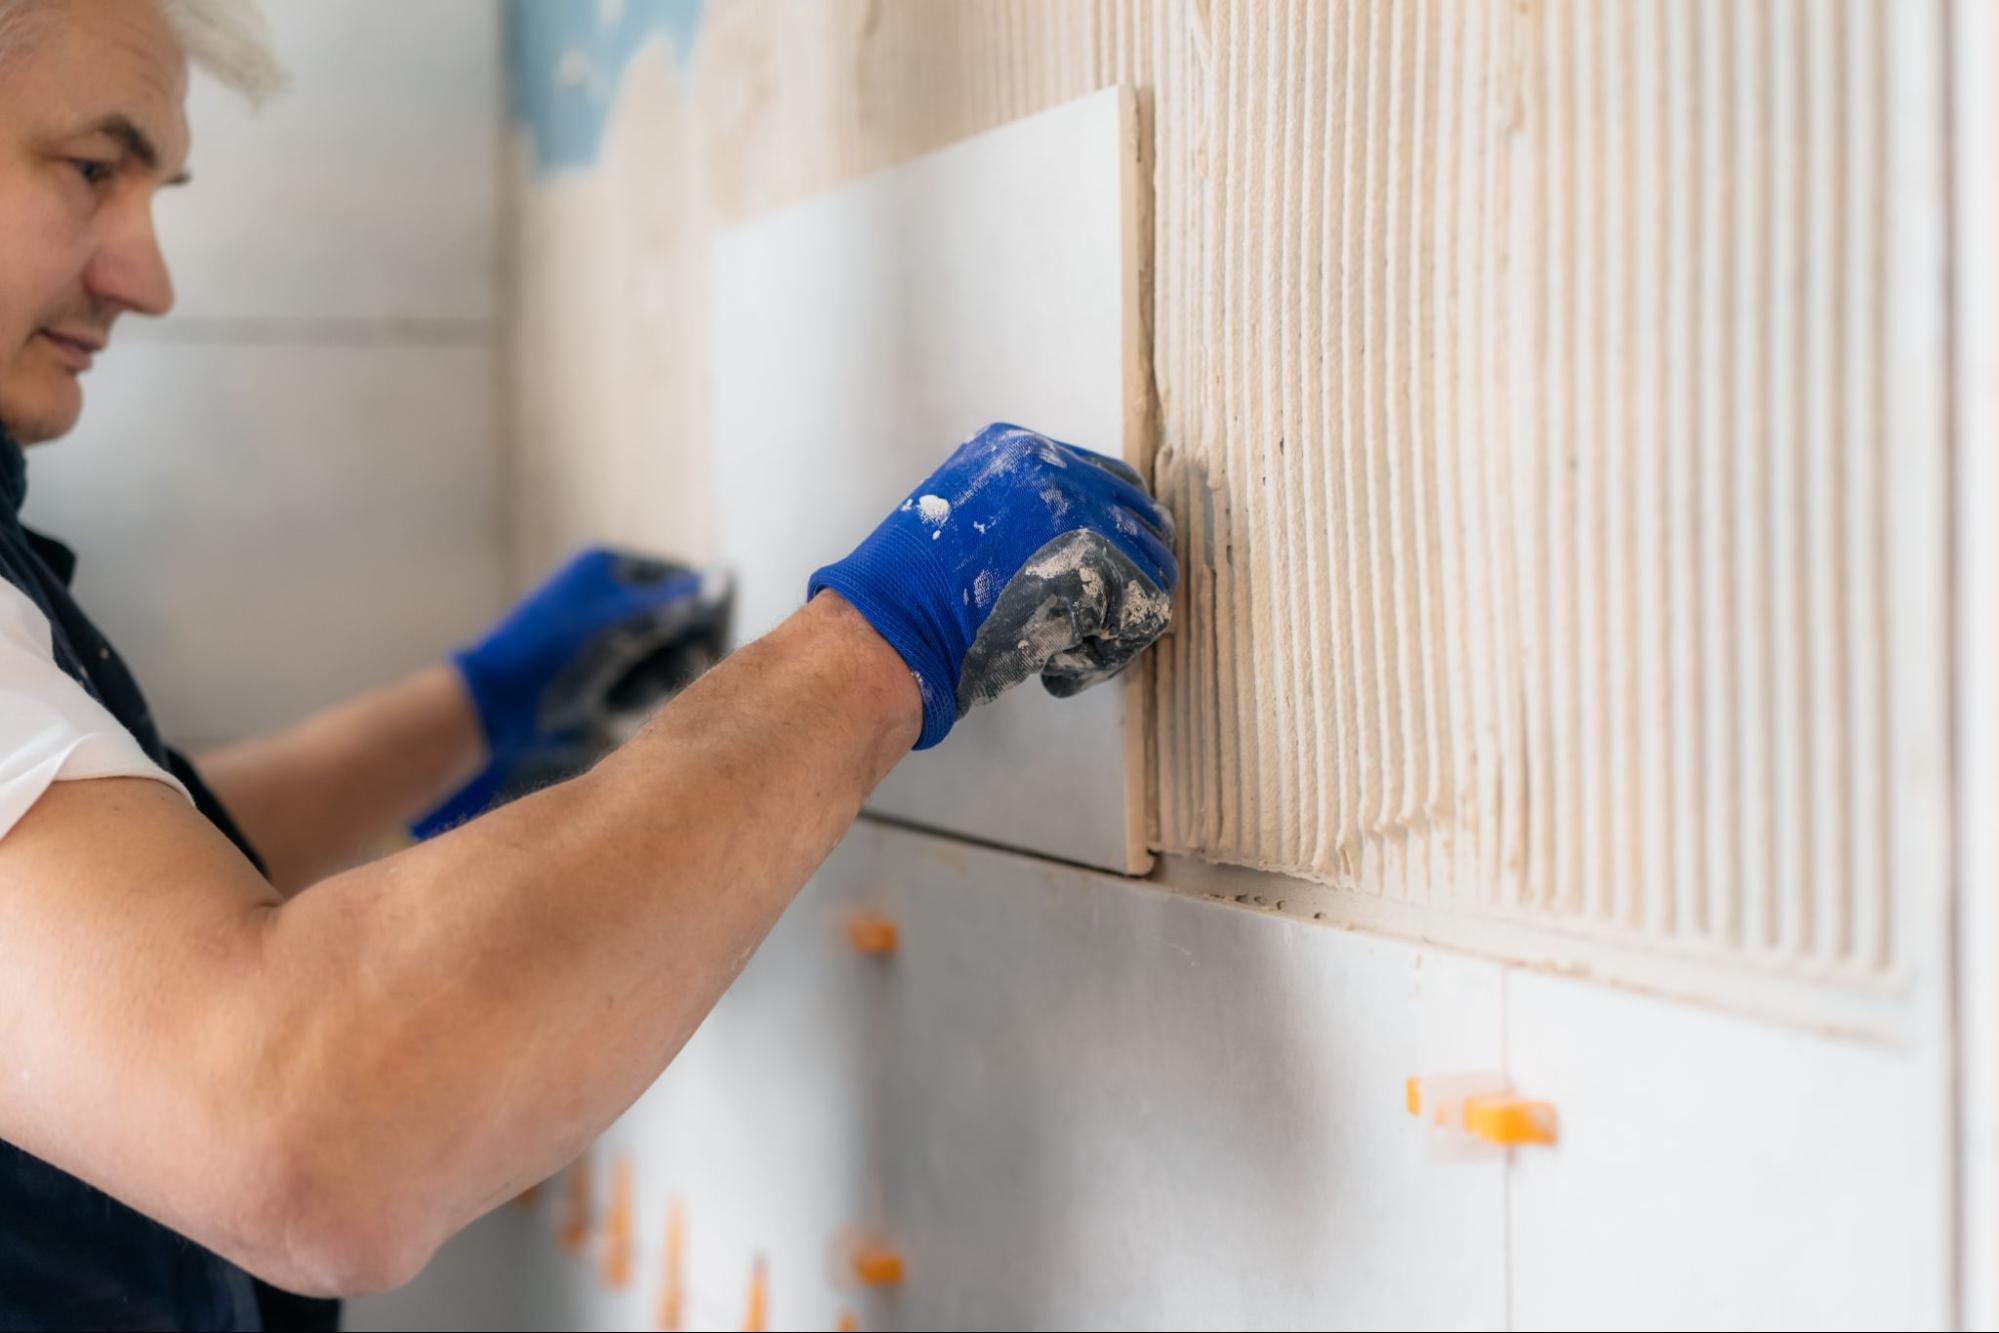
To achieve a neat and long-lasting tile regrouting job, you must focus on removing old grout, mixing and applying new grout, and finishing and curing the newly grouted tiles. Each step is essential to ensure a top-quality result.
Start by assessing the condition of the old grout. Then, use a grout saw or a rotary tool with a grout removal attachment to remove it. Be careful not to damage the tiles.
Once the bulk of the old grout is removed, vacuum-clean the gaps thoroughly. This step is crucial to avoid mixing debris with the new grout. If any old grout remains, repeat the process until the gaps are clean and free of loose material.
First, follow the manufacturer’s instructions on the grout packaging for mixing. Use a bucket and a grout mixing tool to ensure a smooth consistency. The grout should have the texture of toothpaste.
Apply the grout using a rubber float, holding it at a 45-degree angle. Spread the grout diagonally across the tile joints to fill them completely. With the edge of the float, remove any excess grout.
After applying the grout, clean the surface of the tiles with a damp sponge, wiping diagonally to avoid pulling grout out of the joints.
Allow the grout to set for about 15-30 minutes, then use a damp sponge to clean the tiles again. Be gentle to avoid disturbing the grout lines. Once the grout is fully cured, usually 24-48 hours, buff the tiles with a dry cloth to remove any grout haze.
Finally, apply grout sealant to protect your work. Use a small brush or a spray to apply the sealant, and let it dry according to the manufacturer’s recommendations. This will help prevent stains and extend the life of your grout.
Here is a quick checklist to remember:
By following these steps, you can achieve professional regrouting results on your own.
Before regrouting, clean the tiles and grout lines to remove any mold, mildew, or old grout residue. Ensure the area is dry. Remove any loose or damaged grout, then apply a grout cleaner and let it dry. Gather all necessary tools, such as a grout float and sponge.
You cannot apply new grout directly over old grout as it won’t adhere properly. Remove at least 1/8 inch of the old grout using a grout saw or an oscillating tool. Clean the area well before applying the new grout to ensure it bonds correctly.
Practical tools for removing grout include a grout saw, an oscillating multitool with a grout removal blade, and a utility knife. Power tools like a rotary tool with a grout removal attachment can save time and effort for bigger jobs.
To ensure a clean and professional finish, use a rubber grout float to apply the grout smoothly. Press the grout firmly into the joints. After application, wipe away excess grout with a damp sponge, rinsing it frequently. Allow the grout to dry, then clean the tiles with a soft cloth.
Owning a home comes with responsibilities, and keeping your water heater in good shape is one of them. Understanding how to troubleshoot and repair your water heater can save you time, money, and stress, ensuring that you always have hot water when you need it. Knowing the basics can empower you to take action whether your unit is making strange noises or the hot water has run out.
In this article, you’ll learn essential water heater maintenance and repair tips. You’ll confidently navigate the process from everyday problems to practical solutions. Get ready to increase the efficiency of your water heater and extend its lifespan by following straightforward guidance explicitly tailored for homeowners like you.
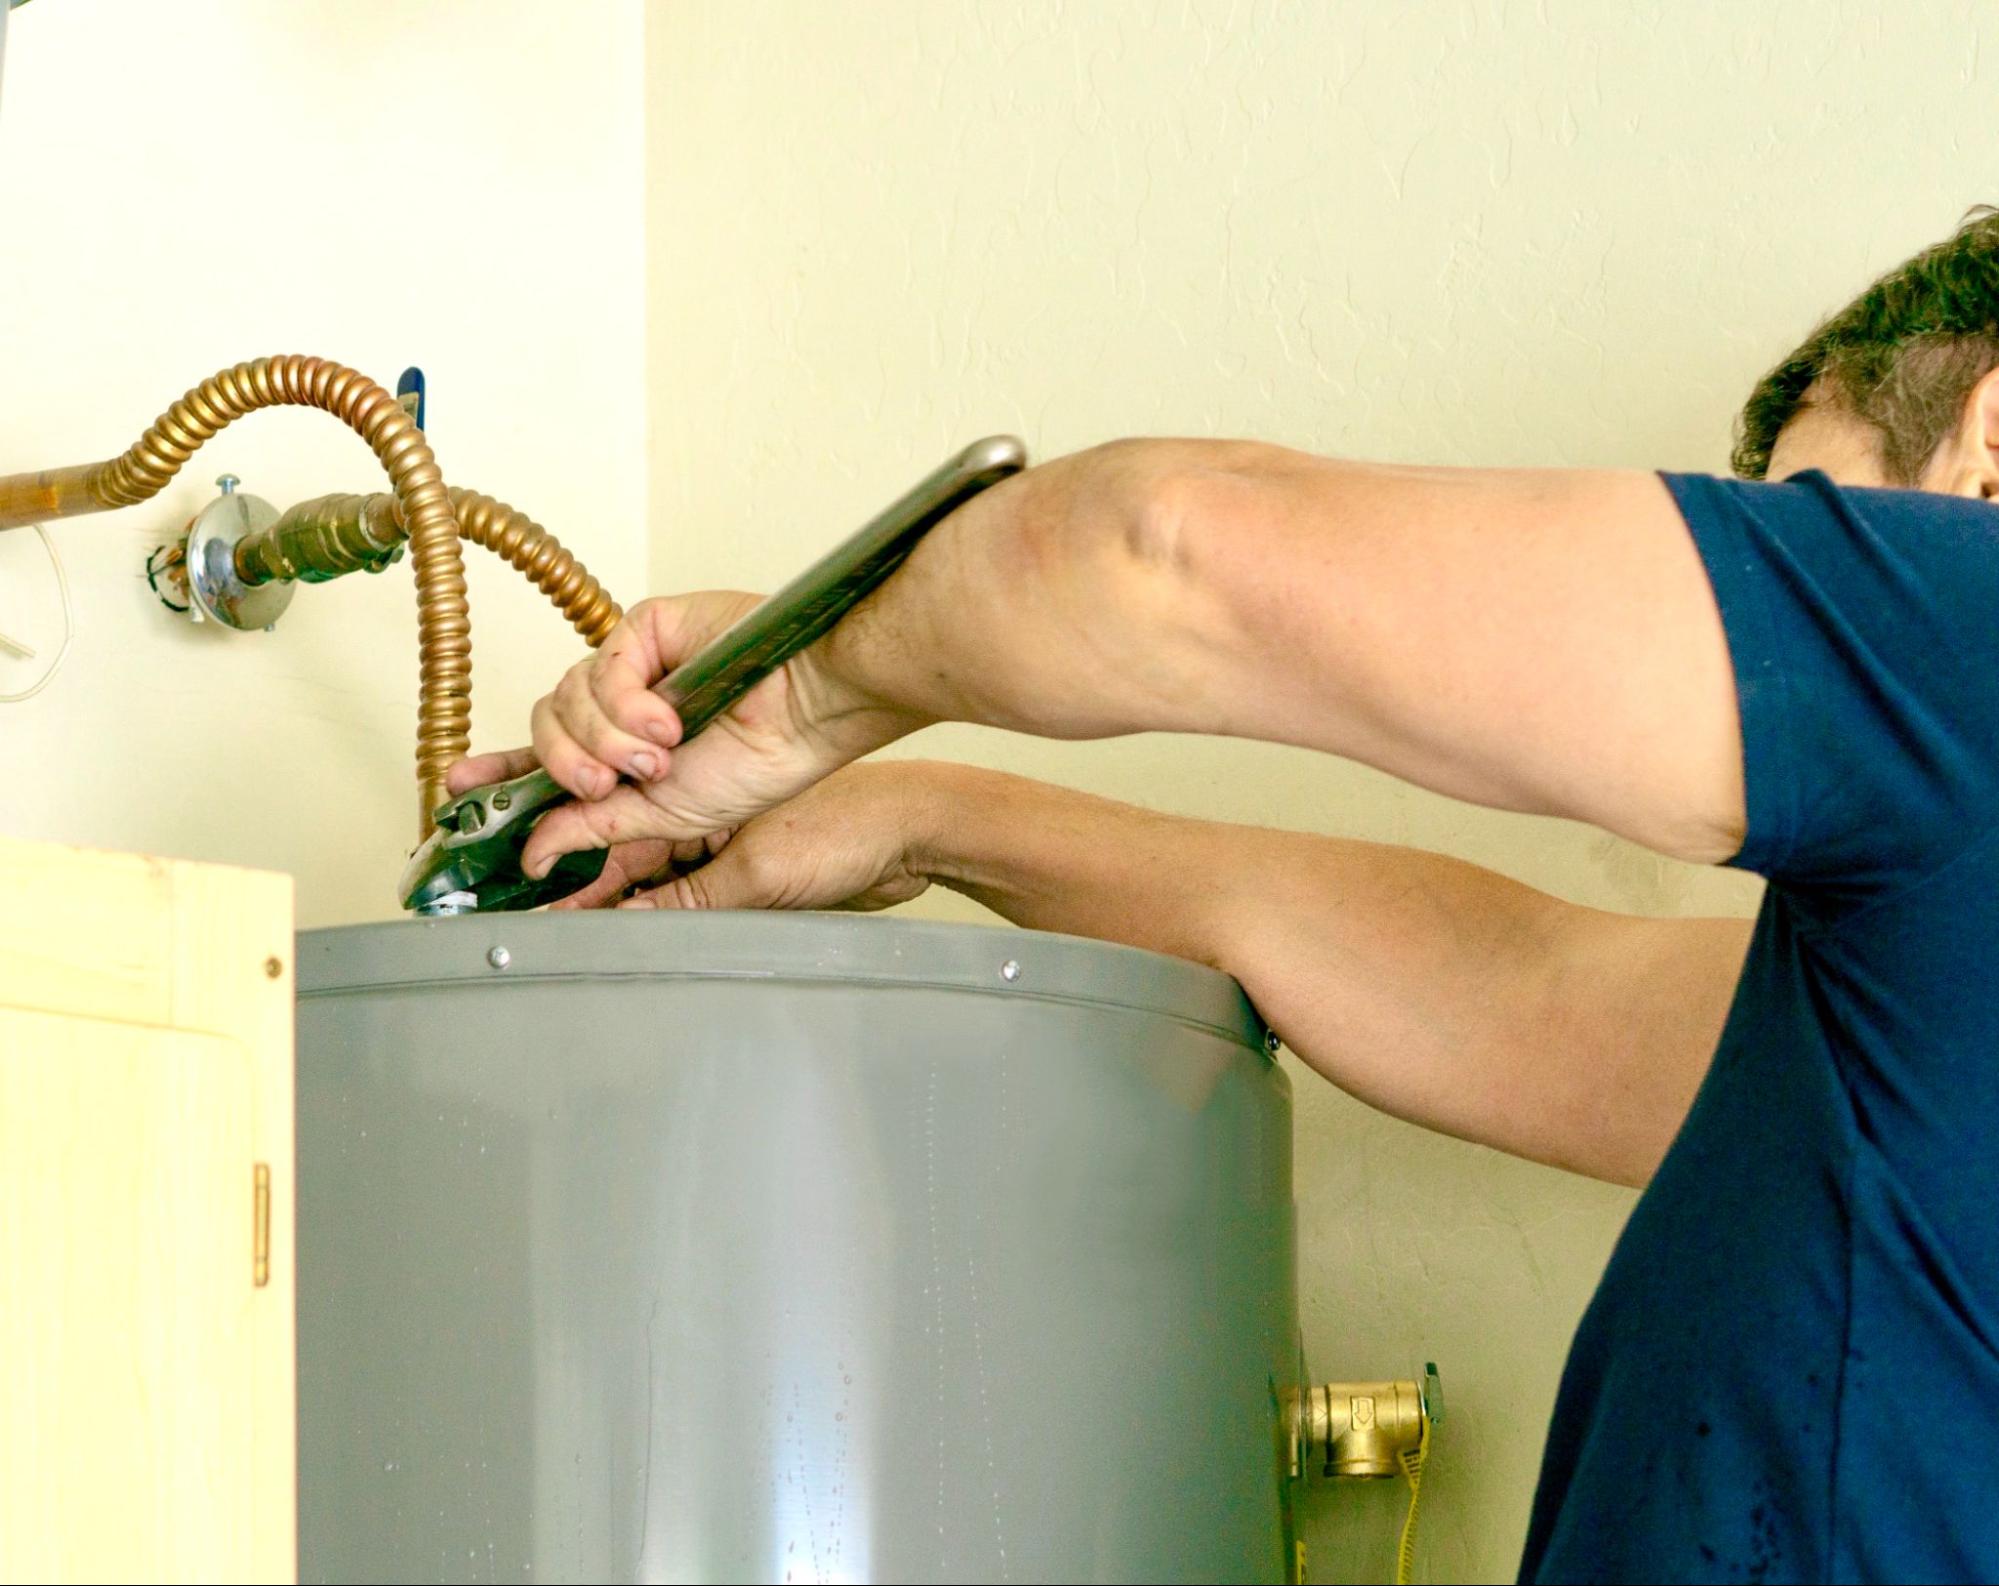
Water heaters are essential appliances in your home, providing hot water for various needs. Understanding their types, key components, and the importance of maintenance can help ensure reliable performance and a long lifespan.
There are several types of water heaters available. The most common include:
Regular maintenance is essential for optimal water heater performance. Here are some key tips:
Following these guidelines, you can keep your water heater running efficiently and extend its lifespan.

You may face various issues with your water heater, including no hot water or strange noises. Knowing how to troubleshoot these problems can help maintain a consistent hot water supply in your home. Here are some common water heater problems and solutions, tips on when to call a professional, and DIY repair advice.
While some issues are manageable, others require a licensed plumber. Call for help if you encounter gas leaks—these pose serious safety risks. If your water heater is over ten years old and has frequent issues, a professional inspection can determine whether repair or replacement is the best option.
If your troubleshooting attempts do not yield results, or if you feel unsure about making electrical repairs, it’s best to consult an expert. A professional can safely handle complex repairs that require expertise and specialized tools.
For simple repairs, keep these tips in mind:
Staying proactive in your water heater care can prevent larger issues down the line. Regular checks and maintenance can also improve efficiency and extend the life of your unit.
Being proactive about water heater care can save you time and money. Address minor issues before they escalate, and always have reliable service on hand when your unit needs professional attention.
If you have major issues, consider contacting professionals like Kaminskiy Care and Repair. We provide expert services for water heater repairs and replacements.
The most common problem with water heaters is a lack of hot water. This can be caused by a faulty thermostat, a broken heating element, or sediment buildup in the tank.
Typically, a water heater lasts about 10 to 15 years. Factors like usage, maintenance, and water quality can affect its lifespan. Regular maintenance can help extend the life of your unit.
You should perform regular maintenance on your water heater. That includes flushing the tank annually to remove sediment and checking the pressure relief valve. Inspect for leaks and ensure the temperature setting is safe.
To troubleshoot your water heater safely, start by checking the power supply. Ensure the circuit breaker is not tripped. Listen for unusual sounds, check the temperature setting, and inspect for leaks.
Installing a new kitchen sink is a transformative project that can breathe new life into one of the most used spaces in your home: the kitchen. Whether you’re aiming to upgrade to a sleek new design or replace an outdated fixture, understanding the basics of kitchen sink installation is essential. Different types of sinks, whether it’s an under-mount or a drop-in model, require specific steps for proper installation. Setting the stage with the right tools and a clear workspace will ensure the process goes smoothly.
Ensuring you have the correct sink size and the necessary tools on hand before beginning the installation can save you time and prevent frustrations. While a do-it-yourself approach can be cost-effective, weighing the pros and cons of DIY versus professional installation is crucial. Familiarizing yourself with common pitfalls through frequently asked questions can pave the way for a successful home improvement project.
Before you embark on installing a kitchen sink, it’s pivotal to systematically prepare by assessing kitchen space, choosing an appropriate sink, securing the essential tools, and safely removing the existing fixture.
To ensure a seamless installation, accurately measure the countertop opening where your new sink will reside. Bearing in mind that the standard sizes can vary, you’ll want to leave an adequate gap, typically about half an inch, around the sink for a proper fit. Assess whether a drop-in or undermount sink suits your kitchen layout better. A drop-in sink sits on top of the countertop, while an undermount is mounted below, providing a clean look.
When picking your new sink, consider materials like stainless steel or cast iron for durability. Factor in the sink’s depth, number of basins, and whether it should accommodate your sink and faucet setup. If you’re replacing a cast-iron sink, be prepared for its weight and the support it may require.
Before beginning the installation, make sure you have all the necessary tools and materials on hand.
As for materials, ensure you have:
Before you proceed with removing the old sink:
When installing your new sink, precision and attention to detail are paramount. You’ll need to accurately cut the countertop, properly install the faucet and drain assembly, secure the sink firmly, and connect the water supply lines to ensure a leak-free installation.
You must first create the space on your countertop to prepare for your new kitchen sink. Measure and mark the dimensions of the sink on the countertop, ensuring they align precisely with the manufacturer’s template. Use a jigsaw to cut along the marked area, and sand the edges for a smooth finish. This ensures the countertop opening is ready for the sink.
Before securing the sink to the countertop, it’s easier to attach the kitchen faucet and drain assembly. Apply the plumber’s putty under the faucet’s base and the drain fitting to prevent leaks. Using a wrench, assemble the faucet and the drainpipes, ensuring all connections are tight.
Once your faucet and drain are in place, it’s time to secure the new sink into the countertop opening. Apply silicone caulk around the edge for a watertight seal, position the sink carefully, and then tighten the mounting nuts from below with an adjustable wrench. Ensure the sink is level and flush with the countertop surface.
Finally, attach the water supply lines to the base of your faucet. These lines connect to your shut-off valves for hot water and cold water. Tighten the fittings with a wrench but ensure they’re not over-tightened to avoid damage to the plastic fittings. Supply tubing should be connected with care, avoiding any kinks that could impede water flow.
Throughout the process, remember to follow the manufacturer’s instructions closely for the best results, and don’t hesitate to consult a professional plumber if you encounter any uncertainties.
When installing your kitchen sink, whether it’s a drop-in or an undermount model, proper sealing and finishing are critical to ensure water-tightness and durability. Using the right sealant, attaching drainage efficiently, performing thorough testing, and providing ongoing maintenance are essential steps.
Firstly, remove any old caulk or residue from your sink’s edge or countertop cutout. Apply a continuous bead of high-quality silicone caulk to the sink’s rim for drop-ins or the countertop’s edge for undermounts. Smooth the bead with a caulking tool or your finger, ensuring it is even and without gaps.
Affix the drain pipe to the sink’s drain hole, typically using a gasket and locknut. The trap adapter should connect to the tailpiece of the sink using schedule 40 PVC pipe. Ensure that your P-trap is properly aligned and securely fitted to prevent future leaks. Ensuring Proper Functionality
Before applying the final touches, conduct rigorous testing. Fill the sink with water, check the faucet and backsplash for leaks, and observe the drainage rate. Place a bucket underneath to catch any drops and identify potential leaks. Cleaning and Maintenance Guidance
After installation, wipe away excess caulk with a damp rag or paper towel. Avoid using the sink for at least 24 hours to allow the sealant to cure fully. Regularly check beneath the sink for cracks, leaks, or loose supply lines, particularly after heavy use or if you have recently used the connection for a new dishwasher drain line.
By focusing on proper sealing and securing plumbing components, you’ll establish a reliable foundation for your kitchen sink’s functionality. Regular early maintenance checks can thwart common plumbing problems before they become more significant issues.
When installing a kitchen sink, you must consider your skill level, potential savings, and the complexity of the job. Deciding between a do-it-yourself approach or hiring a professional plumber hinges on these factors.
Before attempting a DIY kitchen sink installation, assess your home improvement skills. Precision is key; you’ll need to follow the manufacturer’s instructions carefully to avoid common pitfalls such as leaks or misalignment. Consider the tools and supplies you’ll need; lacking the proper equipment can turn a simple project into a risky venture. If your kitchen is outdated, this task can uncover additional challenges within the sink cabinet or existing plumbing, increasing the overall risk.
Cost is a significant factor in your decision. A DIY installation of a kitchen sink can save you labor costs but don’t overlook the price of materials and any special tools required. When evaluating the cost benefits, balance your potential savings against the risk of additional expenses from mistakes or overlooked complexities.
Complex installations often necessitate a professional plumber. If your kitchen renovation involves updating plumbing or installing high-end sinks, professional expertise ensures a secure fit and proper function. Also, some warranties require professional installation to remain valid. Remember, the long-term value of professional work can outweigh the upfront costs by avoiding future repairs and ensuring adherence to building codes.
When undertaking a project as important as a kitchen sink installation, partnering with a reputable and experienced service provider like Kaminskiy Care and Repair can make a significant difference. With a commitment to quality, precision, and customer satisfaction, Kaminskiy Care and Repair provides expert installation services that ensure your kitchen investments are executed flawlessly. Contact us today for your next kitchen project to ensure it’s done right, with craftsmanship that lasts.
Investing in a successful kitchen sink installation hinges on correctly answering a few key questions. This part provides clear, concise responses to equip you with the needed information.
For a kitchen sink installation, you will require an adjustable wrench, a pipe cutter, a pipe joint compound or plumber’s tape, a plunger, a plumber’s putty, a screwdriver, and a drain assembly kit. Having these tools at the ready ensures a smoother installation process.
Preparing the countertop involves cleaning the area thoroughly to ensure it is smooth and level. You must also remove any old sealant and ensure the space is accurately measured to fit the new sink securely.
Proper installation of an undermount kitchen sink involves securing the sink under the countertop, applying sealant around the edges for a watertight seal, and ensuring the sink is fastened firmly with clips or mounting brackets to the underside of the countertop.
A drop-in kitchen sink requires a pre-cut opening in the countertop where the sink will “drop in.” The rim around the sink then sits on top of the counter, unlike undermount sinks which attach from below. Sealing is done around the rim to prevent water ingress.
To connect plumbing fittings, start with the installation of the drain assembly into the floor of the sink before setting the sink in place. Then, connect the water supply lines to the faucet, ensuring the use of a plumber’s tape or compound on threaded connections to prevent leaks.
When estimating the cost of professional installation, consider the rates for labor, the cost of the sink, and additional supplies that may be required. Also, complex installations or additional plumbing might increase the installation cost.
The bathroom has evolved significantly beyond its purely functional origins, transforming into a space of luxury and comfort. As design trends in 2024 prioritize creating luxurious and spa-like experiences at home, homeowners are increasingly seeking ways to elevate their bathrooms.
We are seeing distinct shifts that prioritize comfort, efficiency, and style. Whether you’re planning a full remodel or just looking to refresh your space, understanding the latest trends is crucial.
This guide explores six of the hottest design trends to inspire your next bathroom remodel, transforming it into a space that is both aesthetically pleasing and functionally superior.
In 2024, expect to see bathrooms adorned with warm, earthy tones like beige, moss green, and soft clay that bring a calming and welcoming atmosphere. Complementing materials like natural wood, stone, and terracotta also feature. These elements not only add a touch of nature to the bathroom but also promote a serene and grounding environment.
What’s Out: Stark, Cold Whites
The stark, clinical white bathrooms are on their way out. This trend, once favored for its minimalist vibe, is giving way to warmer shades that create a more inviting space.
Smart bathrooms are no longer the future—they are the present. In 2024, technology integration in bathroom design focuses on enhancing user experience. This includes voice-controlled showers, automatic sinks, and mirrors with embedded LED displays showing news and weather updates. These smart features not only provide convenience and efficiency but also offer significant water and energy savings.
What’s Out: Low-Tech Fixtures
Traditional fixtures that don’t offer energy efficiency or enhanced functionality are becoming obsolete. As technology advances, the demand for smart, responsive bathroom designs increases.
Eco-friendly designs are a major trend in 2024. This includes the use of recycled materials, water-saving fixtures like low-flow toilets and showerheads, and designs that maximize natural light to reduce energy use. These features not only lower utility bills but also align with the growing consumer desire to reduce their environmental footprint.
What’s Out: Wasteful Designs
Bathrooms that use a lot of water and energy are out of vogue. Traditional designs that ignore environmental impact are no longer desirable, as more homeowners aim to make sustainable choices.
Creating a spa-like experience at home is a significant trend in 2024. Features like walk-in showers with multiple shower heads, oversized soaking tubs, and built-in aromatherapy systems are becoming staples in bathroom design.
These amenities enhance the bathing experience and turn the bathroom into a luxurious retreat.
What’s Out: Standard, Functional-Only Bathrooms
The purely functional, no-frills bathroom setup is fading. Bathrooms are now designed as spaces for relaxation and rejuvenation, not just rooms for basic hygiene.
With more people living in smaller urban spaces, efficient use of bathroom space is crucial. The trend for 2024 focuses on multifunctional fixtures and furniture, such as wall-mounted toilets, floating vanities, and compact, multi-use storage solutions that make the most out of every inch.
What’s Out: Bulky, Space-Hogging Fixtures
Large fixtures that consume too much space without providing additional functionality are no longer in fashion. Cluttered and cramped bathrooms are a thing of the past.
Bold patterns and textures are making a comeback in 2024. Geometric tiles, vibrant backsplashes, and textured wallpapers are used to add personality and focal points to the bathroom. These elements are balanced with neutral tones to keep the space relaxing but dynamic.
What’s Out: Timid, Unadorned Surfaces
The days of timid, featureless bathroom walls and floors are over. Plain designs are being replaced with materials that tell a story or add a burst of character.
Kaminskiy Care and Repair stands out as a leader in bathroom remodeling, providing expert guidance, high-quality craftsmanship, and personalized service. Here’s why we are the go-to partner for your next project:
Expertise and Innovation: Kaminskiy Care and Repair stays ahead of industry trends, offering clients the latest in design, materials, and technology.
Customization: Every project is tailored to meet the unique needs and preferences of each client, ensuring that your remodeled bathroom reflects your personal style and functional
requirements.
Full-Service Solution: From design to installation, Kaminskiy provides a comprehensive service that handles all aspects of your bathroom remodel, making the process seamless and stress-free.
The bathroom remodel trends of 2024 reflect a shift toward personalization, technology, and sustainability. Choosing the right remodeling partner becomes crucial as bathrooms evolve from purely functional spaces to personal sanctuaries.
Kaminskiy Care and Repair offers the expertise, custom solutions, and dedicated service needed to bring these trends to life in your home, ensuring your remodeled bathroom is not only modern and stylish but also perfectly suited to your needs.
Whether you’re looking to adopt cutting-edge trends or simply want to update your space contact us today; we are ready to help you create the bathroom of your dreams.
Remodeling your bathroom transcends mere aesthetic enhancement and fixture updates; it’s about crafting a space that echoes your personal style, optimizes functionality, and significantly boosts your home’s value. The thought of remodeling your bathroom can be as exciting as it is overwhelming. With endless design options, material choices, and technical considerations, knowing where to start is often the hardest part.
In this comprehensive guide, we’ll walk you through ten essential steps to planning your bathroom remodel, ensuring a smooth and successful transformation.
Explore cost-effective bathroom upgrades that do not compromise on quality. Begin your journey with Kaminskiy Care and Repair and turn your bathroom renovation ideas into reality.
A successful remodel starts with a clear vision. Begin by assessing your current bathroom’s shortcomings and envisioning the improvements you desire. Is it more natural light, increased storage, or advanced technology features? Understanding your daily routines can offer insights into the functional improvements needed. Create a mood board or a collection of images that inspire you, setting a clear visual target for the project.
Budgeting goes beyond simply allocating funds, it’s about making informed decisions that maximize value without compromising on quality. Start by researching average costs for bathroom remodels in your area, and then itemize your project to include everything from materials to labor. Engage with your contractors, to leverage their expertise in making cost-effective choices that align with your vision and budgetary constraints.
The complexity of bathroom remodeling demands a skilled team. Look for professionals with a robust portfolio of bathroom remodels, positive client testimonials, and a willingness to understand and bring your vision to life. Kaminskiy Care and Repair excels here, offering a team that encompasses every skill set needed, from design to execution, ensuring a cohesive and seamless remodeling experience.
Designing your space requires a balance between aesthetics and functionality. Work with your design team to explore layout options, materials, and fixtures that reflect your style while addressing your needs. Consider the latest trends, such as walk-in showers, smart toilets, and sustainable materials, but always prioritize timeless choices that will endure.
Turn your bathroom into a relaxing retreat by adding features that boost comfort and calm. Install spa-inspired showers or deep soaking tubs to help unwind after a long day. Use mood-enhancing lighting that can change colors to fit how you feel. Bring in natural materials like wood and stone and try to let in as much daylight as possible to make the space feel open and peaceful.
Choose ergonomic fixtures that are easy to use and reduce strain, such as adjustable shower heads and comfort-height toilets. Add smart touches like heated floors or towel racks for extra warmth and convenience.
Opt for eco-friendly materials and water-saving fixtures to make your wellness bathroom good for the planet too. By focusing on wellness, your bathroom remodel will create a space that looks great and helps you feel your best.
Selecting materials and fixtures is where your bathroom begins to take shape. From tile patterns to faucet finishes, each choice contributes to the room’s overall look and feel. Consider durability, maintenance, and how each element complements the others. Work with suppliers who offer high-quality materials and fixtures, ensuring longevity and performance.
A bathroom remodel affects your daily life, especially if it’s your home’s only bathroom. Plan for inevitable disruptions by setting up a temporary bathroom space. Discuss timelines carefully with your contractor, expecting that a full remodel might leave you without a functional bathroom for a while, depending on the project’s complexity
Lighting and ventilation are critical to a bathroom’s functionality and comfort. Plan for a combination of lighting types to create a versatile and welcoming space. Ventilation is equally important; a well-ventilated bathroom prevents mold and mildew, ensuring the longevity of your investment. Consider options like integrated ventilation systems or windows that provide natural ventilation.
Personal touches make your bathroom truly yours. These can range from unique tile designs to custom cabinetry that reflects your style. Consider integrating technology for added comfort, such as heated floors or a smart shower system. These personalization not only enhance your daily routine but also add value to your home.
As your project nears completion, attention to detail is paramount. Inspect the craftsmanship, from tile alignment to fixture installation, ensuring everything meets your standards. This is also the time to make any necessary adjustments or corrections. A final walkthrough with your contractor ensures every detail is perfected.
Remodeling your bathroom is a significant investment in your home and quality of life. By following these ten essential steps, you’re not just renovating a space, you’re crafting a sanctuary that aligns with your aesthetics and meets your functional needs.
At Kaminskiy Care and Repair, we specialize in customizing every aspect of your bathroom remodel to suit your unique style and requirements, from bespoke cabinetry to personalized smart home integrations. Don’t wait to transform your bathroom into a haven of form, function, and finesse. Contact Kaminskiy Care and Repair today to start your bespoke remodeling journey!
Homeownership comes with unavoidable plumbing challenges, but a skilled handyman plumber can provide valuable aid.
These professionals efficiently handle tasks ranging from faucet repairs to fixture installations. In this article, we’ll delve into the responsibilities of a handyman plumber and their service fees while offering advice on when and how best to hire one.
A handyman plumber is a multi-skilled professional who specializes in a variety of plumbing tasks. They provide prompt, efficient, and budget-friendly plumbing solutions that cater to the needs of homeowners and businesses alike.
Here’s a detailed look at the functions of a handyman plumber:
Handyman plumbers play a crucial role in addressing a wide spectrum of plumbing needs. Their ability to handle everything from routine maintenance to the installation of key plumbing components makes them invaluable for preventing larger, more expensive problems in the future.
When choosing to employ a handyman plumber, many homeowners are typically concerned about the expense. The cost fluctuates and is dependent upon various factors such as the type of work required, the level of expertise possessed by the plumber, and regional price differentials.
Typically speaking, handyman plumbers charge between $45 – $90 per hour on average; however, geographic location and task complexity can cause variations in pricing schemes.
Basic tasks such as minor repairs or fixture replacements tend to have lower costs. However, more complex jobs like installing a new shower or sink may result in higher prices due to the increased time and skill necessary.
Moreover, it’s essential to take into account the minimum service charges that certain plumbers impose regardless of the work’s size which usually range between $50 and up to $100.
Also, bear in mind that the rates provided are approximate and subject to change. To get a more accurate idea of cost, it is recommended that you request quotes from multiple local handymen.
This will provide you with a better understanding of prevailing charges in your vicinity and enable financial planning accordingly. Ultimately, knowing average prices can assist you when selecting a professional plumber for resolving plumbing problems since costs differ based on various factors.
This will help you better understand the typical charges in your area and plan your budget accordingly. Knowing the average prices can be useful when choosing a plumber for fixing plumbing issues, as costs vary depending on different factors.
Recognizing the severity of plumbing problems can pose a challenge, as they may vary from minor inconveniences to major disasters. This uncertainty makes it difficult to determine whether your set of tools or contacting an expert is necessary. Nevertheless, learning when it’s best to request aid from a skilled plumber can spare you valuable resources and substantial stress in the long run.
Minor issues: For slight plumbing problems such as changing a faucet, repairing a sink’s leaky pipe, or clearing out clogged drainages, it is recommended to hire a handyman plumber.
Their expertise lies in addressing less challenging and small-scale plumbing tasks while offering economical repair solutions without compromising on efficiency. Hence, one can count on them to complete minor repairs with accuracy within budgetary constraints.
Regular Maintenance: Regular maintenance is crucial in preventing major plumbing disasters. Handyman plumbers are perfect for routine checks on your plumbing system.
They can inspect pipes, identify potential issues, and perform basic maintenance tasks. This proactive approach can help you avoid costly repairs down the line.
Urgency and Complexity: If you’re facing a situation that needs immediate attention but isn’t necessarily complex like a constantly running toilet or a minor leak in a visible pipe, then hiring a handyman plumber is a good call. They can swiftly address these issues, providing a quick and effective solution.
Cost consideration: When it comes to costs, opting for a handyman plumber can be an affordable choice as they tend to charge less than licensed plumbers. This makes them particularly appealing to homeowners who are mindful of their budget and have smaller tasks at hand.
Finding a handyman plumber can be a daunting task especially when you are facing urgent plumbing issues. Here are some pointers to guide you in your search for a reliable handyman plumber in your neighborhood.
Local recommendations: Begin by asking friends, family, or neighbors for recommendations. Personal referrals often lead to trustworthy and reliable professionals.
Online Reviews: Check online platforms for reviews for ratings. This will give you an idea of the plumbers’ reputation and quality of work
Level of Expertise: Look for someone with significant experience in the specific issue you are facing. A handyman with a wealth of experience is likely to do a better job.
Availability and Responsiveness: Choose someone who can address your issue promptly and communicate clearly about the timing and scope of work.
Warranties: Look for a plumber who offers a warranty or guarantee on their work. This shows their confidence in their skill and reassures you that your work is in expert hands.
It is important to note that the right handyman plumber not only fixes your immediate problem but also gives you long-term peace of mind.
When it comes to reliable and efficient plumbing services, Kaminskiy Handyman Plumbing Service stands out as a top choice. With a team of experienced professionals, we offer a wide range of services to ensure that your plumbing needs are met with the highest standards.
Here’s what makes us your ideal plumbing partner:
Faucet Repair and Replacement: Whether it’s a dripping faucet or the need for a stylish upgrade, our experts handle all types of faucet repairs and replacements with precision and care.
Sink Installation and Replacement: From kitchen to bathroom sinks, we offer seamless installation and replacement services, ensuring your sink is functional and aesthetically pleasing.
Drain Clearing: Clogged drains can be a nightmare, our professional team at Kaminskiy Care and Repair provides excellent drain clearing services ensuring smooth water flow and preventing future blockages.
Garbage Disposal Installation: Enhance your kitchen’s functionality with our expert garbage disposal installation, making your kitchen clean-up easier and more efficient.
Toilet Repair and Replacement: Whether it’s a leaky toilet or the need for a new model, We provide top-notch toilet repair and replacement services to ensure your comfort and convenience.
Shower and Bathtub Installation: We pride ourselves in installing a variety of showers and bathtubs, ensuring they not only function perfectly but also enhance the aesthetics of your bathroom. Our shower and bathtub installation services are tailored to fit your space and style preferences.
Leave your plumbing issues to us. Contact Kaminskiy Handyman Plumbing Services today for swift, professional, and reliable solutions to all your plumbing needs.
Whether it’s a minor repair or a major installation, our team is ready to provide you with top-notch service.
We handle all types of faucet repairs, including leaks, drips, and replacing worn-out parts. We can also assist with upgrading or replacing your current faucets.
Yes, we install a wide range of sink styles and brands, ensuring they match your space and functional needs, be it in the kitchen or bathroom.
Our team of experts uses professional-grade tools and techniques to effectively clean tough drain clogs, ensuring your plumbing system functions smoothly.
Yes, we provide emergency repair services for issues like leaks, clogs, or malfunctioning toilets to minimize inconvenience and potential damage.
Absolutely. We can install a variety of showers and bathtubs, including custom designs, walk-in tubs, and therapeutic baths to suit your preferences.
No price games. You get a clear written quote before any work begins, backed by our workmanship warranty.