No one likes a sweltering home in the middle of summer or a chilly one in the winter. Keeping your HVAC system in tip-top shape can prevent these discomforts. Fixing common HVAC issues yourself can save you a lot of time and money. You can avoid expensive professional repairs by knowing what to look for and how to address minor problems.
One frequent problem is a clogged air filter, which can restrict airflow and reduce efficiency. It is crucial to check and replace your air filter regularly. If your AC blows hot air, it might be due to low refrigerant or a dirty evaporator coil. For issues like these, some DIY troubleshooting can often set things right.
When your HVAC system isn’t cooling or heating properly, it could be due to thermostat settings or clogged drainage pipes. Ensuring your thermostat is set correctly and cleaning your drain pipes can make all the difference. Learn these and other simple fixes to keep your home comfortable year-round.
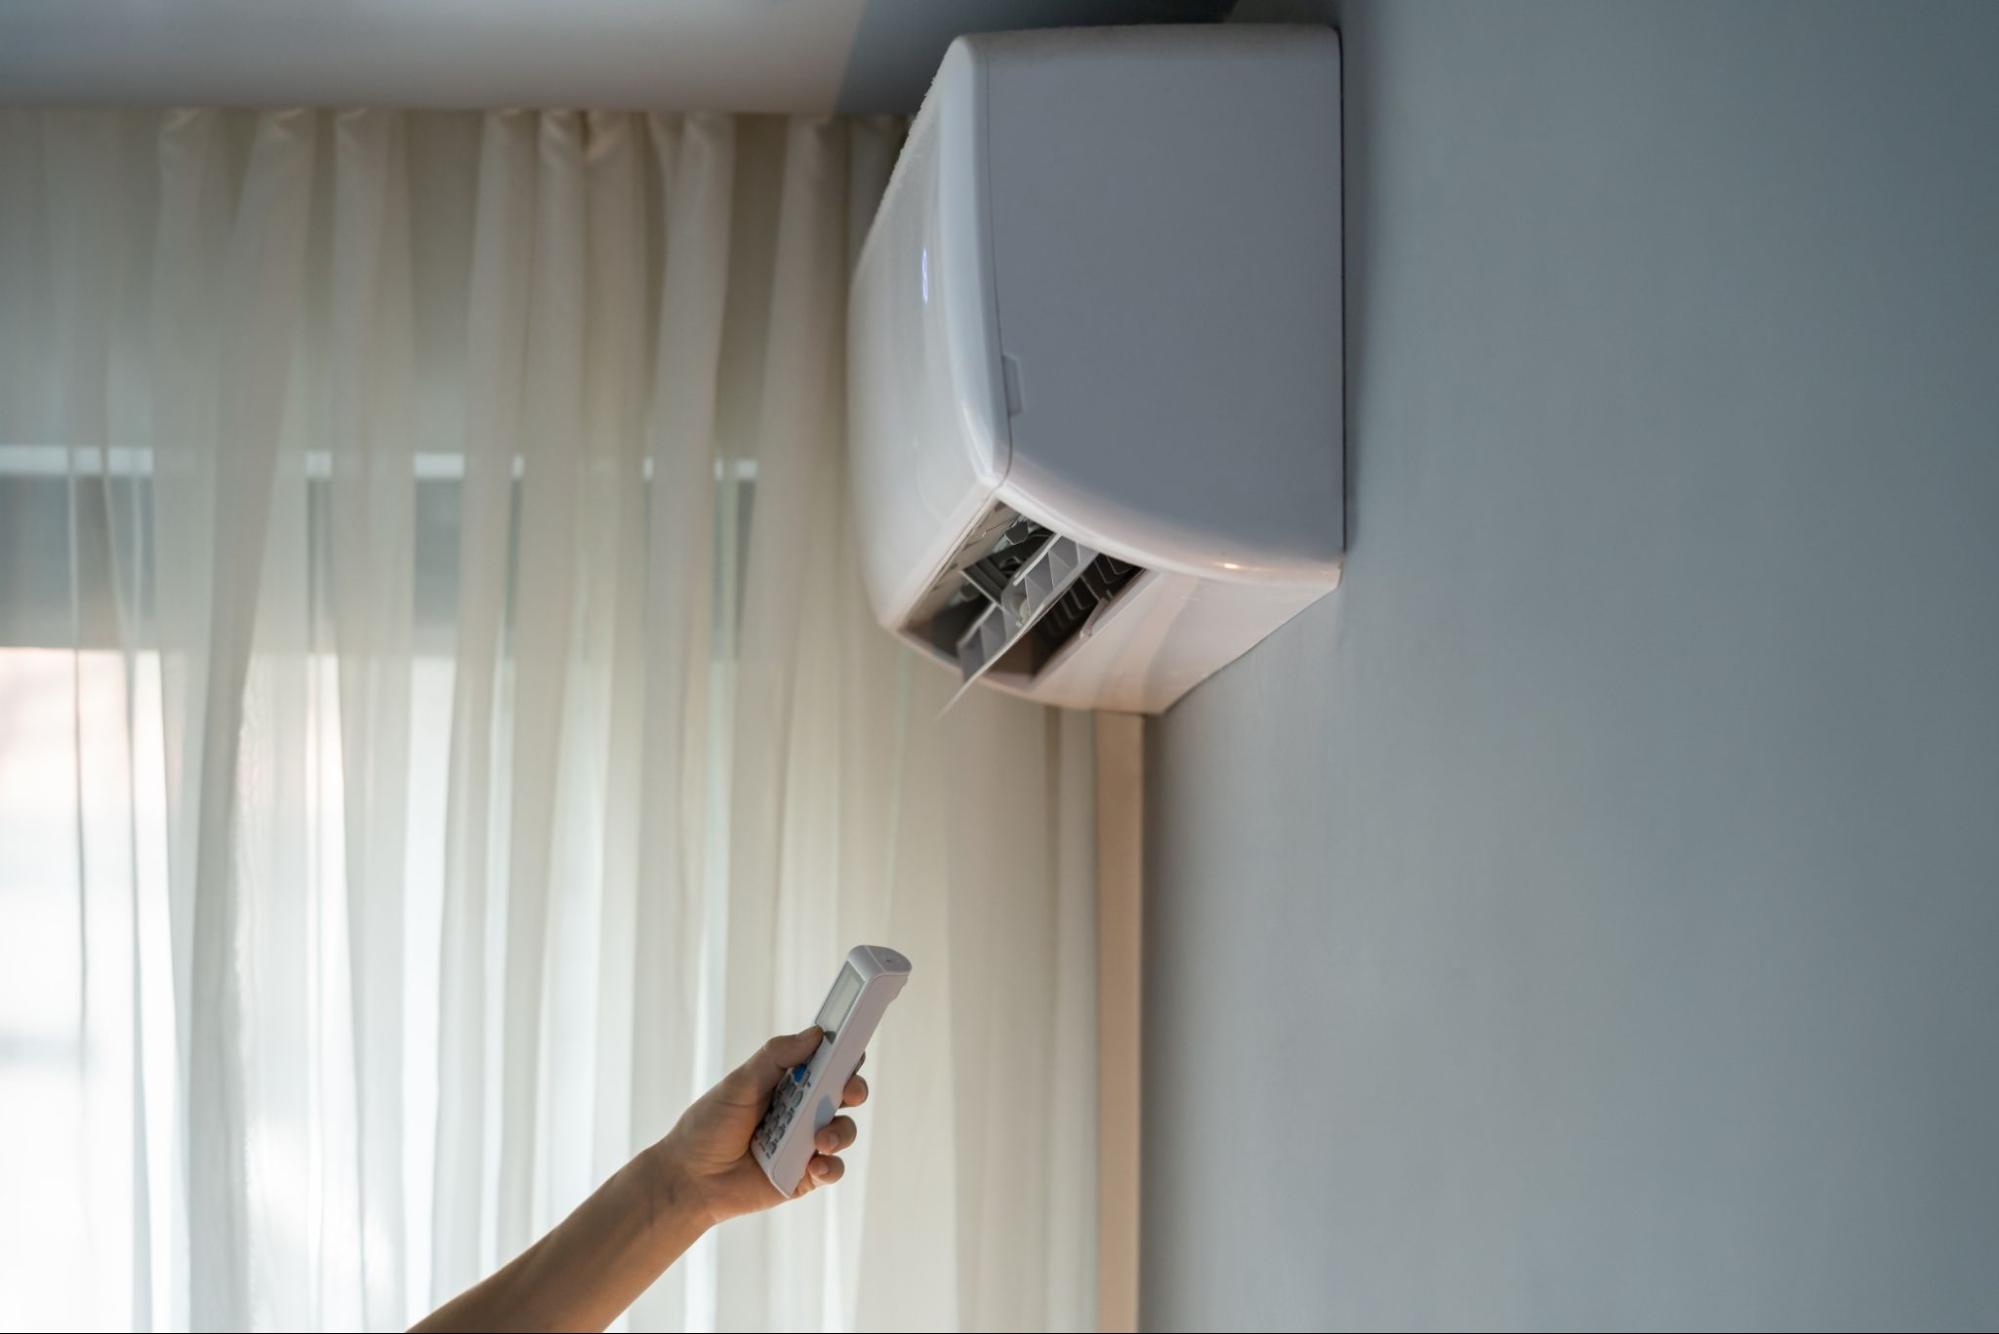
Correctly diagnosing and troubleshooting HVAC issues requires knowing your system inside and out, understanding common problems, and knowing when professional help is needed.
You should start by getting familiar with the essential parts of your HVAC system. These usually include the thermostat, air filters, ductwork, and vents.
Knowing these parts helps you identify the source of any issues.
Your HVAC system may experience various problems. Some common ones include insufficient heating or cooling, strange noises, and poor airflow.
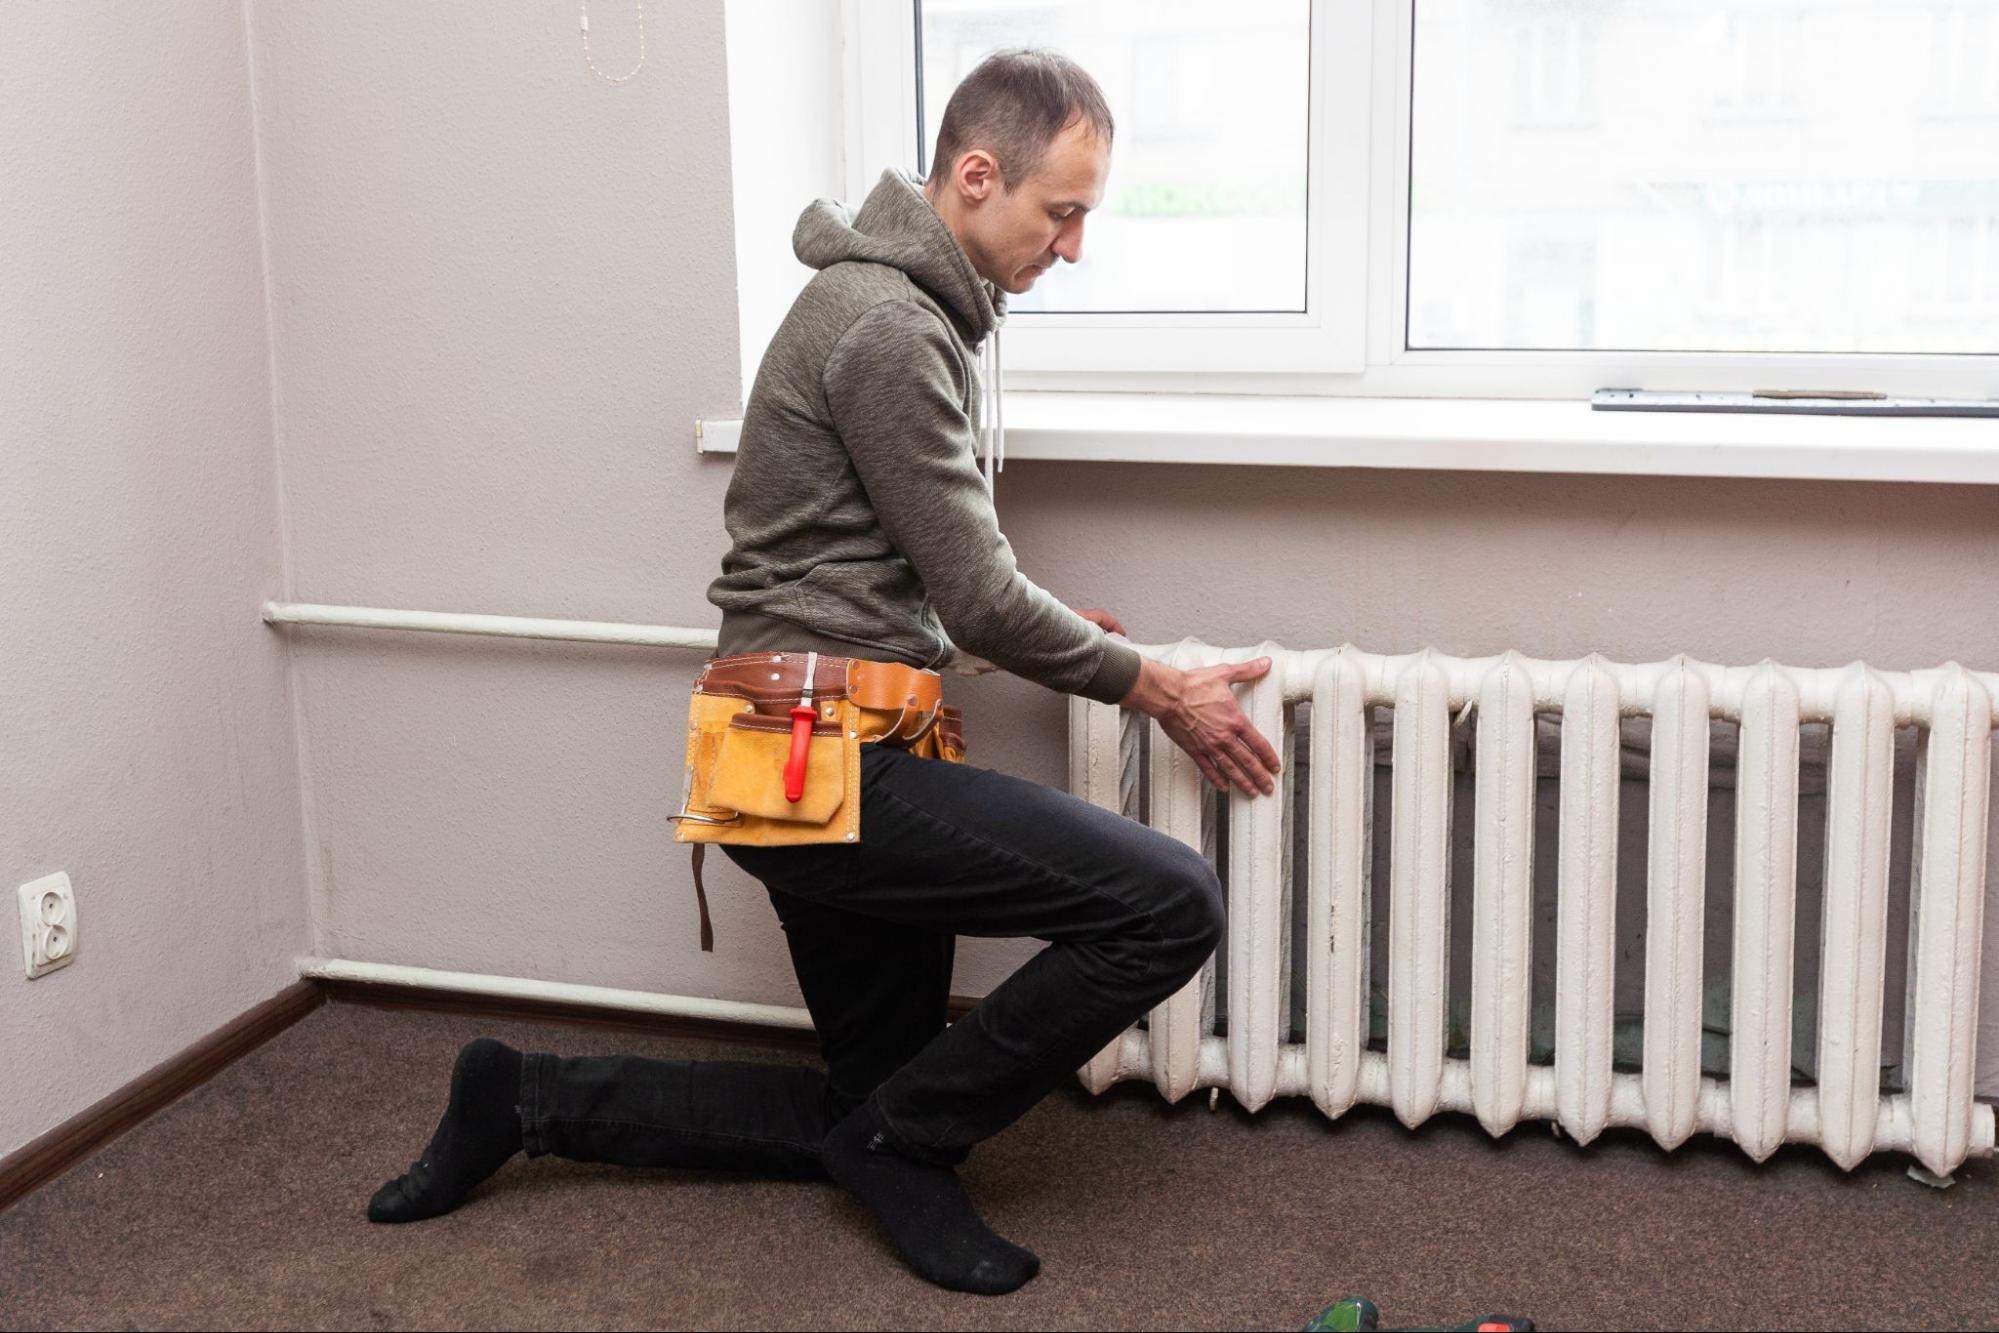
Basic tools, such as a utility knife, pliers, and a level, can help you handle many simple HVAC issues.
Common DIY Repairs include:
Other simple fixes:
There are times when you can’t fix the problem yourself. If your HVAC system is still not working after you’ve tried basic troubleshooting, it’s time to call a professional.
Regular maintenance by a professional can prevent many of these problems and keep your HVAC system running efficiently.
Maintaining and repairing your HVAC system is crucial for ensuring the comfort and efficiency of your home. Common HVAC issues, such as dirty filters, thermostat problems, refrigerant leaks, and uneven airflow, can be addressed with basic handyman skills and knowledge.
You can keep your HVAC system running smoothly and efficiently by regularly cleaning and replacing filters, calibrating your thermostat, inspecting and sealing ductwork, and checking for refrigerant leaks.
For more complex issues like electrical problems or major component failures, it’s best to consult with a professional HVAC technician. Understanding how to troubleshoot and fix these common HVAC problems can save you time, money, and discomfort, ensuring your home remains a comfortable haven year-round.
First, check the thermostat settings to ensure they are correct. Then, inspect the air filters and clean or replace them if they are dirty. Verify that vents are open and unobstructed. Finally, examine and clean the drain pan and drainage pipe.
Inspect the thermostat settings and air filters first. If the system still doesn’t cool, ensure that the vents are not blocked. You may also need to check the ductwork for leaks or blockages. In some cases, calling a professional might be necessary.
If you’re a homeowner, you know that the basement can be a valuable part of your home. It can serve as extra living space, storage, or even a place to escape during a storm. But if your basement is damp or prone to flooding, it can quickly become a headache. Waterproofing your basement is crucial in protecting your home and making the most of your space.
Understanding basement waterproofing can be overwhelming, but it doesn’t have to be. Several methods are available, each with its own advantages and disadvantages. The key is to choose the method that best suits your needs and budget. From exterior excavation to interior sealants, there are options for every homeowner.
Executing the waterproofing process can be daunting, but with the right guidance, it can be done successfully. By learning about the different methods and understanding the steps involved, you can confidently tackle the project and protect your home from water damage. In this article, we’ll guide you through the process of waterproofing your basement and answer some frequently asked questions.
If you’re a homeowner, you know how important it is to keep your basement dry. A wet basement can lead to many problems, including mold growth, structural damage, and compromised indoor air quality. Waterproofing your basement can help prevent these issues and ensure the longevity of your property.
A dry basement is essential for maintaining a healthy and safe living environment. Water intrusion can cause various problems, including foundation damage, water damage, and mold growth. It can also decrease the value of your home by up to 25%. Therefore, it’s crucial to identify and address any signs of a wet basement as soon as possible.
Some common signs of a wet basement include moisture, leaks, and cracks in the foundation. You may also notice musty odors or dampness in the air. It’s essential to address these issues promptly to prevent further damage to your home.
Several waterproofing solutions are available, including sealants, waterproof coatings, and drainage systems. The best solution for your basement depends on the severity of the problem and the type of foundation your home has. A professional waterproofing contractor can help you determine the best course of action.
Understanding basement waterproofing is crucial for maintaining a safe and healthy living environment. By identifying common waterproofing issues and selecting the appropriate solutions, you can protect your home from water damage and increase its value.
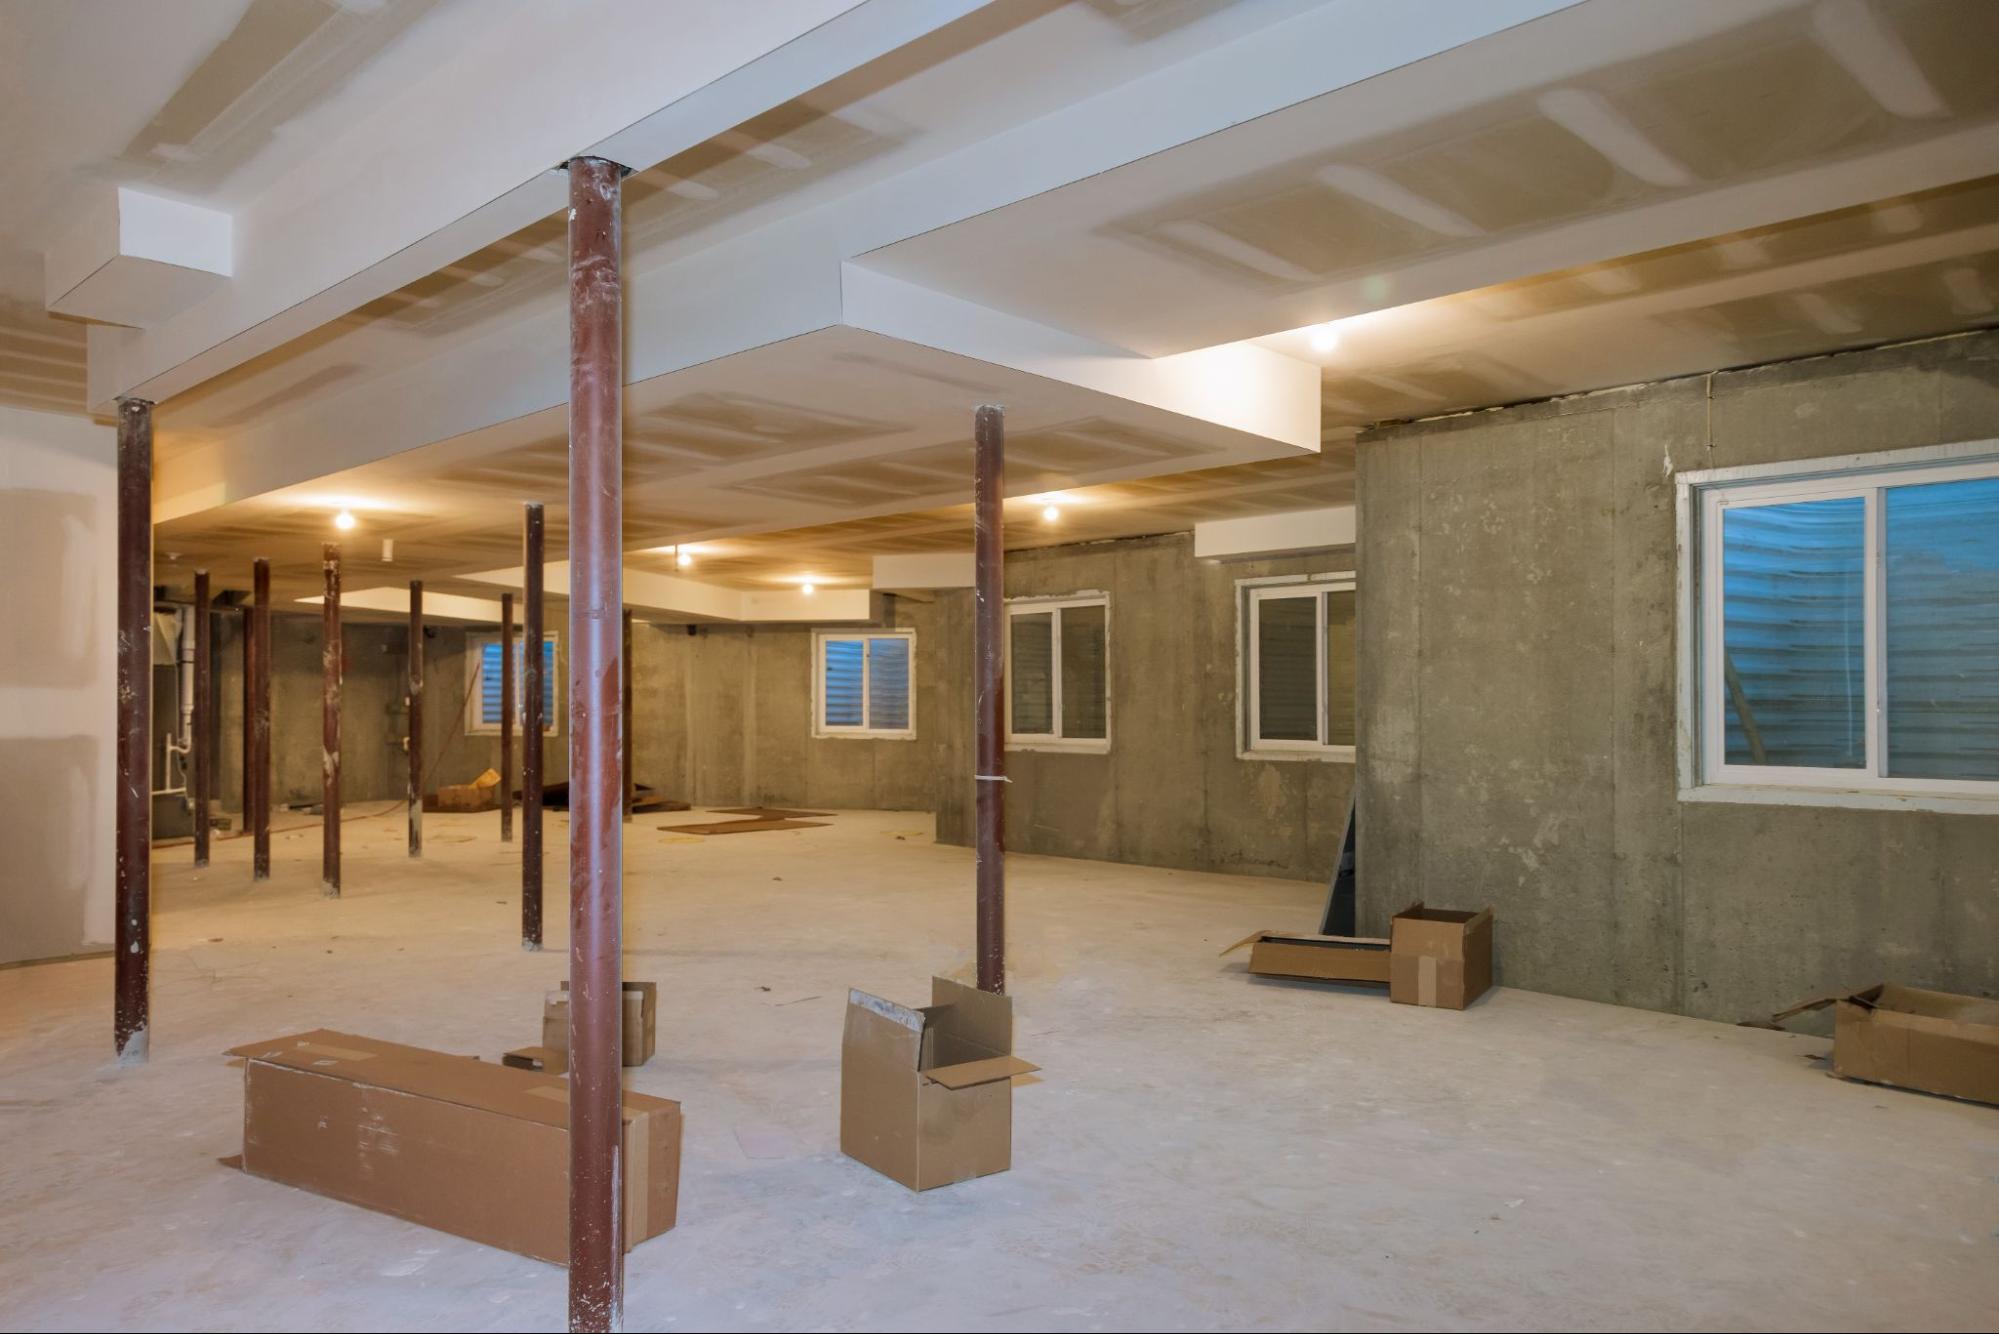
After completing the preparation and repairs, you are ready to start the waterproofing process. This section will cover the installation of waterproofing systems and finishing your basement after waterproofing. While you can do this on your own, it is highly recommended that you seek professional help from a basement waterproofing service for the best results.
Ensure your basement is free from cracks or damage before installing a waterproofing system. Inspect your basement walls and floors for cracks or leaks. If you find any, repair them before proceeding with the waterproofing process. You can use injection to seal the cracks and prevent water from seeping into your basement.
There are various waterproofing systems that you can install in your basement, including a sump pump and a waterproofing membrane. A sump pump will help pump out any water that enters your basement, while a waterproofing membrane will prevent water from seeping through the walls and floors. It is important to choose the right waterproofing system for your basement. You can consult with a professional to help you determine the best waterproofing system for your needs.
Once you have installed the waterproofing system, you can start framing your basement and installing electrical wiring. It is important to ensure that everything is properly sealed and insulated to prevent water from entering. After completing the framing and electrical work, you can finish your basement with the appropriate materials. This includes drywall, flooring, and any other finishing touches you desire.
In conclusion, the waterproofing process requires careful preparation and repairs, followed by installing the appropriate system and finishing touches. While you can do this independently, it is recommended that you seek professional help for the best results.
Waterproofing your basement is an essential step in maintaining your home’s structural integrity. With the right tools, materials, and knowledge, you can successfully waterproof your basement and prevent costly water damage.
One of the first steps in waterproofing your basement is to identify the source of moisture. This could be anything from a leaky pipe to poor drainage. Once you have identified the source of moisture, you can then take steps to address the issue.
Several methods for waterproofing your basement include exterior waterproofing, interior waterproofing, and drainage systems. Exterior waterproofing involves excavating the perimeter of your home and applying a waterproof coating to the foundation walls. This method is typically more expensive and time-consuming but is often the most effective.
Interior waterproofing involves applying a waterproof coating to the interior walls of your basement. This method is less expensive and invasive but may not be as effective as exterior waterproofing.
Another option is to install a basement drainage system. This involves installing a system of pipes and drains channeling water away from your home. This method is often very effective and can be combined with exterior or interior waterproofing for added protection.
If you are uncomfortable tackling a basement waterproofing project alone, consider hiring a professional like Kaminskiy Care and Repair. We have the knowledge and experience to properly waterproof your basement and prevent costly water damage. Contact us today
There are several effective methods for waterproofing basement walls from the inside, including applying waterproof coatings or sealants, installing interior drainage systems, and using waterproof wall panels. These methods can help prevent water from seeping through cracks in the walls and causing damage to your basement.
While DIY approaches can be effective for minor waterproofing tasks, such as sealing small cracks or applying waterproof coatings, professional basement waterproofing systems are often more reliable and long-lasting. Professional systems are typically designed to address the specific needs of your basement and can provide a more comprehensive solution to water intrusion.
Waterproofing a basement from the outside typically involves excavating the soil around the foundation and applying a waterproof membrane or coating to the exterior walls. This method can be more effective than interior waterproofing methods, as it prevents water from entering the foundation in the first place. However, it can also be more expensive and disruptive to your property.
Several drainage systems can be installed in a basement, including interior French drains, exterior French drains, and sump pumps. The best type of drainage system for your basement will depend on various factors, including the severity of the water intrusion, the layout of your basement, and your budget.
When space is limited, smart storage and creative organization become essential. You can maximize every inch of your small space by implementing effective handyman solutions, making it functional and stylish. Whether you live in a tiny apartment or a cozy home, effective design choices can transform your living area into an efficient haven.
Organizing small spaces involves more than just putting things away. Innovative thinking is required to create storage solutions that fit your needs. You’ll discover various tips and tricks that declutter your home and enhance its overall design.
Embracing these strategies can help you use your space efficiently while keeping it looking great. The goal is to find balance, ensuring every item has a purpose and that every corner serves you well.

Creating functional spaces in small areas requires smart strategies that maximize every square inch. By focusing on effectively utilizing available space, you can enhance the comfort and utility of your home.
Look for hidden areas that serve practical purposes to make the most of small spaces. For example, use the space under the stairs for storage or a cozy reading nook. Built-in shelves can fit snugly in corners, offering display options without taking up much room.
Consider utilizing vertical space. High shelves, like seasonal decorations, can store items you don’t need daily. Wall-mounted hooks can keep items handy while saving floor space. Use furniture that can be tucked away when not in use, like folding chairs or collapsible tables.
Choosing the right furniture is key in small-space design. Opt for multifunctional furniture to increase usability. For instance, a sofa bed can provide seating during the day and transform into a guest bed at night.
Choose tables that can expand or contract based on your needs. Nesting tables can be arranged in various ways, offering flexibility and compactness. Look for ottomans that double as storage units.
Keeping furniture size in check avoids overwhelming the space. Select pieces with legs to create a sense of openness and lightness. This lifts the room visually and makes it feel larger.
Innovative storage solutions enhance the functionality of small spaces. Clear bins or labeled boxes inside cabinets make items easy to find. Over-the-door organizers can free up closet space for shoes or cleaning supplies.
Consider vertical storage options like tall bookshelves. They draw the eye upward, helping to make the room feel taller. Utilize drawer dividers to keep smaller items organized and accessible.
Furniture with built-in storage, such as beds with drawers underneath, can eliminate clutter. Your goal is to keep surfaces clear, ensuring your space feels open and inviting. By incorporating these strategies, you can create a functional and stylish small living area.
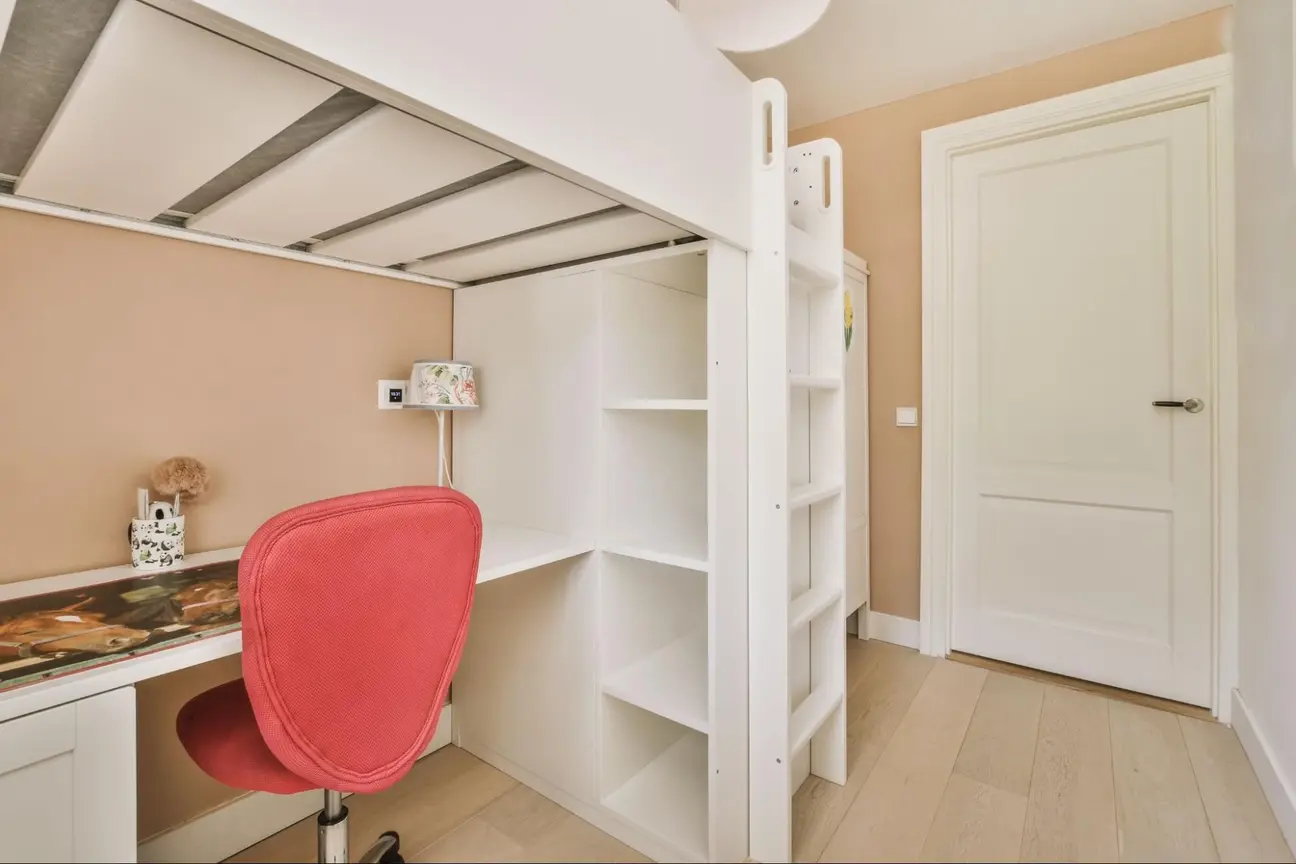
In small spaces, using every available area for storage is essential. You can enhance organization by creatively utilizing vertical and hidden spaces. Implementing practical organizational tips can significantly reduce clutter in each room.
Vertical space is often overlooked in small homes. You can install shelves high on walls to store items that you don’t need daily, creating more floor space while keeping everything accessible.
Utilizing vertical storage not only maximizes your available area but also adds a decorative touch to your home.
Implement innovative storage solutions designed for each room to keep your home tidy. Start with the kitchen. Use stackable containers for dry goods, and hang pots and pans on a wall rack. This frees up cabinet space and keeps things organized.
In the bedroom, consider under-bed storage for seasonal items. Use drawer dividers to keep clothing neat.
For the bathroom, install shelves above the toilet or use tiered organizers for toiletries. This helps to minimize counter clutter and keeps everyday items within reach.
By tailoring your organization methods to each space, you ensure effective use of every inch, making your home feel more spacious and inviting.
Consider creative handyman solutions to maximize every inch of your small space. These tips can help you organize and utilize your space better.
Using these techniques will make your small space more functional and inviting. You can also contact Kaminskiy Care and Repair for professional assistance in implementing these solutions. We offer services tailored to maximizing small spaces efficiently.
Consider using multi-functional furniture. A bed with built-in drawers offers extra space for clothes and items, and wall-mounted shelves can hold books and decor without taking up floor space.
Think about creating vertical storage solutions. Use pegboards to hang tools or craft supplies. Fabric bins or hanging organizers can also help store items efficiently.
Look for furniture that serves multiple purposes, such as a coffee table with storage. Hooks on doors can hold bags or coats. Consider using slim furniture that doesn’t overpower the room.
Install shelving above doorways and in closets to use every inch. Use under-bed storage boxes to keep seasonal items. Decluttering regularly will also help you maintain an organized space.
Restoring old furniture can breathe new life into cherished pieces. Whether you’ve got a family heirloom or a thrift store find, furniture restoration is a rewarding project. With some basic tools and know-how, you can transform worn-out items into beautiful statement pieces for your home.
Proper preparation and patience are key to successful furniture restoration. Start by cleaning the piece thoroughly to remove dirt and grime. Then, assess the damage and decide on your restoration approach. Depending on its condition, you might need to sand, repair, or refinish it.
Refinishing often involves sanding the surface to remove old paint or varnish. You can then apply a new stain or paint to give the piece a fresh look. For minor repairs, the wood filler can fix scratches and dents. With some creativity and effort, you can save money and create unique, personalized furniture for your home.
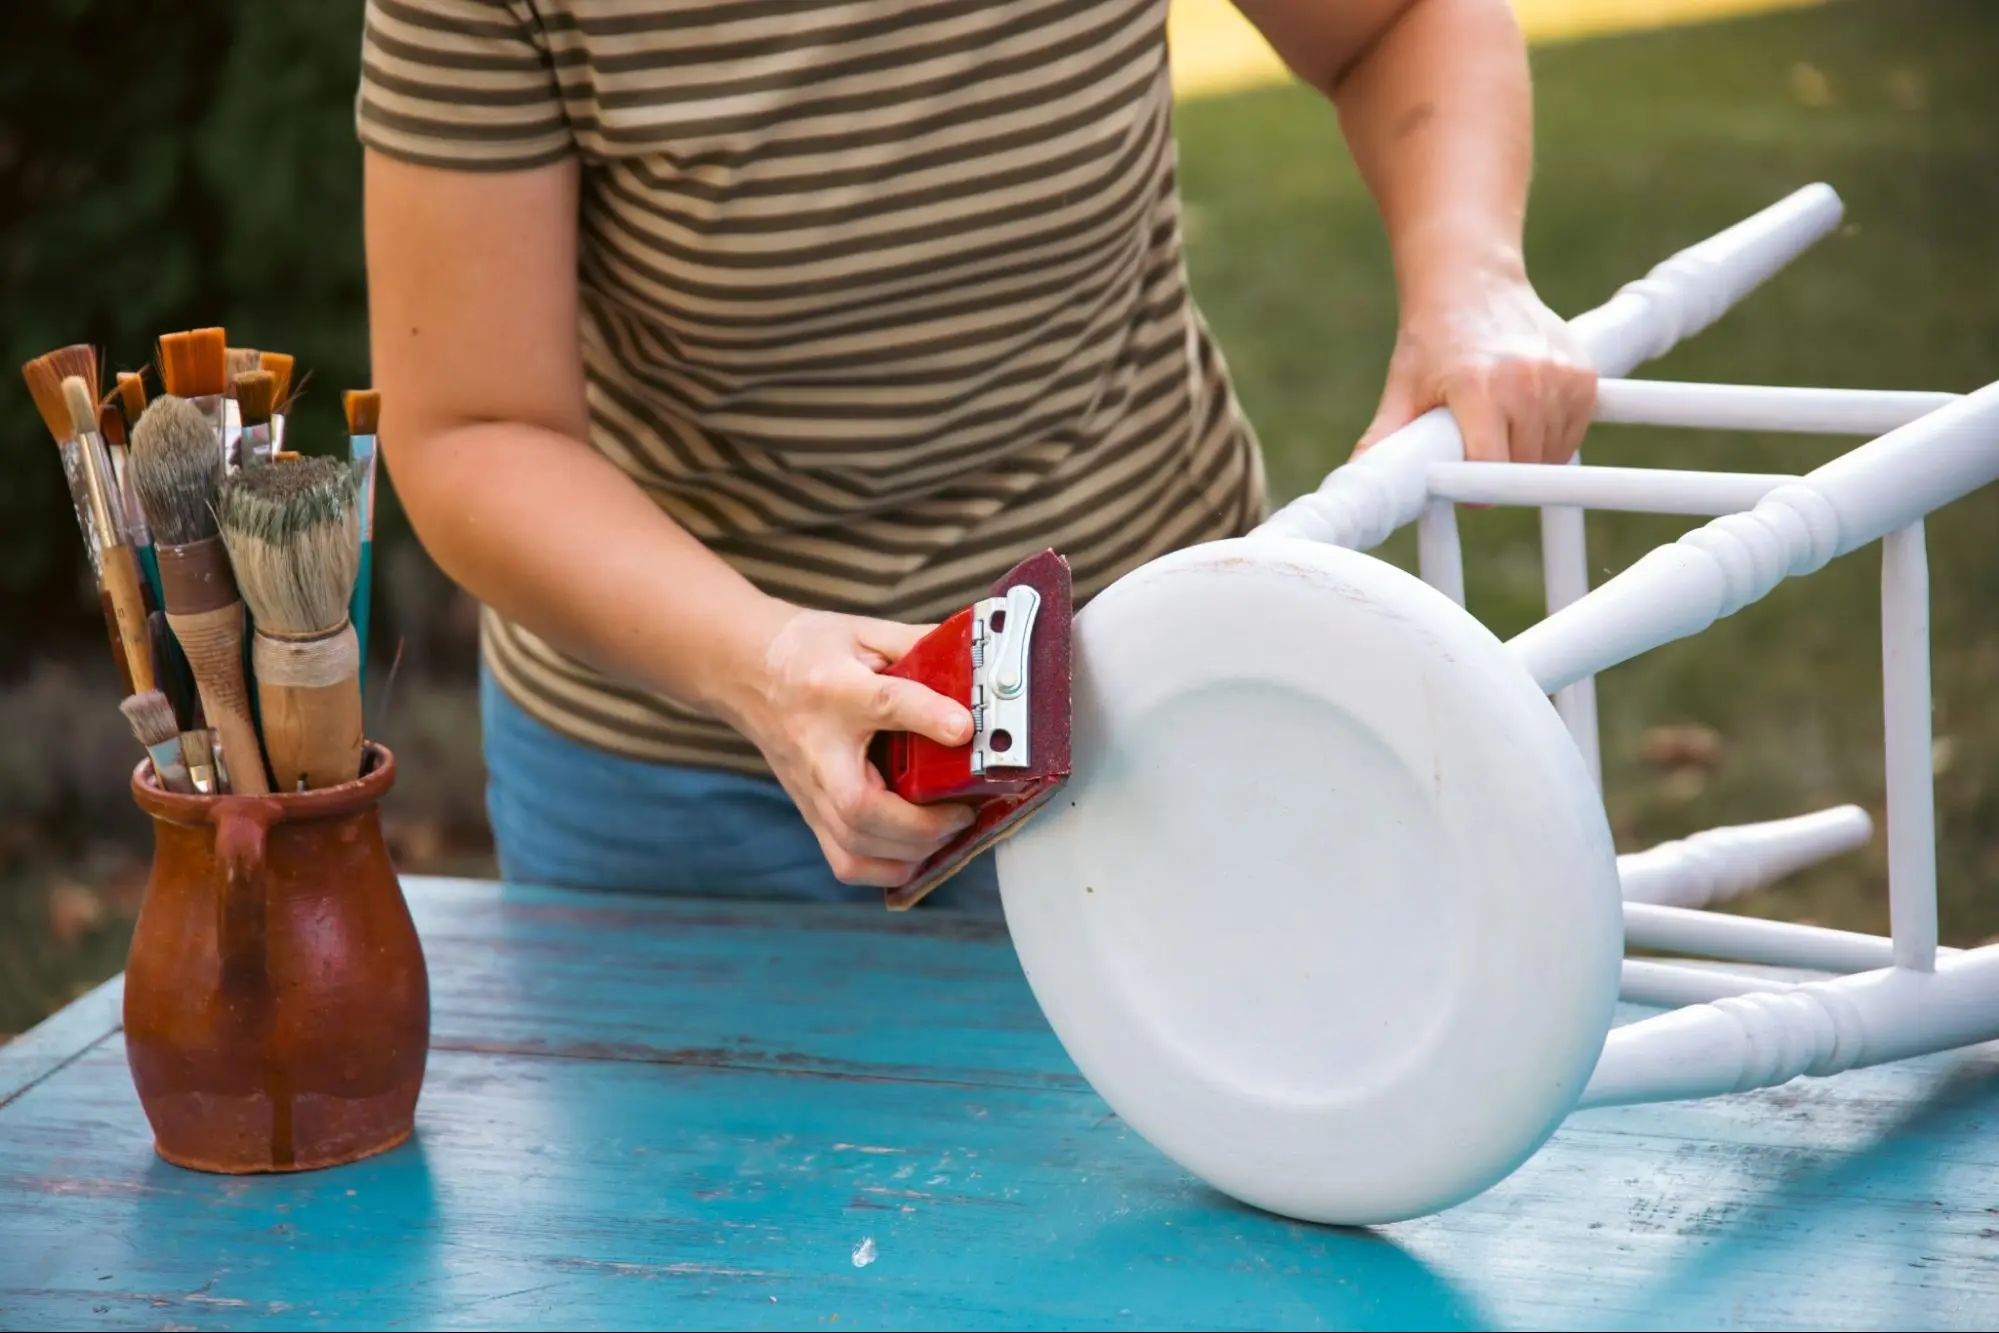
Before restoring furniture, it’s crucial to assess the piece, gather necessary supplies, create a suitable workspace, and properly clean the surface. These steps set the foundation for a successful restoration project.
Start by closely examining your furniture. Look for structural issues like loose joints, dents, gouges, and scratches. Check for water damage or discoloration. Determine if you’re working with solid wood or veneer.
Be extra cautious when buying antique furniture. Some imperfections add character and value, so consider whether full restoration is necessary.
Take photos to document the piece’s current state. This will help you track progress and serve as a reference if needed.
Identify any areas that need special attention. Note any missing hardware or damaged parts you’ll need to replace.
Collect essential tools for your project. You’ll need sanding tools like sandpaper in various grits, sanding blocks, and possibly an electric sander.
For stripping, gather chemical strippers, a paint scraper, and a putty knife. Choose a stripper suitable for your furniture’s finish. Citristrip is a popular, less toxic option.
Other supplies include primer, tack cloth, mineral spirits, safety gear (goggles, gloves, dust mask), paintbrushes, and clean rags.
Make a checklist to ensure you have everything before starting. This prevents interruptions mid-project.
Choose a well-ventilated area for your project. Good airflow is crucial when using chemical strippers or sanding.
Protect your work surface with a drop cloth or thick plastic sheeting. This will catch drips and make cleanup easier.
Ensure you have proper lighting. A bright, even light source helps you spot imperfections and achieve a smooth finish.
Keep your tools organized and within reach. A rolling cart or nearby table works well for this.
Set up a separate area for drying pieces after stripping or applying finishes. This keeps your main workspace clear.
Start by thoroughly cleaning. Use a mild soap and water solution to remove dirt and grime. For tougher buildup, try a specialized wood cleaner.
Dry the piece completely with clean rags. Moisture can interfere with sanding and finishing.
If stripping is necessary, apply your chosen stripper following the product instructions. Work in small sections and use a paint scraper to remove the old finish.
After stripping, neutralize the surface according to the stripper’s directions. This often involves wiping with mineral spirits.
Once clean and dry, sand the surface. Start with a coarser grit and progress to finer grits for a smooth finish. Always sand in the direction of the wood grain.
Wipe away all dust with a tack cloth between the sanding stages. This ensures a clean surface for your new finish.
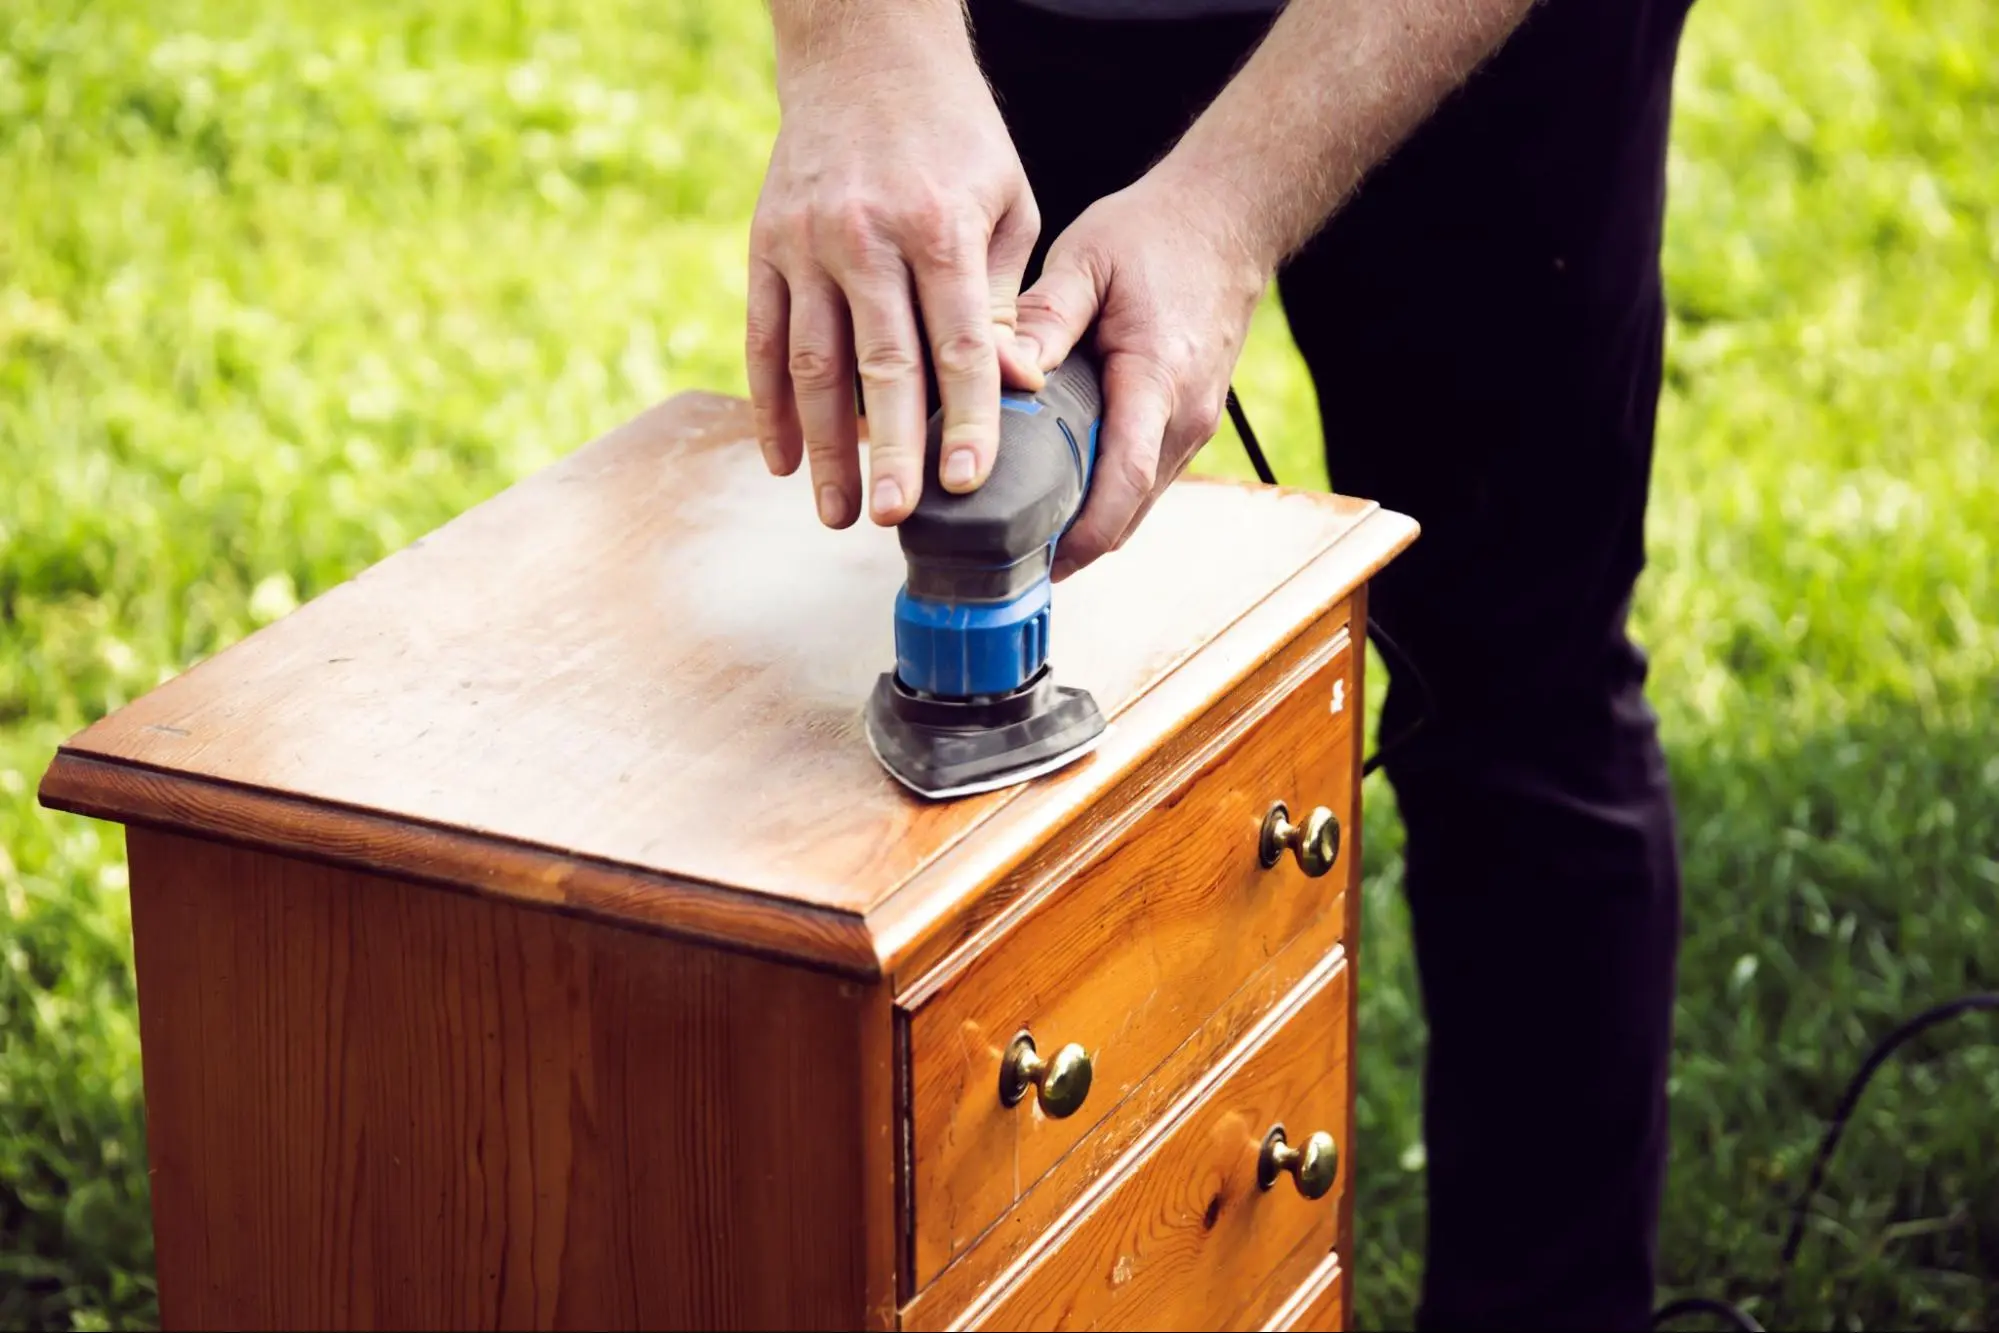
Refinishing and repairing furniture can breathe new life into old pieces. With the right techniques, you can transform worn items into beautiful focal points for your home.
Start by removing the old finish. Apply a chemical stripper with a paintbrush and let it sit for the recommended time. Scrape off the loosened finish with a plastic scraper. Be gentle to avoid damaging the wood.
For stubborn areas, use steel wool dipped in a stripper. Wipe away the residue with clean rags. Repeat if needed until all old finish is gone.
Ventilate your work area well. Wear gloves and eye protection when using strippers.
Fill small cracks and holes with wood filler. Choose a color that matches your wood. Apply with a putty knife. Let dry completely, then sand smooth.
For deeper gouges, use epoxy. Mix two parts of epoxy and press into the damaged area. Level it off. Sand after it hardens.
Fix loose joints with wood glue. Clamp until dry. Replace badly damaged parts if needed.
Choose between stain for a natural look or paint for a bold change. For stains, apply with a brush or rag. Wipe off the excess after a few minutes. Let dry between coats.
Start with a primer for paint. Apply thin, even coats with a brush or roller. Sand lightly between coats for a smooth finish.
Gel stains are great for vertical surfaces as they don’t drip. They also work well on woods that don’t easily take traditional stains.
Seal your work with a clear, protective finish. Options include polyurethane, lacquer, or varnish. Each has pros and cons for durability and sheen.
Apply thin coats with a high-quality brush. Sand lightly between coats with fine-grit paper. Dust off before the next coat.
For extra protection, consider a paste wax top coat. It adds shine and helps repel water and stains.
Allow plenty of drying time. Follow the product instructions for the best results.
Furniture restoration is a rewarding DIY project. You can bring old pieces back to life with some basic skills and tools.
Start by thoroughly cleaning the furniture. Remove dirt, grime, and old finishes. Next, repair any damage. Fix loose joints, fill holes, and sand rough spots.
Choose your finish carefully. Options include paint, stain, or clear coats. Apply the new finish in thin, even layers. Let each coat dry fully before adding more. Protect your work with a final clear coat. This helps the finish last longer.
Endeavor to be patient throughout the process. Rushing can lead to poor results. You don’t always need to strip old finishes completely. Sometimes, a light sanding and a new topcoat are enough.
With practice, you’ll develop an eye for potential in old furniture. Soon, you’ll transform worn pieces into beautiful focal points for your home.
To begin furniture restoration, you’ll need some essential tools and materials. These include sandpaper of various grits, wood filler, paint brushes, and cleaning supplies. A screwdriver set, hammer, and pliers are also helpful for repairs.
Depending on your project, you’ll want to have wood stain, paint, or varnish on hand. Protective gear like gloves and a dust mask is also important for safety.
Using a gentle cleaning method, you can refinish wood furniture without stripping. Start by washing the piece with soapy water and a soft cloth. This will remove dirt and old polish.
Next, lightly sand the surface to create a good base for a new finish. Apply a fresh coat of stain or paint directly over the cleaned and sanded surface.
Gentle cleaning is key when restoring antique furniture. Use a soft brush to remove dust and dirt, and avoid harsh chemicals that might damage the wood.
For repairs, use wood glue to fix loose joints. Fill small cracks with wood putty. When refinishing, choose products that match the piece’s era and style.
Start by thoroughly cleaning the furniture and removing all dirt and grime. Next, repair any damage, such as loose joints or scratches.
Sand the surface to create a smooth base for the new finish. Apply your chosen finish, whether paint, stain, or varnish. Allow each coat to dry thoroughly before adding the next.
If you own a building or a home, you likely have an electrical system that powers your lights, appliances, and other devices. Electrical systems are essential for modern living but can also be dangerous if improperly maintained. Preventative maintenance is crucial for electrical systems to ensure safety, efficiency, and regulation compliance. In this article, we will provide you with tips for preventative maintenance of electrical systems.
Developing an Electrical Preventive Maintenance Plan is the first step toward properly maintaining your electrical system. This plan should include a schedule of regular inspections, testing, and maintenance tasks that need to be performed to keep it running smoothly.
The next step is conducting effective maintenance tasks. These tasks can include cleaning, tightening connections, and replacing worn-out components. Regular maintenance and inspections can reduce the possibility of failures, costly repairs, and downtime.

A preventive maintenance plan for your electrical system is crucial to ensure its reliability, safety, and efficiency. Here are some steps to help you develop an effective electrical preventive maintenance plan.
Before creating a preventive maintenance plan, you need to assess your electrical system’s needs. This includes identifying critical equipment, determining the frequency of inspections and maintenance, and evaluating the risks associated with each component. Electrical preventive maintenance software can help you manage your system and track your maintenance activities.
Once you have assessed your electrical system’s needs, you can create a maintenance schedule. This schedule should include regular inspections, preventive maintenance tasks, and any necessary repairs. You should also prioritize your maintenance activities based on each component’s criticality and the potential impact of failure.
Documentation is a critical part of any preventive maintenance plan. You should keep a record of all inspections, maintenance activities, and repairs. This documentation can help you track the condition of your electrical system and plan future maintenance. It can also help you demonstrate compliance with regulatory requirements and industry standards.
To ensure compliance, you should develop a checklist that includes all the necessary maintenance tasks and inspections. You can use this checklist to create work orders and assign tasks to your maintenance team. Regular inspections and preventive maintenance tasks can reduce the possibility of failures, costly repairs, and downtime.
Developing an electrical preventive maintenance plan is essential to ensure your electrical system’s safety, reliability, and efficiency. By assessing your needs, creating a maintenance schedule, and documenting your activities, you can reduce the risk of failures and ensure compliance with regulatory requirements and industry standards.
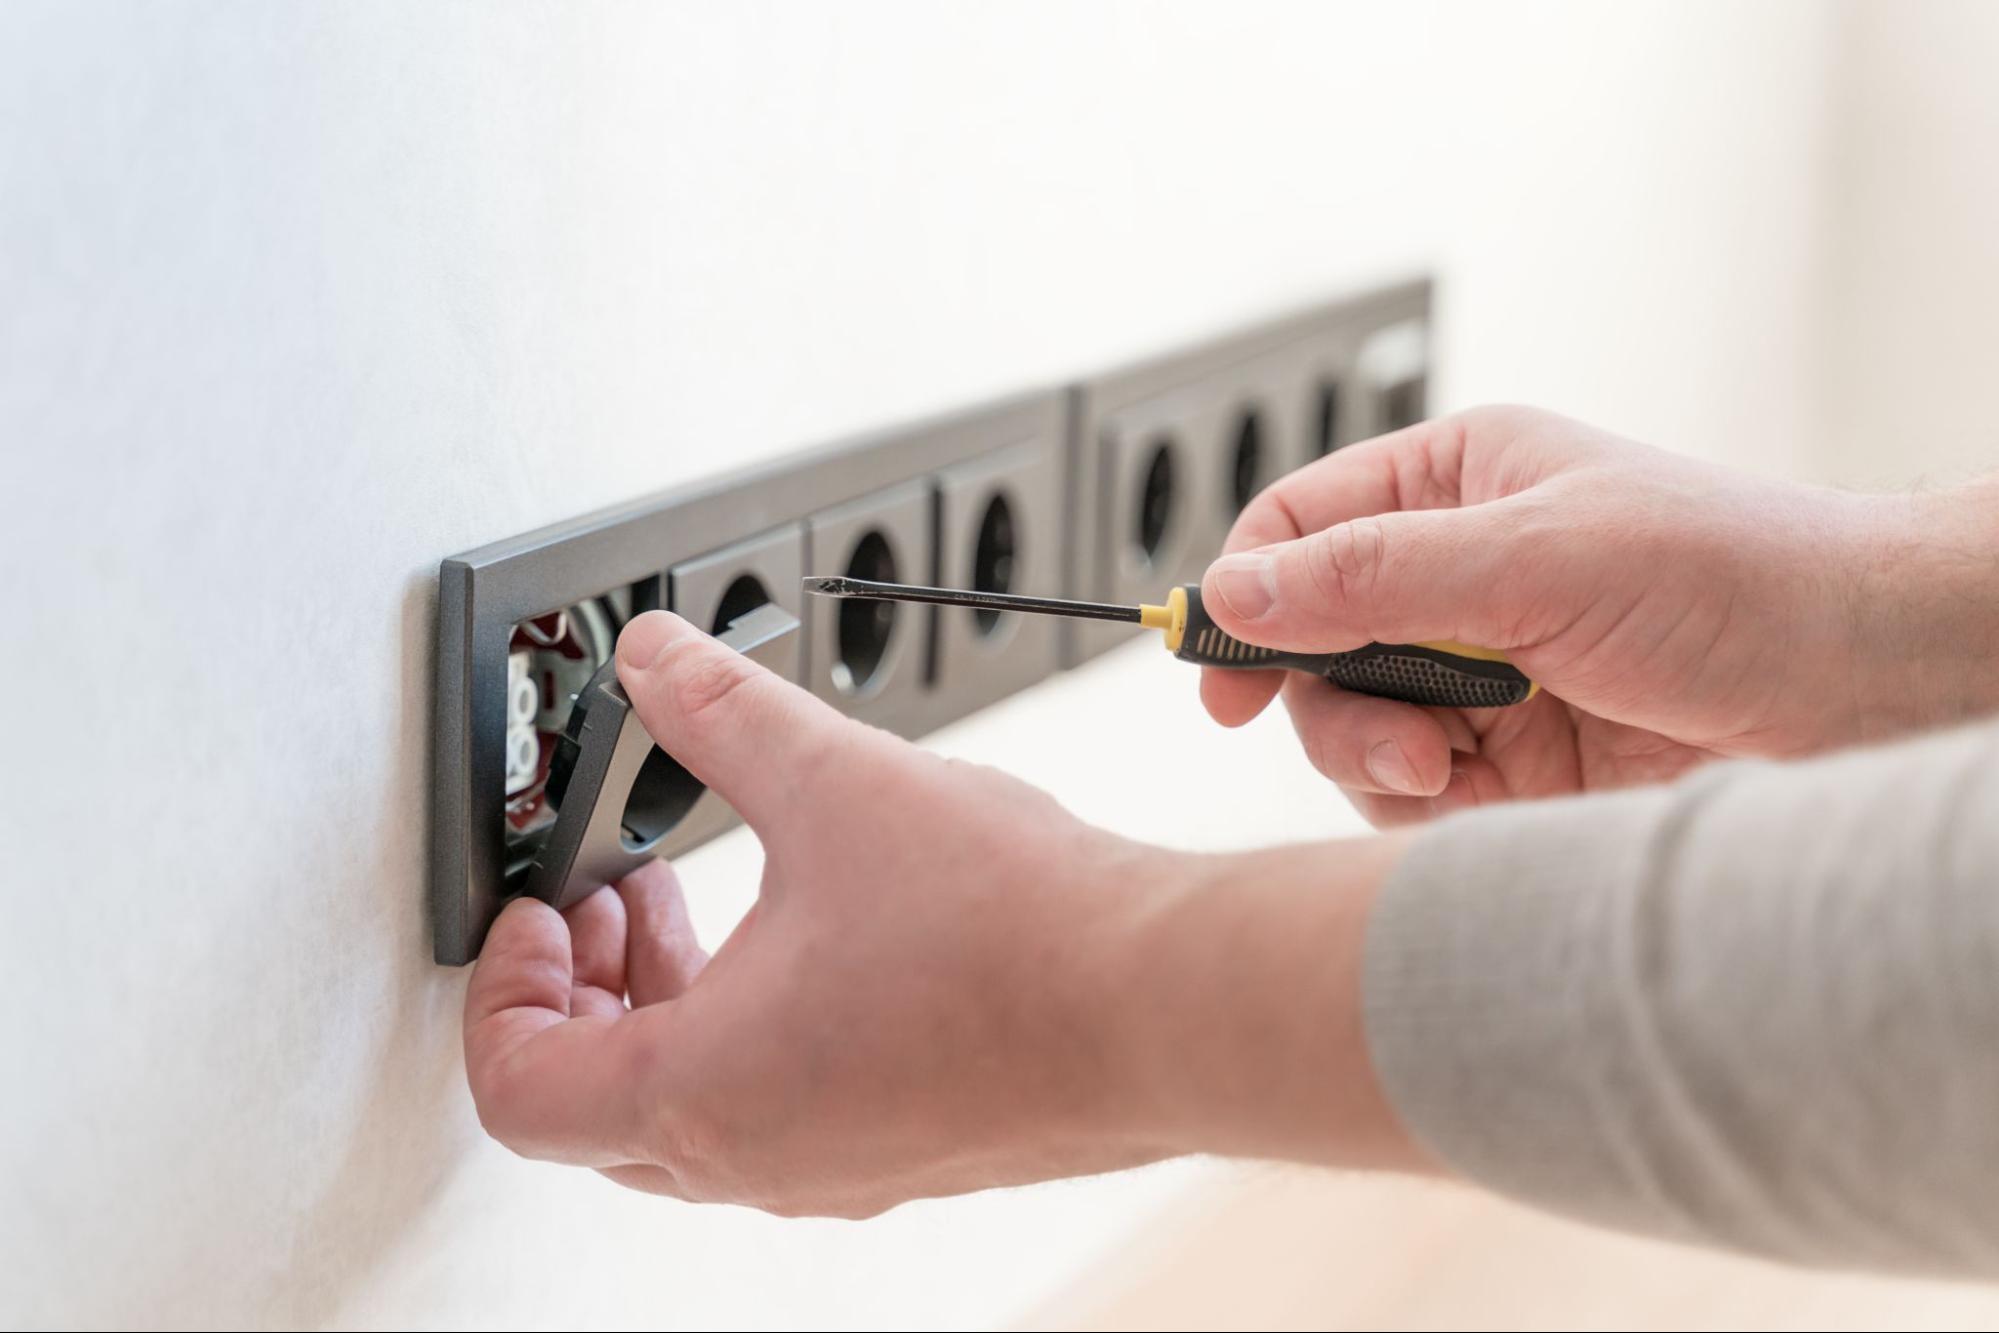
Conducting effective maintenance tasks is crucial to ensure your electrical systems’ dependability, efficiency, and safety. Here are some essential tasks that you should perform regularly:
Regular inspections are crucial for identifying potential issues before they lead to failures. Inspect electrical panels and wiring for damage or loose connections. Check that transformers, electrical connections, cables, circuit breakers, and wiring are correctly installed and secured. Monitor temperature and voltage levels to detect any abnormalities. Use visual inspection and sensors to identify any machinery or equipment malfunctioning or experiencing excessive wear and tear.
Cleaning and servicing key components, such as motors, protective devices, and bearings, is essential to ensure proper operation. Regular lubrication of bearings can prevent wear and tear, reduce friction, and extend their lifespan. Protective devices, such as circuit breakers and insulation, should also be cleaned and serviced to ensure they are functioning correctly and not at risk of failure.
Identifying and addressing common electrical issues, such as loose connections and grounding problems, is essential to prevent costly repairs and downtime. Use vibration analysis to detect any issues with machinery or equipment that may be causing issues. Address any grounding issues to prevent electrical shocks and other safety hazards.
By performing regular maintenance tasks, you can reduce the possibility of failures, costly repairs, and downtime. Analyze the essential elements and assignments for your maintenance plan to ensure the proper operation of your electrical infrastructure.
Maintaining your electrical system is crucial to ensuring reliability, safety, and efficiency. This article covers several preventative maintenance tips that can help you keep your electrical system in top condition.
Regular inspections are key to identifying potential issues before they lead to failures. You should inspect your electrical system periodically to check for signs of wear and tear, loose connections, and other potential hazards. Inspections are recommended to be performed at least annually, but more frequent inspections may be necessary depending on the type of system and its usage.
In addition to inspections and cleaning, regular maintenance tasks on your electrical system are important. These can include lubricating moving parts, tightening loose connections, and replacing worn-out components. For guidance on specific maintenance tasks, you should refer to your electrical system’s user manual or consult with a professional electrician.
Finally, working with a trusted and experienced professional is vital when maintaining your electrical system. Kaminskiy Care and Repair offers various electrical services, including preventative maintenance, inspections, and repair. Our team of licensed and certified electricians can help you keep your electrical system in top condition and ensure its safety and reliability. Contact us today!
An electrical preventive maintenance checklist should include critical components such as electrical panels, distribution systems, circuit breakers, fuses, wiring, and grounding systems. It should also include testing of backup systems, battery banks, and surge protection devices.
Electrical systems should undergo preventive maintenance at least once a year. However, the maintenance frequency depends on the equipment’s type and age, the operating conditions, and the manufacturer’s recommendations. It is recommended to consult with a licensed electrician to determine the optimal maintenance schedule for your electrical systems.
The best practices for conducting electrical preventive maintenance include the following:
Broken window glass can be frustrating and inconvenient, but repairing it yourself can be a cost-effective and rewarding experience. Whether it’s a small crack or a shattered pane, knowing how to fix it can save you money and time.
This step-by-step guide will walk you through repairing broken window glass, from gathering materials to ensuring a secure fit. It will also provide you with the necessary steps to tackle this common household repair confidently.

Before you start, ensure you have all the necessary materials and tools. Here’s what you’ll need:
Having everything on hand before you begin will make the process smoother and more efficient.
Safety is paramount when dealing with broken glass. Wear safety gloves and goggles to protect yourself from sharp edges. Clear the area of any debris and ensure children and pets are kept away from the workspace.
Carefully remove the broken glass pieces. Use a utility knife to cut through any remaining putty or sealant holding the glass in place. If the glass is shattered, gently lift the pieces out, starting from the top. Dispose of the glass safely.
With the old glass removed, it’s time to clean the window frame. Use a putty knife and chisel to remove any old putty and glazing points. Ensure the frame is smooth and free of debris. This step is crucial for ensuring the new glass fits securely.
Measure the opening of the window frame accurately. Add a small allowance (about 1/8 inch) to ensure the glass fits comfortably without being too tight. Transfer these measurements to your replacement glass and use a glass cutter to cut it to size.
Roll glazing putty into thin ropes and press it into the window frame where the new glass will sit. This putty acts as a cushion and sealant for the glass. Make sure the putty is evenly distributed for a secure fit.
Carefully place the cut glass into the frame, pressing it gently into the putty. Secure it with glazing points by pushing them into the frame along the edges of the glass. The points will hold the glass in place while the putty sets.
Once the glass is secured, apply another layer of glazing putty around the edges. Smooth it out with a putty knife, ensuring it forms a neat and sealed edge. This step not only secures the glass but also provides an aesthetic finish.
Allow the glazing putty to dry completely. That may take several days, depending on the product used. Once dry, the putty will harden and firmly hold the glass.
After the putty has dried, clean the glass thoroughly to remove any fingerprints, smudges, or excess putty. Use a glass cleaner and a soft cloth for a streak-free finish, making your windows look bright and appealing.

Repairing broken window glass involves gathering materials, ensuring safety, removing the broken glass, cleaning the frame, measuring and cutting replacement glass, applying glazing putty, installing the new glass, adding more putty, allowing it to dry, and finally, cleaning the glass.
By following these steps, you’ll repair your broken window glass efficiently and safely, restoring your home’s functionality and aesthetics. For professional glass installation services, Contact Kamisnkiy Care and Repair today.
Your home’s exterior siding is not just a facade; it’s a crucial barrier that protects your home from the elements. Keeping it in good condition is vital for maintaining your home’s structural integrity, energy efficiency, and curb appeal.
Regular maintenance can prevent costly repairs and extend the lifespan of your siding. In this comprehensive guide, we’ll cover essential maintenance tips for various types of exterior siding to help you keep your home looking its best.
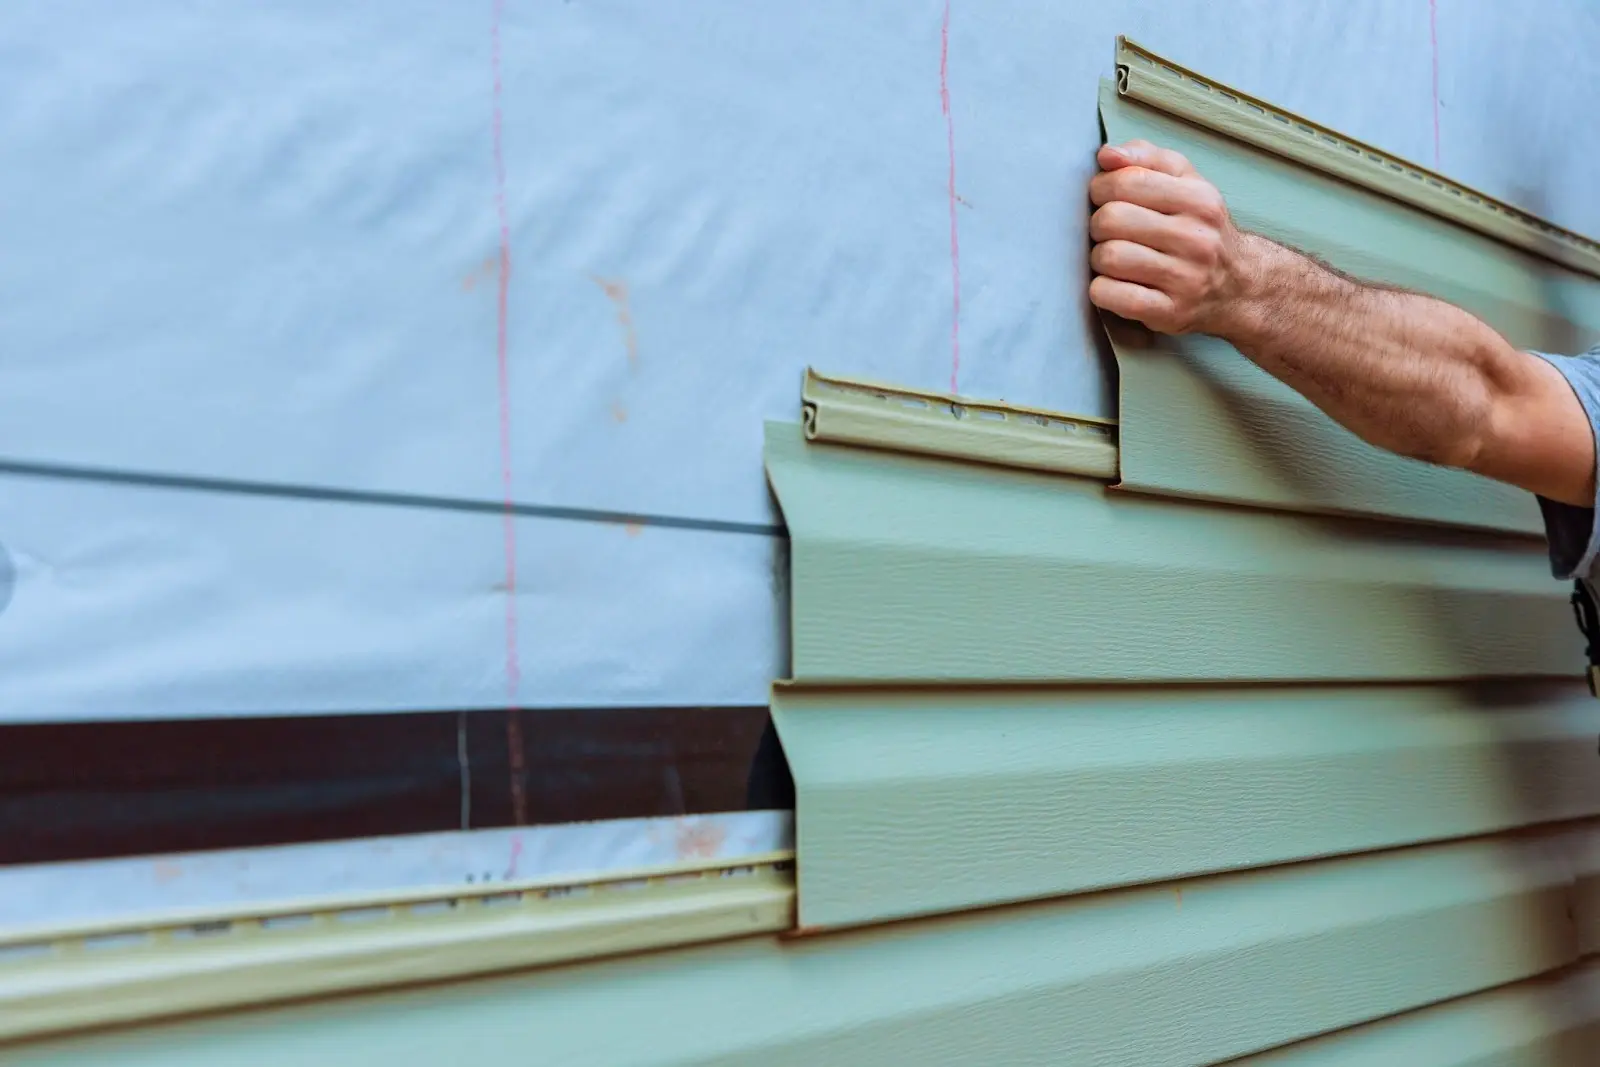
Before discussing maintenance tips, it’s essential to understand your home’s siding. Different materials have unique characteristics and maintenance needs.
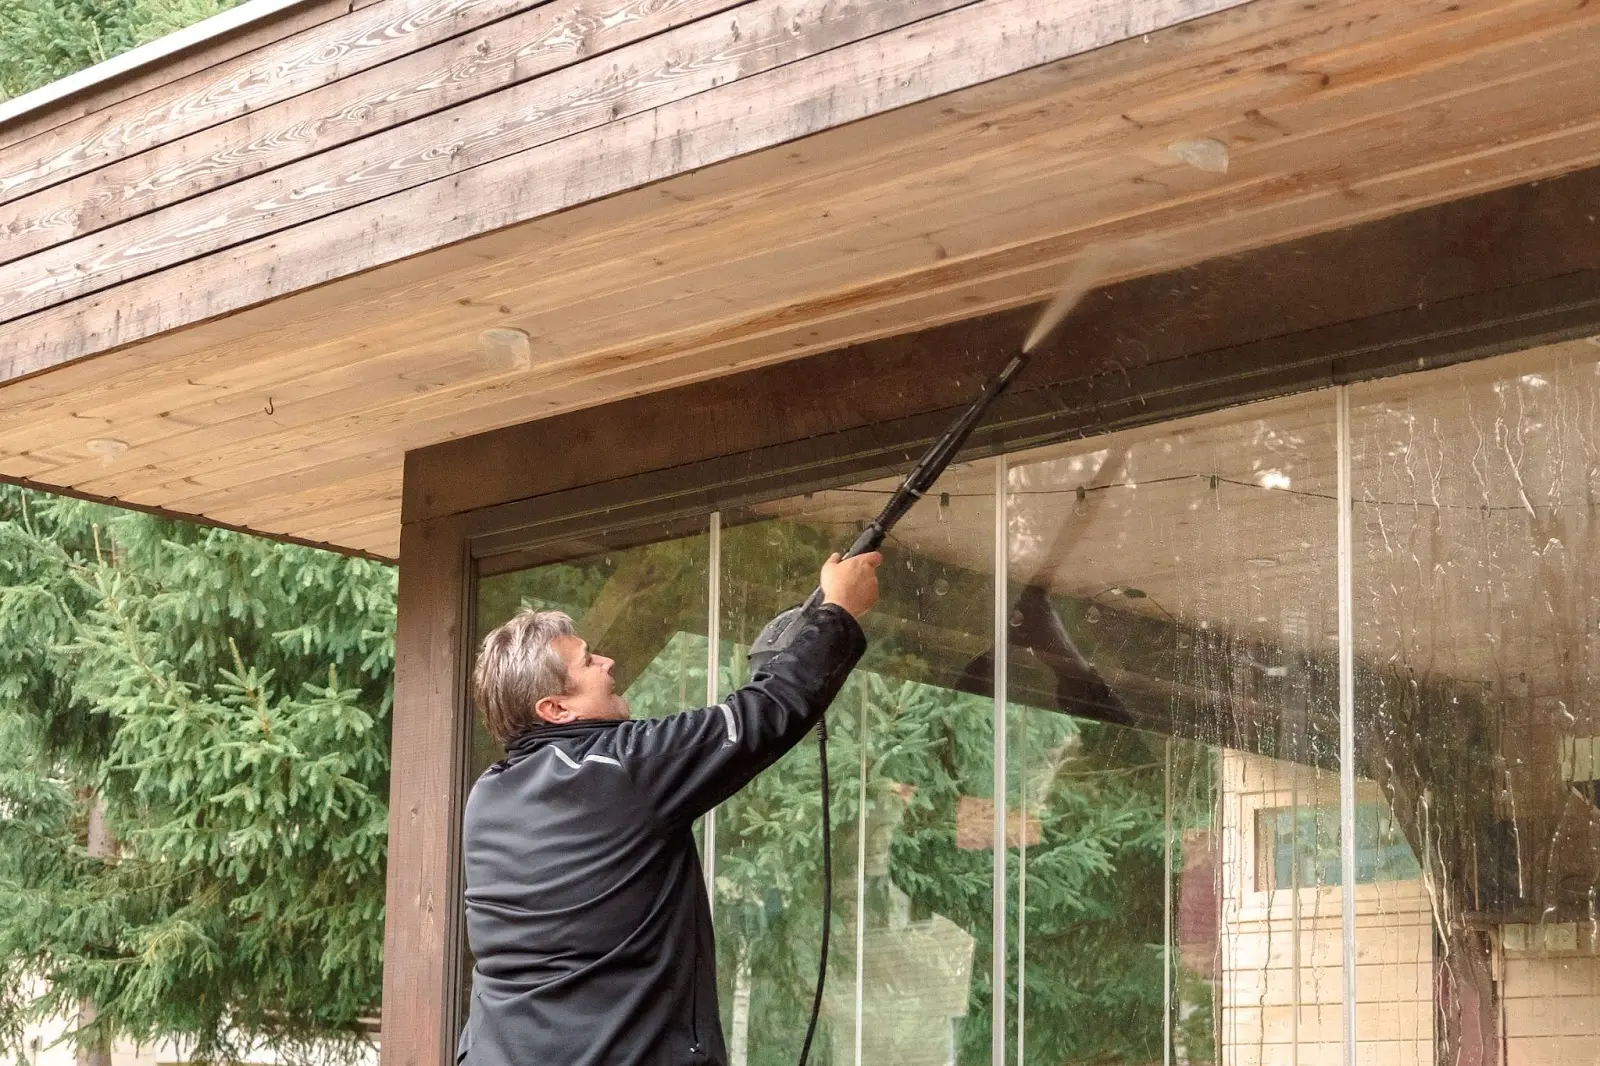
Regular inspections are the first step in maintaining your siding. Look for cracks, chips, or holes, loose or missing panels, signs of mold, mildew, rot, insect damage, and faded or peeling paint.
Mold and mildew can cause significant damage to your siding if left unchecked. Here’s how to tackle them:
While many maintenance tasks can be done yourself, some situations require professional help:
Essential maintenance for your home’s exterior siding involves regular inspections, cleaning, addressing mold and mildew, and repainting or restaining as needed. Understanding the specific maintenance needs of different siding materials is crucial for adequate care.
While many tasks can be handled with basic DIY skills, professional help may be required for extensive damage or complex repairs. By following these tips, you can extend the life of your siding and enhance your home’s curb appeal.
Kaminskiy Care and Repair offers expert siding maintenance and repair services to ensure your home’s exterior remains in excellent condition. Our team can handle any siding issue, big or small, with precision and care.
Caulking is essential to maintaining your home, providing seals against water, air, and pests. Whether sealing a window, fixing a bathroom fixture, or working on exterior siding, choosing the right caulk is crucial for long-lasting results. This guide will walk you through selecting and applying the appropriate caulk for various home projects, ensuring a professional finish every time.
Choosing the right caulk begins with understanding the available types and their best uses.
Acrylic latex caulk is best for Interior projects, such as baseboards and trim. Its main features are that it is easy to apply, paintable, and cleans up with water. However, it is not suitable for high-moisture areas.
Silicon is best for wet areas like bathrooms and kitchens. Its main features are that it is waterproof, flexible, and long-lasting. However, one disadvantage of silicon caulk is the difficulty of painting over and cleaning up.
Polyurethane caulk is best for exterior projects, such as sealing around windows and doors.
Its main features are that it is highly durable, paintable, and adheres well to most surfaces.
However, its main disadvantages are solvents for cleanup and a longer curing time.
Hybrid Caulk is ideal for versatile applications, combining the properties of silicone and acrylic.
Its major advantages include: paintable, easy to apply, and water-resistant. Its drawback is that it is more expensive than other types.
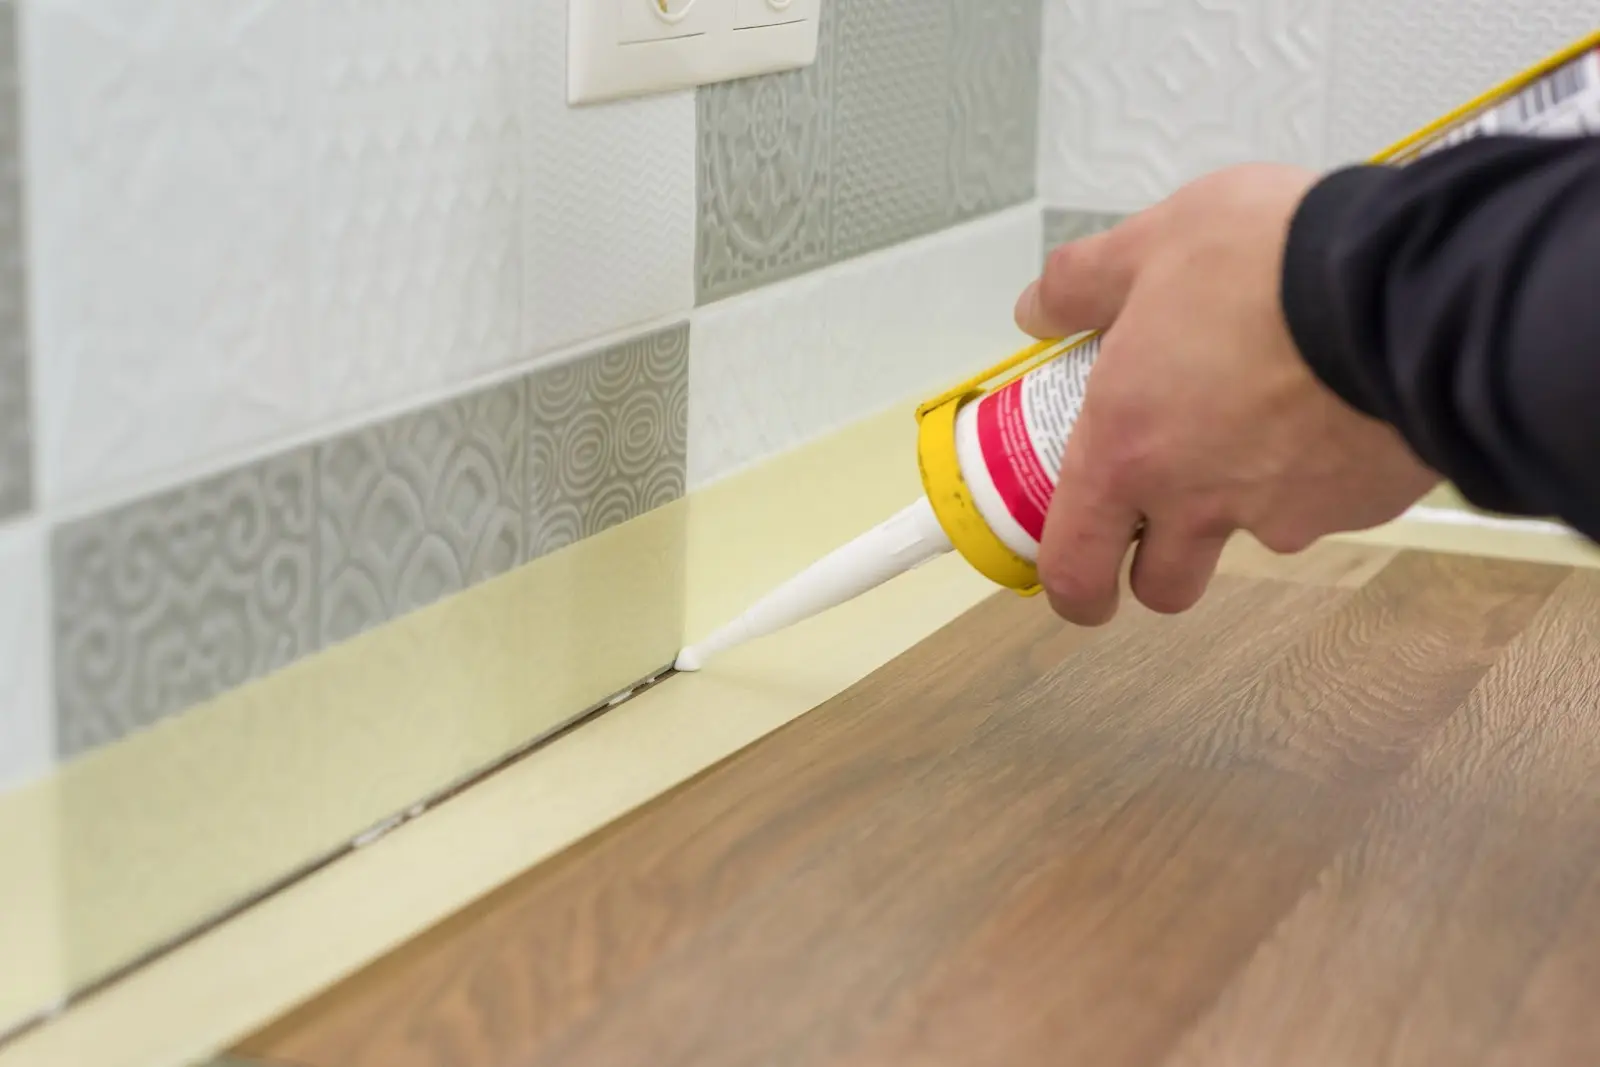
Consider the following factors when choosing caulk for your project:
Proper surface preparation is key to ensuring good adhesion and a smooth finish. Here are a few steps:
Before applying caulk, clean the surface thoroughly to remove dirt, dust, and old caulk. Use a scraper or utility knife to remove any existing caulk, and clean the area with soap and water or a suitable cleaner. Allow it to dry completely.
Knowing the correct technique for applying caulk can significantly improve the quality and durability of the seal.
Cut the caulk tube nozzle at a 45-degree angle to match the width of the gap you’re sealing. A smaller opening is better for narrow gaps, while a larger opening is suited for wider gaps.
Insert the caulk tube into the caulk gun and press the trigger to start the flow of the caulk. Test the flow on a piece of cardboard to ensure it comes out smoothly.
Position the nozzle at the start of the gap, and apply steady pressure on the trigger as you move the gun along the seam. Keep the gun at a consistent angle and speed to ensure an even bead of caulk.
Use a caulk smoothing tool or a finger dipped in water to smooth the bead of the caulk. That helps push the caulk into the gap and creates a clean, professional finish.
Carefully remove the painter’s tape while the caulk is still wet. That will prevent the caulk from pulling away from the seam and ensure clean edges.
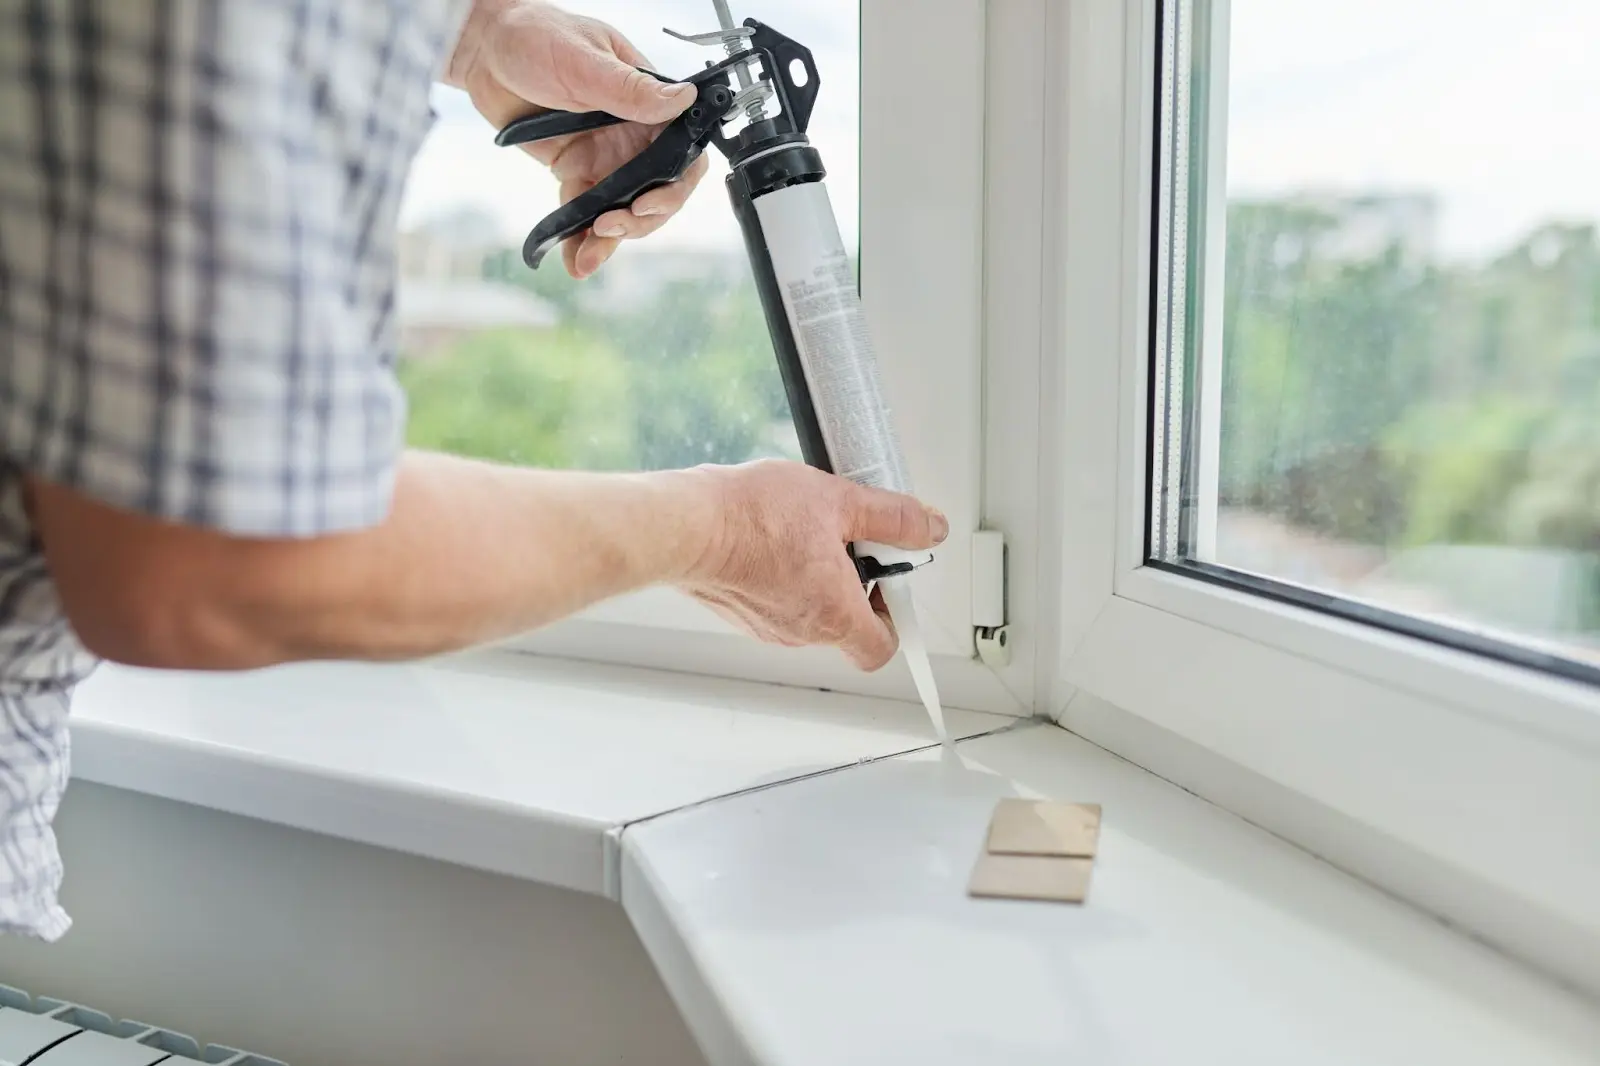
Work in small sections to ensure the caulk doesn’t dry before you smooth it. If using silicone caulk, consider using rubbing alcohol to smooth the bead. For large gaps, use a backer rod to fill the space before applying caulk.
Regular maintenance can extend the life of your caulking job and prevent potential issues.
Selecting the right caulk involves understanding the specific needs of your project and ensuring proper surface preparation by following the correct application techniques. You can achieve a clean, durable finish by following the correct application techniques.
Regular maintenance of caulked areas is essential to prevent future issues. With these tips, you can confidently tackle caulking tasks around your home, ensuring lasting results and improved home maintenance.
For professional assistance with your caulking projects, Kaminskiy Care and Repair provides reliable and expert services. Contact us today!
A clogged drainage system can be one of the most frustrating and inconvenient household problems. Whether it’s a slow-draining sink or a completely blocked pipe, dealing with clogs can disrupt your daily routine. However, with some basic knowledge and regular maintenance, you can keep your home’s drainage system running smoothly. In this guide, we’ll cover everything you need to know about unclogging and maintaining your drains.
Before diving into the unclogging and maintenance processes, it’s important to understand how your home’s drainage system works. Knowing the basics can help you identify problems early and choose the right solutions.
Your home’s drainage system is designed to carry wastewater away from sinks, toilets, showers, and appliances. It consists of a network of pipes that lead to a main sewer line or a septic tank. Key components include:
Understanding these components can help you troubleshoot issues and perform basic maintenance.
Clogs can occur in any part of the drainage system but are most common in sinks, showers, and toilets. Here are some effective methods to unclog your drains.
The first step in unclogging a drain is to identify the cause of the blockage. Common causes include: Hair and soap scum in bathroom drains, food particles and grease in kitchen sinks, foreign objects in toilets.
A drain snake, or auger, is a flexible tool that can reach deep into pipes to remove clogs. To use a drain snake:
Chemical drain cleaners can effectively dissolve clogs, but they should be used sparingly due to their harsh nature. Follow these steps:
It is imperative not to use chemical cleaners on completely blocked drains, as they can worsen the problem or damage pipes.

Regular maintenance can prevent clogs and prolong the life of your drainage system. Here are some tips to keep your drains in top shape.
Drain covers are simple devices that catch hair, food particles, and other debris before they enter your pipes. Use them in sinks, showers, and tubs to reduce the risk of clogs.
Grease can solidify in pipes and cause blockages. Instead of pouring it down the drain, collect grease in a container and dispose of it in the trash.
Running hot water through your drains helps dissolve grease and soap scum that can accumulate over time. Do this once a week to keep your pipes clear.
Baking soda and vinegar create a natural cleaning solution that can help maintain drains. To use this method, pour half a cup of baking soda into the drain. Follow with half a cup of vinegar, and let the mixture sit for 15-30 minutes. Lastly, flush the drain with hot water.
Regularly check and clean the traps and vents in your drainage system. Clogged vents can cause slow draining and unpleasant odors, while dirty traps can lead to blockages.
Annual inspections by a professional plumber can help identify potential issues before they become major problems.
Clogs in your home’s drainage system can be a major inconvenience, but with the right tools and techniques, you can handle most minor blockages yourself. Regular maintenance, such as using drain covers, avoiding grease disposal in sinks, and running hot water, can prevent many common issues. With these steps, you can keep your drainage system functioning efficiently and avoid the stress of unexpected plumbing problems.
For more persistent clogs or professional inspections, Kaminskiy Care and Repair is just a call away, providing professional assistance to ensure your plumbing system remains in optimal condition. Contact us today.
A well-maintained fence is essential for your home’s security, privacy, and curb appeal. Over time, weather conditions, wear and tear, and accidents can cause damage to your fence. Fortunately, many fence repairs can be handled without professional help, saving you time and money. In this guide, we’ll provide essential DIY fence repair tips to help you keep your fence in top condition.

Before diving into specific repair tips, it’s important to understand the type of fence you have. Different materials and designs require different approaches to repair and maintenance.
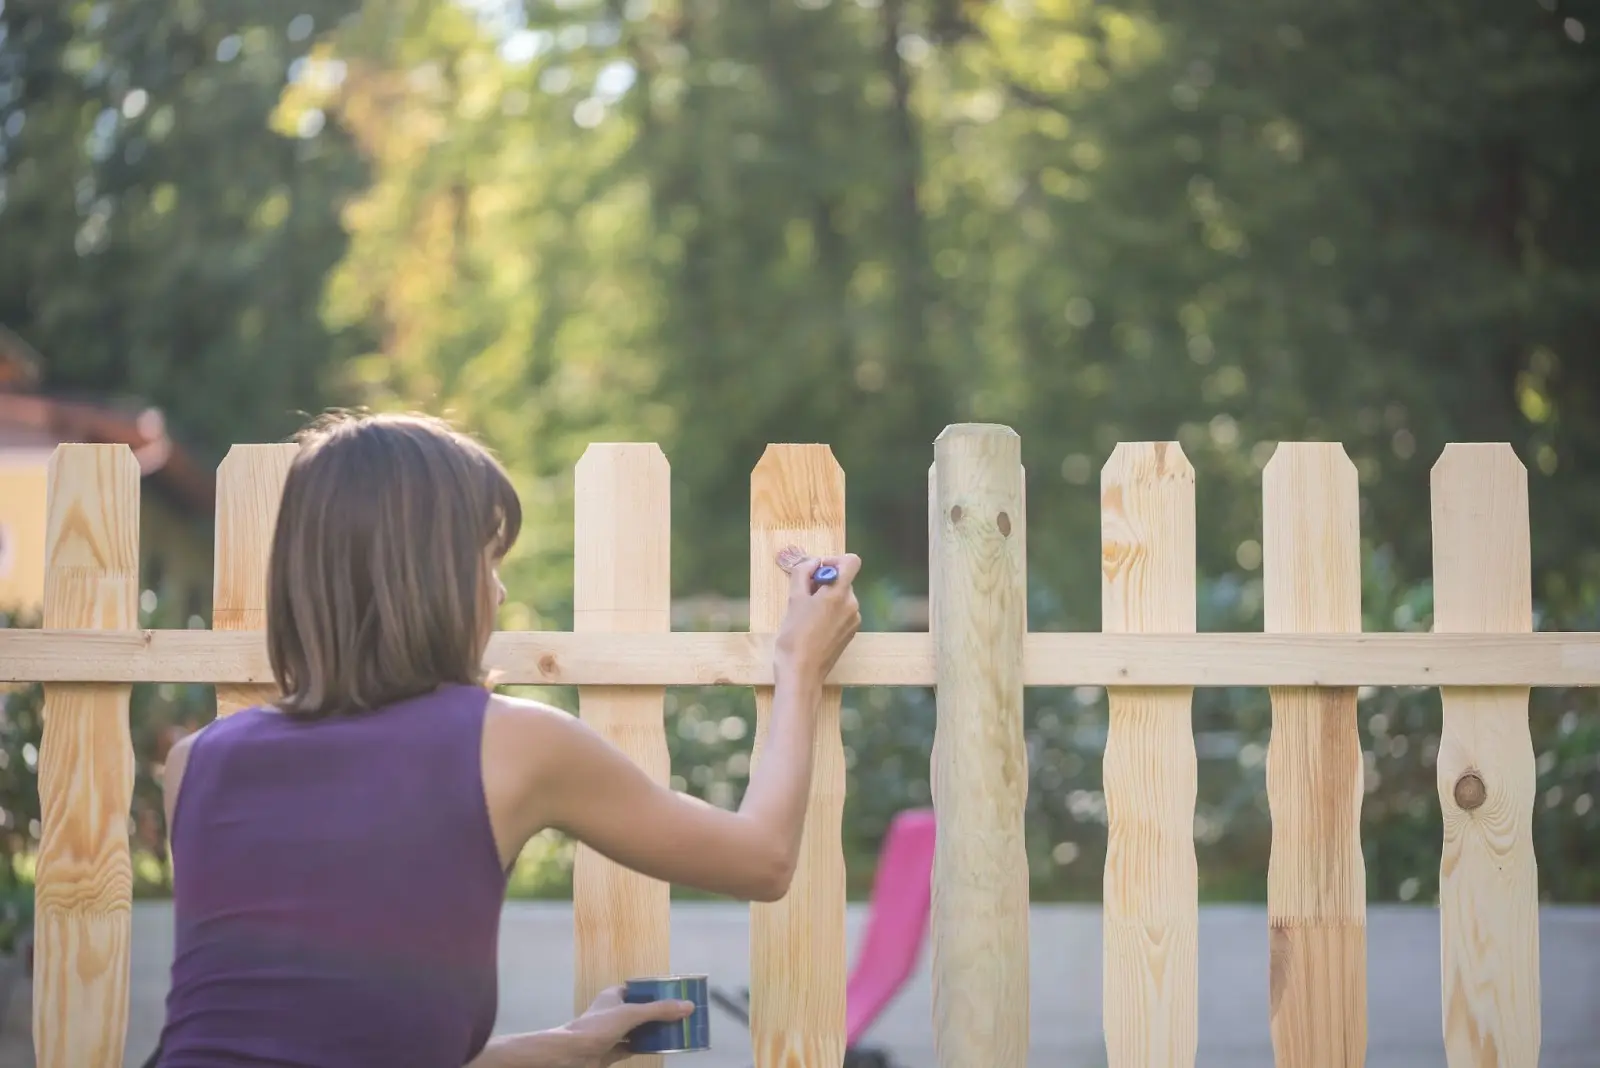
Regular inspection is the first step in maintaining your fence. Check for signs of damage, such as Loose or missing nails/screws, rotting wood, cracked or broken panels, rust spots on metal fencesBent or sagging sections
Addressing these issues early can prevent more extensive damage and costly repairs down the line.
Fence posts provide the structural support for your fence. Over time, they can become loose or broken due to soil erosion, weather conditions, or impact. Here’s how to fix them:
Damaged panels can compromise the appearance and functionality of your fence. Replacing them is straightforward:
A sagging gate can be a nuisance and reduce your fence’s security. Fixing it involves reinforcing the gate and its supports:
Rust can weaken metal fences over time. Removing and preventing rust is crucial for longevity:
Wooden fences are particularly vulnerable to rot, especially in moist climates. Regular treatment can extend the life of your wooden fence:
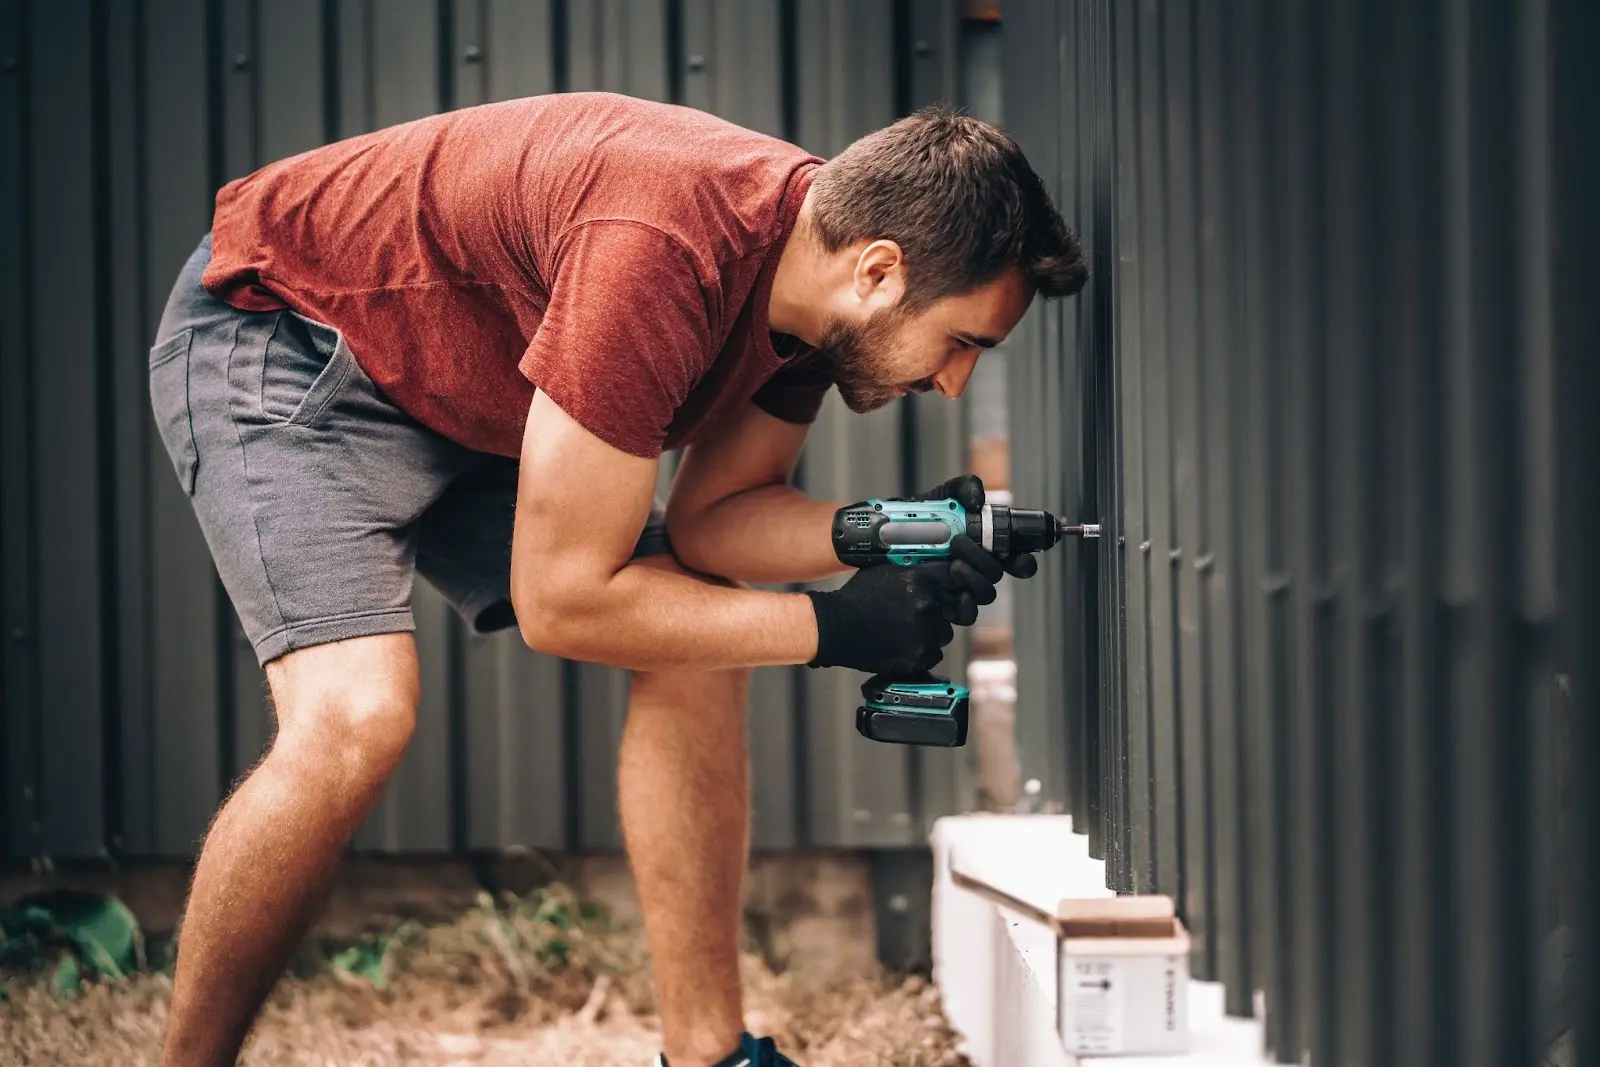
While many fence repairs can be handled with basic tools and some DIY know-how, certain situations may require professional assistance:
DIY fence repair involves regular inspection, timely maintenance, and addressing specific issues like loose posts, damaged panels, sagging gates, rust on metal fences, and wood rot. While many repairs can be handled with basic tools and materials, some situations may require professional help. By following these tips, you can keep your fence in top shape and avoid costly repairs in the future.
Kaminskiy Care and Repair offers expert fence repair services to handle even the most challenging issues. Our team of professionals can ensure your fence is restored to its original condition, providing security and beauty to your property. Contact us today
No price games. You get a clear written quote before any work begins, backed by our workmanship warranty.