If you have a high-traffic area in your home, you need flooring that can withstand constant foot traffic, spills, and wear and tear. Choosing the right flooring for these areas can be a challenge, but it is essential to ensure that your floors remain durable and attractive for years to come. In this article, we will explore the best flooring options for high-traffic areas in your home, taking into account factors such as durability, maintenance, and aesthetic appeal.
When evaluating flooring options for high-traffic areas, durability and maintenance are key considerations. You want to choose a flooring material that can withstand heavy foot traffic without showing signs of wear and tear. At the same time, you want a material that is easy to clean and maintain, as spills and dirt are inevitable in these areas. By choosing a flooring material that is both durable and easy to maintain, you can ensure that your floors remain in good condition for years to come.

When choosing flooring for high-traffic areas, it is essential to evaluate the durability and maintenance requirements of the different options available. This will help you choose a flooring solution that can withstand wear and tear, stains, spills, dents, and abrasion. Below are some of the best flooring options for high-traffic areas, along with their pros and cons.
Hardwood flooring is a popular choice for high-traffic areas due to its natural beauty and durability. Solid hardwood is made from a single piece of wood, while engineered wood is made from a veneer of hardwood over a substrate. Engineered wood is more resistant to moisture and changes in temperature than solid hardwood, making it a better choice for areas with high humidity or temperature fluctuations.
When choosing hardwood or engineered wood flooring, consider the hardness rating of the wood species. Harder woods like oak, maple, and ash are more scratch-resistant and durable than softer woods like pine or fir. Hardwood flooring can be refinished multiple times, making it a long-lasting investment.
Resilient flooring options like vinyl, laminate, and luxury vinyl plank (LVP) are also great choices for high-traffic areas. Vinyl flooring is easy to maintain, stain-resistant, and wear-resistant. It is also moisture-resistant, making it an excellent choice for bathroom and kitchen flooring. Laminate flooring is scratch-resistant and durable, while LVP is waterproof and can mimic the look of hardwood or tile.
When choosing resilient flooring, consider the wear layer and thickness of the planks or tiles. A thicker wear layer will provide more scratch resistance and durability. Additionally, look for flooring options with stain resistance and wear resistance.
Tile and natural stone flooring options like porcelain, ceramic, granite, marble, travertine, and limestone are also great choices for high-traffic areas. These options are durable, scratch-resistant, and moisture-resistant. They can also add a touch of elegance to any room.
When choosing tile or natural stone flooring, consider the maintenance requirements of each option. Some natural stones like marble are more prone to staining and require regular sealing. Additionally, consider the slip resistance of the tiles, especially in areas that may get wet.
Evaluating the durability and maintenance requirements of different flooring options is essential when choosing the best flooring for high-traffic areas. Hardwood and engineered wood, resilient flooring, tile, and natural stone are all great choices, depending on your preferences and needs.
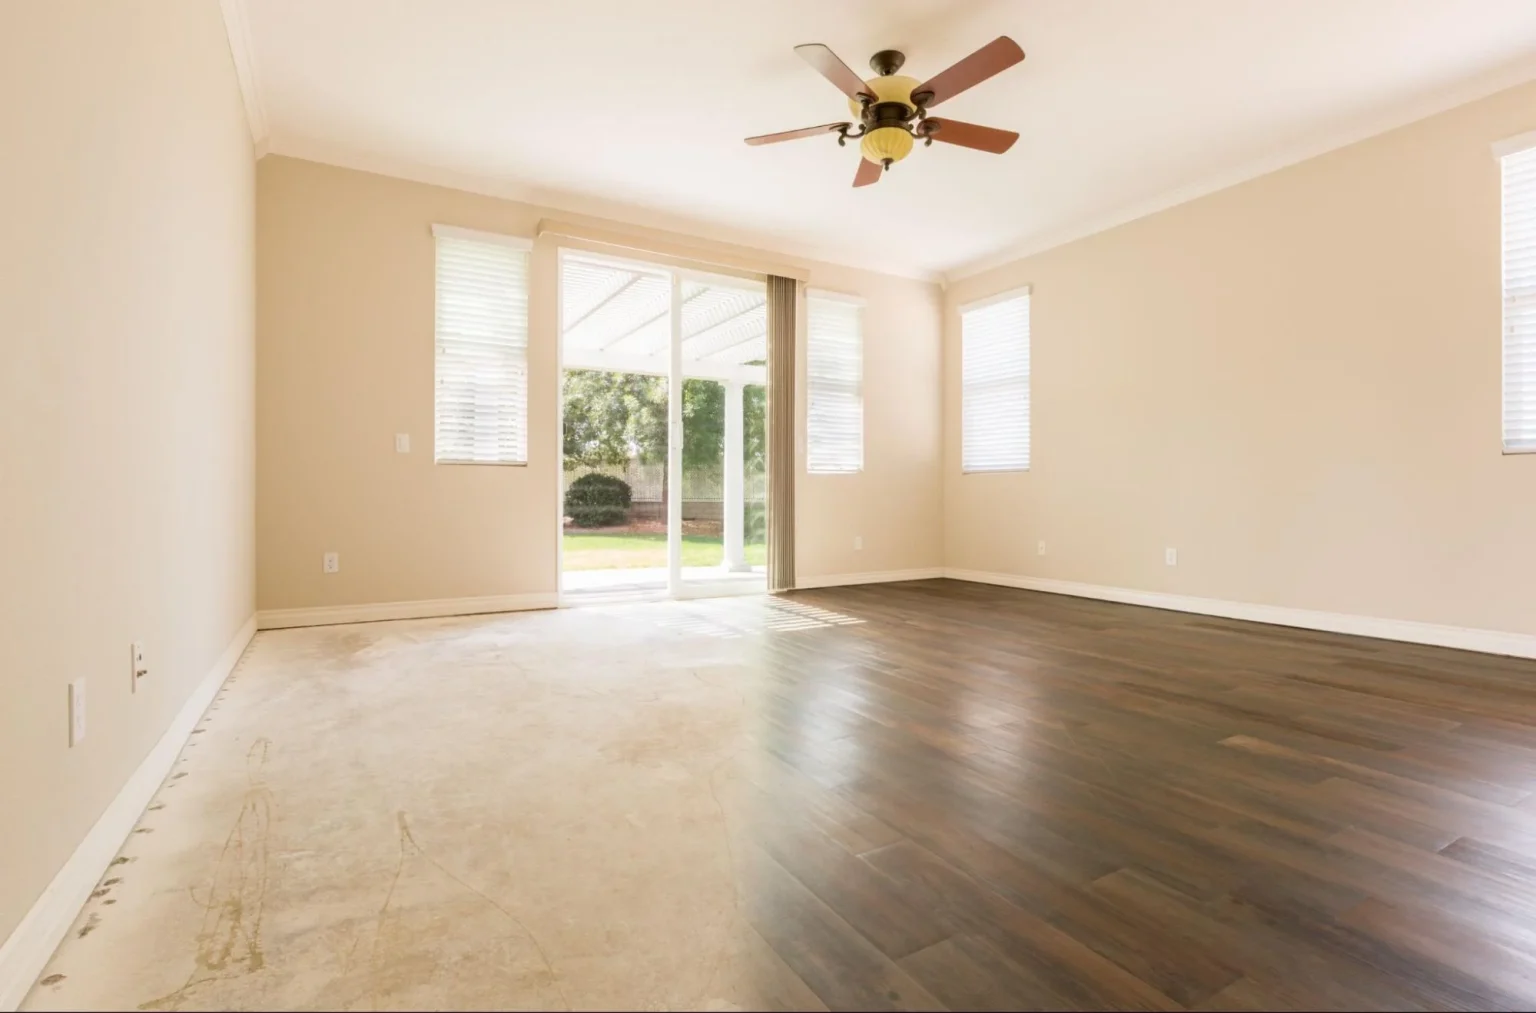
When choosing flooring for high-traffic areas, you need to consider both the visual appeal and the atmosphere it creates. The color and style of the flooring can complement the interior design of your space and create a unique character. For example, wood flooring can provide warmth and comfort, while stone flooring can add a touch of elegance. Carpet is also a popular option for high-traffic areas, as it can provide a soft and comfortable surface for kids and pets.
However, it is essential to keep in mind that high-traffic areas can accumulate dust, allergens, and dirt, which can affect the atmosphere of your space. Therefore, you should choose a flooring option that is easy to clean and maintain. Tile flooring and concrete flooring are excellent choices for high-traffic areas because they are durable and easy to clean. They are also ideal for areas prone to spills, such as kitchens and mudrooms.
Another critical consideration when choosing flooring for high-traffic areas is the installation process and long-term value. Professional installation is always recommended for high-traffic areas to ensure the longevity of the flooring. However, if you are on a tight budget, you can opt for DIY installation. Keep in mind that some flooring options, such as wood flooring, require professional installation to ensure proper installation and longevity.
It is also essential to consider the cost and longevity of the flooring. Some flooring options, such as carpet, may have a lower upfront cost but may require more frequent replacement due to wear and tear. On the other hand, tile flooring and concrete flooring may have a higher upfront cost but can last for decades with proper maintenance. It is also important to research different brands and ratings to ensure you are getting the best value for your money.
those on a tight budget. By considering these factors, you can choose the best flooring option for your high-traffic area.
When it comes to flooring options for high-traffic areas, there are several factors to consider. You want to choose a flooring material that can withstand heavy foot traffic, is easy to clean, and is aesthetically pleasing.
Some of the most durable flooring options for high-traffic areas include tile, concrete, laminate, and vinyl. These materials are known for their durability and can withstand heavy foot traffic without showing signs of wear and tear.
If you’re looking for a flooring material that is easy to clean, then tile and vinyl are good options. These materials are water-resistant and can be easily wiped clean with a damp cloth. Laminate flooring is also easy to clean, but it is not as water-resistant as tile or vinyl.
If you’re looking for an aesthetically pleasing flooring material, then hardwood flooring is a good option. Hardwood flooring is available in a variety of colors and finishes, and it can add warmth and character to any room. However, hardwood flooring is not as durable as tile, concrete, laminate, or vinyl, and it can be easily scratched or dented.
In conclusion, when choosing flooring for high-traffic areas, you need to consider both the aesthetic and practical aspects. The flooring should complement the interior design and provide a practical, comfortable surface for daily activities. Tile and concrete flooring are excellent options for areas prone to spills, while wood flooring and carpet can add warmth and comfort. Professional installation is recommended for longevity and peace of mind.
Kaminskiy Care and Repair provides expert flooring services and recommends the right flooring material for every space in your home, ensuring your flooring lasts for many years and continues to look great even with heavy foot traffic. Contact us today.
The top durable flooring materials suitable for high-traffic areas include vinyl, tile, and hardwood. Vinyl is a popular choice due to its durability, affordability, and low maintenance. Tile is also a great option as it is resistant to scratches and water damage. Hardwood flooring is both durable and aesthetically pleasing, but it requires more maintenance than other options
When it comes to areas frequented by pets and children, it is important to choose flooring that is both durable and easy to clean. Vinyl and tile flooring are both great options as they are resistant to scratches and stains. Additionally, carpet tiles can be a good choice as they are easy to replace if they become stained or damaged.
Yes, there are waterproof flooring choices that are also highly durable. Vinyl and tile flooring are both waterproof and highly durable, making them great options for areas that are prone to water damage. Additionally, there are also waterproof hardwood flooring options available that are both durable and aesthetically pleasing.
Laminate flooring can cope effectively with heavy usage in busy environments, but it is important to choose a high-quality laminate that is designed for heavy foot traffic. Additionally, it is important to choose a laminate flooring option that is scratch-resistant and easy to clean.
Adding insulation to your home is a smart move that can have significant benefits. By enhancing your home’s insulation, you can save up to 20% on heating and cooling costs. This means not only more money in your pocket but also a more comfortable living space year-round.
Insulation helps to maintain the desired temperature in your home, making it easier to heat in the winter and cool in the summer. It’s especially beneficial for older homes, which often lack adequate insulation compared to newer constructions. Even adding insulation to a modern home can quickly pay off by reducing energy bills.
In addition to saving money, improving your home’s insulation can also contribute to a more sustainable environment. A well-insulated home requires less energy, which reduces your carbon footprint. Start considering where your home could use extra insulation, such as attics, floors, and crawl spaces, to begin reaping these rewards.
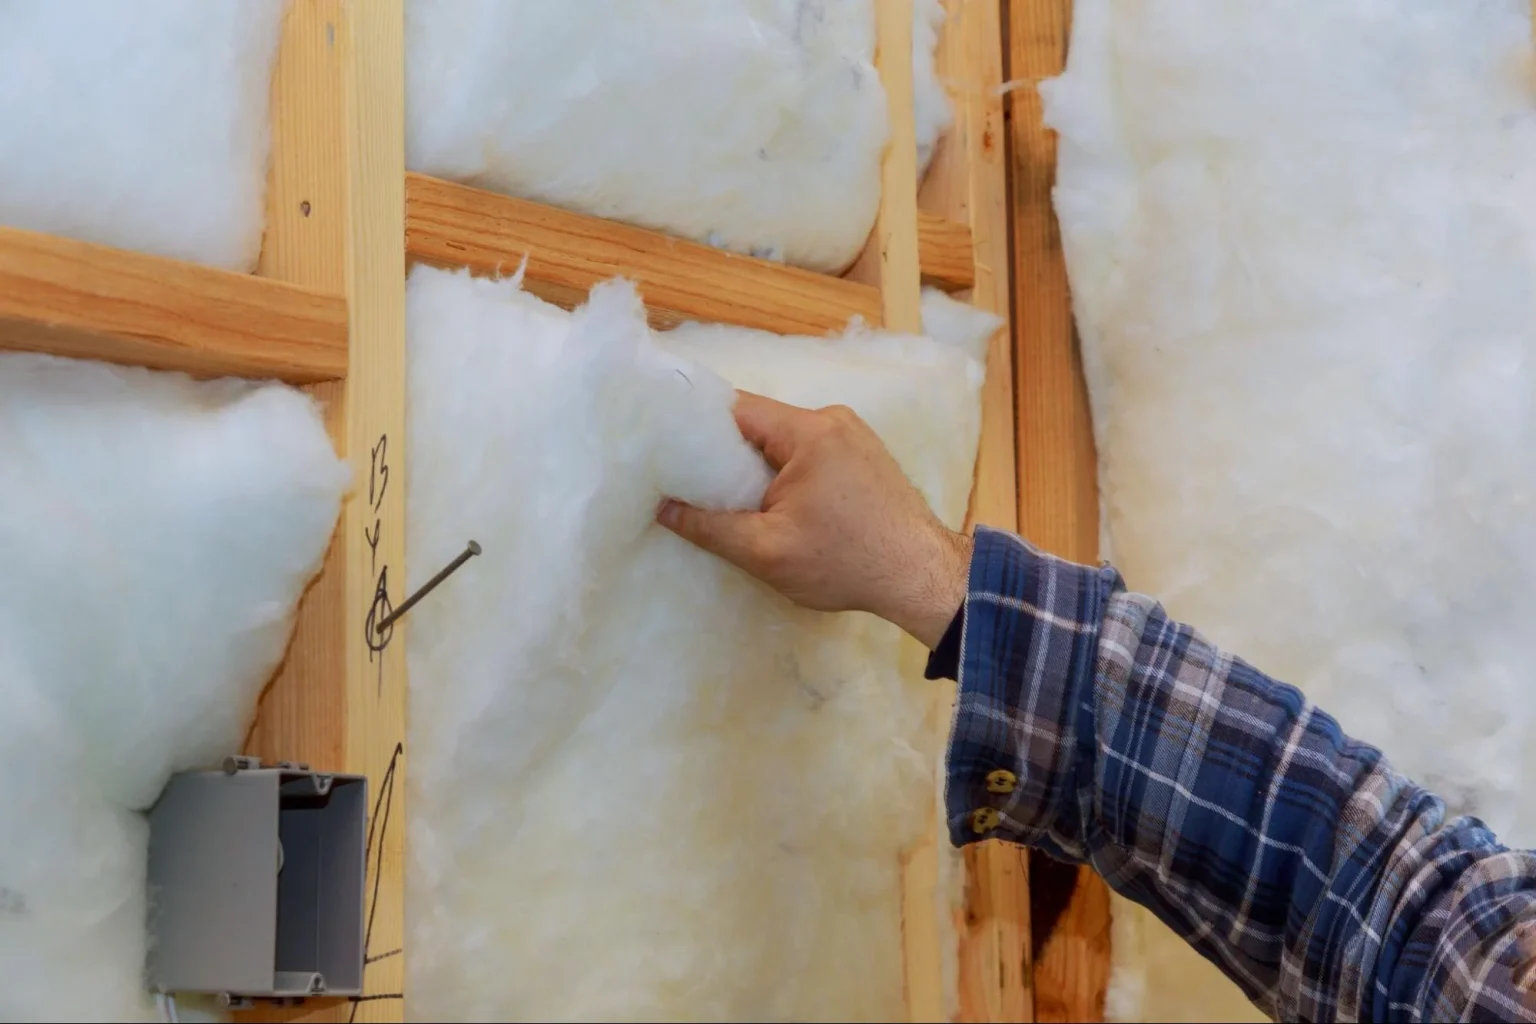
Insulation helps improve energy efficiency, lowers heating and cooling costs, and enhances overall comfort in your home. By understanding the different types of insulation and their benefits, you can make informed decisions to optimize your home’s energy performance.
Insulation is a material used to reduce heat flow by providing a barrier between different temperature zones. Its main purpose is to maintain a comfortable indoor climate by keeping heat in during the winter and out during the summer. Proper insulation also aids in noise reduction and can improve air quality by preventing pollutants from entering your home through air leaks.
Insulation works by trapping air or other gases within its structure, reducing the rate of heat transfer. This process makes it easier to keep your home warm in cold weather and cool in hot weather, ultimately saving on energy costs. Given its benefits, insulation is crucial for both new constructions and home renovations.
There are several types of insulation materials, each suited for different parts of your home. Fiberglass is commonly used in attics, walls, and floors due to its affordability and effectiveness. Rigid foam insulation provides high R-values and is often used for exterior walls and basement foundations.
Spray foam insulation is ideal for areas that require air sealing, such as around windows and doors. Its ability to expand makes it excellent for hard-to-reach spaces. Loose-fill insulation, usually made from cellulose or fiberglass, is great for filling irregularly shaped areas and adding insulation to existing structures.
Selecting the right type of insulation depends on your home’s needs and your climate zone. For example, attic insulation is essential for preventing heat loss, while floor insulation can minimize drafts and improve comfort. Understanding where to apply each type enhances its effectiveness and contributes to energy savings.
The effectiveness of insulation is measured by its R-value, which quantifies its thermal resistance. A higher R-value means better insulation performance. The R-value depends on the material, its thickness, and its density. Temperature and aging can also affect an insulation material’s R-value.
Attaining a higher R-value can significantly lower your home’s heating and cooling costs. For instance, adding insulation to your attic, walls, and floors can result in up to 20% savings on heating and cooling expenses. This reduction not only cuts energy costs but also enhances comfort by maintaining a more consistent indoor temperature.
Investing in the right type of insulation, understanding its properties, and applying it correctly are essential steps to optimize your home’s energy efficiency and comfort.
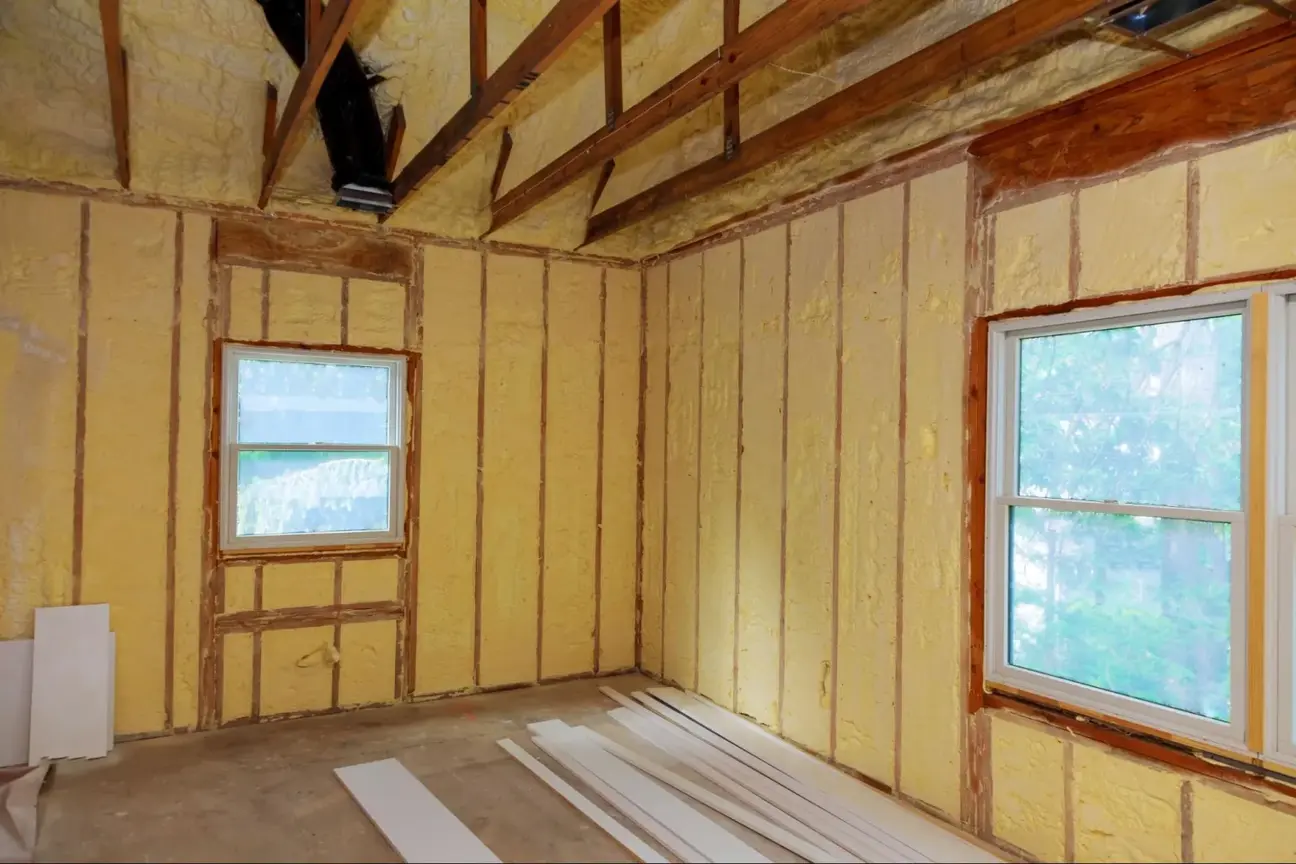
Improving your home’s insulation can save energy and money. It helps maintain a comfortable temperature and reduces your utility bills. Here’s what you need to know to upgrade your insulation effectively.
Start by assessing your current insulation levels. A home energy audit or energy assessment is a good first step. You can hire a professional or do a simple check yourself. Look for under-insulated areas like the attic, walls, and around electrical outlets. Older homes often have less or no insulation in these spots. Use an infrared camera to spot heat leaks or inspect for gaps around windows and doors.
Adding or upgrading insulation can be a cost-effective way to lower your energy bills. Calculate the potential savings to decide if it’s worth the investment.
Consider the initial costs versus the long-term benefits. Insulating an attic might cost a few thousand dollars, but it can reduce your heating and cooling costs by 10-50%.
Check for rebates and incentives from local utilities to offset the costs. Adding insulation to ducts can prevent energy loss and save money too.
Remember that even if your home is relatively new, it may still be under-insulated. Investing in insulation now can result in significant savings over time and make your home more comfortable all year round.
Adding insulation to your home has many benefits. One major advantage is reducing energy costs. According to the Department of Energy, you can save up to 20% on heating and cooling costs by adding insulation to attics, floors, crawl spaces, and basement rim joists.
Insulation also helps improve the comfort of your home. It keeps your home warmer in the winter and cooler in the summer. This means you can enjoy a more consistent indoor temperature all year round.
Improving moisture control is another key benefit. Adding exterior insulation can reduce moisture infiltration by creating an extra gap between the surface and the interior of your home.
Insulation helps in reducing noise pollution. It acts as a sound barrier, keeping unwanted noise from entering your home and creating a quieter living space.
Additionally, proper insulation can increase your home’s value. Potential buyers may see good insulation as a sign of a well-maintained home, making it more attractive on the market.
If you’re considering adding insulation, Kaminskiy Care and Repair can help you inspect your home to determine the best areas for improvement. Using thorough inspection methods, such as checking exterior walls from electrical outlets, We can help determine how much insulation is needed for your home. Contact us today!
Proper insulation can save you up to 15% on heating and cooling costs, according to the Department of Energy. It also helps maintain a consistent temperature, reducing the strain on your HVAC system. Additionally, it improves overall comfort by eliminating drafts and cold spots.
During summer, proper insulation helps keep your home cool. Insulating the attic, walls, and floors can prevent heat from entering your living spaces. Sealing air leaks around windows and doors also helps.
Though insulation provides many benefits, improper installation can lead to moisture problems, mold, or reduced indoor air quality. It is also possible that some types of insulation materials can be more expensive or less environmentally friendly. Always choose proper and high-quality materials to avoid these issues.
To insulate existing walls, you can add insulation from the inside or outside. One common method is blowing in cellulose or fiberglass through small holes drilled into the walls.
Mold can be a serious problem for any homeowner. It affects your home’s structure and can cause health issues for you and your family. Knowing how to detect and properly remediate mold is crucial to maintaining a safe living environment. This guide will provide you with essential steps and tips to identify mold, understand its risks, and effectively remove it.
Detecting mold early can save you from costly repairs and health problems. You’ll learn the key signs of mold presence and investigate areas of your home that are most vulnerable. It’s critical to act quickly once you identify mold to prevent it from spreading further.
By following the right remediation strategies, you can safely and efficiently remove mold from your home. From drying your home thoroughly to handling water-damaged items, these steps ensure that mold growth is minimized. Read on to educate yourself on the best practices for mold detection and remediation.
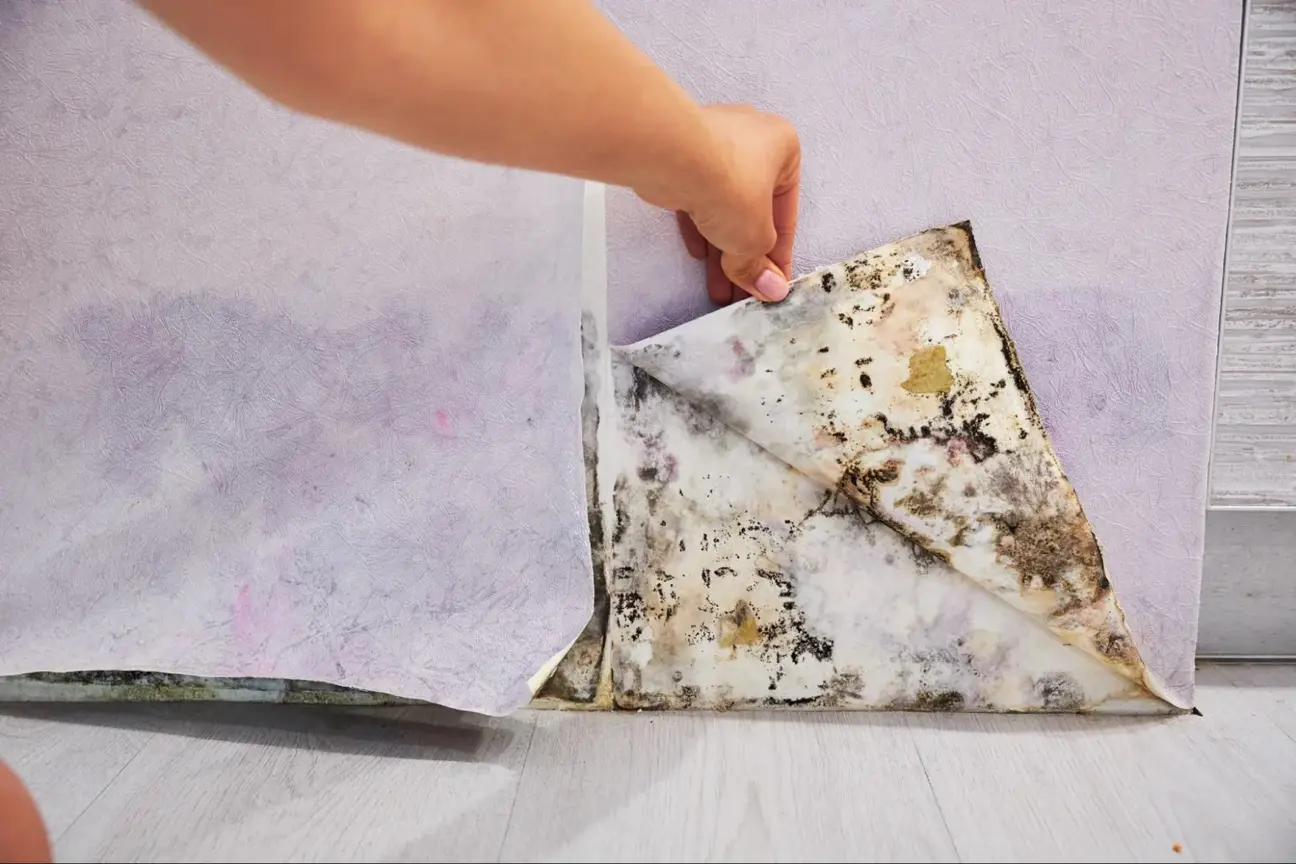
Mold can be a serious issue in homes, affecting indoor air quality and leading to health concerns. Learn how mold grows, recognize its signs, and understand its potential impact on your health.
Mold is a type of fungus that thrives in damp, humid environments. It reproduces through tiny spores that float through the air. When these spores land on moist surfaces, they can start to grow.
Common places for mold include areas with water leaks, such as bathrooms, basements, and around windows. High humidity levels, lack of ventilation, and water damage contribute to mold growth. Keeping your home dry and well-ventilated helps prevent mold from developing.
Mold can appear in various colors like black, white, green, and orange. It’s essential to monitor moisture levels in potential problem areas to reduce the risk of mold infestation.
Detecting mold early is crucial. Visible mold growth is the most obvious sign, often appearing as spots or patches on walls, ceilings, or floors. Mold can also be hidden under carpets, behind wallpaper, and inside HVAC systems.
Mold odors, such as musty or earthy smells, are another indicator. Discoloration or peeling paint, condensation on walls, dust accumulation, and recent water damage are red flags. Be attentive to any ongoing moisture issues in your home, as unchecked water leaks lead to mold problems.
Regularly inspect your home, especially in high-risk areas. Early detection and taking action to fix moisture problems can save you from more significant mold issues later.
Mold exposure can lead to various health concerns. Symptoms include allergic reactions like sneezing, runny nose, red eyes, and skin rashes. People with asthma or respiratory conditions may experience worsened symptoms.
Mycotoxins, toxic compounds produced by certain mold species, can have severe health effects. These can trigger headaches, dizziness, or fatigue. Long-term exposure might impact overall well-being, particularly in young children, the elderly, or those with weakened immune systems.
Maintaining indoor air quality and addressing mold problems early helps protect your family’s health. Recognizing the health implications encourages prompt action to mitigate mold and ensure a safer living environment.
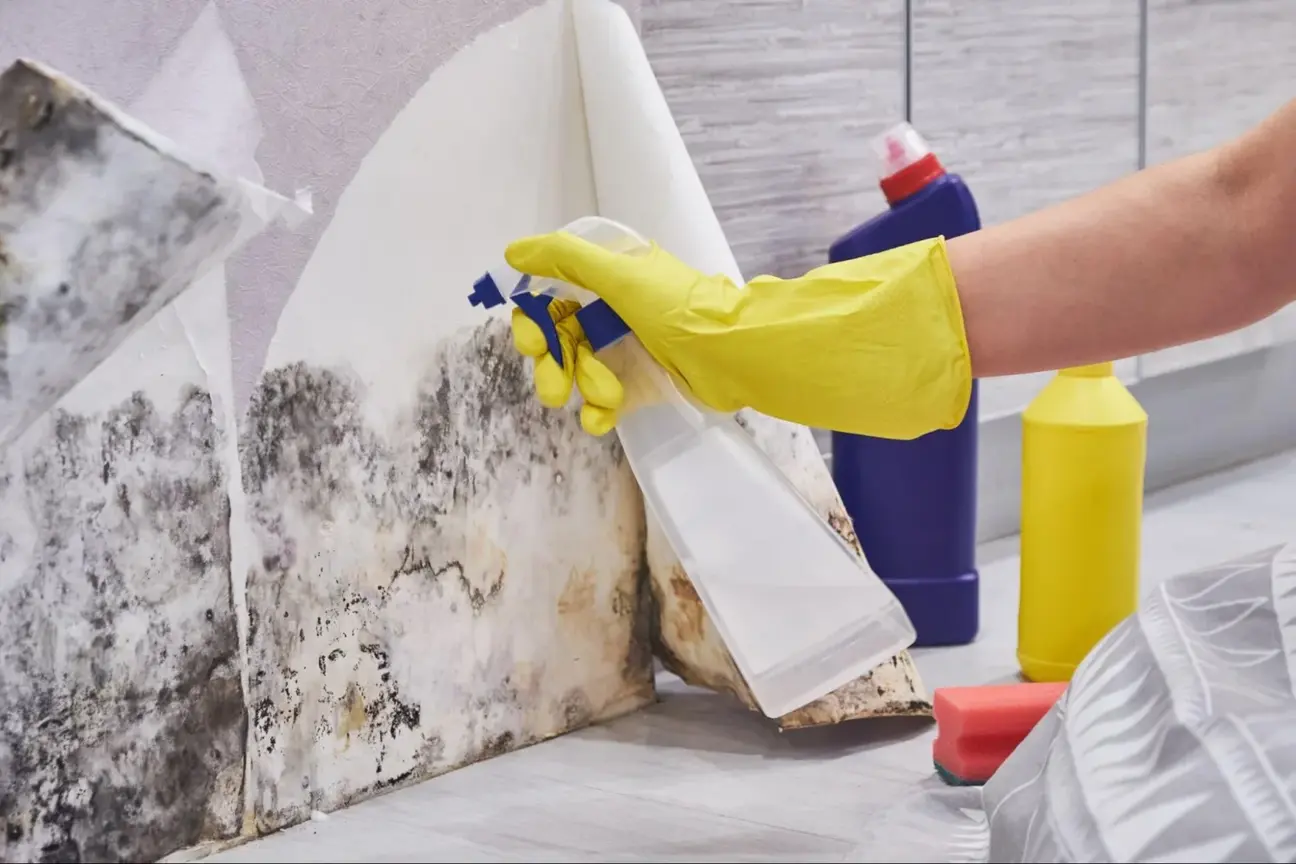
To effectively deal with mold in your home, you need a solid understanding of how to find and remove mold, manage mold problems, and prevent future growth. Below, we explore key aspects of professional mold testing, effective remediation, and ongoing prevention.
Professional mold inspection is crucial for accurately detecting mold problems. A licensed mold assessor uses specialized tools and techniques, such as air quality testing and moisture meters, to identify contaminated areas. They may use testing procedures that measure relative humidity and assess drywall for hidden mold. Hiring a mold expert ensures that you get precise results and sound advice for remediation.
Effective mold testing involves sampling air and moldy materials, followed by laboratory analysis. This step helps confirm the presence and type of mold. Proper detection helps you understand the extent of the issue and plan appropriate action.
Effective mold remediation involves several steps to ensure thorough removal and prevent regrowth. First, containment strategies are used to isolate contaminated areas and prevent cross-contamination. This may involve sealing off rooms and using negative air pressure.
The remediation team will then use safe work practices and personal protection equipment to remove mold. This includes cleaning or disposing of moldy materials like drywall. Air filtration devices are often used to improve air quality and capture mold spores.
The mold remediation process may also include cleaning surfaces with specialized products and ensuring the area is dry. Monitoring relative humidity levels is important to prevent future mold growth.
Preventing mold involves regular maintenance and timely repairs. Address any water leaks or moisture issues promptly. Maintain indoor relative humidity levels between 30% and 60% using dehumidifiers or ventilation.
Regular inspection of your home, especially in areas prone to moisture like basements and attics, can help catch mold early. Mold prevention strategies may include using mold-resistant materials in construction and ensuring proper drainage around your home.
Consistently cleaning and drying areas after water exposure, such as bathrooms, can also help in mold prevention. Staying vigilant and performing regular maintenance will help you keep your home mold-free.
Detecting and removing mold in your home is crucial for your health and property. Mold can grow in damp areas and cause respiratory problems. It’s important to address mold quickly.
To detect mold, you can look for discoloration, smell musty odors, or use mold testing kits. Areas like bathrooms, basements, and kitchens are common spots.
Steps for Remediation:
Monitor your home for signs of mold regularly and act promptly to keep your environment safe and healthy.
Hiring a professional service like Kaminskiy Care and Repair is a smart choice for detecting and removing mold in your home. Our team of experts can assess and remediate mold safely and effectively restoring your home’s appeal. Contact us today
You can identify mold by its musty smell and visible patches, which can be black, green, or white. It often appears in damp places like bathrooms, kitchens, and basements. Stains on walls, ceilings, or under carpets can also be signs.
To prevent mold, control moisture by fixing leaks, ensuring proper ventilation, and using dehumidifiers. Regularly clean areas prone to moisture and use mold-resistant products for renovation or building projects. Keep indoor humidity levels below 60%.
Mold remediation involves several steps: containing the area to prevent spread, removing affected materials, cleaning and disinfecting surfaces, and addressing the moisture problem. Professionals also use specialized equipment to ensure a thorough cleanup.
For small mold problems, scrub the affected area with water and detergent. Use protective gear like gloves and masks. Discard porous materials like carpets or ceiling tiles if they are moldy. Be sure to dry the area completely to prevent recurrence. For larger infestations, seek professional help.
Outdoor decks provide an ideal space for relaxation and entertainment, making them a crucial aspect of any home. To ensure your deck remains safe and beautiful year-round, proper maintenance and timely repairs are essential. Regular cleaning, sealing, and inspecting for damages like rot or loose boards can extend the life of your dream deck. This not only enhances your outdoor living experience but also protects your investment.
Using quality materials is important for longevity. We recommend oil-based stains over water-based for better protection against mold and mildew. Additionally, surrounding your deck posts with maintenance-free materials can save time and effort in the long run.
Implementing these practical tips will keep your deck looking great for years. By maintaining the deck regularly, you can avoid major repairs and extend its lifespan, ensuring your outdoor haven remains a perfect spot for gatherings.
It’s essential to keep your deck in good shape to ensure safety and prolong its life. Regular cleaning, inspecting for decay, and repairing damage are key elements of deck maintenance.
Regular cleaning helps prevent mold, mildew, and algae buildup. To start, sweep the deck regularly to remove leaves and debris. Use a garden hose or pressure washer to wash the surface, targeting areas with buildup.
For tougher stains, a deck cleaner can be applied with a scrub brush. Avoid metal brushes on softwoods such as cedar or redwood to prevent damage. Cleaning solutions should be rinsed thoroughly to avoid residue.
Once clean, let the deck dry completely before using it or applying any treatments or sealants.
Annual inspection is critical for finding and preventing wood rot and decay. Check for signs of moisture damage, especially around ledger boards and joist hangers. Look for discoloration, soft spots, and wood that gives way under pressure. These are signs of decay and need immediate attention.
Inspect the stability of the deck by checking for any loose nails or screws and making sure all connections are secure. Regular inspections can help you identify problems early and maintain the deck’s structural integrity.
Using moisture barriers can also help prevent damage by waterproofing the critical components.
Timely repairs are necessary for maintaining a safe deck. Inspect for damaged boards, cracks, and loose nails or screws. Replace any rotten or cracked boards to avoid accidents. Loose nails can be a tripping hazard, so hammer them back in or replace them with screws.
For extensive damage, resurfacing the deck might be necessary. This involves removing old boards and replacing them with new ones. Regular deck repair helps maintain the deck’s appearance and durability, extending its life.
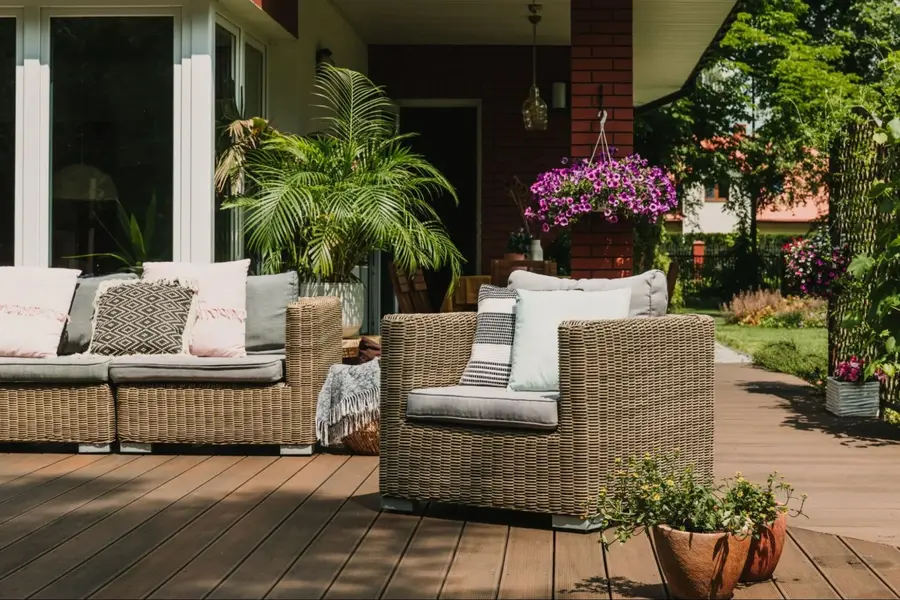
Keeping your deck in top shape involves protecting it from the elements and regular wear and tear. These tips focus on staining and sealing, securing components, and enhancing safety and comfort to ensure your deck lasts for years.
Applying a stain or sealant is crucial for wooden decks, such as pressure-treated lumber, cedar, or redwood. Start by cleaning the deck thoroughly to remove dirt, mold, and bacteria. Use a mixture of sodium hypochlorite or Simple Green with a pump sprayer to treat stubborn spots.
After cleaning, let the deck dry completely. Sand any rough areas to ensure a smooth surface for the stain. Choose an oil-based stain for better penetration and durable protection. Apply the stain or clear sealer with brushes or rollers, ensuring even coverage.
Over time, components like deck screws, bolts, and railings can become loose or damaged. Regularly check these parts to maintain the structure’s integrity. Tighten loose screws or bolts, and replace any that are rusted or worn out with stainless steel or galvanized fasteners to prevent rust.
Inspect your decking boards and railings for signs of decay or damage. If you have an older deck, consider reinforcing it with additional blocking or supports. Upgrading to composite decking can also reduce future maintenance needs, offering longevity benefits.
Safety and comfort are paramount for an outdoor living space. Install landscape lighting to enhance evening visibility and ambiance. Check and clean gutters to ensure water doesn’t pool around the deck, leading to damage.
Utilize plastic sheeting or waterproof membranes to protect the deck from ground contact moisture. Updating railings to meet building codes and adding features like built-in benches or grills can also enhance the usability and enjoyment of the space. Ensuring that the deck is always free of debris will also keep it safe and inviting.
To keep your deck in great shape, follow a few essential tips. Regular maintenance is key.
Clean your deck once a year. This prevents dirt buildup and mildew. Use a stiff scrub brush and avoid metal brushes on softwoods like cedar or redwood.
Inspect the structural integrity annually. Check for rot, water damage, and loose boards. Address issues promptly to prevent further damage.
Applying sealant every 2-3 years helps protect against weathering. When choosing a stain, opt for oil-based ones to prevent cracking and warping and to enhance the wood’s natural color. Avoid water-based stains as they can wear down faster.
Fasten any loose parts. Cut pressure-treated 2-by-blocking to fit tightly between joists and screw them into place for added support.
By following these tips, you’ll keep your deck looking new and functioning well. If you need professional help, contact Kaminskiy Care and Repair for expert service.
For DIY repairs, check for loose or damaged boards and replace them promptly. Sand rough spots to prevent splinters. Clean the deck thoroughly using a deck cleaner or a mix of water and mild detergent. Apply a water-repellent finish to protect the wood from moisture and UV damage.
In winter, clear snow off the deck using a plastic shovel to avoid scratches. Make sure to remove debris like leaves to prevent mold. Applying a water-repellent finish before winter can offer extra protection. Check for and repair any loose or damaged boards to prevent further wear during the cold months.
Staining adds color and enhances the wood grain while also providing some protection against UV rays and moisture. Sealing focuses more on preventing water damage and can be clear or tinted. Depending on your climate and usage, you might need both. For additional protection, consider applying a stain with a built-in sealant.
Wood deck maintenance should be done at least once a year. Regular cleaning, inspection for damage, and applying a protective finish are essential. If your deck is in a humid or rainy area, consider more frequent checks for mold and mildew. This helps to keep your wood deck in optimal condition.
If you’re a homeowner, you know that home repairs and maintenance are a fact of life. While some tasks are easy to tackle on your own, others require the expertise of a professional. That’s where a handyman comes in. A good handyman can help you with a wide range of home improvement projects, from fixing a leaky faucet and replacing doors and windows to installing a ceiling fan.
However, it can be tough to know where to start when it comes to hiring a handyman. How do you find someone who is trustworthy, reliable, and skilled? How much should you expect to pay for their services? What questions should you ask before hiring them? In this comprehensive guide, we’ll answer these questions and more, so you can feel confident when it comes to hiring a handyman for your home improvement needs.
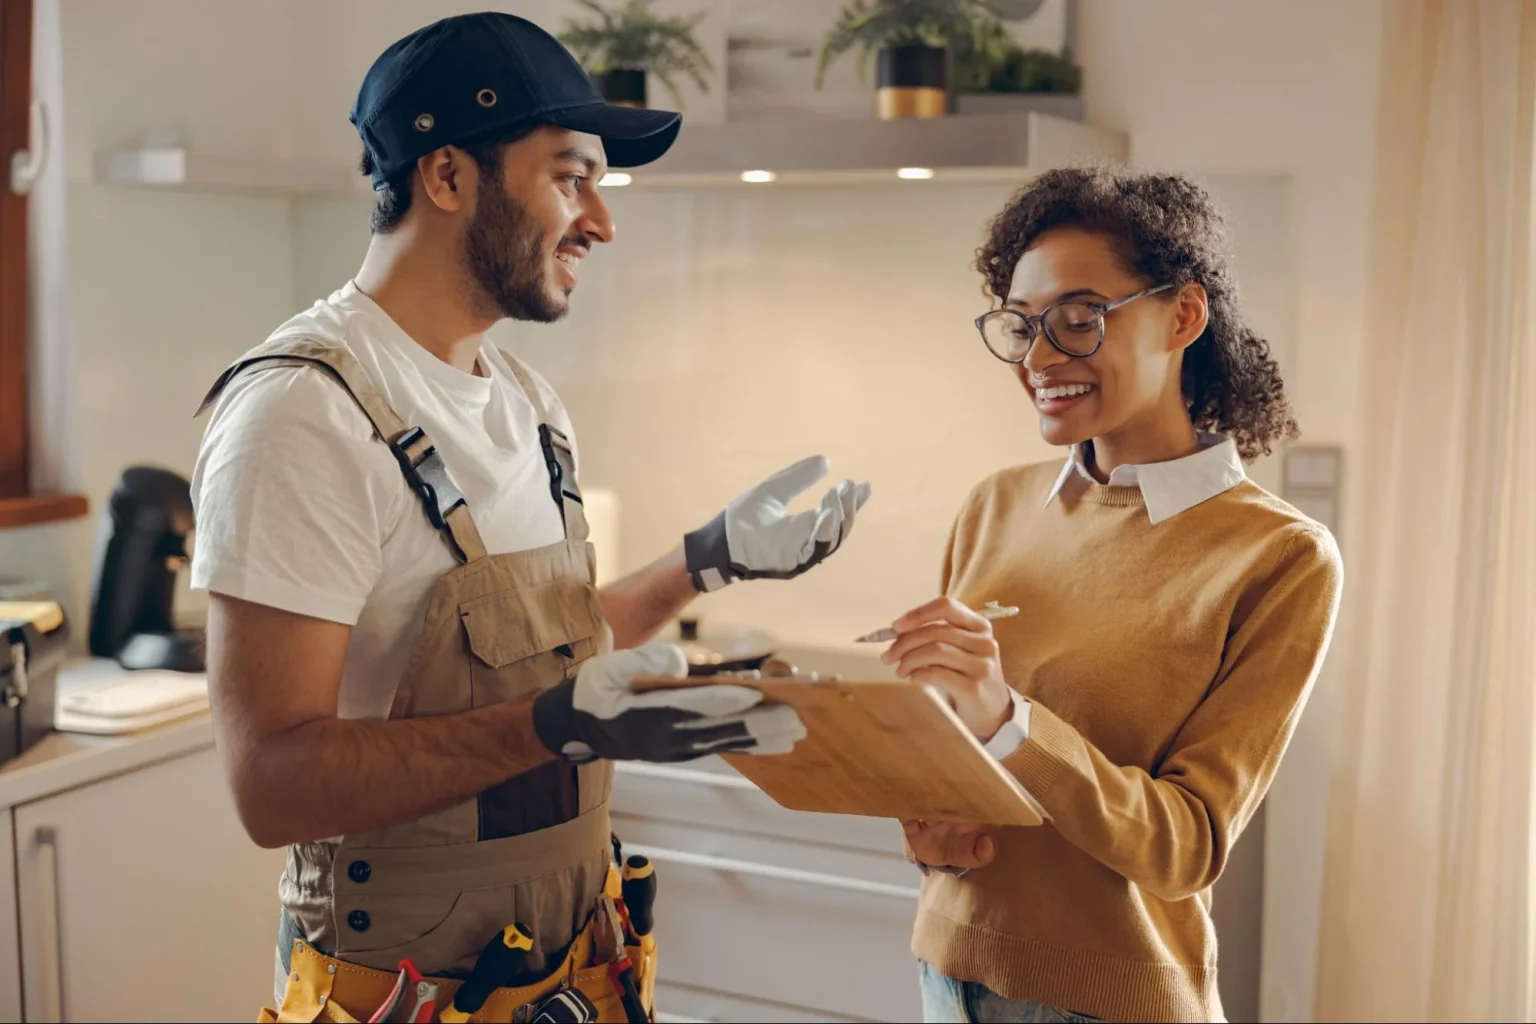
When it comes to hiring a handyman, you want to make sure they have the right credentials and experience to get the job done right. Here are some key factors to consider when evaluating a handyman’s credentials and experience.
Before hiring a handyman, it’s important to make sure they have the appropriate licensing and insurance. A licensed professional will have the necessary training and skills to complete the job safely and efficiently. Liability insurance is also important, as it protects you in case of any accidents or damage that may occur during the project.
When evaluating a handyman’s experience and expertise, it’s important to consider their skills and attention to detail. Look for a handyman who has experience in the specific type of work you need done. For example, if you need electrical work done, look for a handyman who has experience with electrical systems. A handyman with expertise in a particular area will be able to complete the job more efficiently and effectively.
One of the best ways to evaluate a handyman’s credentials and experience is to check their references and online reviews. Ask the handyman for references from previous clients and contact them to ask about their experience working with the handyman. You can also check online review sites such as Yelp or the Better Business Bureau to see what others have to say about the handyman’s work.
By evaluating a handyman’s credentials and experience, you can ensure that you hire a reliable and professional who can get the job done right.
When it comes to hiring a trustworthy handyman, it’s important to understand the costs and contracts involved. Here, we’ll cover the key aspects of estimating costs, payment structures, safety, and compliance.
Before hiring a handyman, it’s important to get an estimate of the costs involved. This can help you determine whether the work is affordable and whether the handyman is charging a fair price. You can get quotes from multiple handymen to compare prices and find the best deal.
Handymen may charge either a flat rate or an hourly rate. A flat rate is a fixed price for a specific job, while an hourly rate is charged per hour of work. It’s important to clarify the pricing structure with your handyman and ensure that you understand how the costs will be calculated.
In addition to the pricing structure, it’s important to understand the payment structure. Some handymen may require payment upfront, while others may require payment upon completion of the job. It’s important to clarify the payment structure before work begins to avoid any misunderstandings.
When hiring a handyman, it’s important to ensure that they are licensed and insured. This can help protect you in case of any accidents or damage to your property. It’s also important to ensure that the handyman is complying with any safety regulations and obtaining any necessary permits.
Hiring a handyman can be an affordable way to get quality work done around your home. By understanding the costs and contracts involved, you can ensure that you’re getting a fair price and that the work is being done safely and legally.
Hiring a trustworthy handyman can be a daunting task, but with the right approach, you can find a skilled professional who will get the job done right.
When looking for a handyman, it’s important to do your research. Start by asking friends and family for recommendations. You can also search online for reviews and ratings of local handymen.
Once you’ve found a few potential handymen, it’s important to ask for references. This will give you an idea of the quality of their work and how satisfied their previous clients were. You should also ask about their experience and qualifications to ensure they have the skills necessary to complete your project.
When hiring a handyman, it’s important to be clear about your expectations and budget. Make sure you get a written estimate before any work begins, and ask about any guarantees or warranties that may be available.
Overall, hiring a trustworthy handyman can save you time and money on home repairs and improvements. Additionally, Kaminskiy Care and Repair provides reliable handyman services that cater to all aspects of your home repair needs and ensure your job is done efficiently. Contact us today.
Before hiring a handyman, it’s important to ensure that they have the proper credentials. Look for a handyman who is licensed, insured, and bonded. This will protect you from any liability in case of an accident or damage to your property while the handyman is working on your project. Additionally, it’s important to check their experience, references, and reviews to ensure they have the necessary skills to complete your project.
To verify the trustworthiness of a handyman, you can check their references and reviews, ask for proof of insurance and licensing, and check their background. You can also ask for a written estimate and contract that outlines the scope of work, pricing, and payment schedule.
To determine if a handyman’s pricing is fair and competitive, you can get quotes from multiple handymen and compare their pricing. Be sure to ask for a written estimate that outlines the scope of work, pricing, and payment schedule. Keep in mind that the cheapest option may not always be the best option, and it’s important to consider the handyman’s experience and reputation.
To effectively communicate your project needs to a handyman, it’s important to be clear and specific about what you want. Provide detailed instructions and specifications, and be sure to ask questions if you have any doubts or concerns. It’s also important to establish clear communication channels and to keep in touch with the handyman throughout the project to ensure it’s progressing as planned.
Restoring and maintaining hardwood floors can significantly enhance the beauty and value of your home. Regular cleaning and a proper maintenance routine can restore your hardwood floors in excellent condition for years. This guide will take you through practical steps to bring back the shine and protect your floors from daily wear and tear.
Whether your floors have lost their luster or sustained minor damage, there are effective ways to restore them without sanding. You’ll also learn about the best cleaning agents and techniques to prolong the life of your hardwood. You can tackle this DIY project with minimal effort and the right tools and enjoy stunning results.
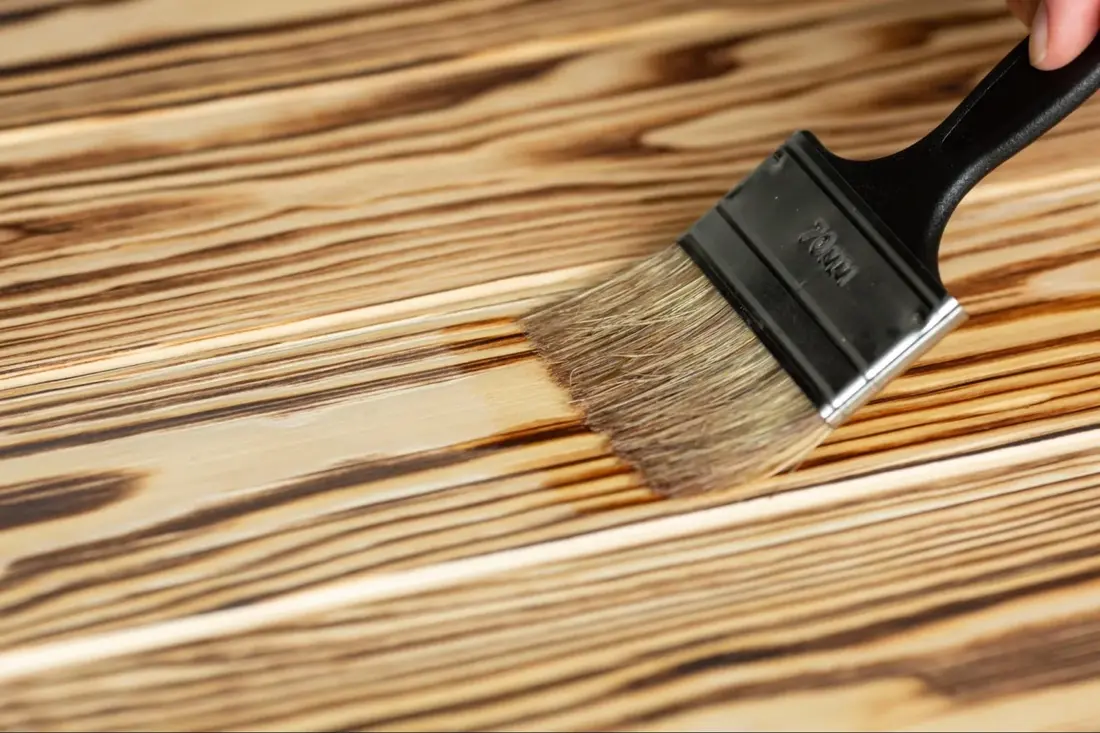
Before you start restoring your hardwood floors, it’s crucial to prepare the space properly. This involves removing furniture and fixtures, thoroughly cleaning and checking the floor’s condition, and preparing the necessary tools and safety gear.
Start by clearing the room of all furniture and fixtures. Move furniture, rugs, and any other items to another room. Use felt pads under furniture legs to avoid scratching the floor when moving items. Remove vent covers, baseboards, and any other fixtures that could get in the way.
Use a pry bar to gently lift or remove stuck fixtures. Ensure the room is completely clear to provide an open, safe workspace for the restoration process.
Begin by thoroughly sweeping and vacuuming the floor to remove loose dirt and debris. Use a mild detergent mixed with water or a specialized hardwood floor cleaner to clean the surface. A microfiber cloth or mop can help lift stubborn stains and grime.
Inspect the floor for wear and tear, scratches, and stains. Look for protruding nails and loose floorboards which should be secured. Identifying any significant damage early helps determine whether you’ll need to replace sections of the floor or if sanding alone will suffice.
For sanding, you’ll need a drum sander, edge sander, and possibly a random orbital sander for tight corners. Attach a maroon buffing pad or felt-bottomed attachment for finer sanding. Use tack cloths to remove dust between sanding sessions.
Safety gear is essential. Wear a dust mask or respirator to protect from sawdust. Safety goggles and ear protection are also necessary. Ensure there is adequate ventilation to avoid dust accumulation. Use plastic sheeting to seal off areas and prevent dust from spreading.
By preparing the space with the right tools and safety measures, you create a smooth and safe process for restoring your hardwood floors.
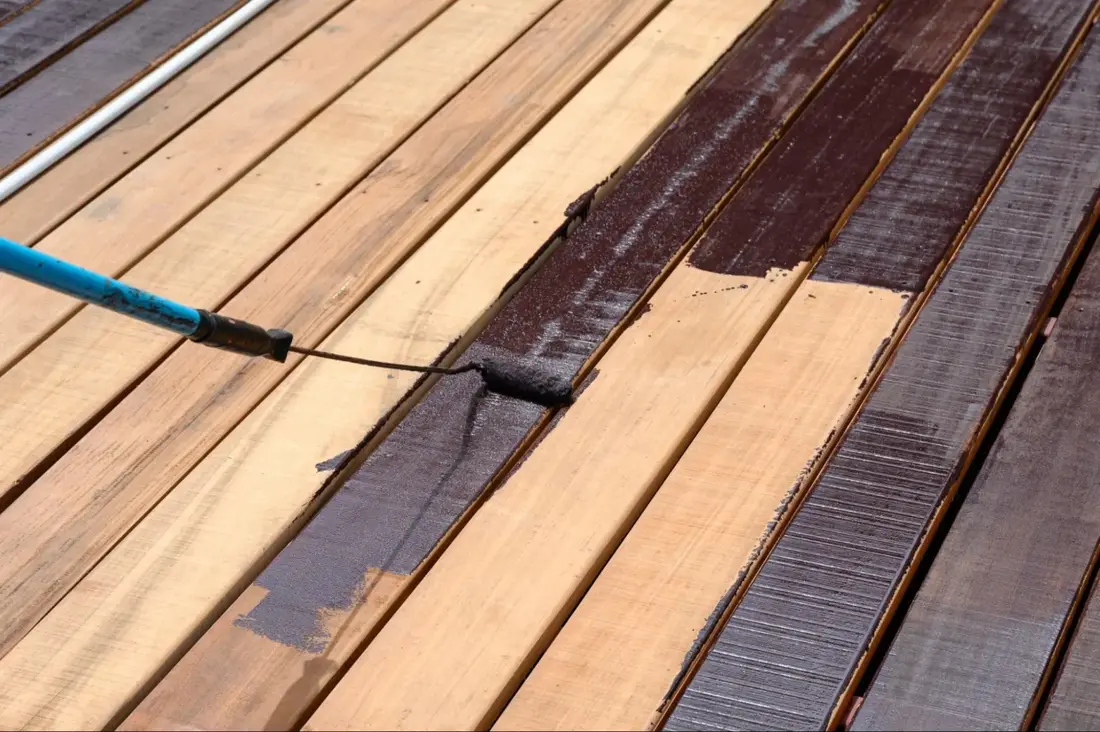
When refinishing and protecting your hardwood floors, you need to carefully choose stains and finishes, apply them properly, and ensure ongoing care. This process helps maintain the floor’s appearance and longevity.
Selecting the right stain and finish is crucial. Stains come in various colors, from natural wood tones to darker shades. Choose a color that complements your space. Oak floors, for example, often look great with a medium or dark stain.
For finishes, you have options like water-based polyurethane, which dries quickly and has low odor, and oil-based polyurethane, known for its durability and rich look. A “poly” finish protects the wood from scratches and gouges.
Pay attention to the manufacturer’s instructions when selecting products. The instructions will provide important details on application and drying times. Ensure that the stain and finish you choose are compatible for the best results.
Before applying the stain, sand the floor to remove the old finish and smooth out any dents or marks. Use different grits of sandpaper for this, starting with a coarser grit and moving to a finer one. Remove all residue with a vacuum and mop.
Apply the stain uniformly using a clean cloth or applicator. Wipe off any excess to avoid uneven discoloration. Allow the stain to dry thoroughly as per the instructions.
Next, apply the finish in thin, even coats. A buffer can be used between coats to achieve a smooth surface. Make sure each layer is fully dry before applying the next. Depending on the type of finish, you might need 2-3 coats for optimal protection.
After the final coat of finish, wait at least 24-48 hours before walking on the floors. Start by wearing socks and keep heavy rugs and furniture off the floor initially. This helps avoid premature marks and gouges.
For ongoing care, use a hardwood floor cleaner and avoid excessive water. Regularly applying wax or polish can maintain the shine. Place rugs in high-traffic areas to prevent wear. Recoating every few years can extend the life of your refinished hardwood floors and keep them looking new.
By following these steps, you can ensure that your hardwood floors remain beautiful and protected for years to come.
Restoring and maintaining hardwood floors can enhance the beauty and longevity of your home’s flooring.
Restoration Tips:
Refinishing involves sanding the surface to remove the old finish and applying a new one. It can make your floors look new again and can be more cost-effective than replacing them.
Staining Advice:
When refinishing, staining allows you to alter the floor’s color. Ensure an even application by using clean rags and allowing the stain to absorb properly.
Whether you are performing minor fixes or a full refinish, proper care will ensure your hardwood floors remain a timeless addition to your home.
For professional flooring repair and maintenance, Kaminskiy Care and Repair has the expertise to restore and improve your hardwood flooring. Contact us today
The most effective way to clean hardwood floors is to use a microfiber mop. Regular sweeping or vacuuming helps remove dirt and debris. Avoid soaking the floor and always dry it thoroughly to prevent water damage.
For deep cleaning, use a wood floor cleaner designed for sealed hardwood floors. Apply the cleaner with a damp mop, ensuring not oversaturate the wood. For stubborn spots, gently scrub with a soft brush.
Avoid using harsh chemicals, acidic cleaners like vinegar, or abrasive scrubbers. These can damage the finish and wood. Never use steam cleaners, as the heat and moisture can cause warping.
You can naturally clean wood floors using a mixture of water and a few drops of mild dish soap. For maintenance, regularly dust mop and use felt pads under furniture to prevent scratches.
Childproofing your home is essential to keep your little ones safe. As a family handyman, you understand how crucial it is to make sure every corner of your house is secure. Installing childproof gates, door locks, and outlet covers can help prevent accidents and protect your children. With a few simple steps, you can create a safer environment and give yourself peace of mind.
Start with the fundamentals like setting your water heater to a safe temperature and installing smoke detectors. Enhance safety by placing cushions on the corners of furniture and securing loose wires. Converting your home into a safer space doesn’t have to mean a complete remodel; it’s about making smart, preventive adjustments.
Specific areas, like the kitchen and bathroom, require more attention. Use cabinet locks to keep dangerous items away from curious hands and consider adding window locks. These measures might seem small, but they make a significant difference in maintaining a child-safe home. Let’s dive into some childproofing tips for your home
To create a safer environment for your children, start by identifying household hazards and implementing basic childproofing techniques. This approach ensures your home is guarded against common risks and offers peace of mind.
Begin by getting down to your child’s level. Crawling around helps you see the world from their perspective. Look for sharp corners, exposed outlets, and reachable cabinets.
Make a checklist of hazards. Windows, electrical outlets, and sharp furniture edges should be at the top of the list. Order safety gates, cabinet locks, and outlet covers as part of your initial setup.
Regularly inspect these areas. Ensure windows can’t be opened wide enough for a child to crawl through. Use window guards or stops to prevent falls. This proactive approach helps you stay ahead of potential dangers.
Install outlet covers to prevent electrical shock. These should be easy for adults to remove but challenging for children. Place corner guards on sharp furniture edges to protect against bumps and bruises.
Use cabinet locks and child locks on drawers and doors that contain dangerous items like cleaning supplies or sharp utensils. Secure furniture anchors to prevent heavy items from tipping over.
Set up a safety gate at the top and bottom of stairs to prevent falls. Consider door locks to keep children from entering rooms that are not child-friendly. Regularly check all safety devices to ensure they are functioning correctly. This ongoing vigilance is key to maintaining a safe home environment.
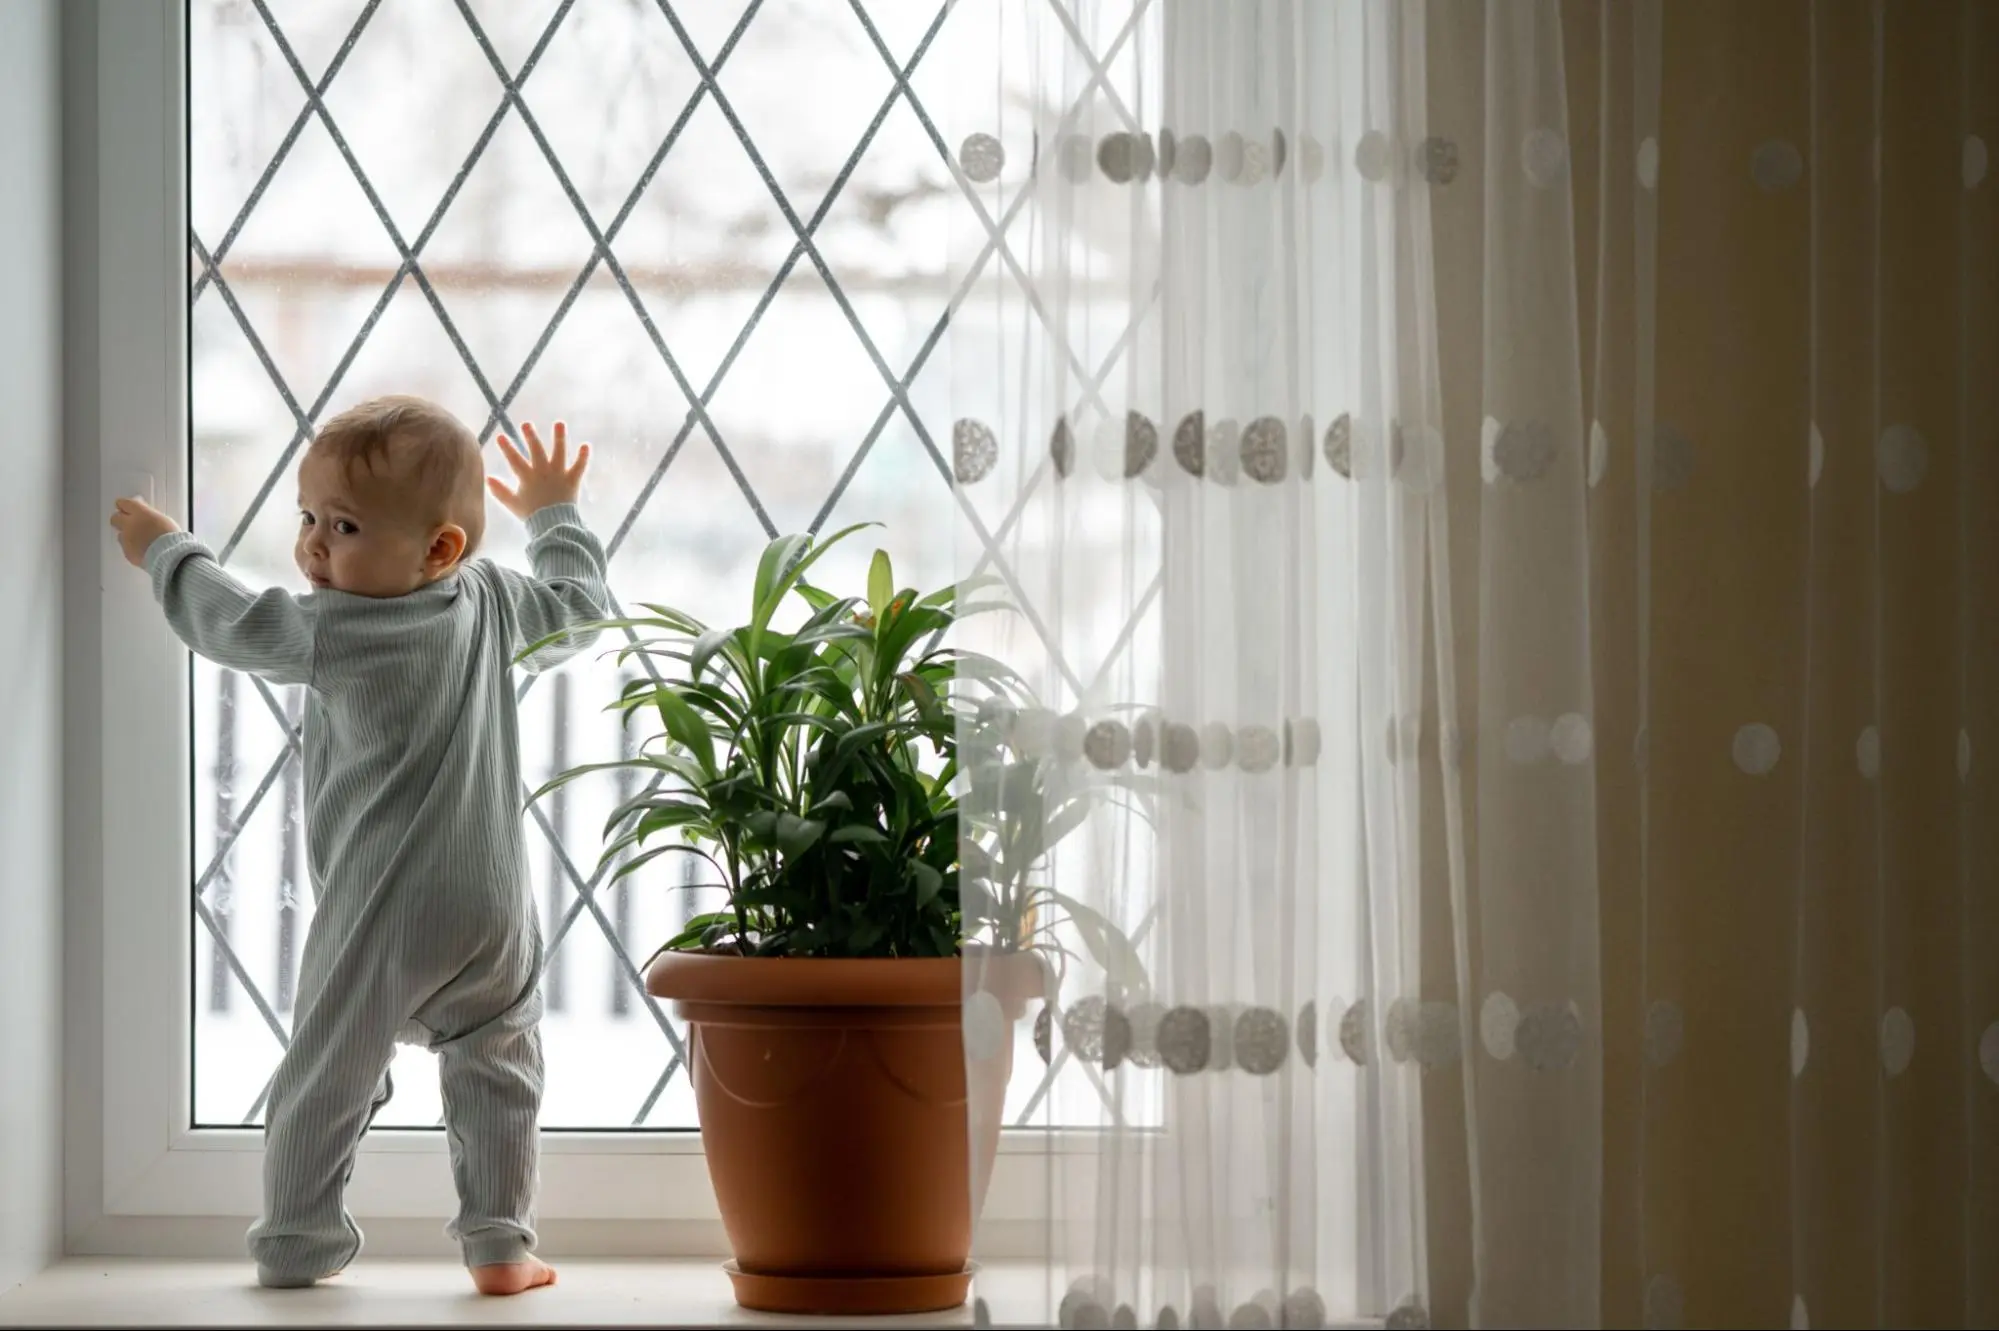
When childproofing your home, it’s crucial to focus on securing living spaces, ensuring kitchen and bathroom safety, and considering outdoor hazards. Each area has its potential risks that require specific safety measures.
Your living room and bedrooms should be free of hazards like unsecured furniture and sharp corners. Attach furniture such as bookshelves and TVs to the wall to prevent them from tipping over. Use corner cushions on tables and other sharp-edged furniture.
Install cordless blinds or cut the loops to prevent strangulation. Keep small objects and choking hazards out of reach and ensure electrical outlets have covers. If you have a fireplace, install a secure screen or gate to keep your child safe from the flames and hot surfaces.
The kitchen and bathroom contain many hazards such as sharp objects, hot surfaces, and appliances—secure cabinets with childproof locks to keep sharp objects, chemicals, and small appliances out of reach. Install stove knob covers and oven locks to prevent little hands from turning them on.
Keep the bathroom doors closed and use toilet locks to prevent drowning risks. Set your water heater to a safe temperature of 120 degrees F to avoid burns during bath time. Install non-slip mats in the bath and secure the toilet lid with a lock to prevent accidents.
Outdoor areas like your yard and patio also need childproofing. Ensure pools are fenced with self-locking gates. If you have a deck or stairs, install safety gates to prevent falls. Secure outdoor furniture to prevent tip-overs and keep gardening tools and chemicals locked away.
Install soft surface materials like mulch or rubber under play equipment to cushion falls. Be mindful of any outdoor appliances like grills, ensuring they are inaccessible and stored safely when not in use. Finally, check your fence for gaps and repair any potential escape routes for your child.

Making your home safe for children involves addressing several common hazards through maintenance and repair. From ensuring the water temperature is safe to covering sharp corners, these tasks are crucial for childproofing your home effectively.
Each of these tips focuses on practical home repairs that reduce risk and create a safer environment for your children. Regular upkeep and proper installations are essential in preventing accidents and injuries at home.
When it comes to childproofing, going beyond the basics can significantly enhance the safety of your home. By utilizing professional tools and technologies, you can ensure a secure environment for your little ones.
Engaging professional expertise can make a big difference in childproofing your home. Experts are trained to spot hazards that might not be immediately obvious. They can install specialized safety devices like a safety gate at the top and bottom of stairs, as well as across rooms. Professionals also recommend establishing strict protocols for fire safety.
Having a fire extinguisher readily available and ensuring it’s in good working condition is vital. Similarly, make sure carbon monoxide detectors are installed near sleeping areas, especially if you use gas or oil heat. It’s also advisable to have a well-stocked first aid kit that’s easily accessible in case of emergencies. These measures not only enhance safety but also provide peace of mind.
Today’s smart home technologies offer advanced solutions for childproofing. Home security systems with motion sensors and cameras can monitor activity throughout the house, ensuring kids are safe even when they’re playing alone. Smart locks can be installed on doors to prevent unauthorized access or accidental escapes, which is particularly useful for toddlers.
Additionally, using smart home devices to monitor water temperature can help avoid accidental burns. You can also integrate apps that alert you if your child gets too close to certain areas like the kitchen or the pool. Such technologies not only improve safety but also make childproofing more efficient and manageable.
By combining professional tools and modern technology, you can create an exceptionally safe environment for your children.
Childproofing your home involves several essential steps to ensure safety. Install smoke detectors on every level and near bedrooms. Use carbon monoxide (CO) alarms near sleeping areas, even if you don’t have fuel-burning appliances.
Set the temperature of your water heater to 120 degrees Fahrenheit to prevent burns. Place covers on electrical outlets and cushion furniture corners to avoid injuries. For windows, install locks that prevent them from being opened wide enough for a child to crawl through.
Regular safety audits are vital. Checking and maintaining safety devices regularly ensures they function properly. Adapt safety measures as your child grows and develops new skills.
By taking these steps, you can create a safe environment for your little ones. Stay proactive and ensure regular checkups of all safety devices and adaptations in your home. This way, you provide a secure and nurturing environment for your children.
You can create a safe environment for your little ones by taking these steps. Stay proactive and ensure regular checkups of all safety devices and adaptations in your home. This way, you provide a secure and nurturing environment for your children
Consider using Kaminskiy Care and Repair services for expert help in childproofing your home. We provide tailored solutions to your needs. Contact us today.
Ensure all cabinets and drawers have childproof locks. Place covers on electrical outlets and install safety gates at the top and bottom of stairs. Secure heavy furniture to the walls to prevent tipping. Use window locks or keep windows from opening wide enough for a child to crawl through.
Parents should start childproofing when their child begins to crawl, typically around 6 to 10 months old. This is the stage when babies become mobile and start exploring their surroundings, increasing the risk of accidents.
Consider purchasing safety gates, electrical outlet covers, cabinet locks, and corner cushions. Smoke and carbon monoxide detectors are also vital for safety. To handle minor injuries, a first aid kit with sterile gauze pads, antiseptic wipes, and a digital thermometer is useful.
A professional handyman brings experience and expertise in identifying potential hazards you might overlook. They can efficiently install safety devices and ensure everything is secure. Unlike DIY methods, a handyman’s approach often involves more thorough and professionally executed setups, which can provide additional peace of mind.
If you’re planning a home renovation project, you may be wondering if you need to hire a professional or if you can tackle it yourself. While DIY can be a fun and rewarding experience, it’s important to consider the scope of your project and your skill level before diving in. That’s where a handyman can come in handy. A handyman is a professional who can help with a wide range of home improvement tasks, from small repairs to larger renovation projects.
One of the main benefits of hiring a handyman for your home renovation project is trust. A licensed and insured handyman has the experience and training to complete your project safely and efficiently. They can also provide references and show you examples of their previous work to give you peace of mind. Additionally, a handyman can help you research and plan your project, ensuring that you stay within budget and on schedule.
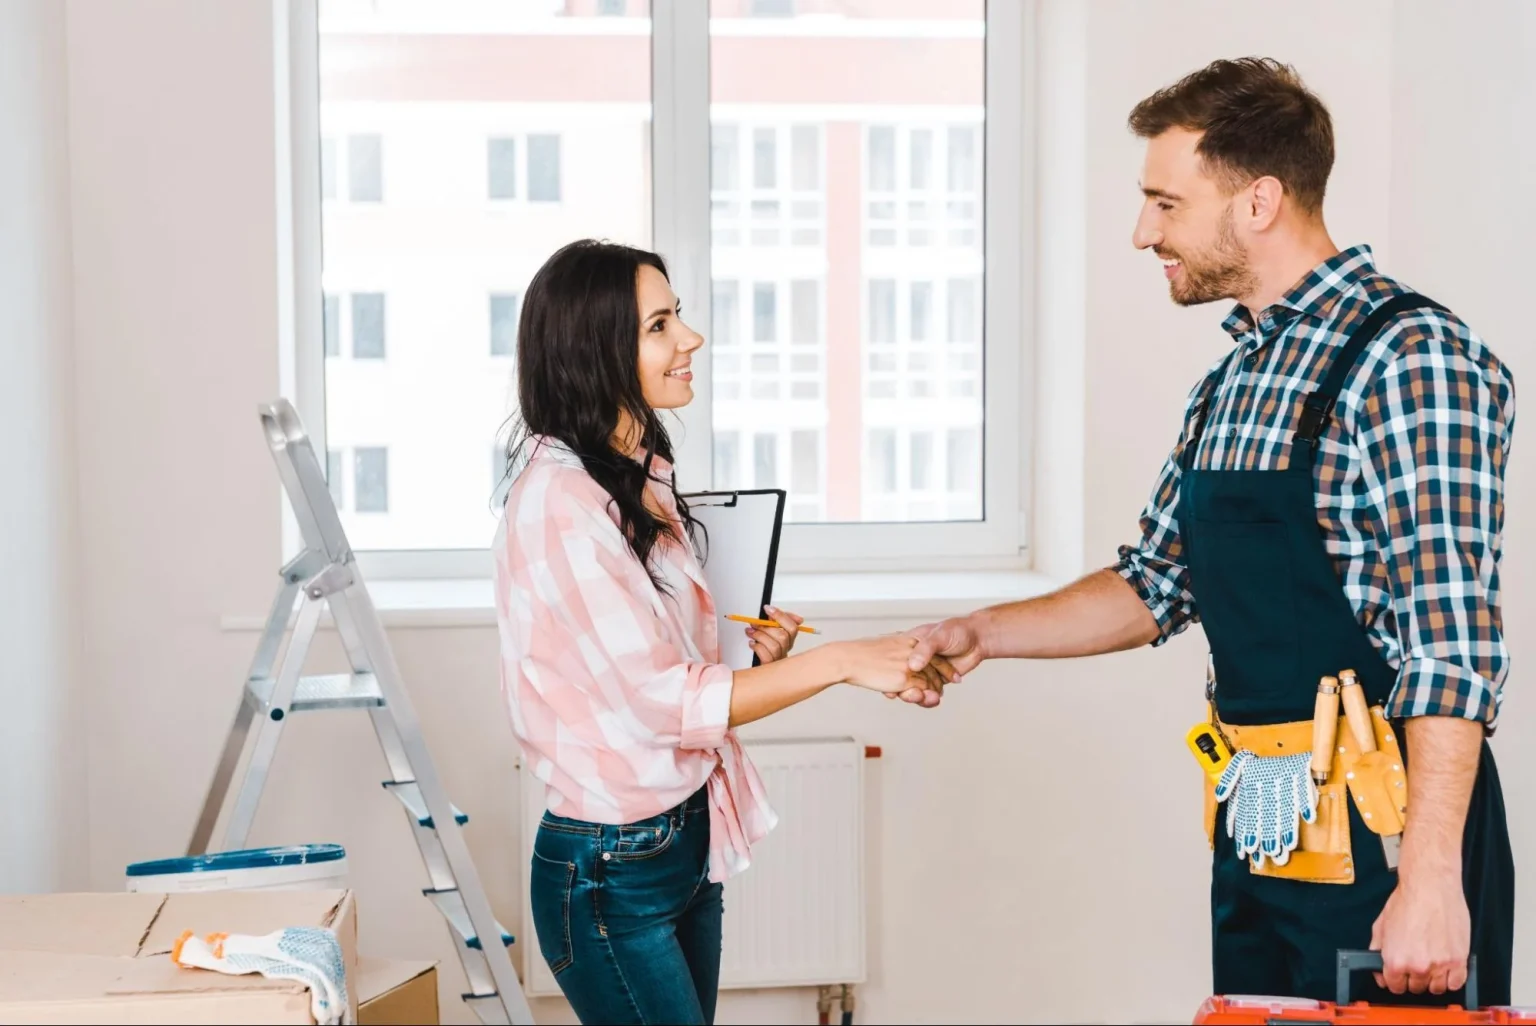
Before starting your home renovation project, it is important to plan. This includes determining the scope of work, choosing the right handyman, budgeting, and sourcing materials. By taking the time to plan, you can ensure that your project runs smoothly and stays on budget.
The first step in planning your home renovation project is to determine the scope of work. This includes deciding which rooms you want to renovate, what changes you want to make, and what your budget is. Consider factors such as function, design, and safety when making these decisions.
Choosing a skilled handyman for home renovation projects is crucial to the success of your home renovation project. Look for a handyman with online reviews, good communication skills, and who is licensed and insured. Ask for references and verify their credentials before hiring them.
Budgeting is an important part of any home renovation project. Determine how much you can afford to spend and allocate funds accordingly. Research the cost of materials, fixtures, appliances, paint, trim, furniture, laminate, lighting, tiling, cabinets, hardwood, doors, and parts. Consider sourcing materials from different suppliers to get the best price.
When planning your home renovation project, it is important to obtain any necessary permits and ensure that the project is done safely. By taking the time to research and plan, you can save money and ensure that your project is a success.
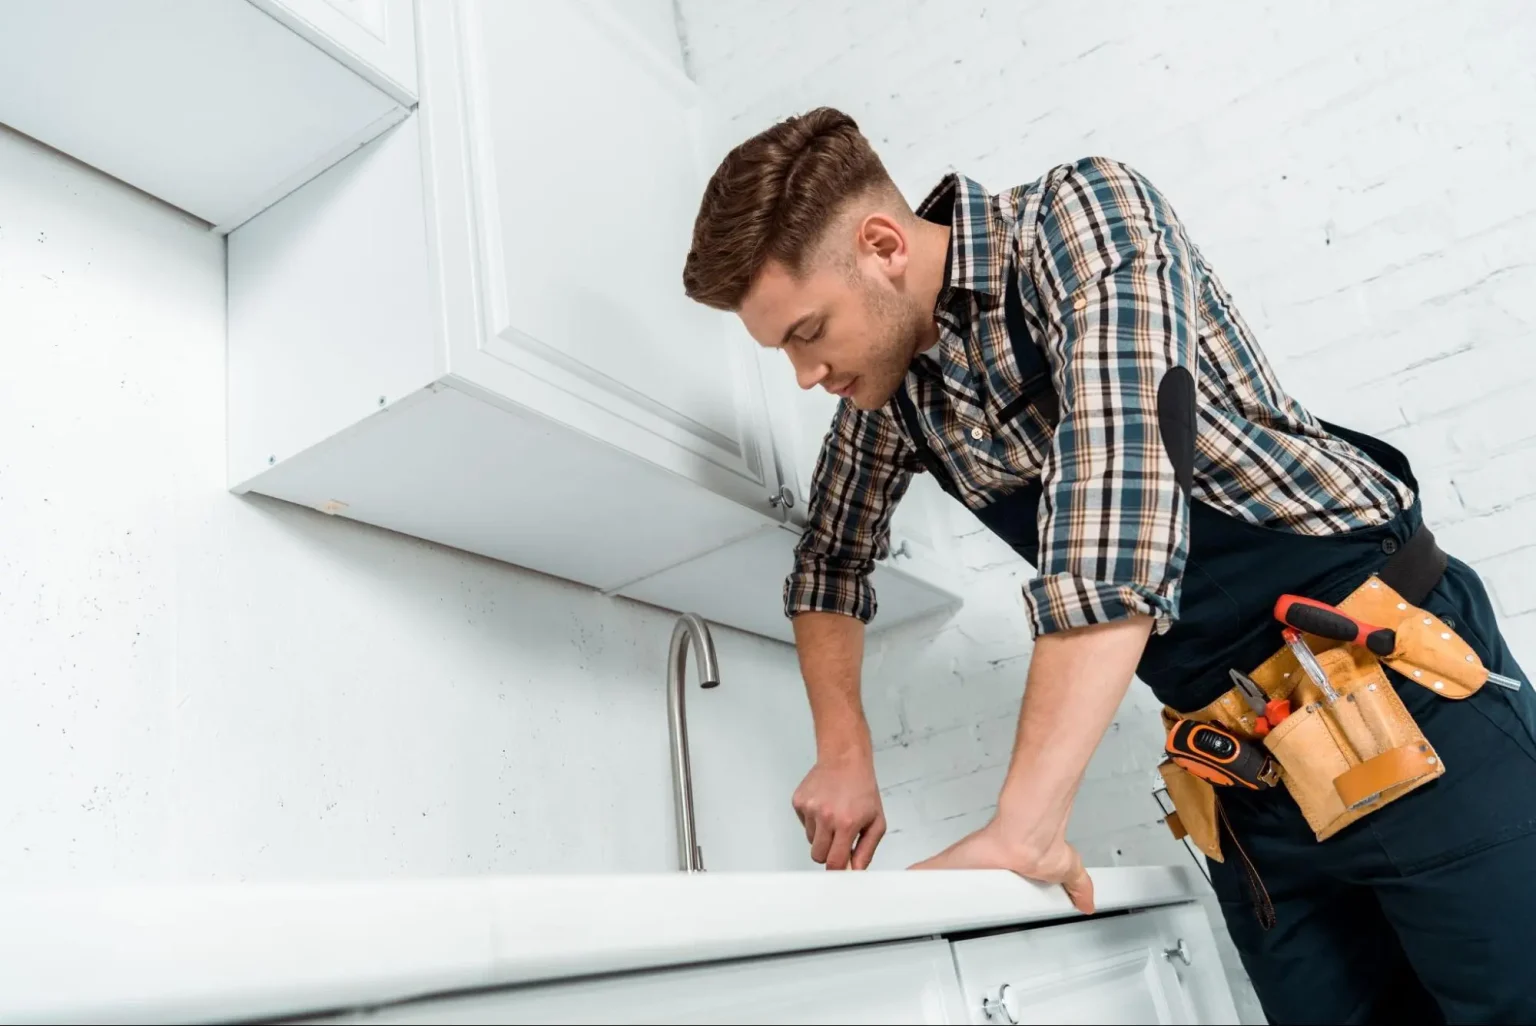
Once the design and planning phase of your home renovation project is complete, it’s time to execute the renovation. This is where the handyman’s skills and expertise come into play. In this section, we will discuss how a handyman can help you with executing your renovation project.
Whether you are making structural changes such as knocking down walls or cosmetic changes like painting and drywall repair, a handyman can help you with all aspects of your renovation project. They have the necessary skills and experience to handle any type of renovation work, including flooring, trim, cabinets, lighting, storage, and more.
Once the major work is done, it’s time to add the finishing touches to your renovation project. This includes cleaning up the work area, adding decor, and ensuring that everything is in its place. A handyman can help you with these final touches and ensure that your renovation project is completed to your satisfaction.
In addition to adding value and functionality to your home, a well-executed renovation project can also increase your home’s resale value and provide a good return on investment. With a handyman’s help, you can ensure that your renovation project is completed on time, within budget, and to your exact specifications.
Overall, a handyman is an essential part of any home renovation project. They can help with everything from walls, flooring, electrical, plumbing, painting, drywall, woodworking, carpentry, tiling, fixtures, kitchen backsplash, doors, windows, ceiling, cleaning, finishing touches, decor, storage, landscaping, furnishing, and lighting. With their skills and experience, they can help you create the home of your dreams.
In summary, a handyman can be a valuable asset to your home renovation project. They have the skills and experience to tackle various home improvement needs efficiently and effectively. From installations to general maintenance, a handyman can help you with a wide range of tasks.
When it comes to home renovations, a skilled handyman can play a crucial role in the planning and design phase of your project. They have hands-on experience and knowledge when it comes to understanding the structural aspects of a home and how different elements fit together. This can help you avoid costly mistakes and ensure that your project runs smoothly.
At Kaminskiy Care and Repair, we understand the importance of having well-executed home renovation projects. That’s why our expert handyman services provide quality and durability for any home renovation projects from minor projects to large projects. Contact us today!
Handymen can legally perform a variety of tasks during a home renovation, such as painting, minor plumbing and electrical work, installing fixtures, and general repairs. However, it’s important to note that they cannot perform any work that requires a license, such as major electrical or plumbing work.
When choosing a handyman for your home renovation, look for someone who has experience in the specific tasks you need help with. Check their references and reviews to ensure they have a good track record of quality work. Additionally, make sure they are licensed and insured, and ask for a written estimate before any work begins.
If you or a loved one is experiencing mobility challenges, it can be difficult to navigate a home that isn’t designed with accessibility in mind. Fortunately, there are many handyman solutions available that can help increase home accessibility and independence. From simple modifications to major renovations, a skilled handyman can help you create a comfortable and safe living environment that meets your unique needs.
Understanding home accessibility is the first step in creating a more comfortable and safe living environment. This includes identifying potential barriers to mobility, such as narrow doorways, steep staircases, and high countertops. Once you have a better understanding of your specific needs, you can begin to assess and plan for the modifications that will be necessary to make your home more accessible.
Whether you need to make simple adjustments to your entryway or require more extensive modifications to your bathroom or kitchen, there are a variety of accessibility solutions available. From installing grab bars and handrails to widening doorways and installing ramps, a skilled handyman can help you create a living space that is both safe and comfortable. Keep reading to learn more about the many handyman solutions available for increasing home accessibility.
Accessibility is a crucial aspect of any home design. It refers to the ease of use and mobility within a living space, and it is essential for people with disabilities, the elderly, and anyone who wants to live independently. We will dive further into the importance of accessibility for mobility and ADA compliance in home modification.
Mobility is the ability to move around freely and independently. It is an essential aspect of daily living, and it becomes even more critical for people with disabilities or the elderly. An accessible home allows individuals to move around safely and efficiently, promoting independence and improving their quality of life.
To achieve accessibility, homeowners need to consider universal design principles when modifying their homes. Universal design principles aim to create living spaces that are accessible to everyone, regardless of age or ability. This includes features like wider doorways, slip-resistant flooring, lower countertops, and grab bars in bathrooms.
The Americans with Disabilities Act (ADA) sets standards for accessibility in public spaces, including homes that are used as public accommodations. Homeowners who modify their homes to accommodate people with disabilities must comply with ADA standards. This includes features like wheelchair ramps, accessible entrances, and grab bars in bathrooms.
However, not all home modifications require ADA compliance. Homeowners can modify their homes for personal use without complying with ADA standards. Still, it is essential to consider accessibility and universal design principles to ensure that the home is safe and comfortable for everyone who lives in it.
Understanding home accessibility is crucial for homeowners who want to create safe and comfortable living spaces. By considering universal design principles and ADA compliance, homeowners can create homes that are accessible to everyone, regardless of age or ability.
When it comes to making your home more accessible, the first step is to assess your needs. This will help you determine what modifications and updates are necessary to make your home more comfortable and safe.
To evaluate your accessibility needs, start by identifying the areas of your home that are most difficult to navigate. This might include narrow doorways, steep stairs, or high shelves. Consider your physical abilities and limitations, and think about what changes would make your daily life easier.
You may also want to consult with a contractor or accessibility specialist to get a professional assessment. They can help you identify potential hazards and recommend modifications that will improve your home’s Environmental Fit.
Once you’ve identified the modifications you need, it’s time to set a budget. Home modifications can be expensive, so it’s important to plan carefully and make sure you’re getting the best value for your money.
Start by researching the cost of the modifications you need. Look for contractors who specialize in accessibility updates and get quotes from several different companies. This will help you get a sense of the average cost of the modifications you need.
Keep in mind that some modifications may be covered by insurance or government programs. Check with your insurance provider and local government to see if you qualify for any assistance.
By evaluating your accessibility needs and setting a budget, you can make informed decisions about the modifications and updates you need to make your home more accessible. With the help of a qualified contractor and careful planning, you can create a safe and comfortable living environment that meets your unique needs.
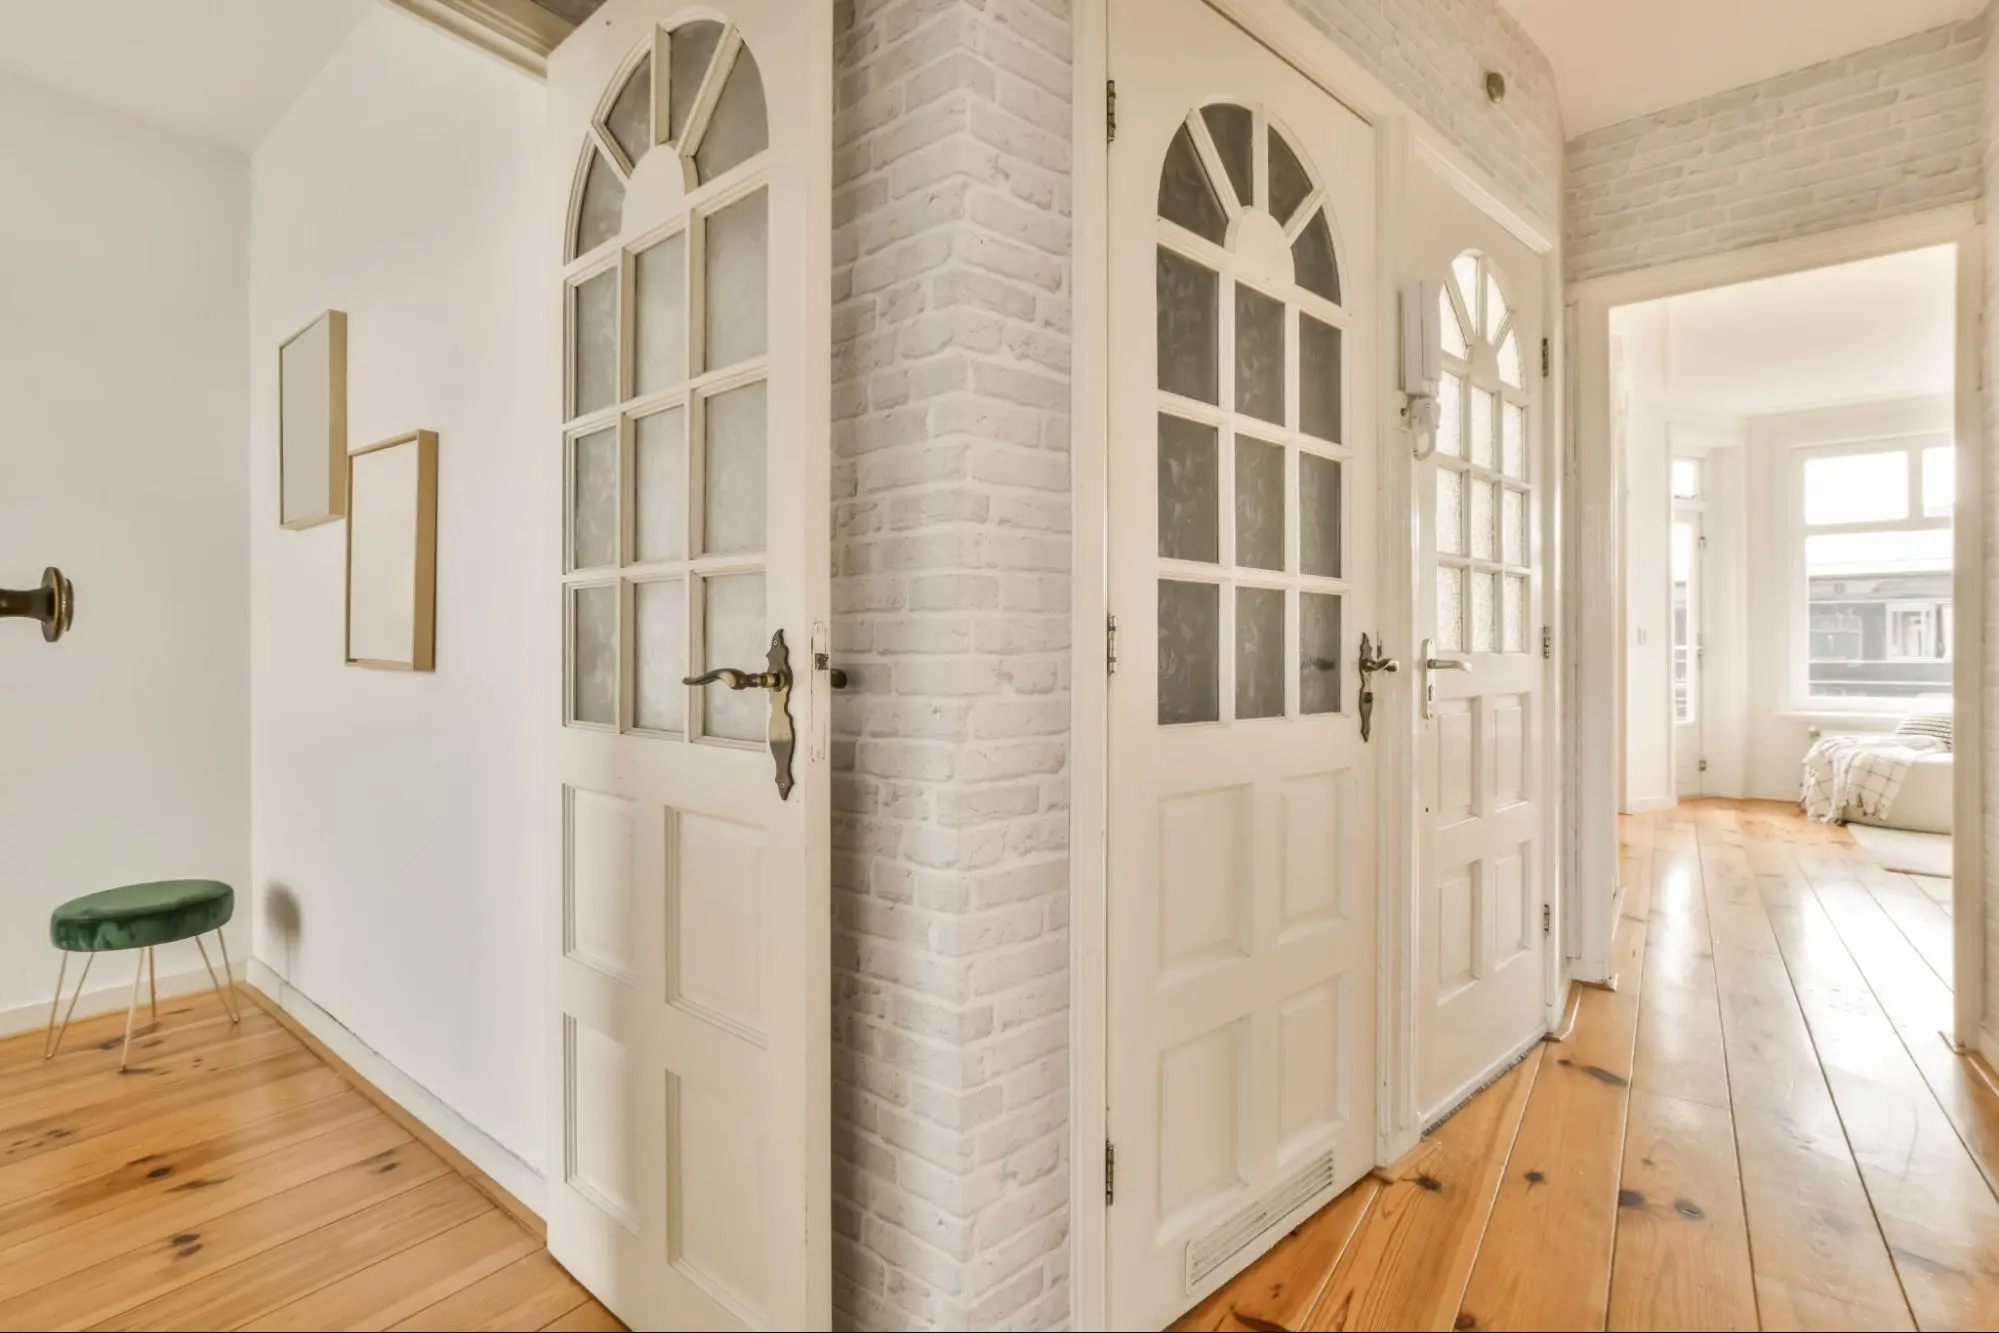
As a homeowner, you want to ensure that your home is accessible to everyone, including those with mobility challenges. Entryways and doors can be a major obstacle for wheelchair users, but there are several accessibility solutions available to help make your home more welcoming.
One of the most important accessibility solutions for entryways is to widen doorways for wheelchair access. The Americans with Disabilities Act (ADA) mandates that door openings should be at least 32 inches wide, but it is recommended to have a minimum of 36 inches of clearance for easy access.
Widening doorways can be done by removing the door frame and installing a wider frame. Alternatively, offset hinges can be installed to swing the door clear of the opening, creating more space for a wheelchair to pass through.
Another important accessibility solution for entryways is to install ramps and thresholds. Ramps provide a smooth, gradual incline that allows wheelchair users to easily access your home. Threshold ramps can be used to bridge the gap between the floor and the doorway, making it easier to navigate over door thresholds.
When installing ramps and thresholds, it’s important to consider the slope and length of the ramp. The ADA recommends a slope of no more than 1:12, with a maximum rise of 30 inches before a landing is required. Additionally, the ramp should be at least 36 inches wide to accommodate a wheelchair.
In general, widening doorways and installing ramps and thresholds are both effective accessibility solutions for entryways and doors. By making these modifications, you can ensure that your home is welcoming and accessible to everyone.
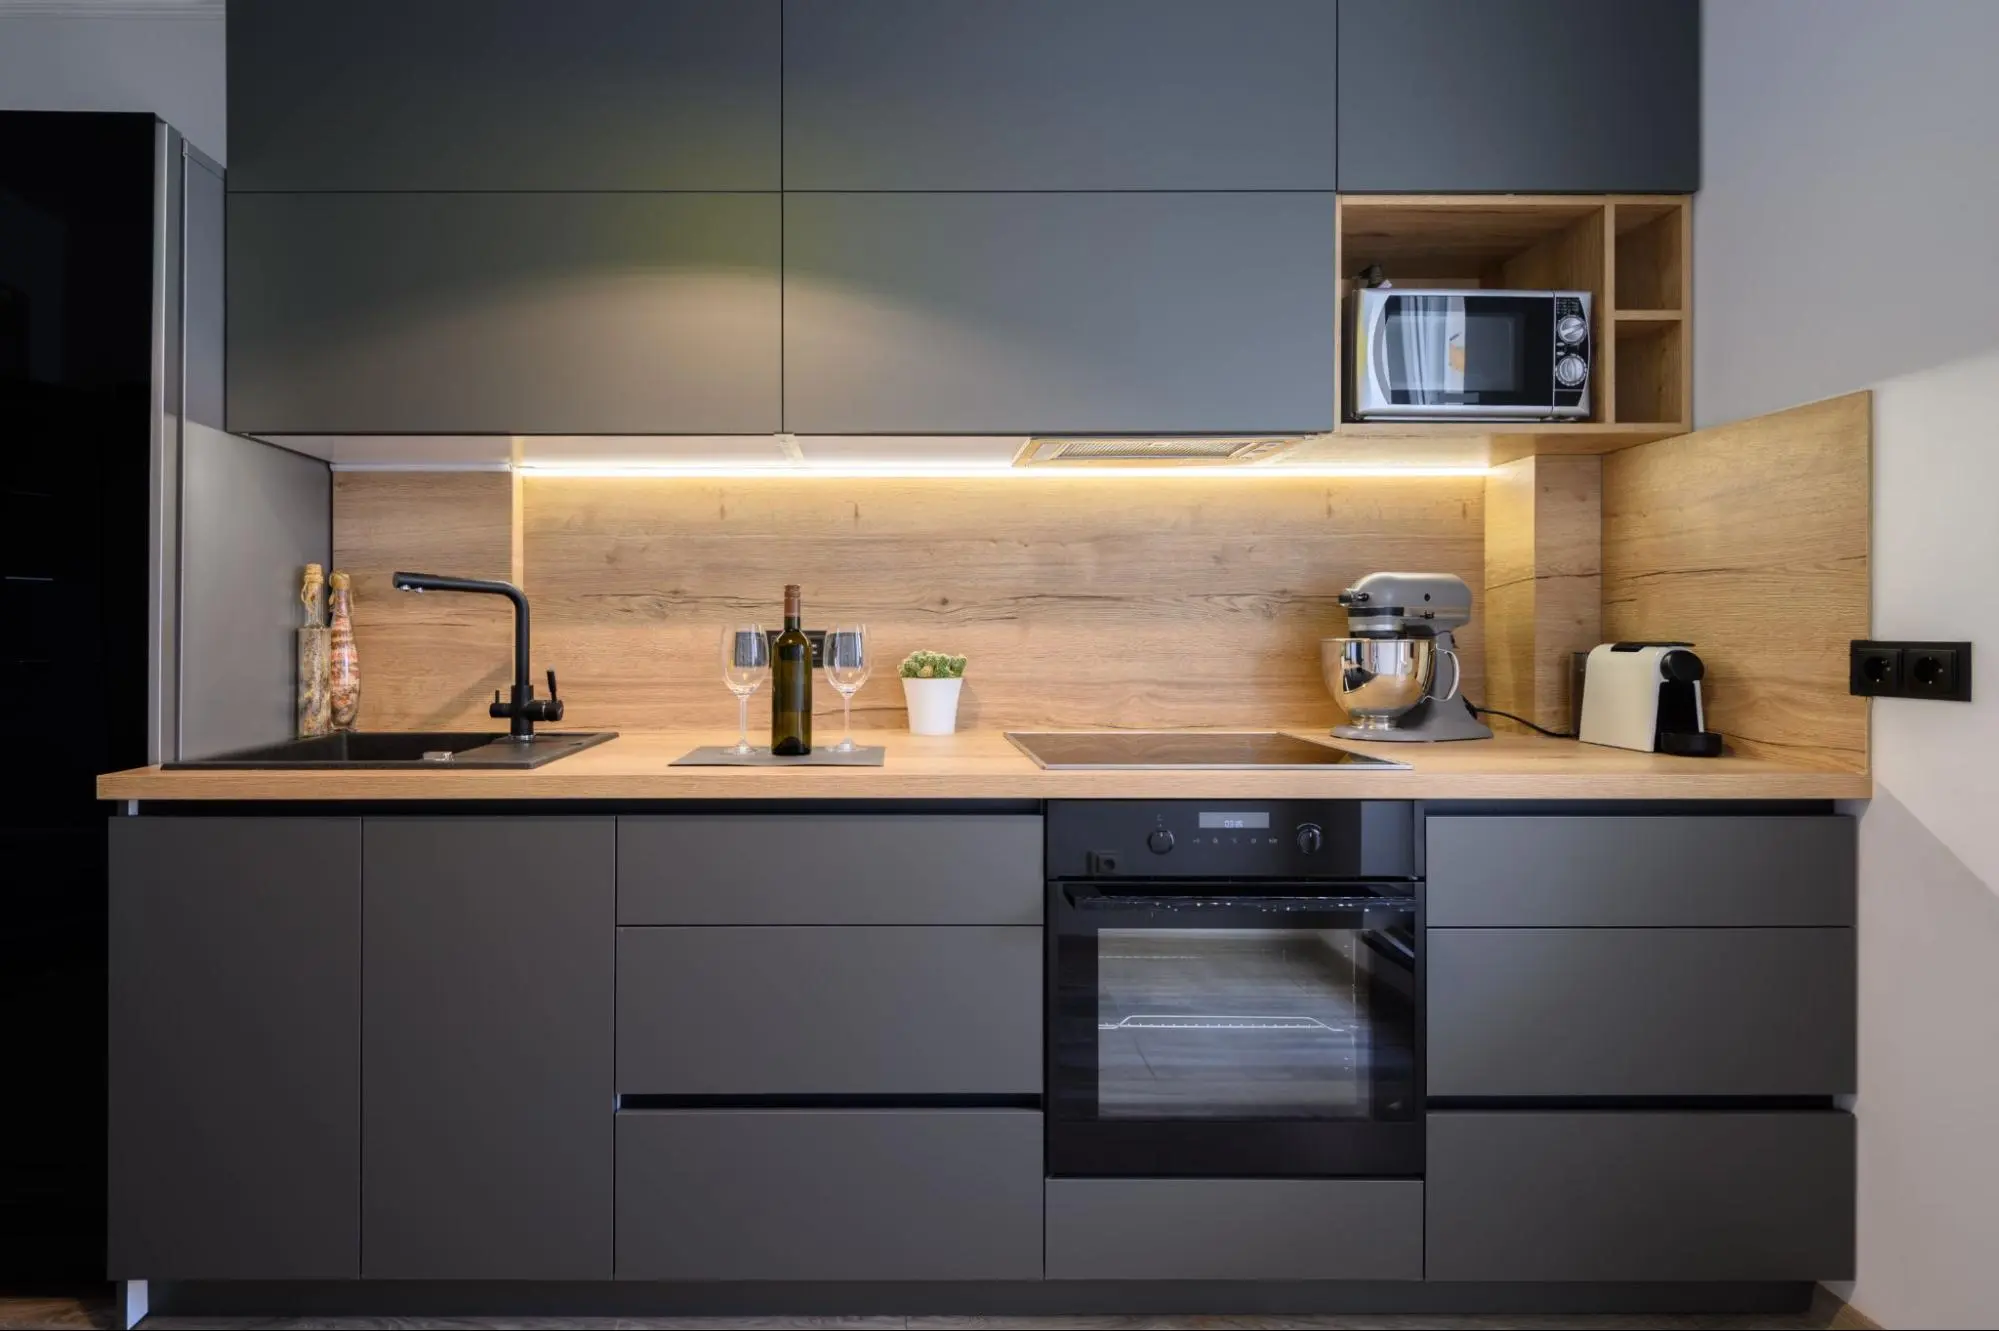
Making your kitchen more accessible can be a daunting task, but with the right modifications, you can make it more functional and safe for everyone. Here are some modifications you can make to enhance mobility in your kitchen.
Modifying your kitchen cabinets and countertops can make a significant difference in your kitchen’s accessibility. Lowering the height of your countertops and cabinets can make them more accessible for people who use wheelchairs or have limited mobility. You can also install pull-out shelves and drawers to make it easier to reach items in the back of your cabinets.
To improve flow, you can install cabinets and countertops with a distance of 48 inches between them. This distance allows for better maneuverability and makes it easier to move around the kitchen.
Roll-under sinks and appliances are a great addition to any accessible kitchen. They allow for easy access and are designed to make it easier for people who use wheelchairs or have limited mobility to use the sink or appliances.
When incorporating roll-under sinks, it’s essential to consider the height and placement of the sink. The sink should be installed at a height that is comfortable for the user, and there should be enough space underneath for their legs and knees.
In addition to roll-under sinks, you can also incorporate roll-under appliances such as stovetops, ovens, and dishwashers. These appliances are designed to slide out from underneath the counter, making them more accessible for people who use wheelchairs or have limited mobility.
By making these modifications, you can enhance mobility in your kitchen and make it more accessible for everyone.
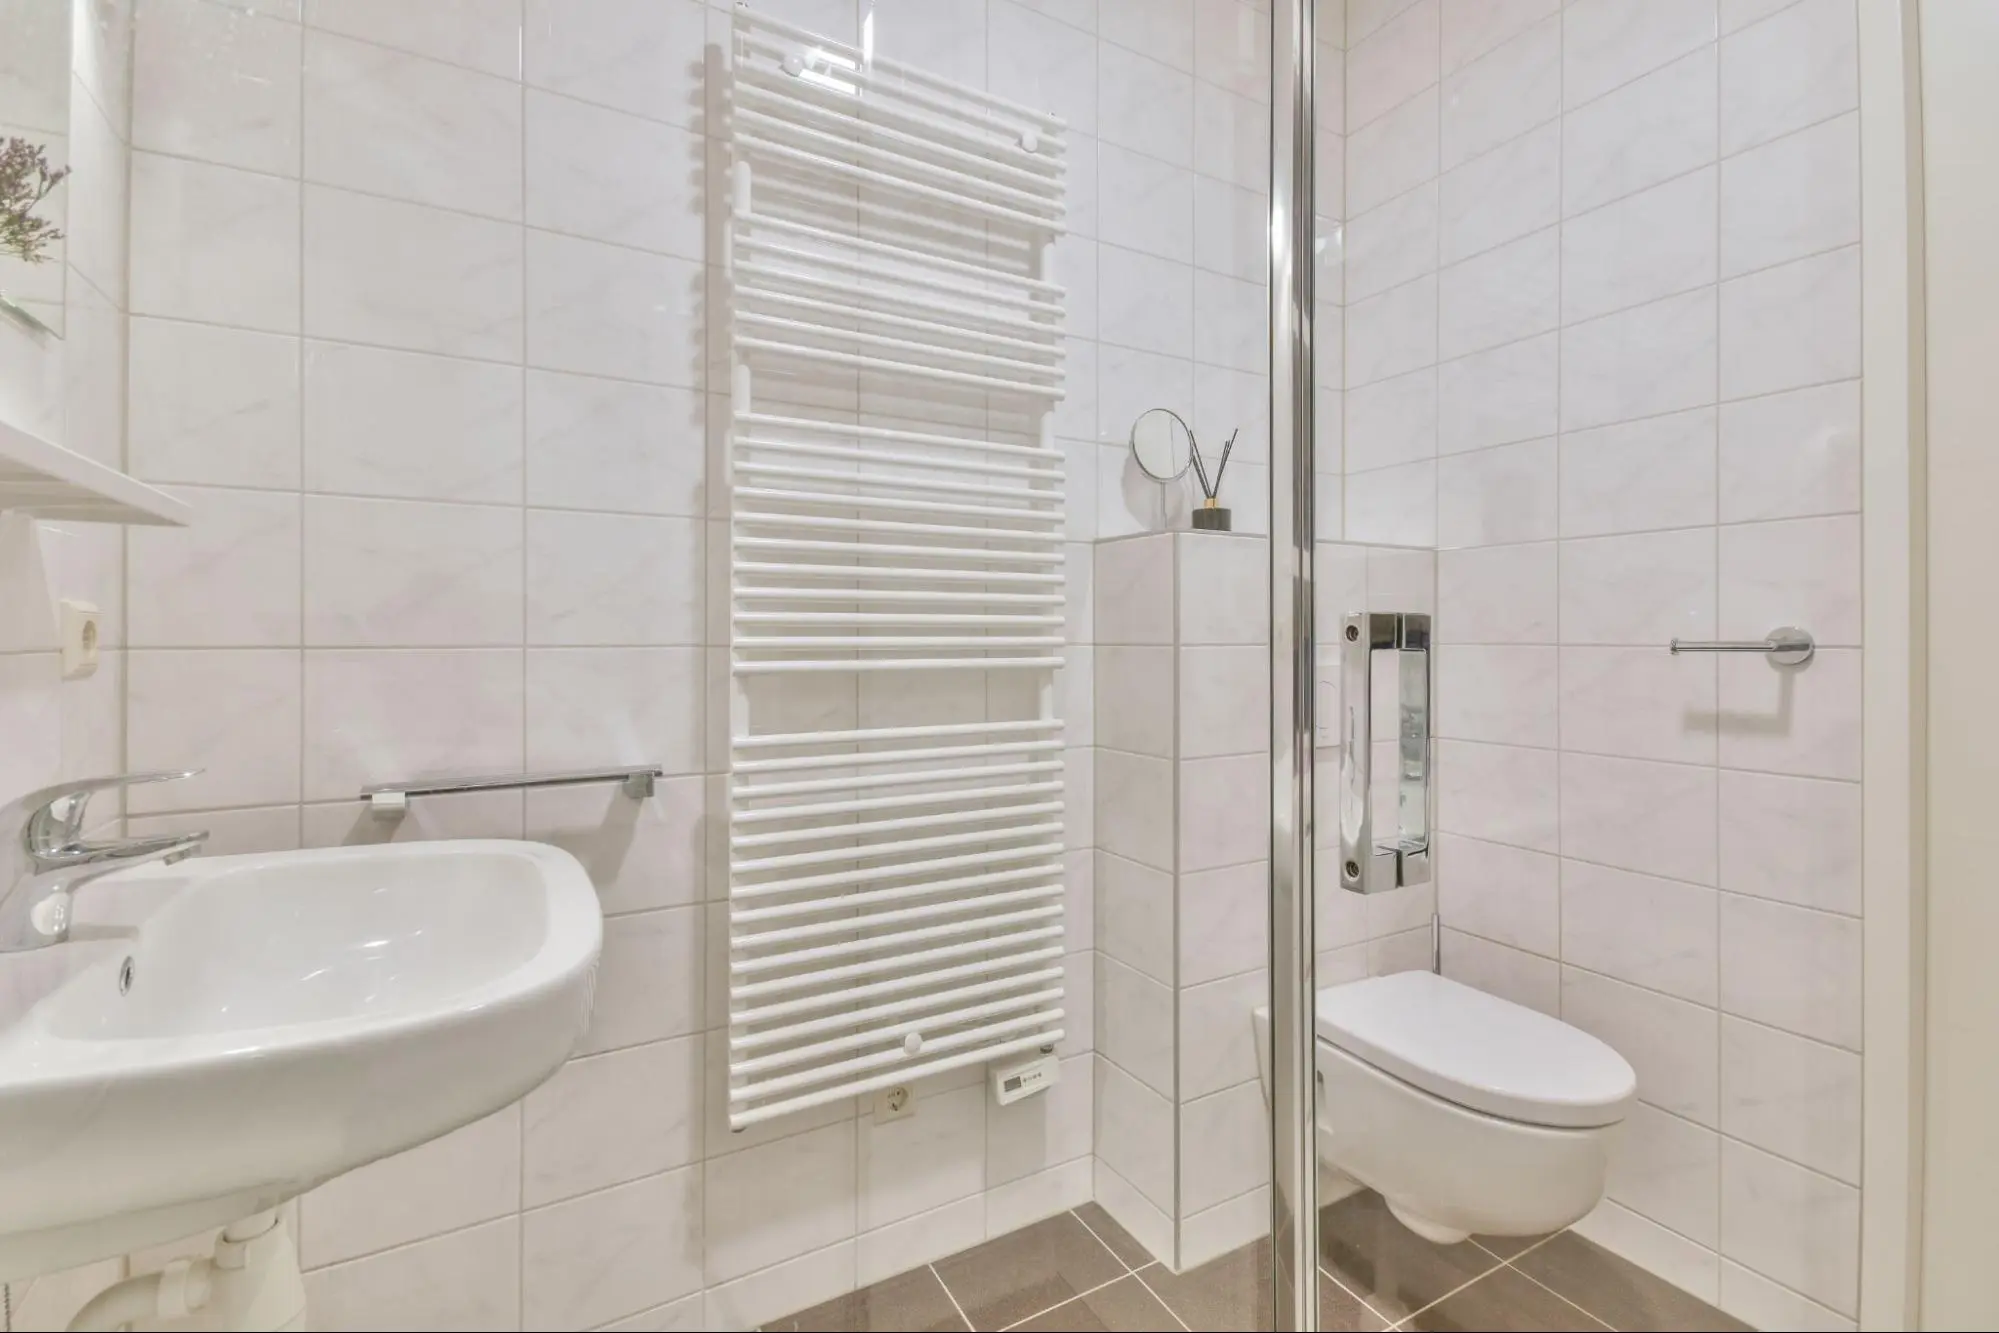
Making your bathroom more accessible is an important step in increasing home accessibility. There are several improvements you can make to your bathroom to make it easier and safer to use. Here are some ideas to consider:
Grab bars and safety rails are essential for anyone with mobility issues. They provide support and stability when getting in and out of the shower or bathtub, using the toilet, or moving around the bathroom. You can install grab bars and safety rails in various locations around the bathroom, including next to the toilet, in the shower or bathtub, and next to the sink.
When installing grab bars and safety rails, make sure they are securely mounted to the wall and can support the weight of the user. You can choose from different materials, such as stainless steel, plastic, or chrome, and different finishes, such as polished or brushed. Some grab bars also come with a non-slip surface to provide extra grip.
There are several modifications you can make to your shower and toilet to make them more accessible. One option is to install a step-in shower, which has a low threshold and can be easily accessed by someone with mobility issues. Another option is to install a roll-in shower, which has a ramp instead of a threshold and can accommodate a wheelchair.
You can also consider raising your toilet to make it easier to use. A toilet riser can be installed on top of your existing toilet to raise the seat height by a few inches. This can be helpful for someone who has difficulty sitting down or standing up from a low toilet.
Overall, these bathroom accessibility improvements can make a significant difference in the safety and comfort of your bathroom. It’s important to consult with a professional handyman to ensure that the modifications are properly installed and meet your specific needs.
When it comes to flooring adjustments to increase home accessibility, one of the most important factors to consider is slip resistance. Slip-resistant flooring can help prevent falls and injuries, especially in areas that are prone to moisture, such as bathrooms and kitchens.
One option for slip-resistant flooring is low-pile carpeting. Low-pile carpeting has a short pile height which makes it easier to move wheelchairs and walkers over it. It also provides a soft surface to walk on, reducing the impact of falls.
Another option is non-slip flooring, which is designed to provide a high level of traction and prevent slips and falls. Non-slip flooring can be made from a variety of materials, including vinyl, rubber, and cork.
If you or someone in your household has mobility issues, stairs can be a major obstacle. However, there are several solutions to make your home more accessible.
Stair lifts and wheelchair lifts are excellent solutions for people who have difficulty climbing stairs. Stair lifts are installed on the side of your staircase and can carry you up and down the stairs while seated. Wheelchair lifts are installed vertically and can carry you and your wheelchair up to another level.
Both of these solutions require professional installation and can be expensive. However, they are a long-term investment that can make your home much more accessible and comfortable.
Making small changes to fixtures and hardware in your home can make a big difference in increasing accessibility. Here are some simple solutions to consider:
Replacing traditional door knobs and hinges with lever-style handles and easy-to-use hinges can make it easier for people with limited mobility or hand strength to open doors. Lever handles require less grip strength than traditional door knobs, making them a great option for those with arthritis or other hand conditions. Easy-to-use hinges can also reduce the amount of force needed to open and close doors, making them easier to use for everyone.
Voice assistants and smart home features can be a game changer for people with disabilities or mobility issues. With the help of a voice assistant, you can control your home’s lighting, temperature, and other features without having to physically interact with switches or buttons. Smart door locks can also be controlled remotely, eliminating the need to physically lock and unlock doors. These features can be especially helpful for people with limited mobility or those who use wheelchairs.
By adapting fixtures and hardware in your home, you can make it more accessible and easier to navigate for everyone. Consider these simple solutions to increase accessibility and make your home more comfortable and convenient.
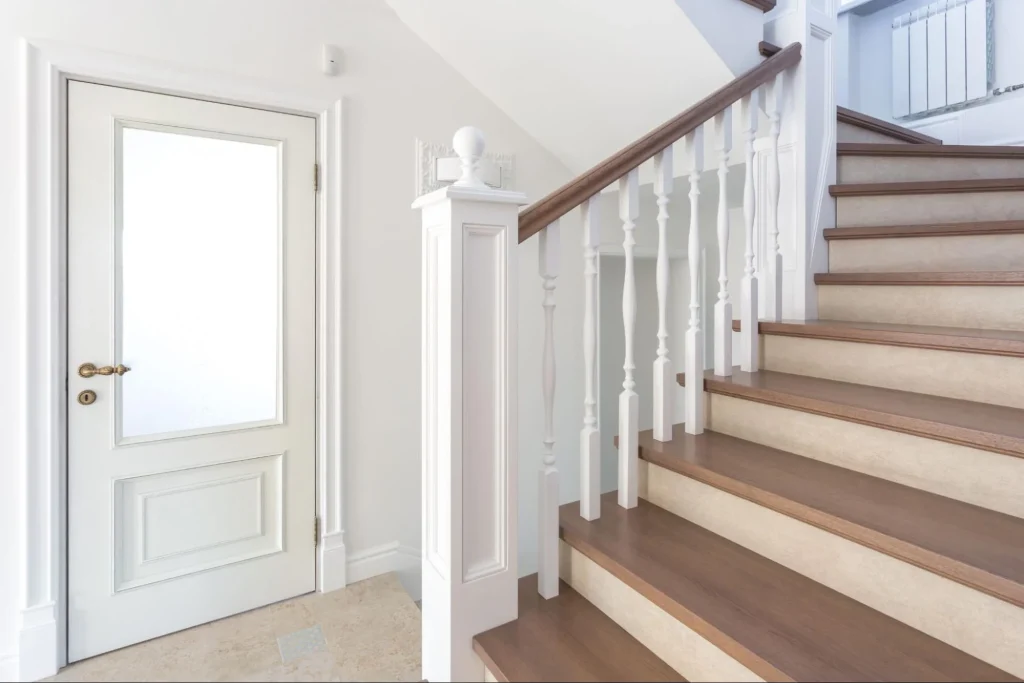
As you or your loved ones age, it is important to take steps to minimize the risk of falls and ensure safety within the home. Falls can result in serious injuries, so it is crucial to implement strategies that can help prevent them. In this section, we will discuss some of the ways you can reduce fall risks and ensure safety in your home.
There are several strategies you can implement to minimize the risk of falls in your home. One effective way is to install safety bars in areas where falls are more likely to occur, such as in the bathroom and near stairs. Safety bars can provide support and stability for individuals who may have difficulty with balance or mobility.
Another way to minimize fall risk is to remove tripping hazards, such as loose rugs or cluttered pathways. Make sure that all areas of your home are well-lit, especially at night, to help you see potential hazards more clearly. You may also want to consider installing grab bars near the toilet and in the shower to provide additional support.
As you or your loved ones age, you may want to stay in your own home and community for as long as possible. This is called aging in place, and it’s becoming more and more common. With the help of Handyman Solutions for aging in place, you can make your home more accessible and comfortable, allowing you or your seniors to age in place with ease.
Handyman Solutions offers a variety of services and products to make your home more accessible. From home modifications to mobility devices and aids, they have everything you need to make your home safe and comfortable. They can install grab bars, handrails, and ramps to make it easier to get around your home. They can also widen doorways and lower countertops to make your home more accessible.
In addition to home modifications and mobility devices, Handyman Solutions also offers other products and services to make your home more comfortable. They can install shower seats and handheld showerheads to make bathing easier. They can also install raised toilet seats and toilet safety frames to make using the bathroom safer and more comfortable.
Overall, aging in place with Handyman Solutions is a great option for those who want to stay in their own home and community as they age.
If you or a loved one is struggling with mobility or accessibility issues in your home, several handyman solutions can help. By making a few modifications to your home, you can increase safety and independence, and make everyday tasks easier and more manageable.
One option is to install grab bars in bathrooms and other areas where extra support is needed. This can help prevent falls and make it easier to get up from a seated position. Another option is to install handrails on stairs and ramps, which can also help prevent falls and improve stability.
If you use a wheelchair or other mobility aid, widening doorways and hallways can make it easier to navigate your home. You may also want to consider installing a ramp or lift to provide easier access to different levels of your home.
Other modifications that can improve accessibility include installing lever door handles, lowering closet rods, and adding non-slip flooring. These changes can make it easier to perform everyday tasks and reduce the risk of accidents.
If you’re not sure where to start, consider contacting a professional handyman service like Kaminskiy Care and Repair. We can assess your home and recommend modifications that will best meet your needs and budget. Contact us today!
A handyman can make several modifications to improve home accessibility for the elderly and disabled. These modifications include installing grab bars in the bathroom, widening doorways, and installing ramps, and handrails on stairs. They can also install non-slip flooring, lever-style door knobs, and rocker light switches. A handyman can also lower closet rods and install low-profile shelving to make clothing items more accessible.
A home can be adapted to enhance mobility for individuals with physical disabilities by installing ramps, widening doorways, and installing stairlifts. A handyman can also install grab bars in the bathroom and handrails on stairs to provide additional support. Lever-style door knobs and rocker light switches can also be installed to make it easier for individuals with physical disabilities to access different areas of the home.
For someone using a wheelchair, recommended home modifications include installing ramps, widening doorways, and installing stairlifts. A handyman can also install grab bars in the bathroom and handrails on stairs to provide additional support. Lever-style doorknobs and rocker light switches can also be installed to make it easier for individuals using a wheelchair to access different areas of the home. Lowering closet rods and installing low-profile shelving can also help make clothing items more accessible.
It is important to consider accessibility in home design because it can make a home more comfortable and safer for individuals with disabilities or mobility issues. By making modifications to increase accessibility, individuals can maintain their independence and live more comfortably in their homes. Additionally, these modifications can increase the value of a home and make it more appealing to a wider range of buyers.
To find a reliable handyman to make accessibility improvements in your home, you can start by asking for recommendations from friends, family, and neighbors. You can also search online for handyman services in your area and read reviews from previous customers. Look for a handyman who has experience making accessibility improvements and who is licensed and insured. Before hiring a handyman, be sure to ask for a written estimate and check their references.
If you’re not sure where to start, consider contacting a professional handyman service like Kaminskiy Care and Repair. We can assess your home and recommend modifications that will best meet your needs and budget.
If you’re new to the world of DIY home improvement, it can be tricky to know where to start. There are so many projects to choose from, and it can be overwhelming to figure out which ones are suitable for beginners. Fortunately, there are plenty of simple and impactful projects that can help you develop your DIY skills and give your home a fresh new look.
Getting started with DIY home improvement is all about finding projects that match your skill level and interests. Whether you’re looking to spruce up your living room, revamp your kitchen, or tackle a landscaping project, there are plenty of options to choose from. By starting with simple projects, you can build your confidence and gradually take on more challenging tasks.
In this article, we’ll explore some of the best home improvement projects for handyman beginners. From painting and landscaping to installing new fixtures and appliances, we’ll cover a range of projects that can help you develop your DIY skills and give your home a new lease on life. So, whether you’re looking to save money on home repairs or just want to try your hand at something new, read on to discover some great DIY home projects for beginners.
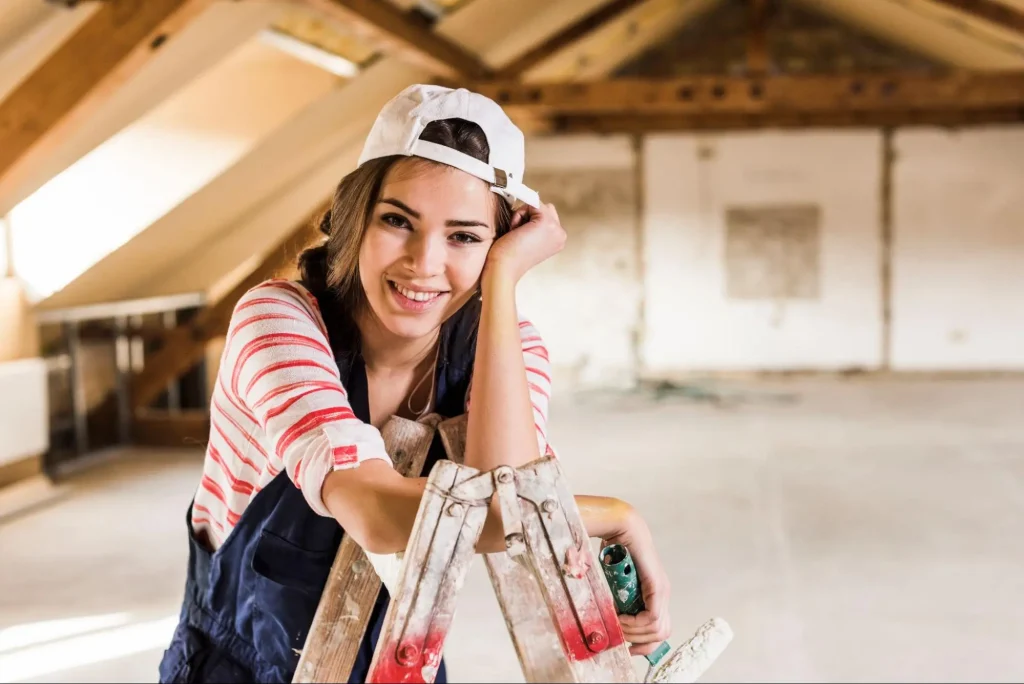
If you’re new to home improvement, it can be overwhelming to know where to start. However, with the right tools, materials, and knowledge, you can tackle many projects on your own. Here are some tips to help you get started.
Before you begin any DIY project, it’s important to have the right tools and materials on hand. Here are some essential items to consider:
In addition to tools, you’ll also need to have the right materials and supplies. This can include things like wood, screws, nails, paint, and more. Be sure to research your project in advance to determine what materials you’ll need.
In addition to DIY projects, it’s important to understand basic home maintenance tasks. This can help you keep your home running smoothly and avoid costly repairs in the future. Here are some tasks to consider:
By understanding basic maintenance tasks and having the right tools and materials, you can feel confident tackling DIY home improvement projects.
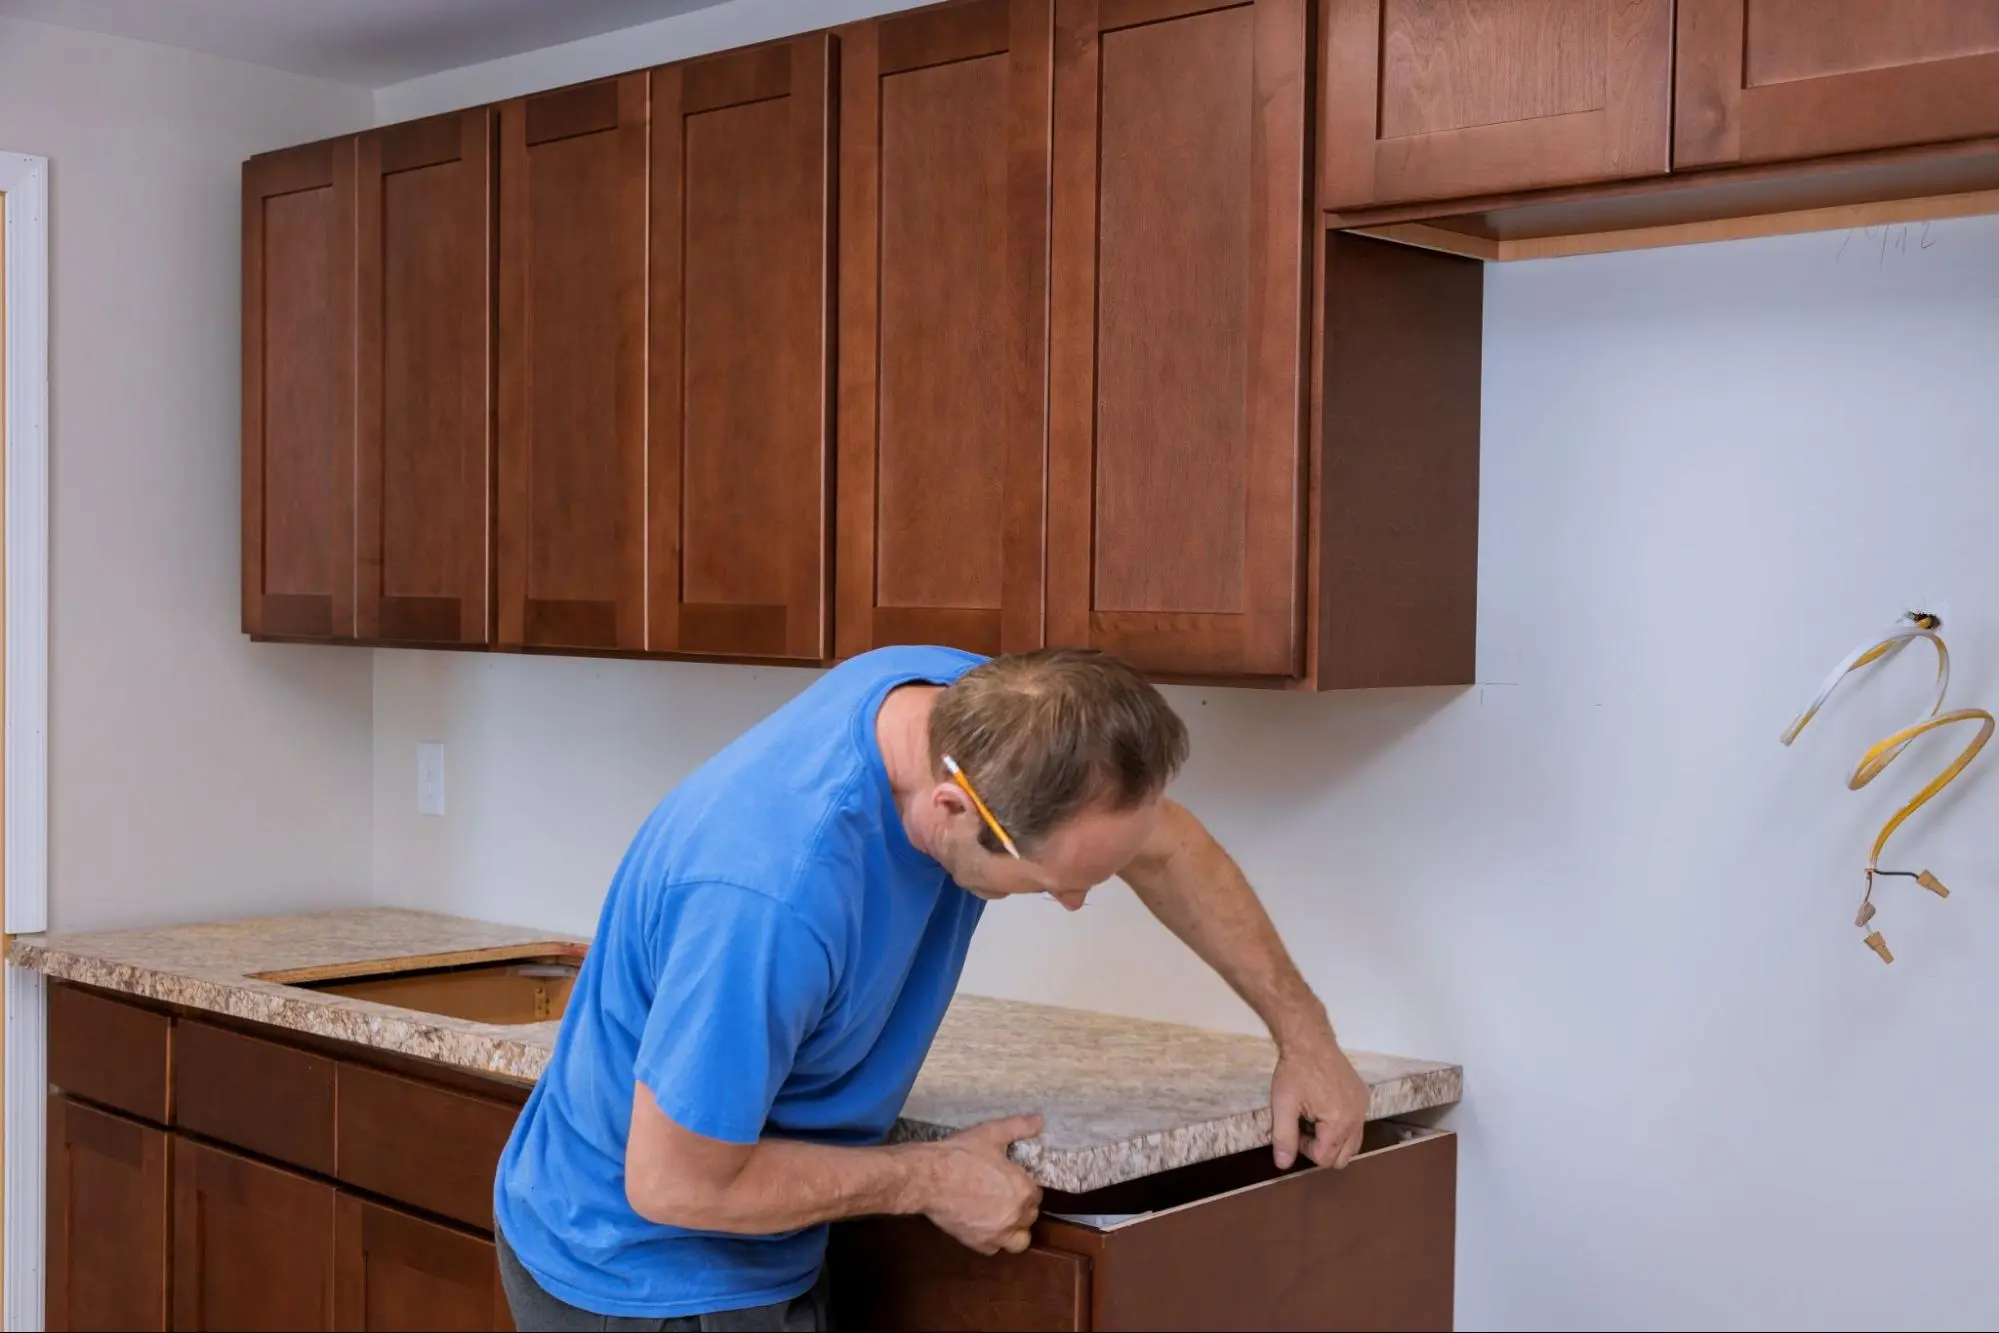
If you’re a handyman beginner, there are plenty of simple and impactful home improvement projects you can tackle to improve the look and functionality of your home. Here are some ideas to get you started:
No matter what project you choose, be sure to research and plan to ensure a successful outcome. With a little bit of effort and some basic tools, you can tackle these simple and impactful home improvement projects and enjoy the benefits of a more functional and beautiful home.
Whether you’re looking to save money on home repairs or just want to learn new skills, there are plenty of home improvement projects that are perfect for beginners.
One of the best ways to get started with home improvement is to focus on small projects that can be completed in a weekend or less. For example, you might start by painting a room or installing new light fixtures. These projects are relatively easy to complete and can make a big difference in the look and feel of your home.
Another great option for beginners is to focus on projects that require basic carpentry skills. For example, you might build a bookshelf or a simple bench. These projects are a great way to practice your measuring, cutting, and sanding skills, and they can be completed with just a few basic tools.
If you’re looking for more advanced projects, consider tackling a bathroom or kitchen renovation. These projects can be more challenging, but they can also be very rewarding. Just be sure to do your research before you get started, and don’t be afraid to ask for help if you need it.
At Kaminskiy Care and Repair, we understand that home improvement can be overwhelming, especially for beginners. That’s why we offer a wide range of home repair and renovation services to help you get the job done right. Whether you need help with a small project or a major renovation, we’re here to help. Contact us today to learn more.
If you’re new to home improvement, it’s best to start with small projects that can be completed in a weekend. Some ideal weekend home improvement projects for beginners include painting a room, installing new light fixtures, upgrading cabinet hardware, or adding a backsplash in the kitchen. These projects are relatively simple, require minimal tools, and can be completed with a modest budget.
If you live in a small house, many simple home improvement ideas can help you maximize your space. Consider installing built-in shelving or storage solutions, adding a fresh coat of paint to walls or cabinets, or replacing bulky furniture with multi-functional pieces. You can also create the illusion of more space by using mirrors or by incorporating natural light into your design.
When starting home improvements, beginners should tackle projects that are simple, low-risk, and require minimal tools. Some good projects for beginners include painting a room, installing new light fixtures, or upgrading cabinet hardware. These projects will help you gain confidence and develop your skills before tackling more complex projects.
Some of the most popular DIY projects for those new to home improvement include painting a room, installing new light fixtures, upgrading cabinet hardware, and adding a backsplash in the kitchen. These projects are relatively simple, require minimal tools, and can be completed with a modest budget. They are a great way to gain confidence and develop your skills before tackling more complex projects.
If you’re looking for effective but low-cost home improvement projects, consider painting a room, installing new light fixtures, or upgrading cabinet hardware. You can also add a backsplash in the kitchen, replace outdated faucets or showerheads, or install a new toilet seat. These projects are relatively simple, require minimal tools, and can be completed with a modest budget. They are a great way to improve the look and feel of your home without breaking the bank.
No price games. You get a clear written quote before any work begins, backed by our workmanship warranty.