A leaky faucet is not only an annoyance but also a potential drain on your budget and a source of damage to your home. However, tackling this common household issue can be manageable. With the right knowledge and tools, you can easily diagnose and repair a leaky faucet, ensuring a well-maintained and efficient home. In this article, we will provide a detailed seven-step process to guide you through the repair process.
Before you begin the repair, it’s important to identify the type of faucet you’re dealing with. The main types of faucets include compression, cartridge, ball, and disc faucets, each with its own unique mechanism and repair approach. By recognizing your faucet type, you can streamline the repair process and ensure that you have the necessary tools and replacement parts.
To successfully repair a leaky faucet, you’ll need the right tools and materials. Some common tools include an adjustable wrench, screwdriver, replacement O-rings, and possibly specific parts like a new cartridge. It’s also advisable to have a plumber’s tape and a protective cloth on hand to prevent any damage during the repair process. Gathering all the necessary tools and materials beforehand will make the repair process smoother and more efficient.
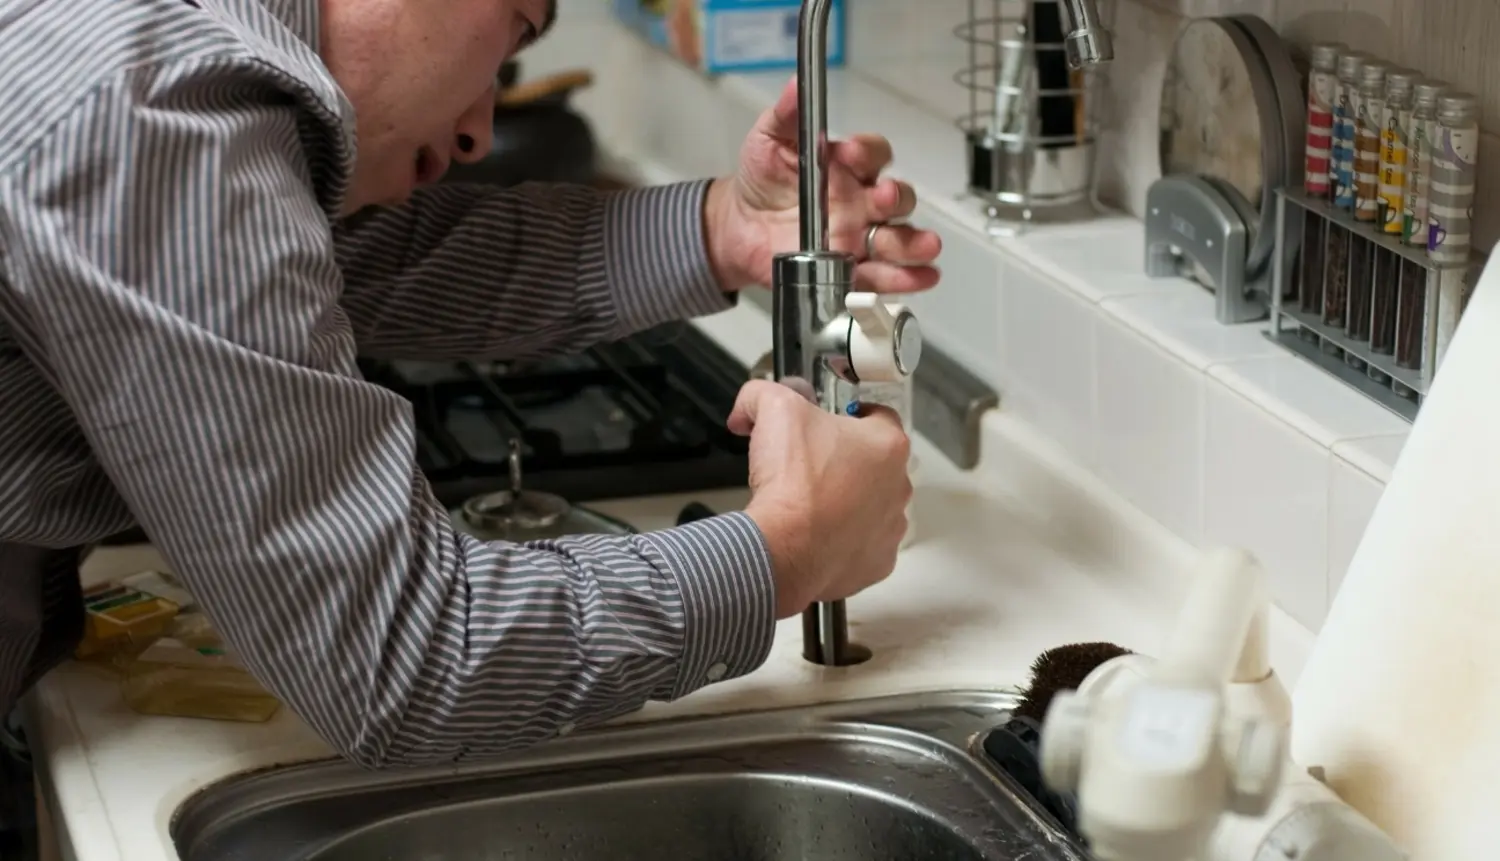
Before you begin disassembling the faucet, it’s important to turn off the water supply. This can usually be done by turning the shut-off valves located under the sink clockwise. Once the water supply is turned off, open the faucet to release any trapped water and relieve any pressure in the system. This step is crucial for your safety and to prevent any water damage during the repair process.
Carefully disassemble your faucet. Compression faucets involve unscrewing the handle and removing the valve stem to access the washer. With ball, cartridge, and disc faucets, the process can vary, usually involving removing the handle and a retaining nut to expose the internal parts. Keep track of each component and its order for reassembly. Use the rag to clean any residue from the parts as you go.
Once you can access the internal components, look for signs of wear or damage. Common issues include worn-out washers or O-rings, a corroded valve seat, or a damaged cartridge. These are usually the culprits behind a leak. Inspect each part carefully; even small imperfections can cause leaks.
Replace any worn or damaged parts with new ones. For washers and O-rings, make sure the replacements are the exact size and shape. Apply plumber’s grease to O-rings and washers if recommended. If you have a cartridge or disc faucet, you may need to replace the entire cartridge or specific parts according to the manufacturer’s instructions. Remember, using the correct parts is crucial for ensuring a good repair.
Once you’ve replaced the necessary parts, reassemble your faucet, reversing the disassembly steps. Make sure everything is tight and secure, but avoid over-tightening, which can damage the parts. Turn the water supply back on and test your faucet. If done correctly, the leak should be fixed. It’s normal to make minor adjustments, so don’t worry if you need to tweak a few things to get it just right.
However, If you notice any persistent leaks, it may indicate the need for professional assistance. In such cases, it’s best to reach out to a reliable handyman service like Kaminskiy Care and Repair.
Repairing a leaky faucet is a rewarding DIY task that can save you money and conserve water. However, it’s important to recognize when a repair is beyond your expertise and requires professional intervention. In such situations, Kaminskiy Care and Repair is the top choice for homeowners who value quality and reliability. Our team of professionals is ready to tackle any plumbing challenge and help you maintain a pristine home environment.
Installing a new kitchen faucet is an easy way to give your kitchen a makeover. As more homeowners become interested in Do-It-Yourself (DIY) projects, replacing old, outdated faucets has become a popular way of improving a space without breaking the bank. With the right tools and skills, installing or replacing a kitchen faucet can be easy.
Keep in mind that a simple project like this can quickly turn into hours of work. Without the right knowledge or expertise, things can go wrong, resulting in longer project times, leaky or broken faucets, and a lot of frustration. Installing a new one also requires a new set of tools that will likely gather dust after being used only a few times.
Whether you want to install a completely new fixture or replace an outdated or leaky one, Kaminskiy Care and Repair can install these new fixtures quickly and flawlessly, saving you the hassle. Our team makes sure each fixture is up to standard and we repair any issues as we see them.
Worn washers or gaskets, leaks, low water pressure, and rusting are all reasons to replace your faucet. Sometimes, these problems are easily fixed or their parts replaced inexpensively. There are times a repair cannot be made and only a replacement will do. As they age, they tend to leak and wear out. Installing brand-new will avoid water damage and save on continuous repair costs.
It is possible to replace a kitchen faucet on your own. You need to ensure you have all the tools required, as well as buckets and towels to catch any water.
Tools you need include:
If you are replacing an old or outdated kitchen fixture in an existing sink, you first need to determine the number of holes the fixture has, usually between one and four. This will tell you the type of kitchen fixture will work with your sink. For example, you can install a one-hole faucet into a three- or four-hole sink by adding a deck plate but not vice versa.
Keep in mind when installing the new kitchen tap to always refer to the manufacturer’s installation instructions. Designs are often different, so follow those instructions carefully.
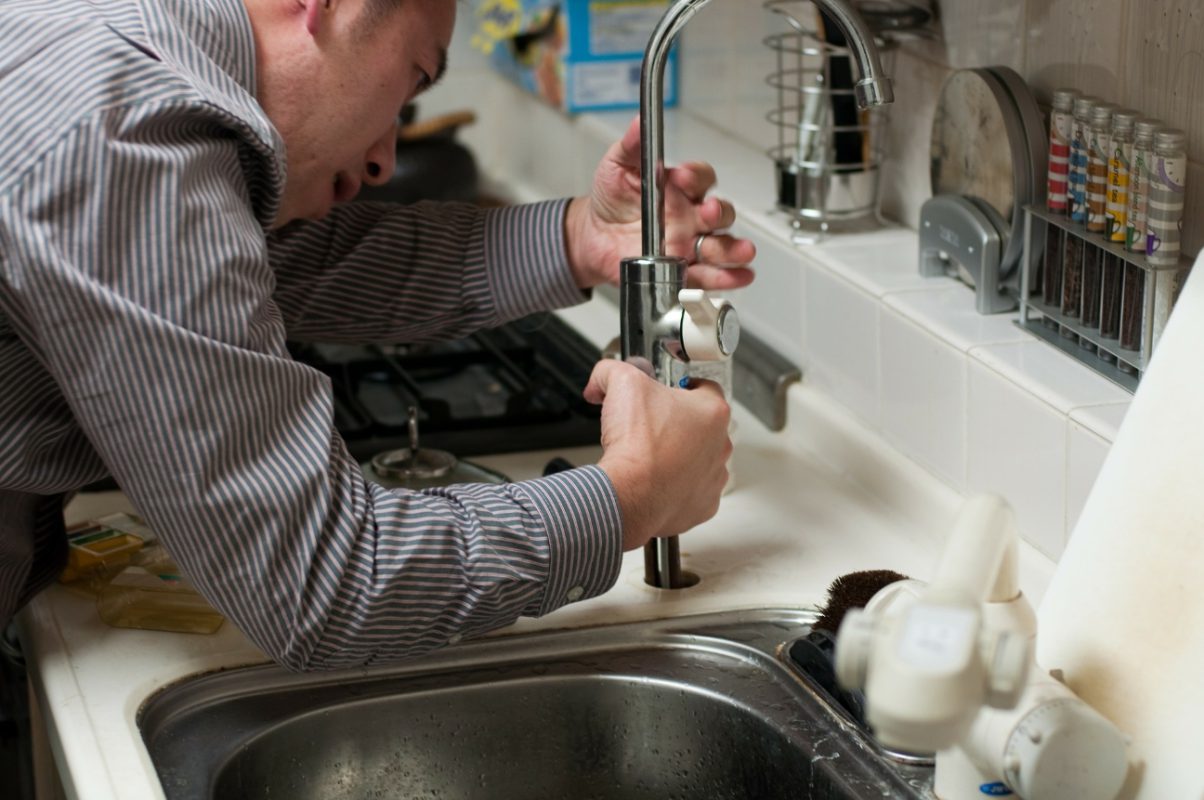
For more than 13 years, Kaminskiy Care and Repair has been helping homeowners in San Diego have the home of their dreams. Our expert teams have assisted thousands of families with projects around the home, including installing and replacing old, leaky faucets. Sometimes, all a home needs is a little repair or minor changes rather than an entire remodel. We help improve your home by completing the necessary repairs and projects needed.
Our experienced team can help with the installation or replacement of any faucet in your kitchen. You’ll improve the look of your kitchen overall, without the hassle of doing it yourself. No other team respects your time, sticks to their estimates, or treats your home as carefully as we do. Don’t trust your home repair project to anyone. All of our technicians have over 15 years of experience in the business, and we run background checks to make sure you can trust us.
Need to install new bathroom fixtures or replace old ones? We offer bathroom faucet repair services, too.
Installing a shower, tub, or sink faucet isn’t as difficult as it seems. That is if you’re comfortable with accurately measuring, drilling, and working with pipes. With the right tools and expertise, you can replace a bathroom faucet with a new one in as little as an hour.
Before you begin, you should consider the amount of time it will take you to install the new fixtures. For most people without experience, you should expect to spend at least half a day installing a shower or bathtub faucet. A sink faucet will take a couple of hours, on the other hand. These are only estimates, however. The actual length of time it takes to install a new bathroom fixture will largely depend on your skill level.
At Kaminskiy Care & Repair, we have the knowledge and capability when it comes to installing bathroom fixtures efficiently and flawlessly. Replacing an old fixture may seem like a simple task, but when considering all the steps it takes to install a new fixture, you may second-guess your decision to do it yourself. Our plumbers at Kaminskiy Care & Repair make sure that each bathroom fixture is up to your standards, without any leaks or damage to the pipes.
If you choose to try it yourself first, this article breaks down the installation process into steps, so the entire project runs as smoothly as possible.
Before you can begin the installation process, there are several things you need to consider.
First, you want to choose the shower, tub, or sink faucet you are going to install. This pre-step is especially important if you are replacing an old fixture rather than installing a completely new faucet.
Shower, tub, and sink faucets all come in different styles and setups. When replacing old fixtures, you want to make sure the faucet you buy fits the configuration of holes in your sink or wall. For example, the number and configuration of holes for a single-piece faucet are different from those needed for a split-set faucet. When it comes to shower and tub fixtures, you want to make sure your fixtures work with the valves you already have in place.
Also, keep in mind that you should follow the manufacturer’s directions for plumbing the faucet since each faucet is different. In some cases, your faucet may not include integrated shutoff valves. This means you will have to install shutoff valves yourself as part of your project.
When replacing or installing shower and tub fixtures, you should check that there are separate lines supplying the shower or tub. If your bathroom doesn’t already have them, you want to install separate 3/4–inch lines to supply the shower or tub. This extra step ensures good water pressure and protects the person using the shower or tub from sudden temperature changes when another faucet is turned on or the toilet tank is refilled. As part of this prep process, you will also want to tap into the cold and hot water lines as close to the water heater as possible.
Once you have gone through the prep process above, you can begin looking into installing the bathroom fixtures yourself. The difficulty of installing a bathroom sink faucet mostly depends on your access to the underside of the sink and the plumbing setup. Installing a new faucet is easier during new construction because you do most of the assembly before installing the sink and faucet. However, if you are installing a faucet on an existing sink, access is trickier because you are working from inside the cabinet underneath the sink.
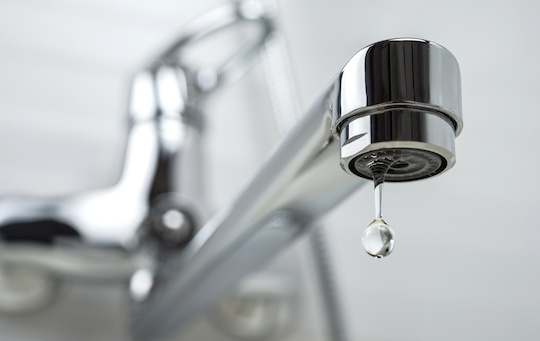
One tool that may make the job easier, regardless of when you are installing the faucet, is a basin wrench. It allows you to reach up and tighten fittings behind the sink bowl during the installation process.
You should always make sure you have all the tools necessary to complete your project before you begin.
Unpack your new faucet and make sure all the parts are included in the package. If any pre-assembly is required, do it now. Remember to read the instructions provided by the manufacturer, too.
If you are installing a completely new fixture with a sink, work with the countertop upside down on top of the vanity or, if it is much larger, on the floor upside down. You may also skip steps 2 and 3, which only apply to a faucet that is already installed.
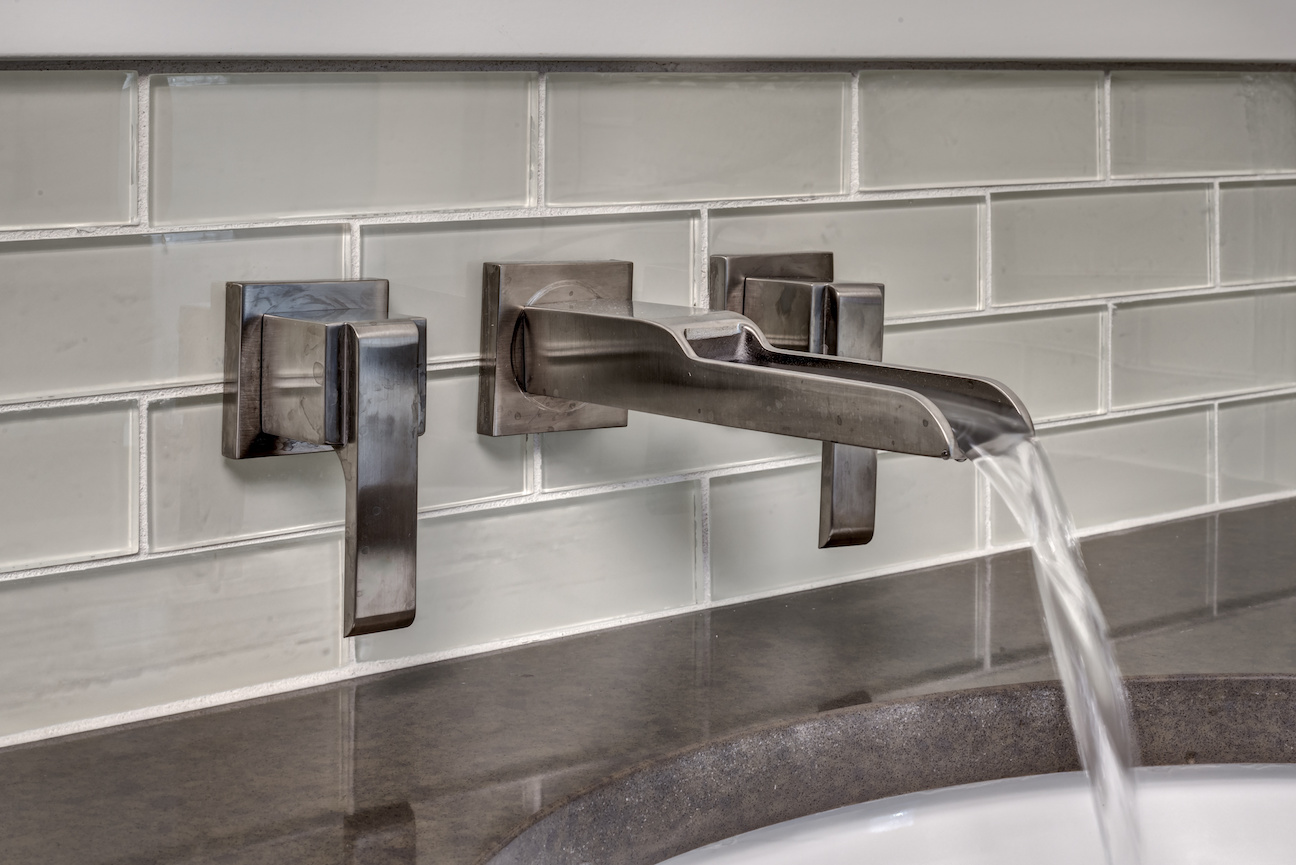
Shower and tub fixtures can be easier to install if you are replacing existing fixtures. However, if you need to change a valve or you are installing a completely new system, such as a removable showerhead, then the project tends to be much more difficult. The steps to replace a showerhead or tub faucet are similar to replacing a sink faucet.
In the case of a bathtub faucet, you need to unscrew the old nipple with a pipe wrench. Sometimes, the nipple is too short to grab. In this case, you will need an “internal” pipe wrench as well as a regular wrench to unscrew the nipple.
Once you are sure there are no leaks, you can patch up the wall before installing the shower cartridge.
For tubs: Wrap the ends of the new nipple with thread tape and screw it into the fitting inside the wall. Seal around it with silicone caulk to prevent any leaks.
For tubs: Once you have screwed in the new nipple and properly sealed around it, you can put on the tub faucet. Check your manufacturer’s directions for the type of faucet you have and how to put it on.
Kaminskiy Care & Repair specializes in making home projects easy for you. We provide services that efficiently and safely finish all your repairs or installations without you having to lift a single tool. DIY projects can be fun and rewarding, but when you’re busy with your family, career, or life in general, you cannot afford to spend so much time fixing your bathroom fixtures. We’ll install or replace your bathroom fixtures for you so you can go back to enjoying your shower, tub, or new sink faster. Call us to make an appointment and receive a free consultation.
It’s hard not to look forward to the prospect of enjoying your summer. Whether you’re excited about taking the kids on vacation or just ready for some beautiful weather, the hottest part of the year has a lot to offer — especially if you’ve been staying on top of your home upkeep.
In warm coastal climates like San Diego’s, tackling your home maintenance checklist is one of the most important aspects of being a property owner. Here are a few ideas to get you started and how to know when working with a handyman service might be your best bet.
One of the unique things about San Diego is that its geography gives it a unique microclimate — Although most people picture permanently sunny days, local conditions range from muggy wetness near coastal areas and at high altitudes to desert-like dryness elsewhere.
Your summer home maintenance checklist may vary depending on which part of the city you call home. Nonetheless, there are some general items that everyone should check off before the heat kicks into full gear:

Your home’s exterior is its first line of defense against hot weather, insect infestations and other destructive environmental factors. Spring and summer are good times to inspect and replace small components that most homeowners overlook, such as the seals around your doors and windows.
Prepping your home’s exterior can prevent significant energy losses. Easy ways to get started include tackling tasks such as rebalancing doors, adding weatherization components and replacing old garage door seals. Homes that have sustained seasonal damage or wear and tear may require more exhaustive attention from a reputable San Diego handyman.
Don’t wait until it’s sweltering outside to determine whether your HVAC system works. Test your fans and AC before you need them by running them early. If there’s a problem, you’ll know about it in time to make a call — handyman services are usually far less expensive during low-demand periods anyway.
Give your AC a thorough cleaning. In addition to replacing filters, inspecting conduits, dusting fans and cleaning vents, you should have your exterior air handler, condensate lines and other parts professionally inspected. If you have a smart thermostat, check the diagnostic reports and alerts to be sure that you’re not missing anything important.
You should check your carbon monoxide and smoke detectors multiple times annually. Spring and early summer offer many good chances to tackle these simple DIY tasks.
California’s near-constant drought conditions make it imperative to stop water waste however you can. If you’re a gardener, now is a smart time to start planning a watering schedule that lets you conserve or switch to a more efficient watering method, such as burying natural clay ollas under the soil.
Are you not much of a green thumb? You should still inspect your outside taps for minor leaks that may worsen due to heat expansion. A good handyman service can usually make quick work of such repairs.
Did you know that the grease filter inside your kitchen range hood needs regular washing? Were you aware that it’s important to vacuum the condenser coils on the back of your fridge?
Taking time to sanitize these hidden parts of your kitchen is essential for minimizing your power consumption as the AC bills start climbing — Appliances run more efficiently when they’re not caked in grease and dirt. You should also clean the seal around your refrigerator door and check it for defects that may necessitate a replacement.
Some items on your home maintenance checklist, like cleaning AC filters, are easy enough to do on your own in a few minutes. Others, such as replacing seals or inspecting AC units, can be much more involved or even dangerous, meaning that they’re best performed by a professional handyman service.
If you’re a homeowner in Southern California, then it’s best not to leave your maintenance checklist to chance — calling a San Diego handyman early is the smartest way to ensure that your home stays livable, energy efficient and enjoyable.
No price games. You get a clear written quote before any work begins, backed by our workmanship warranty.